A couple of Valentine’s Day Cards

1

Posted by Elena Olinevich

20 January, 2017 - ,

Write a comment

Hello Maja Friends.

The Spring is not here though I am impassonately waiting for it. Christmas is over, so there is no need in winter for me. Actually Valentine’s Day is the day that is going to brighten or winter season days.

So I made a couple of I love you cards.

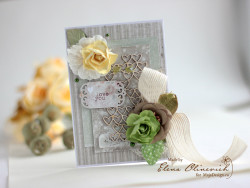
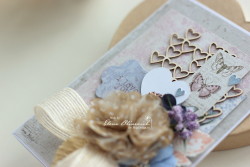
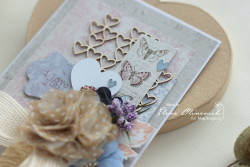
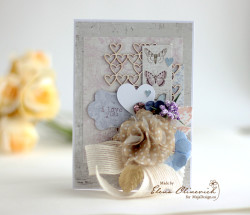
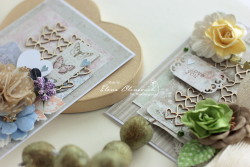
Valentine Day card for Her, by Elena Olinevich, for Maja Design

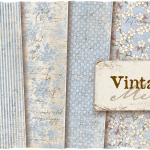
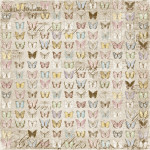
Vintage Spring Basics is quite a wide to choose, however I have noticed that I am using almost the same papers when it cmes to create with it. This color combo of phistachino and the cafe au lait is one of my all time favorite. It seems that I have made a tons of cards with these particular papers, but I still love them.

Valentine Day card for Her, by Elena Olinevich, for Maja Design1

I added the hearts chipboard pannel and arranges some paper layers.

Valentine Day card for Her, by Elena Olinevich, for Maja Design1a

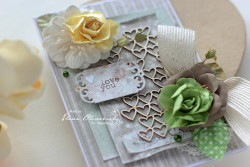
I used a simple stamped quote – I love directly on the die cut piece of paper, found in my paper scraps and leftovers file.

Valentine Day card for Her, by Elena Olinevich, for Maja Design2a

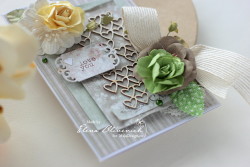
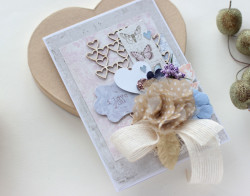
The same chipboard I used for my second card. But this time I used absolutely different colors for the card.

Valentine Day card for Her, by Elena Olinevich, for Maja Design2b

The idea for these cards was to use a llong ribbon with a bow. It looks more attractive when it doesn’t stand out.

Valentine Day card for Her, by Elena Olinevich, for Maja Design2c

Valentine Day card for Her, by Elena Olinevich, for Maja DesignA

Valentine Day card for Her, by Elena Olinevich, for Maja Design3

Thank you for stopping by today.

Have a wonderful week end.

Products used:

6*6 paper pad, Prima Marketing flowers and ribbon, Spellbinders dies

Elena-sign

Xmas trees

0

Posted by Pascale B

19 January, 2017 - , , ,

Write a comment

Hello Sweeties,

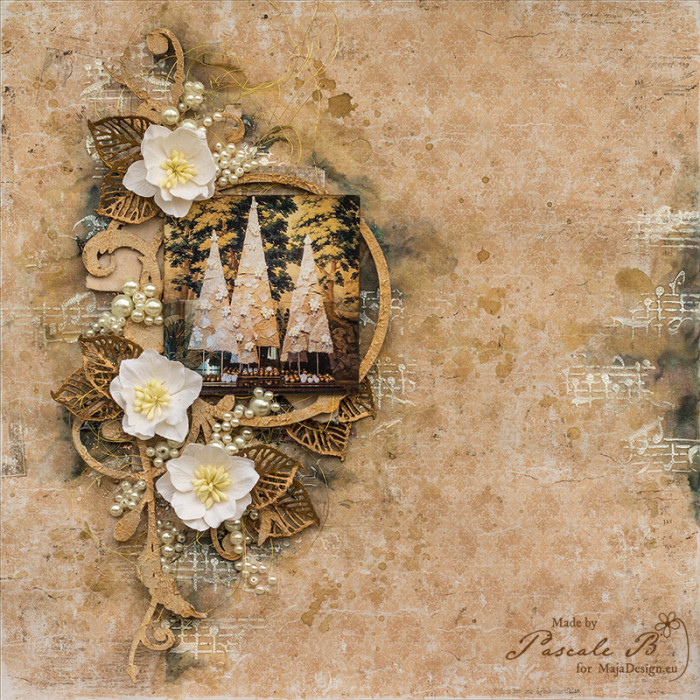
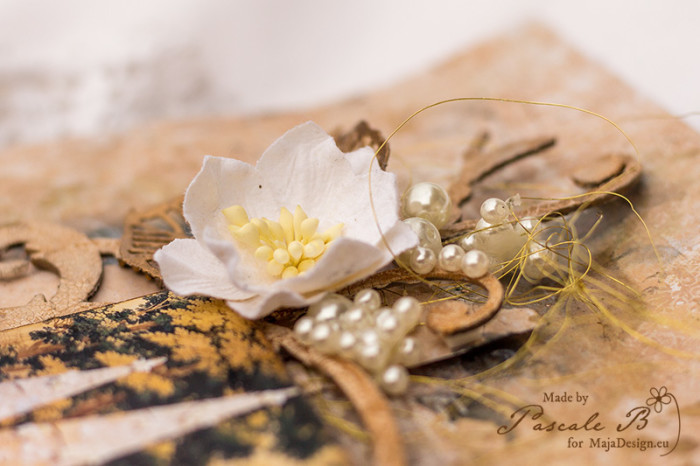
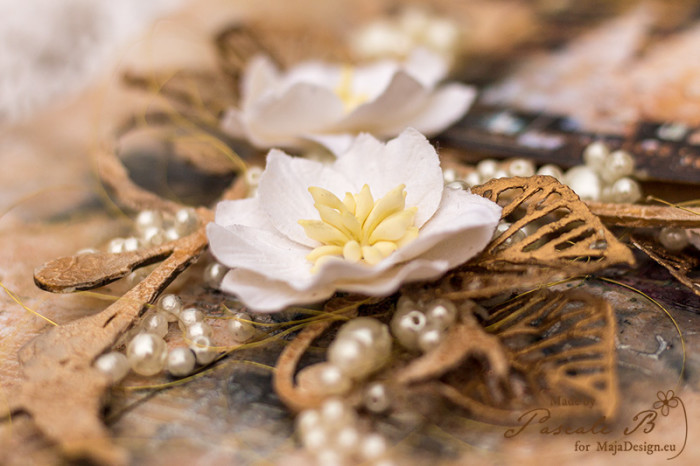
Today I’m up on Maja Design blog with a new layout with a step-by-step video. I chose a photo of a  Christmas floral arrangement from the castle of Chenonceau (Loire Valley, France).

Xmas Trees by Pascale

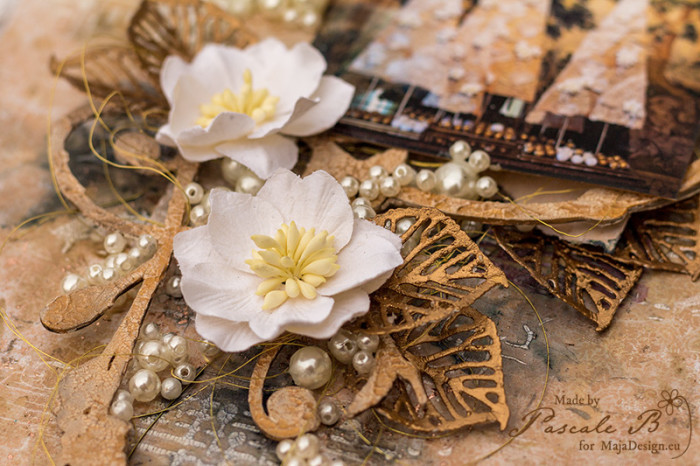
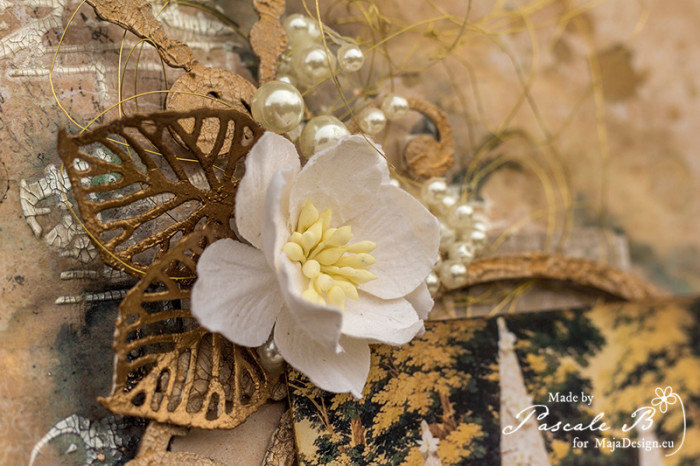
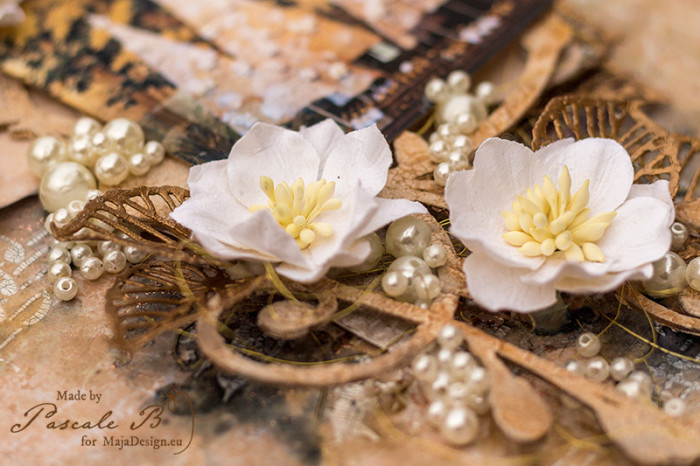
Here are some close-ups:

Xmas Trees by Pascale

Xmas Trees by Pascale

Xmas Trees by Pascale

Xmas Trees by Pascale

Xmas Trees by Pascale

Here is the video:

Maja Design papers:

1915 1912 bs 21st of December BS
Vintage Summer Basics Vintage Frost Basics
1915 1912 21st of December bs

Chocolate Box For Grandpa

2

Posted by Maja Nowak

18 January, 2017 - , ,

Write a comment

Good morning, Maja friends, welcome to the blog today 🙂

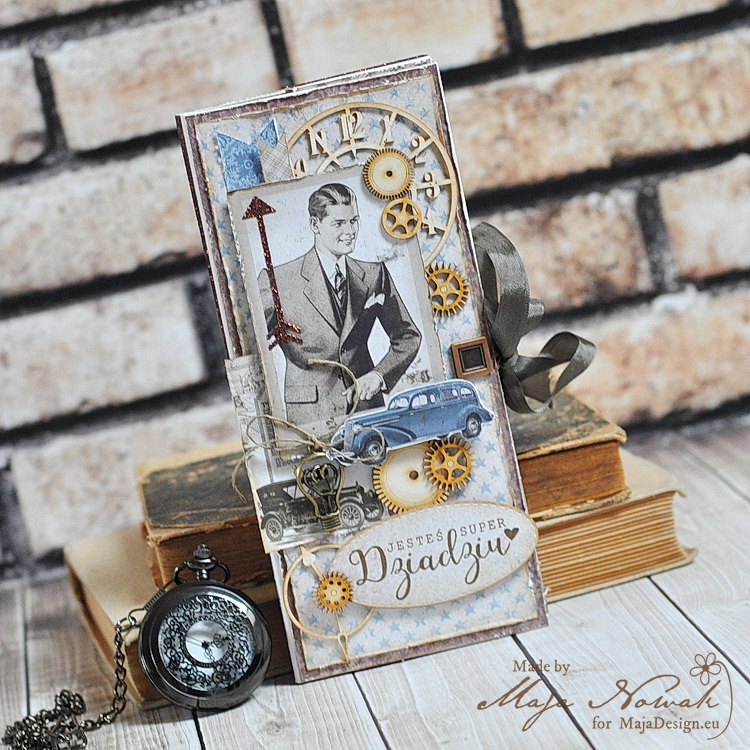
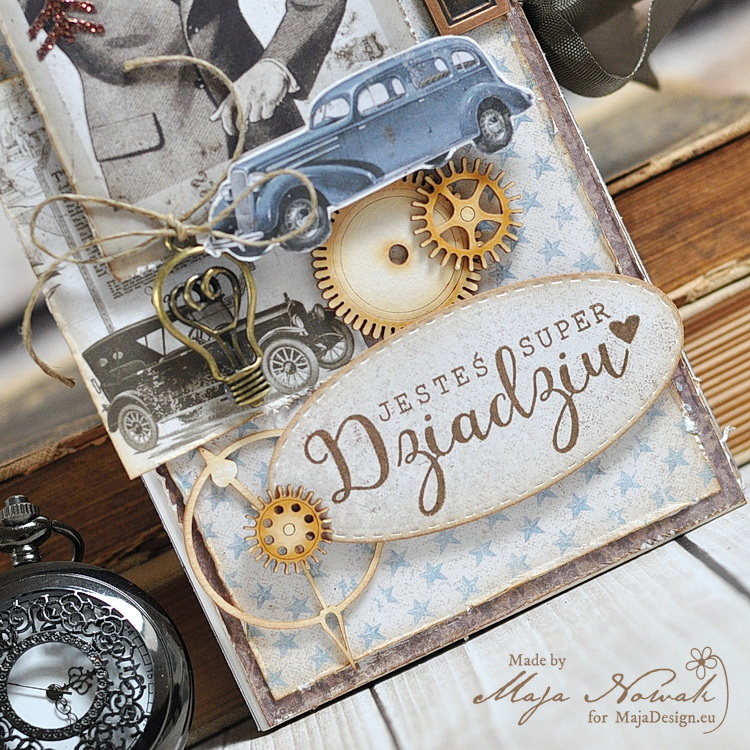
Remember my post two weeks ago? I made a chocolate box for Grandma and obviously needed one for Grandpa too. I don’t know about you, but even though I’m the only woman in the house and thus I’m surrounded by boys, it’s still quite difficult for me to create masculine projects. I always worry about not going too much on embellishments, or not make it too sweet… And so making this chocolate box was not so easy, but the Vintage Romance and Home For the Holidays collections came to help 🙂

mdgran

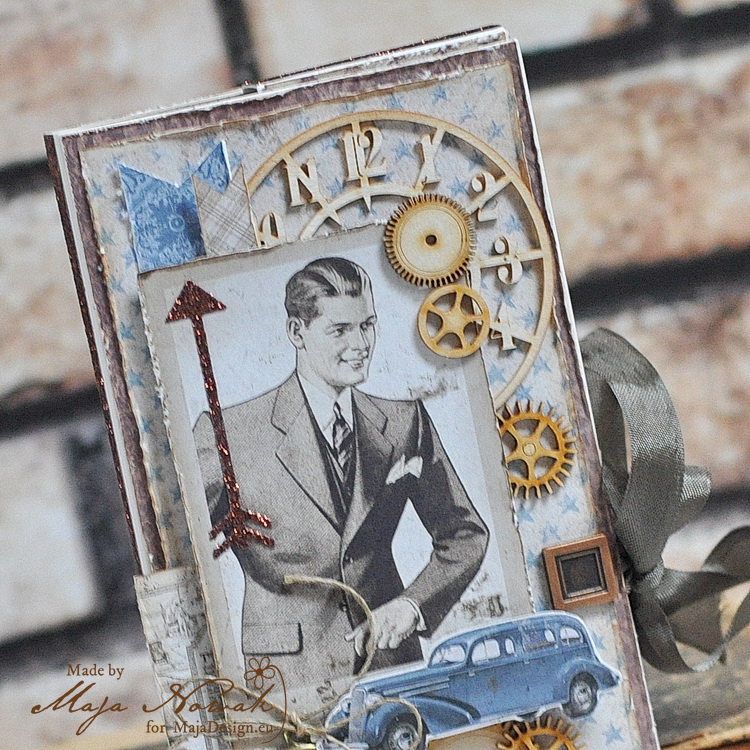
I basically kept the same design pattern as with the Grandma’s box, but used blue and brown palette and of course masculine motives like this handsome man 😉

mdgran1

I added some more cut outs and chipboard pieces and the stamped sentiment that says: Grandpa, you’re superb! 🙂

mdgran2

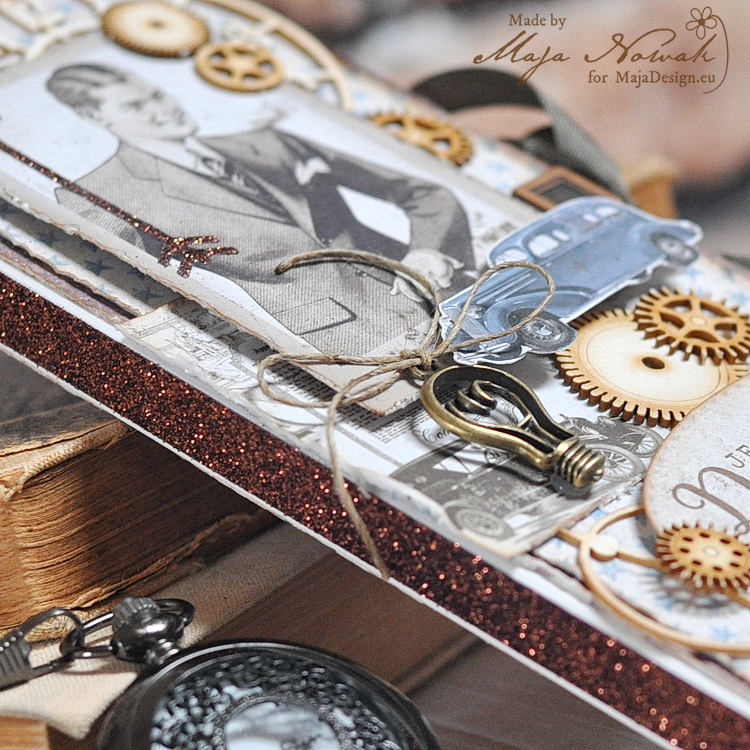
I thought a little glam would not hurt, right? And so I added some glitter cardstock to the sides:

mdgran3

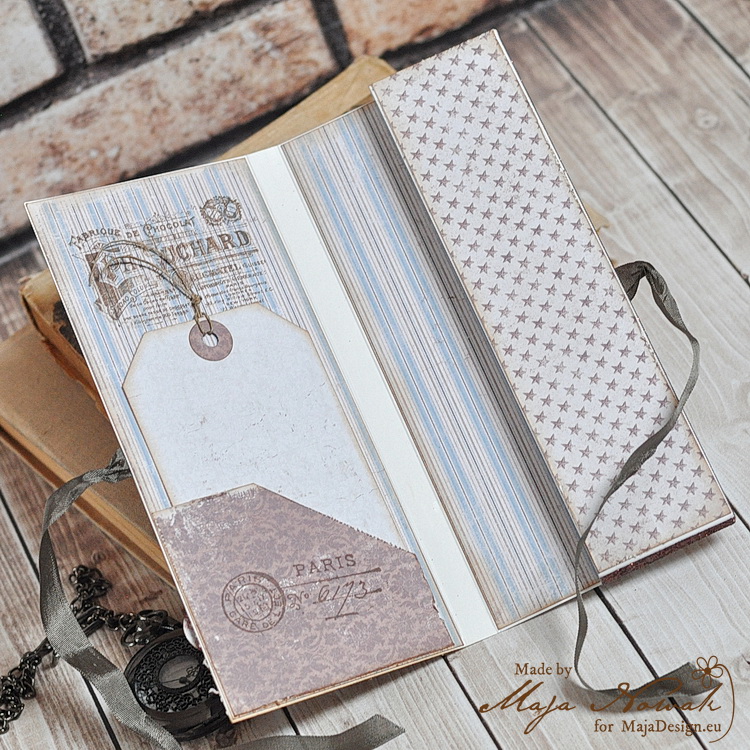
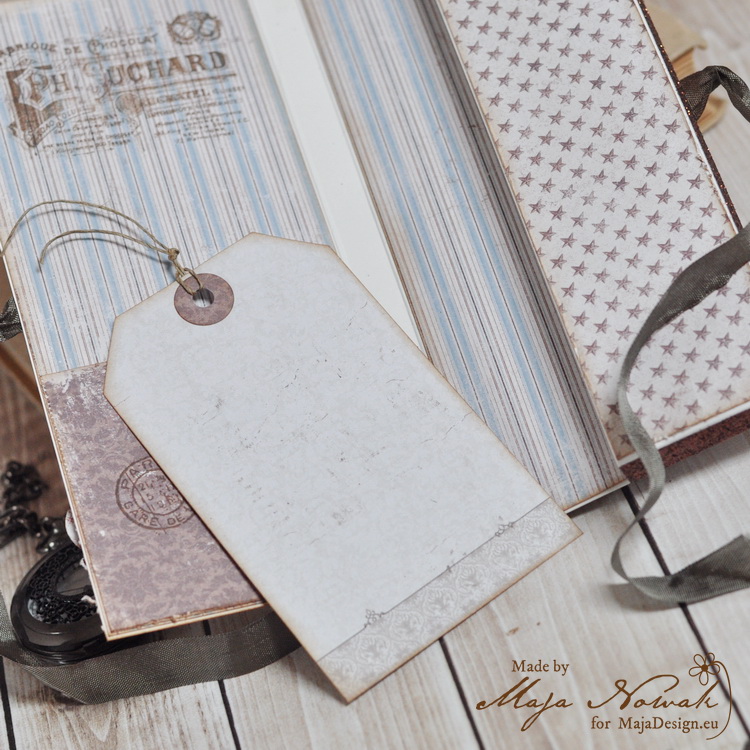
Inside I added soem stamping on background papers and also a tag to make writing wishes easier – you just pull it out and write not worrying about the decorated other side 🙂

mdgran4

mdgran5

Although I was a bit ill-at-ease, I really like the way the box turned out: masculine, but elegant with brown glitter cardstock to emphasise the celebration. What do you think?


Here’s what I used:


Other: dies: MFT; chipboard: Miszmasz Papierowy, wycinanka; brad: scrap.com.pl; vintage ribbon, metal charm: my stash.

See you!

Maja-sign

“Forever Love” by Tina Ollett

4

Posted by Tina Ollett

17 January, 2017 - , , ,

Write a comment

A huge welcome to you! It’s Tina with you today to share my next Design Team creation.

This project for January, I have titled

…..”Forever Love”….
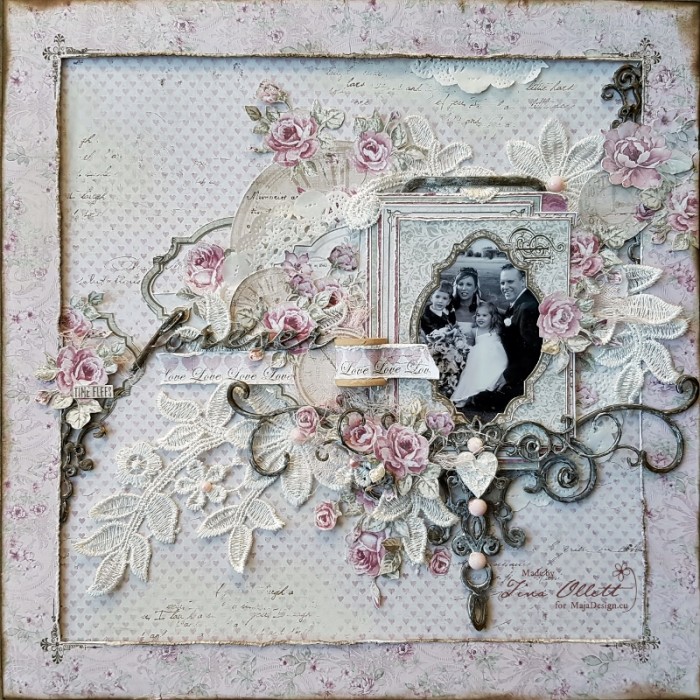
2017-01-17 2017-01-17 001 015 (800x800)

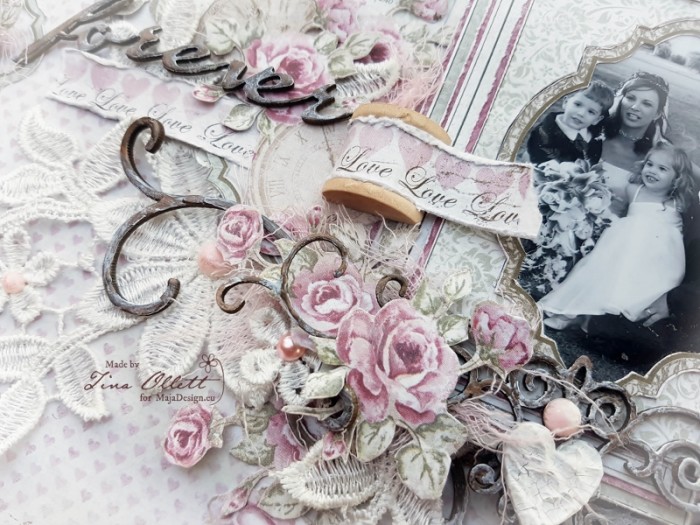
This, for me, was a layout of love. Scrapbooking for me is about the memories and sometimes the photos from the most special days of all, aren’t of the best quality but I always insist on using them no matter what. On our special day a professinal photographer was hired, but it was very unfortunate that during the development of our photos that something went horribly wrong. Due to the developing error we we did not receive a great deal of photo’s that were of a good quality or worthy of using to hang on our walls. We depended on our family and friends to help us with photo’s they had taken and this photo is one of them. We were so fortunate to have our two eldest attend our wedding. They were so excited the whole day through. My son walked me down the aisle with my Dad, something I will never forget and treasure always.
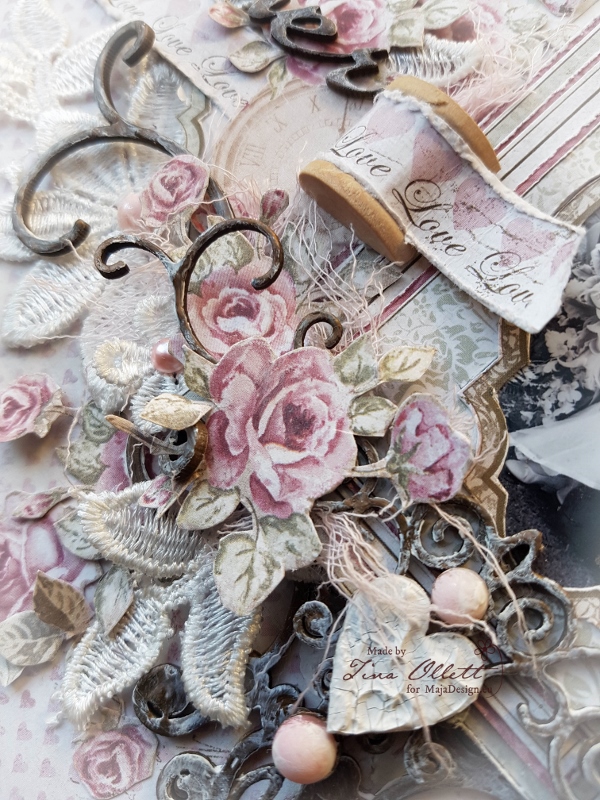
2017-01-17 2017-01-17 001 012 (600x800)

I am mad for anything at present that I can fussy cut from papers. And I found this in the Vintage Autumn Basics No. II sheet that was in my gorgeous Maja stash. I have cut at least a half of this sheet up and layered it in and around the page.
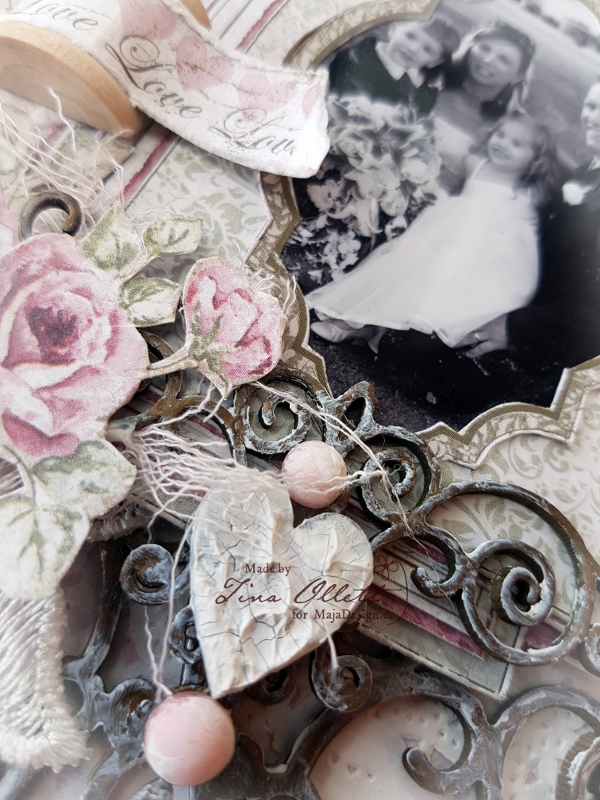
2017-01-17 Maja January 2017 031 (600x800)

You can see above in the bottom of the photo the layering of journalling cards that I cut from Vintage Spring Basics “Days to Remember” and also from the Vintage Romance collections “Love Notes”. Amongst the several layers of journal cards I have alternated mats of “Raspberry Jam Cookies” from the Coffee in the Arbour collection. Yes I have mixed a lot of collections this time around . I find the beauty of Maja Designs ranges is that they just blend together so beautifully.
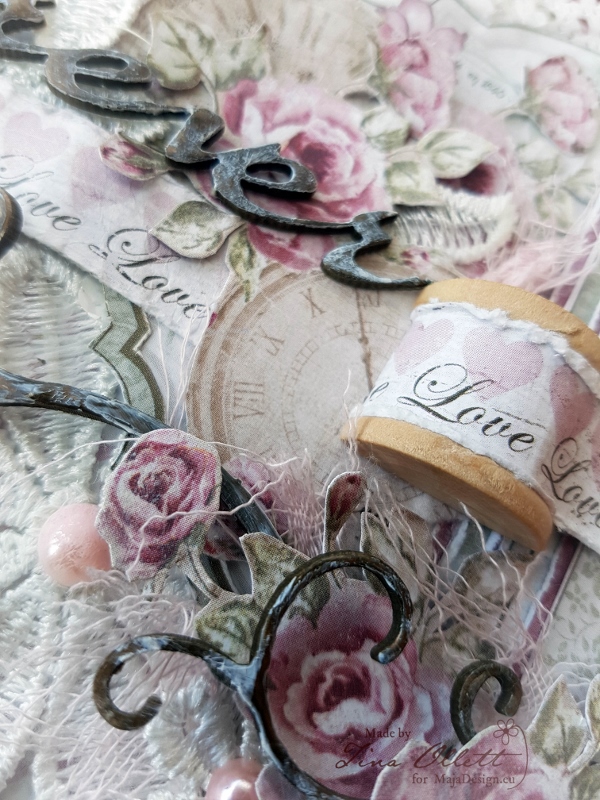
2017-01-17 Maja January 2017 032 (600x800)

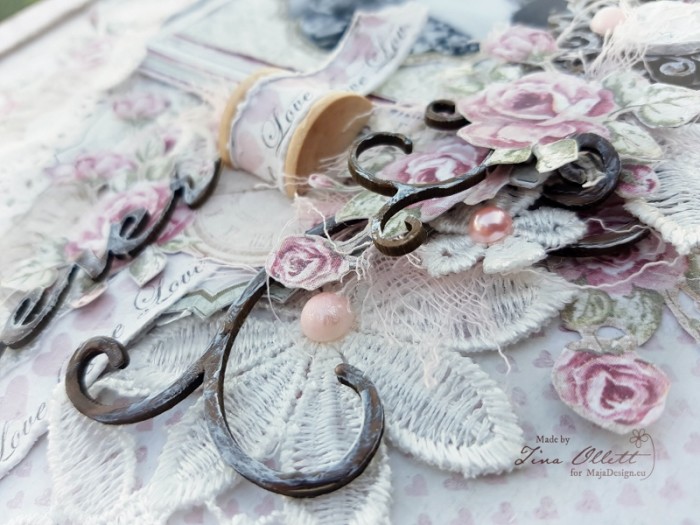
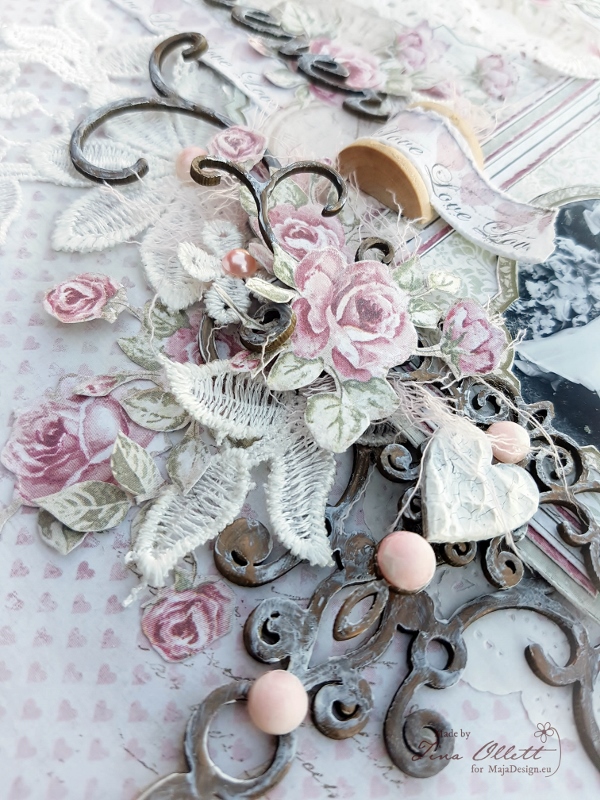
I have layered the  project with paper doilies, lace motifs, Dusty Attic’s gorgeous chipboards cut up, muslin and even a sewing spool. The sewing spool was wrapped with the bar strip from Vintage Romance’s bside of “Passion”. Passion was used as my background piece with the frame cut from Vintage Romance’s “She’s my Lady”.
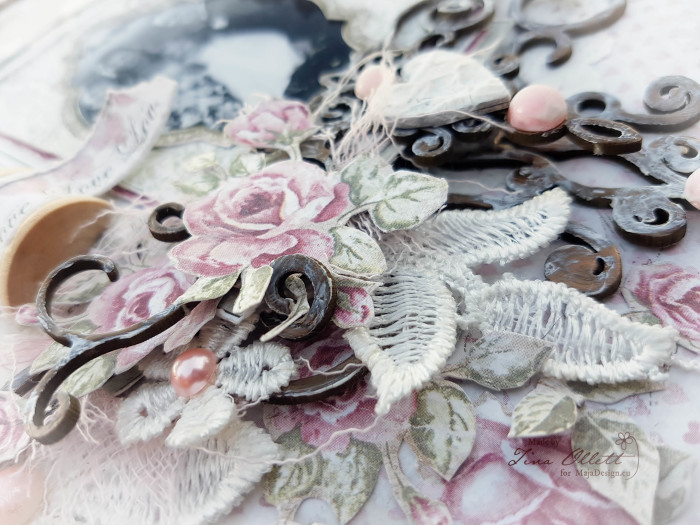
2017-01-17 2017-01-17 001 060

This here, is the side on view of the base of the photo. The lace motif I have used here has been cut into many many pieces and divided throughout the layout to help give it movement.
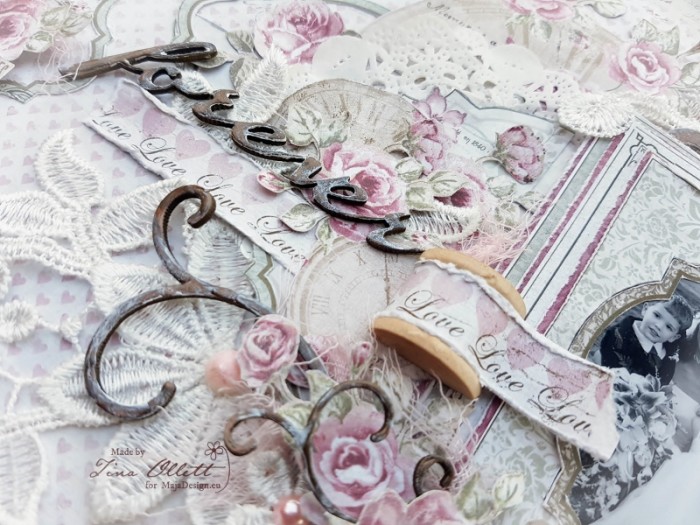
2017-01-17 2017-01-17 001 036 (800x600)

I have tucked a few doilies around to help break up the pink from the flowers and the background.
2017-01-17 2017-01-17 001 041 (800x600)

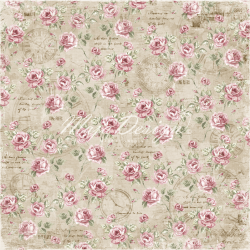
I just loved these clocks found on the Vintage Spring Basics sheet. I have used the largest of the clocks and cut it to sit behind the photo so it did not overtake the whole layout. I cut some of the smaller clocks with the roses to sit on top of the large one layered.
2017-01-17 2017-01-17 001 058 (600x800)

From another view…….

2017-01-17 2017-01-17 001 059 (800x600)

and another…..

Maja Designs Papers used for this project were:
625-Vintage-Autumn-Basics-no.II_

Maja Designs – Vintage Autumn Basics No.II
679-Raspberry-jam-cookies

  • Maja Designs – Coffee in the Arbour – Raspberry Jam Cookies
821-Passion-bs

Maja Designs – Vintage Romance – Passion -bs
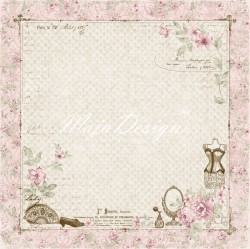
822-Shes-my-Lady

Maja Desings – Vintage Romance – She’s My Lady
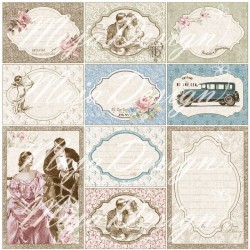
839-Love-notes

Maja Designs – Vintage Romance – Love Notes

Other Materials Used

Dusty Attic Ornamental Trim Set

Dusty Attic “Forever”

Wendy Vecchi Crackle Texture Paste

Art Basics Heavy Gesso

Liquid Pearls Chocolate

Ranger Distress Ink Walnut Stain, Ground Espresso, Victorian Velvet

E Line Pearl Crystal Prima Marketing Inc – Pearls and Crystals Item# 300470

A Place To Create’s Lace Motif (large)

Muslin, Wood Sewing Spool, Miscellaneous Wood Heart and Bracket

Acrylic Stamp Set Script

I so hope that you have enjoyed your time here today. If you have pieces of different Maja collections lying around in your stash, why not try combining them together like I have here today. Would love to see what you do!

Until next time take care and happy scrapping.Tina-sign

Special Guest Designer – Bev Rochester

2

Posted by Carita Ruckman

16 January, 2017 - , , , ,

Write a comment

Hello there, I’m Bev Rochester and hail from the North East coast of England.  I was tickled pink to be asked to be a guest designer for Maja Design.  I’ve been crafting for years but have concentrated on papercrafts this past 7 or 8 years.  I’m very lucky in that I have a dedicated craft room (my hubby converted the garage and utility room for me) so have all the space I need to collect more craft stash than I will ever use!

Bev-Rochester

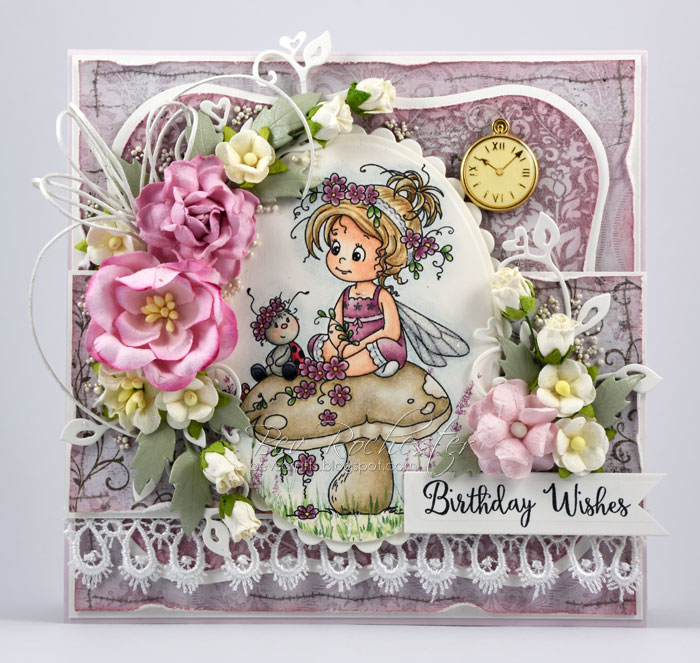
My style has evolved over the years and I’m finding myself more drawn to soft, pretty and vintage colours, papers and embellishments and Maja papers are perfect for all things soft, pretty and shabby.

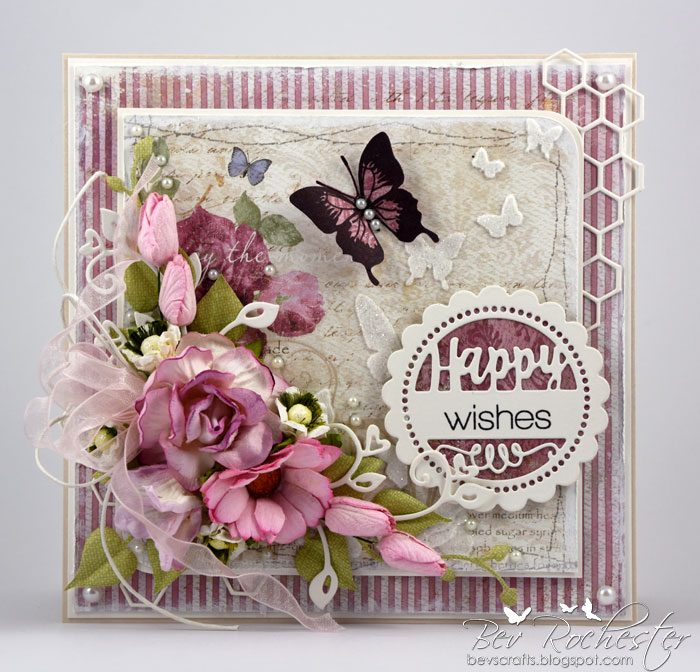
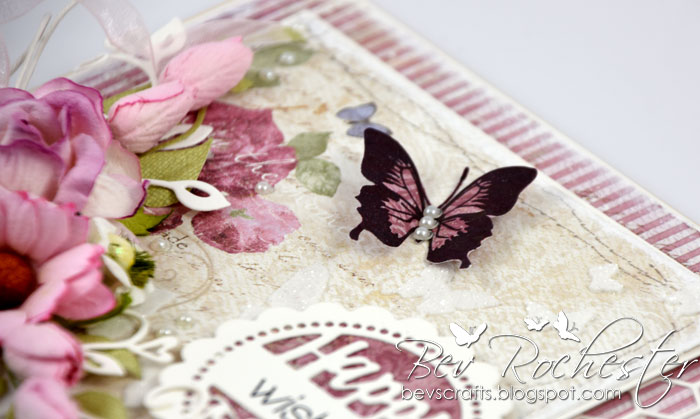
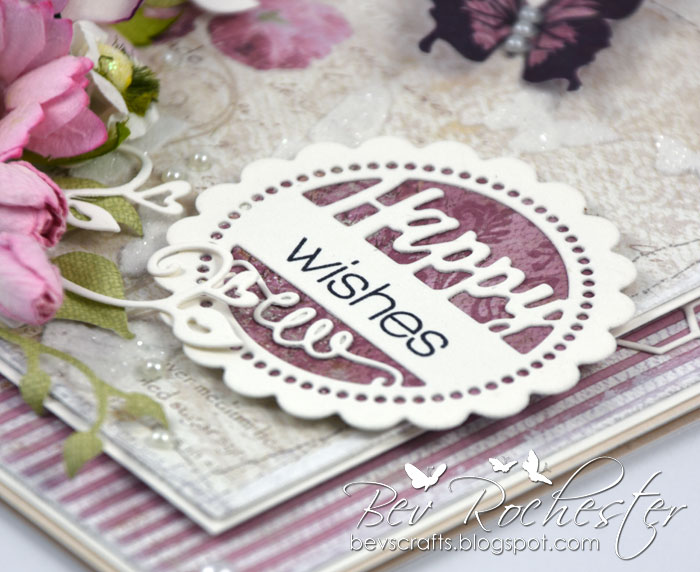
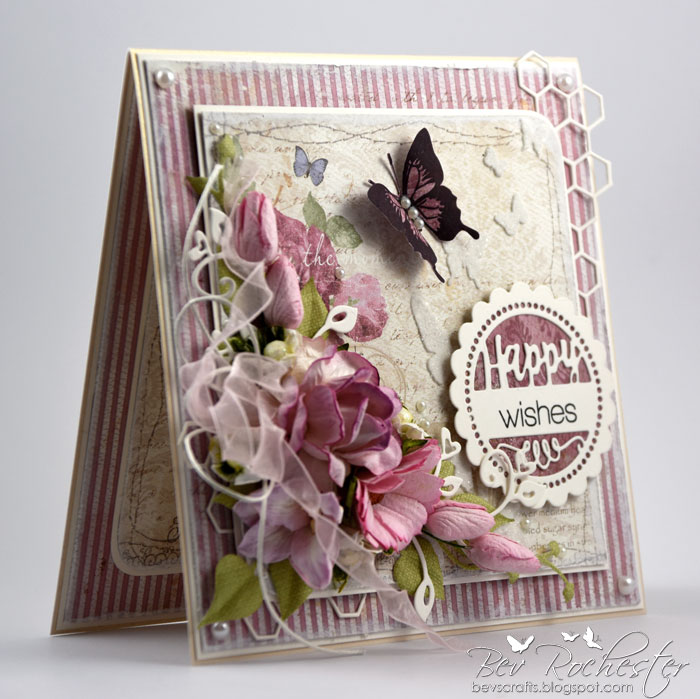
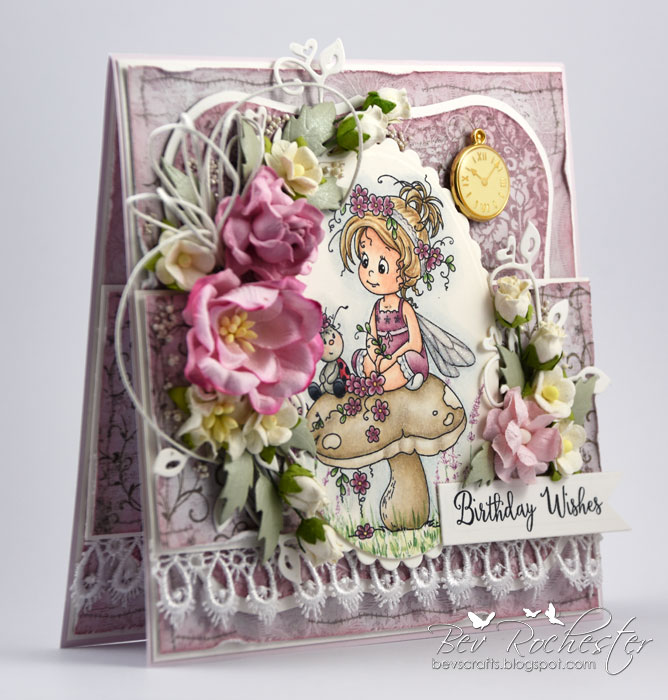
For my first card I worked with the Coffee in the Arbor collection – perfect for a pretty shabby chic card.  The sheets used are Raspberry Jam Cookies, Raspberry Cupcake and Raspberry Lemonade.

bev-rochester-maja-coffee-in-the-arbor1

I used dies and stamps from Whimsy Stamps, Rosy Owl and Magnolia and flowers from I Am Roses.

I also used a butterfly stencil from Whimsy Stamps with embossing paste and glitter to add texture to the card.

bev-rochester-maja-coffee-in-the-arbor3

And of course a card is not complete unless you carry the pretty through to the inside 🙂

bev-rochester-maja-coffee-in-the-arbor4 bev-rochester-maja-coffee-in-the-arbor5

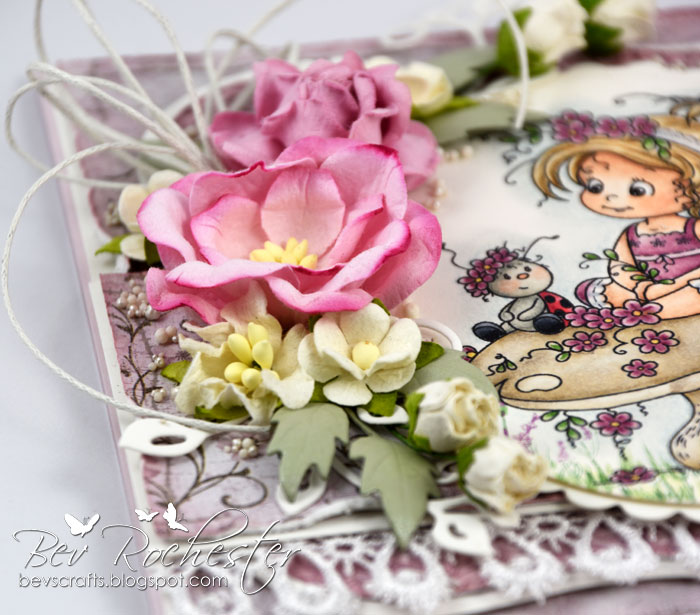
For my second card I went back to my first love and did some stamping and colouring to pair up with the exquisite Vintage Romance papers.   The papers I used are Passion, She’s My Lady and Just You & Me.

bev-rochester-maja-vintage-romance1

I used Spellbinders, Rosy Owl, Magnolia and Whimsy Stamps dies as well as stamps from Whimsy Stamps, flowers from I am Roses.  I used a faux stitches stamp around the edges of the paper.

bev-rochester-maja-vintage-romance2

Again I’ve carried the design to the inside of the card with these gorgeous vintage papers.

bev-rochester-maja-vintage-romance4

Vintage-Romance-P

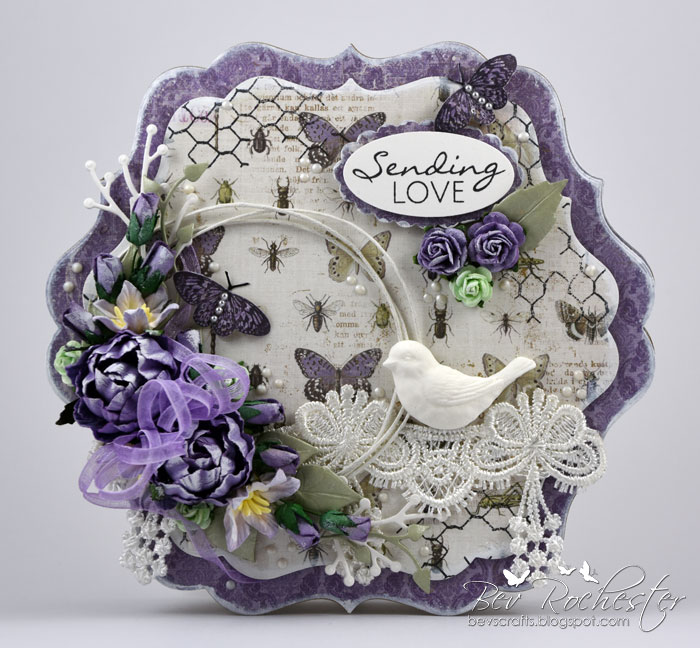
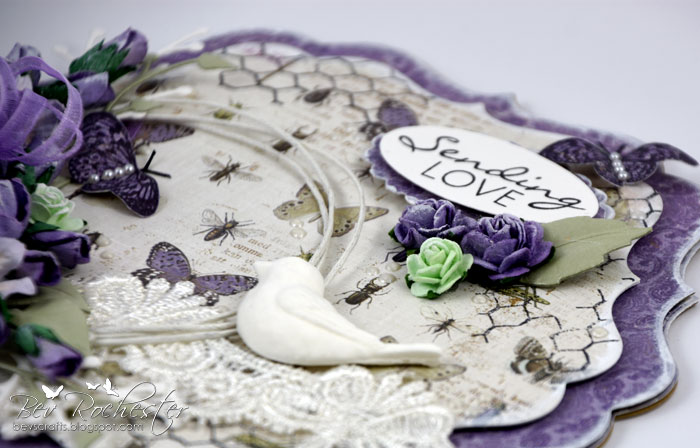
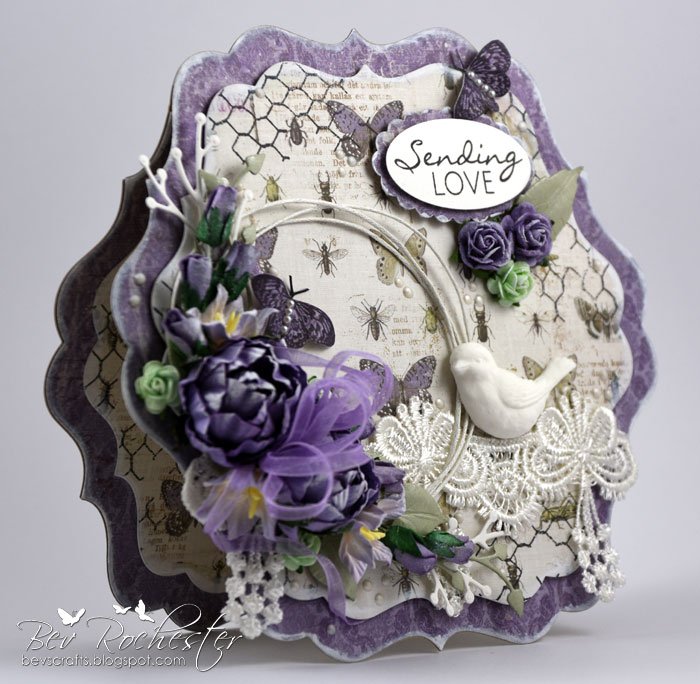
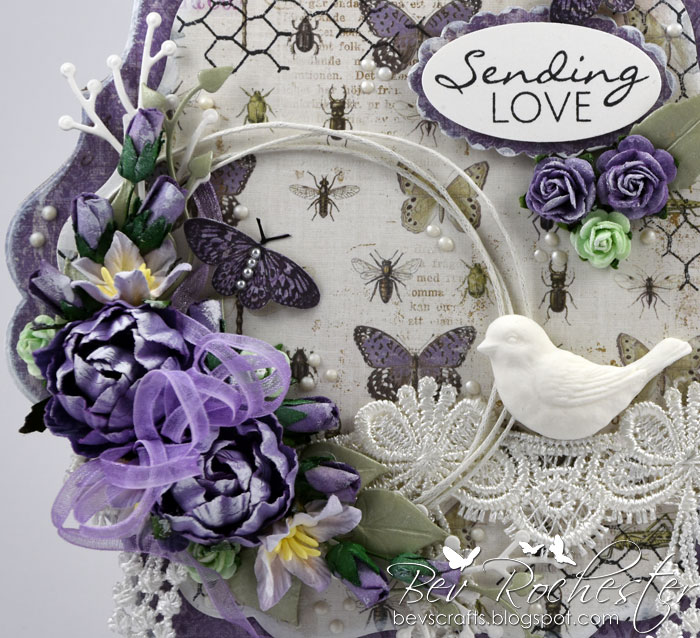
For my final project I used the absolutely gorgeous Sending Love collection.  I used Enjoying Outdoors, Garden Creatures and I’m Happy.  Oh my goodness!  The colours in this collection are … I have no words except to say that this is my favourite collection.  Just beautiful!

I decided to make a shaped card, the base is die cut with a Tattered Lace die set.  I stamped a chicken wire stamp randomly on the top layer, it works so well with the outdoor theme of the paper collection.

bev-rochester-maja-sending-love1

I made a bird using a mould and paper clay, and also stamped out some butterflies onto the patterned paper and fussy cut them out to carry the theme of the collection through.

bev-rochester-maja-sending-love2

And again, the inside finished off to carry the design through.

bev-rochester-maja-sending-love3 bev-rochester-maja-sending-love4

Enjoying-Outdoors-P

Thank you for visiting!

Bev-sign