Hello and welcome Maja fans. It is Tina with you today to share my next Maja project with you.
As you are all aware I am sure, I love anything to do with the beach. My heart skips a beat when I think sunshine and sand. And yesterday while I was clearing away my desk of the Nyhavn collection from another Maja creation I came across 3 pieces that I had not noticed before. The colours of these papers instantaneously sent mind mind thinking ……. aha a beach layout that will be perfect.
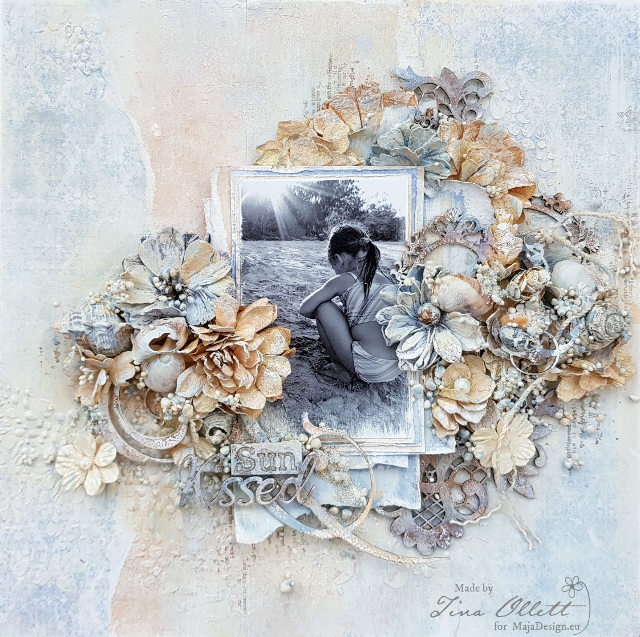
This is “Sun Kissed”
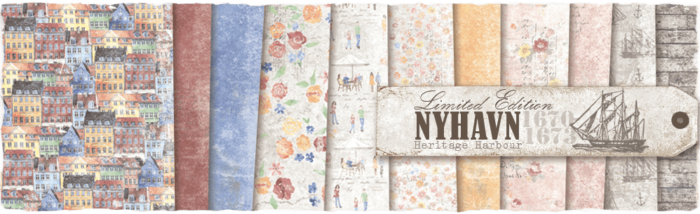
And below are the 3 sheets of papers from the Nyhavn Collection that I have used to start my project.
-
- Sunnyside
-
- Historical Atmosphere
-

- Old Townhouse bs
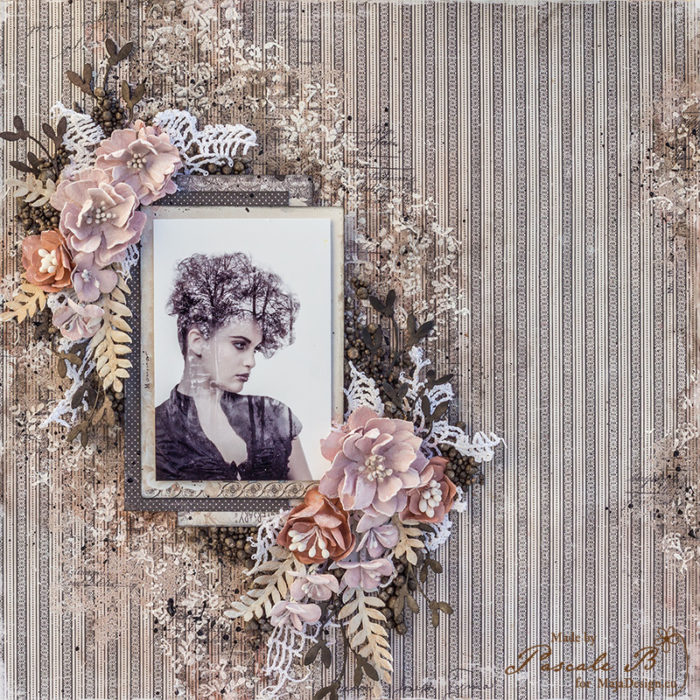
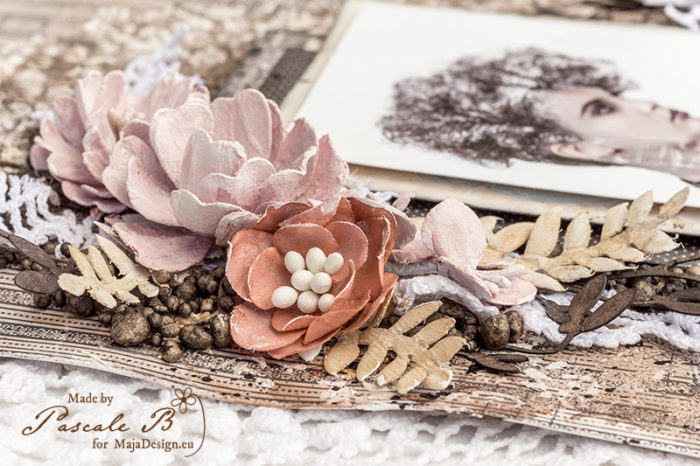
I used Historical Atmosphere as my background piece. I then did some tearing of the Sunnyside. I have to say that this piece is just magical in my eyes. I could not go without using this piece. I adhered pieces of Sunnyside throught the centre of my layout running vertically. I then did some matting of my black and white portrait photo. These pieces of matting were distressed and sanded a little to give that worn look that you often see with beach layouts.
Once everything was glued in place including my photo, I primed the papers using some clear gesso.
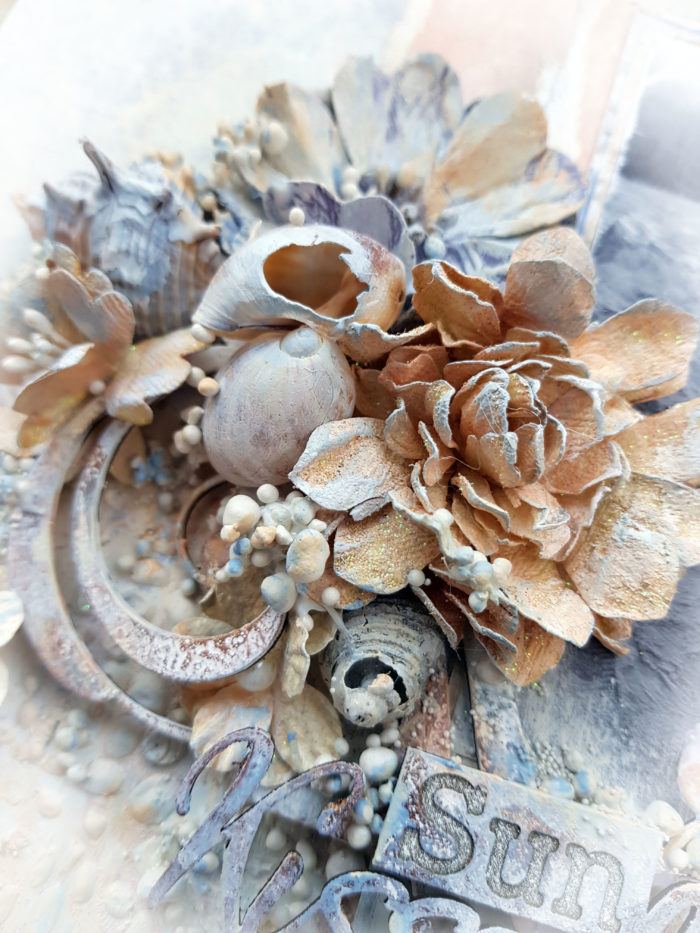
I also added in some stencilling using the “Cobblestones” stencil from Dusty Attic. I then painted some white gesso over my papers to lighten certain areas and to highlight others. I then went on to give my page more colours using some Dusty Attic Acrylic paints in Bisque and Faded Denim.

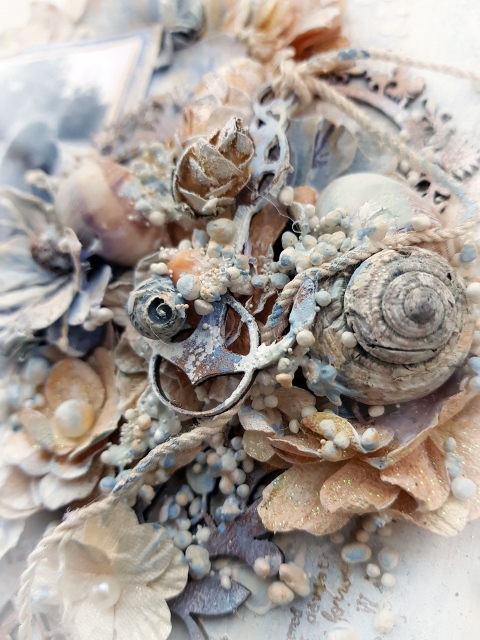
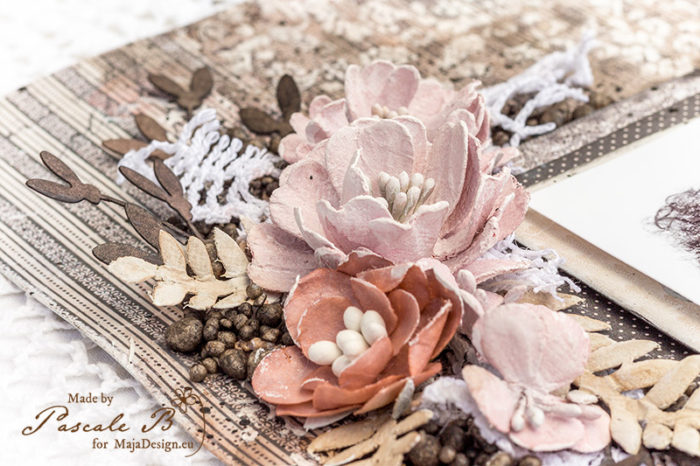
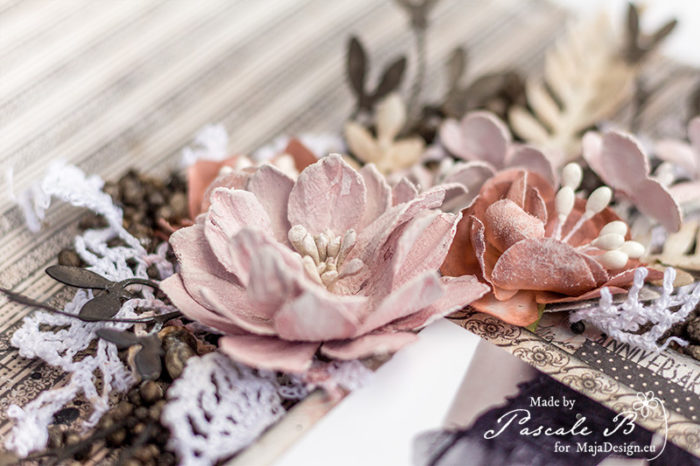
I then went on to change up the colours of my 49andMarket flowers from older collections to co-ordinate with my page. Some of these flowers were a bluebell colour which looked beautiful with the faded denim over the top. I also added in some beautiful Dusty Attic chipboard frames and flourishes and an anchor to help embellish my page.
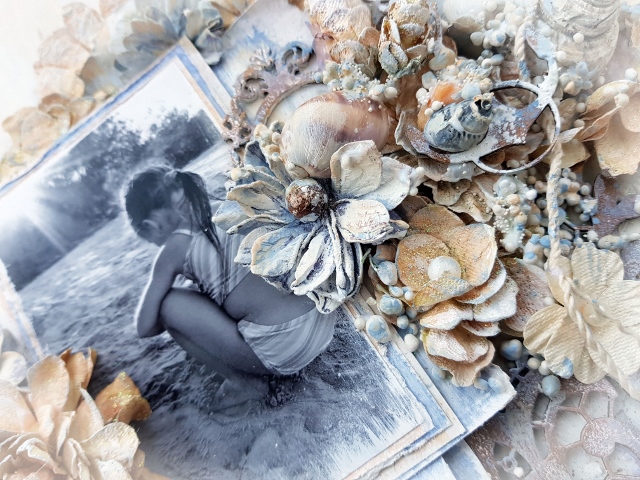
And lastly I adhered all my coloured embellishments along with some extra seashells found at our last trip to the beach. some of these were quite bulky so I had to cut the backs away to fit them where they needed to sit.
Well that is all from me today. Thank you for taking the time to visit and have a look at my project.
Until next time happy crafting.
Hugs

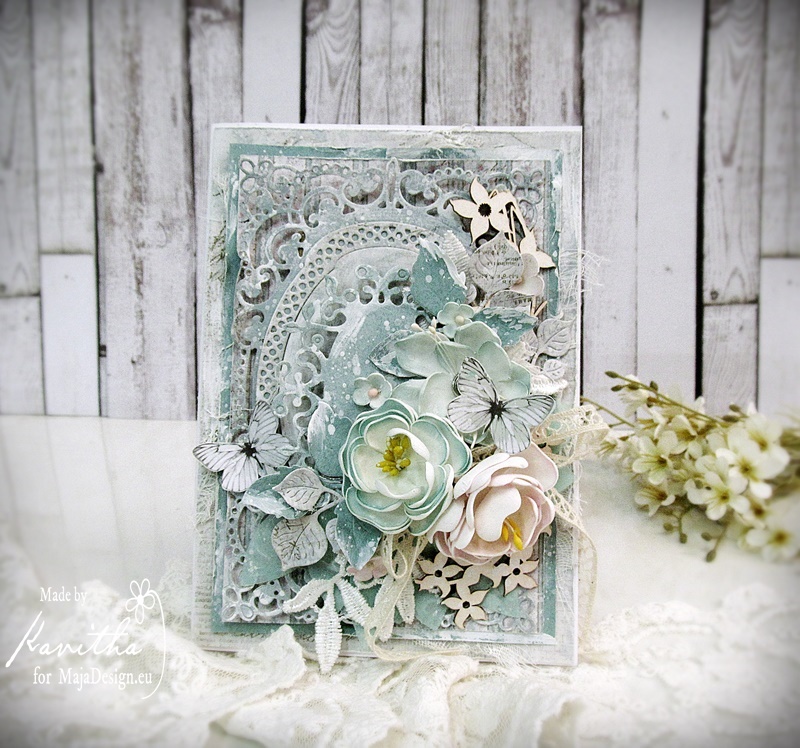
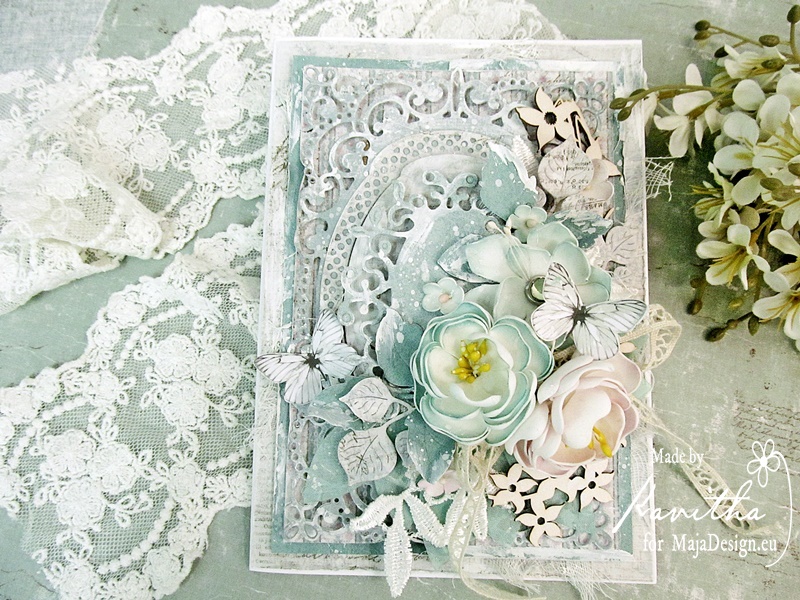
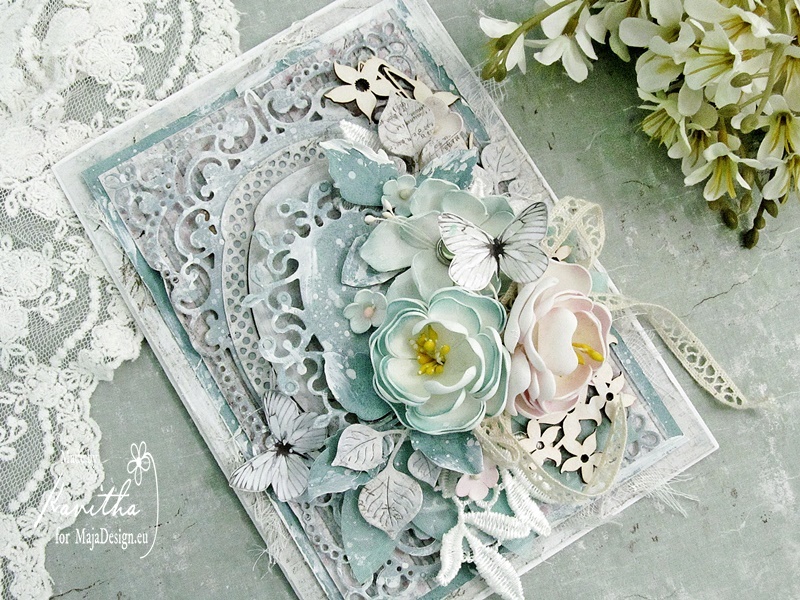
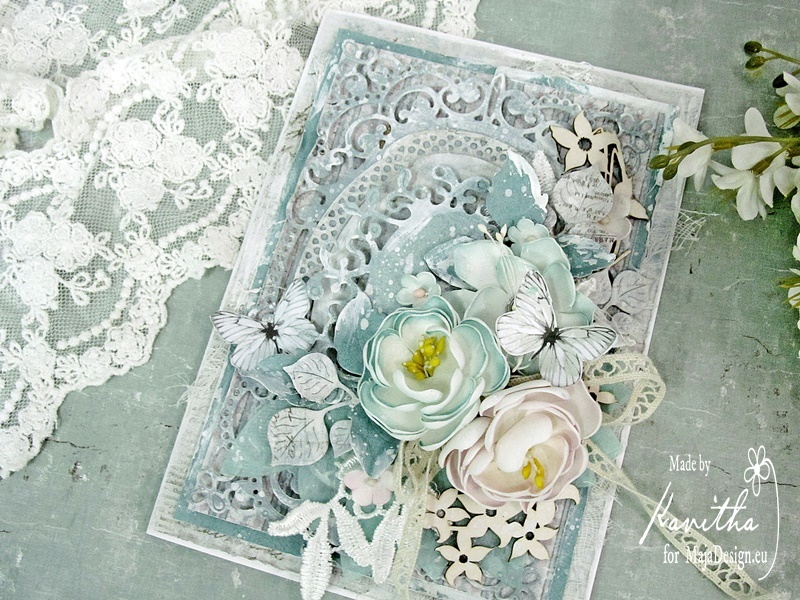
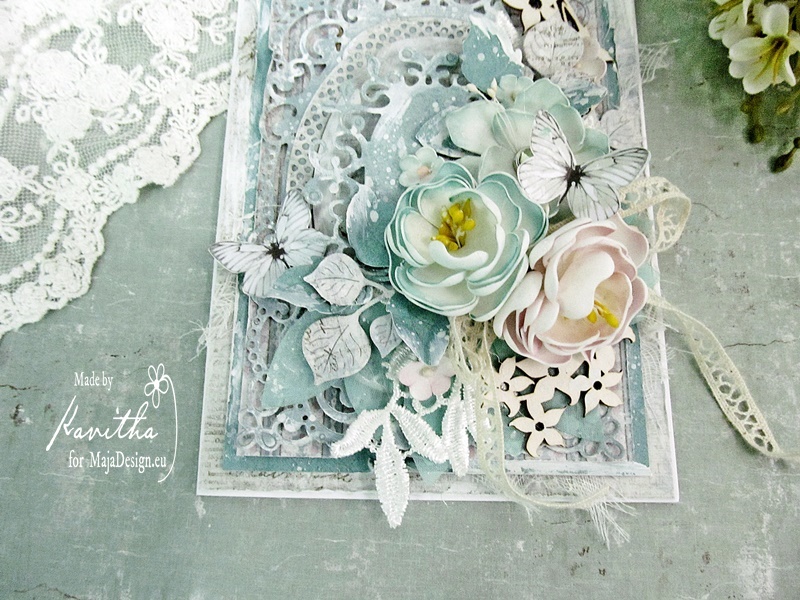

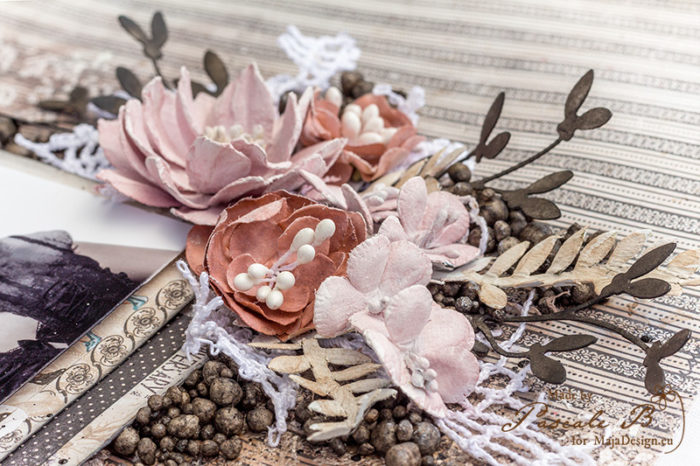
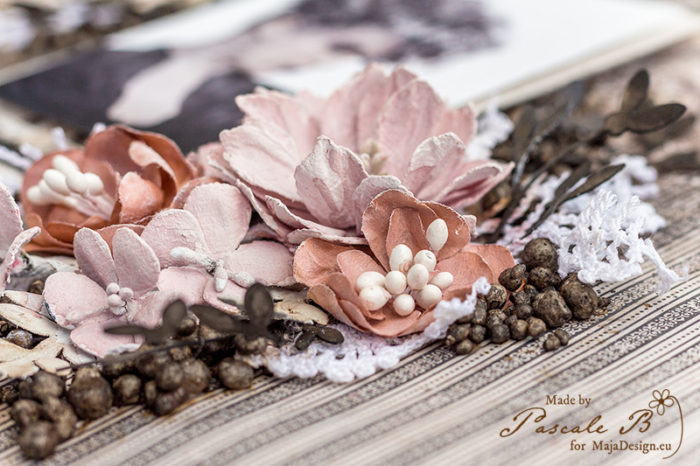


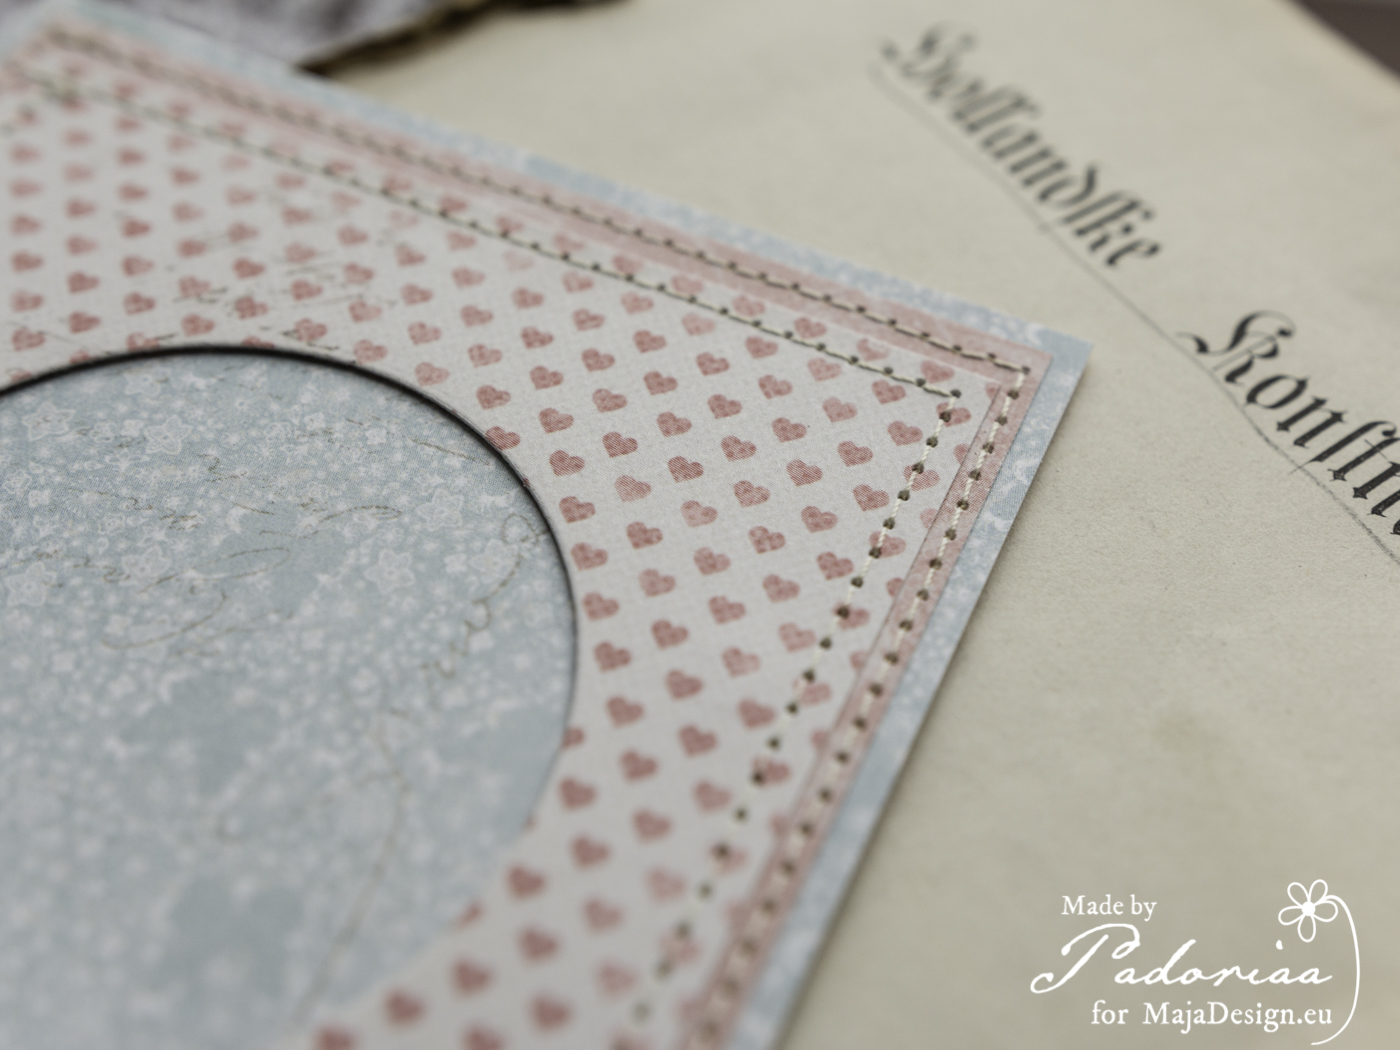
 some close ups:


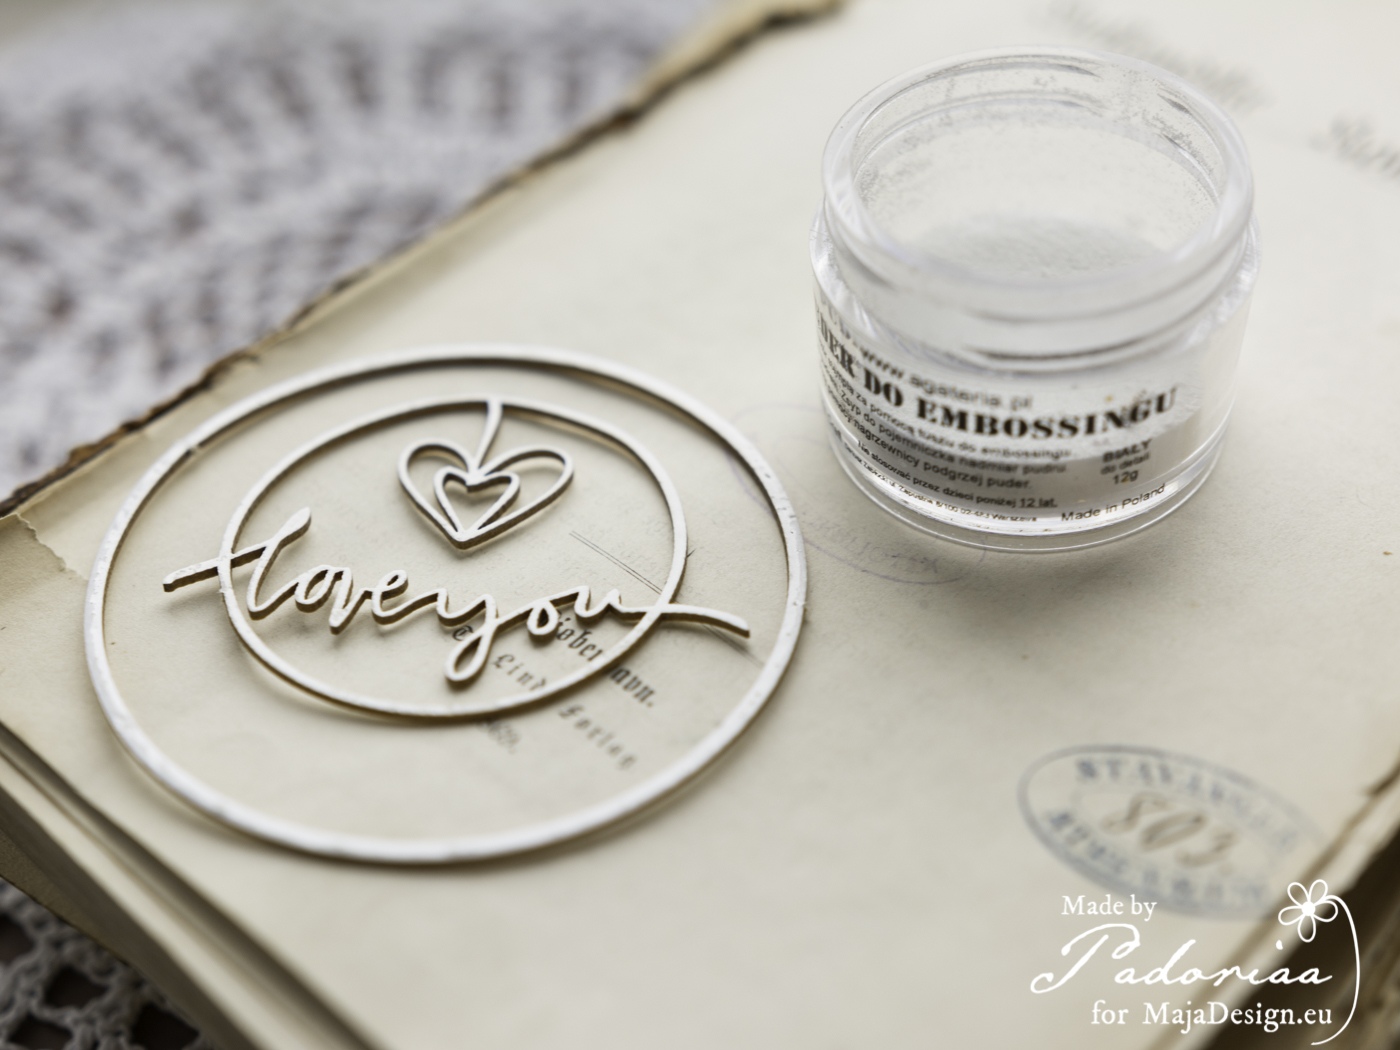
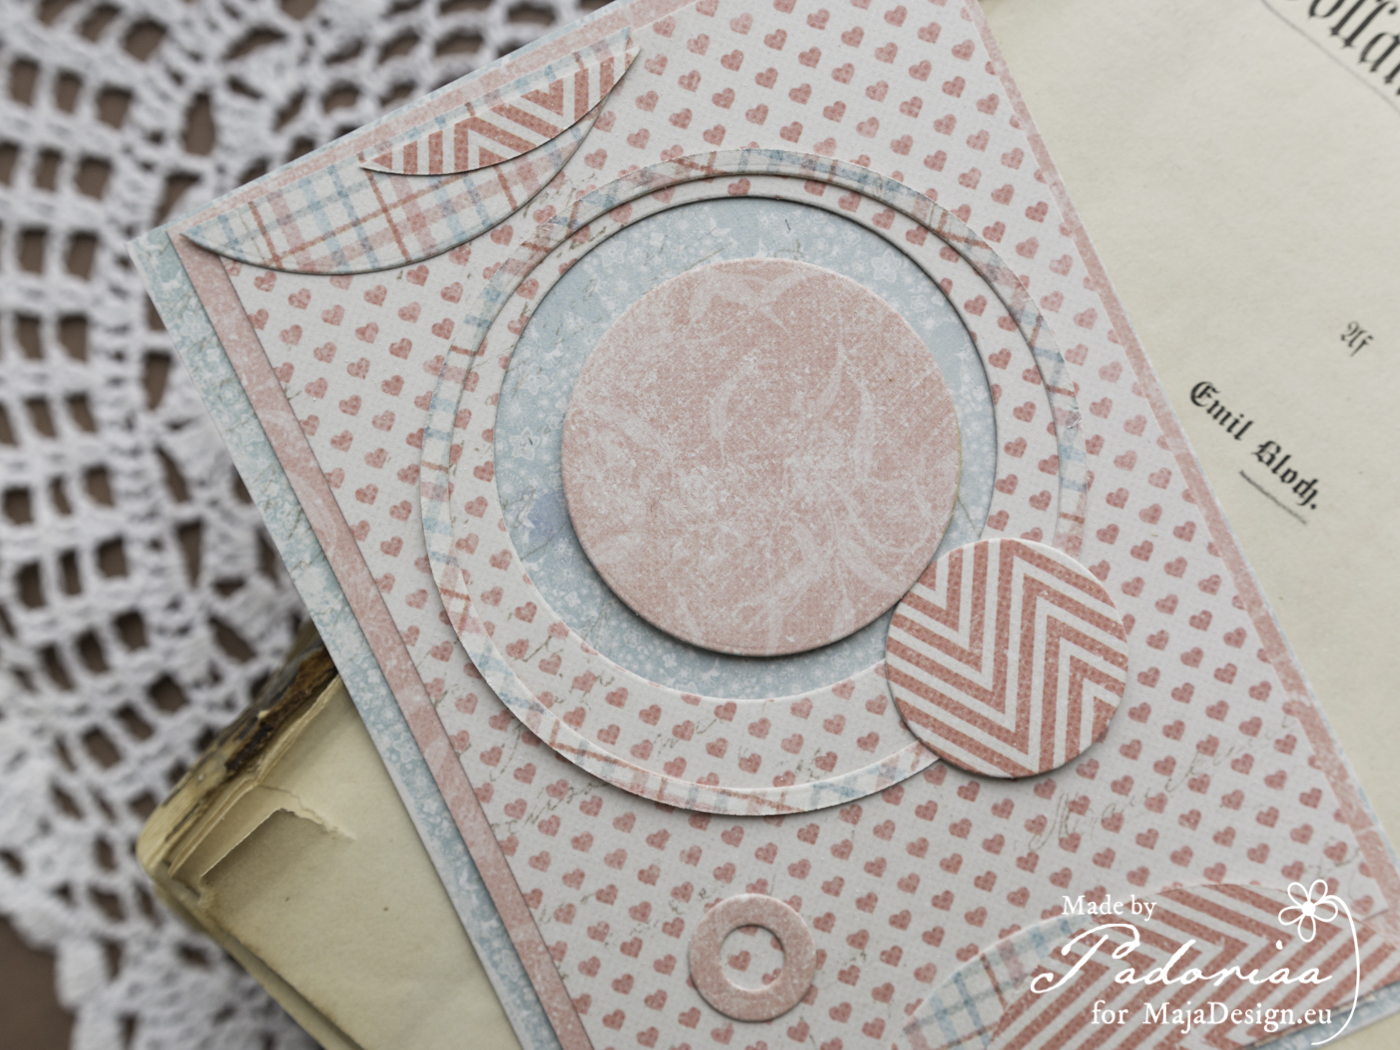
 5. If you like – find a simple add ons. Glue everything together and then add some white and black splashes.
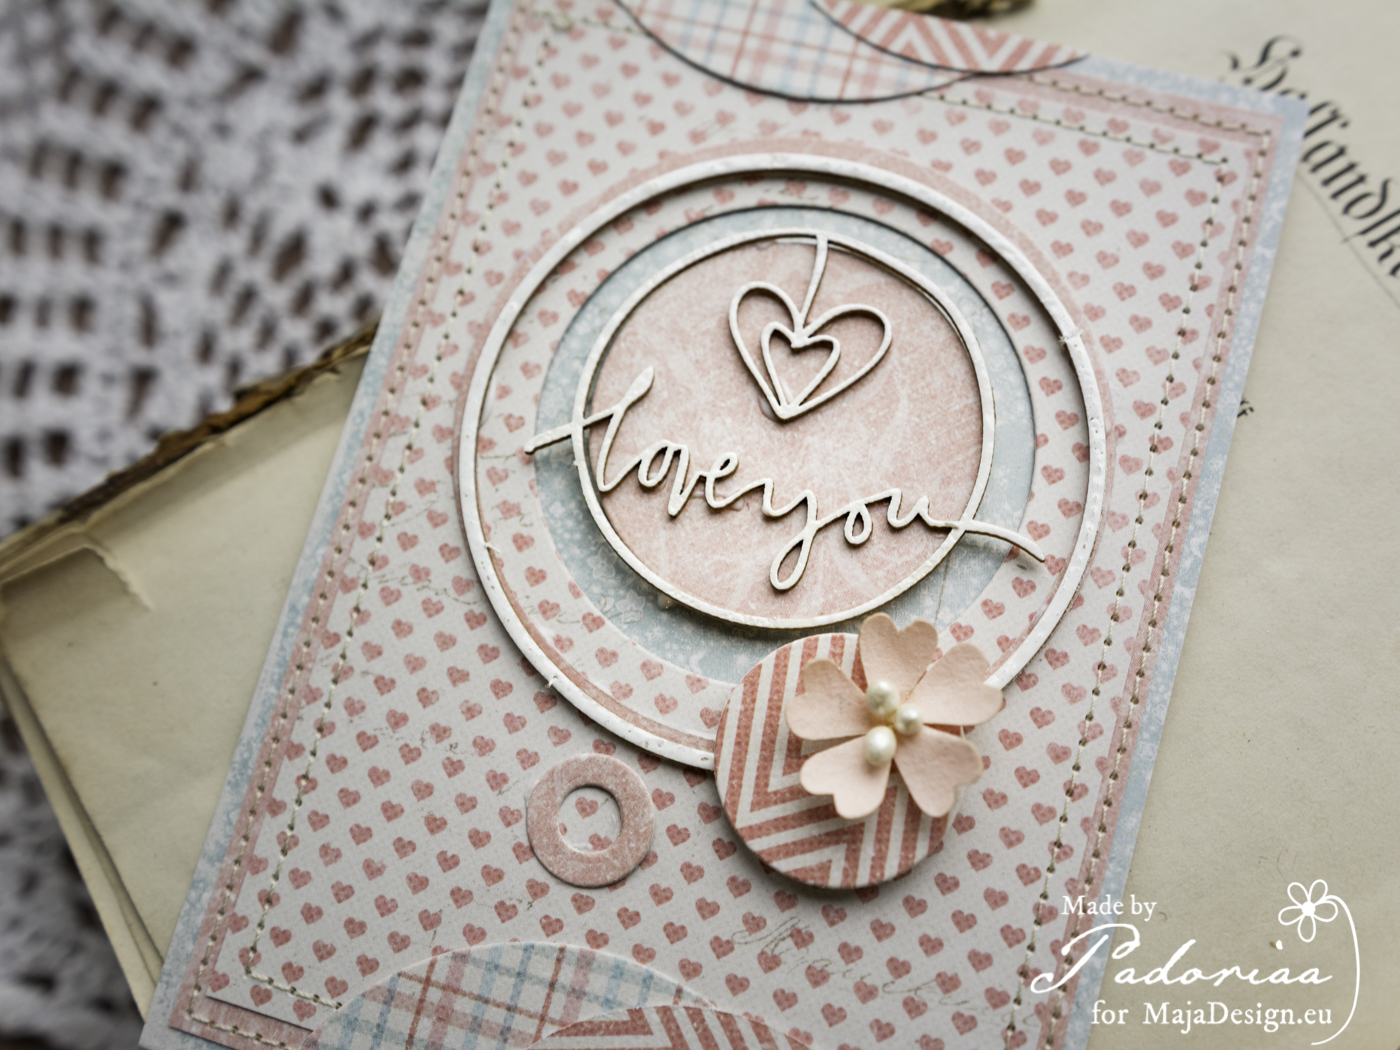

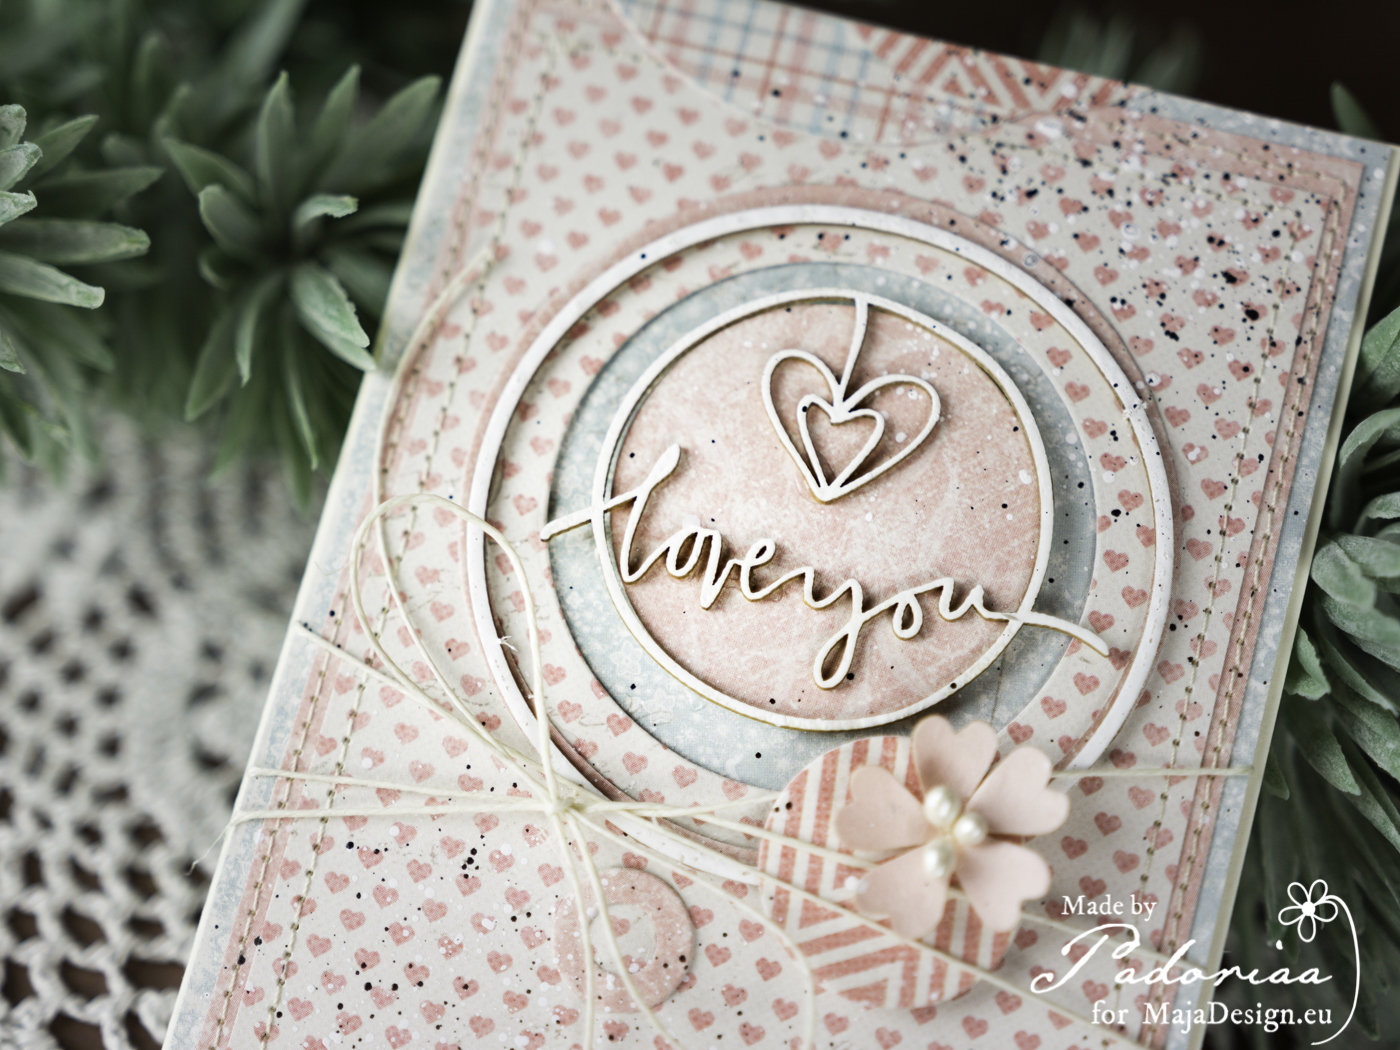
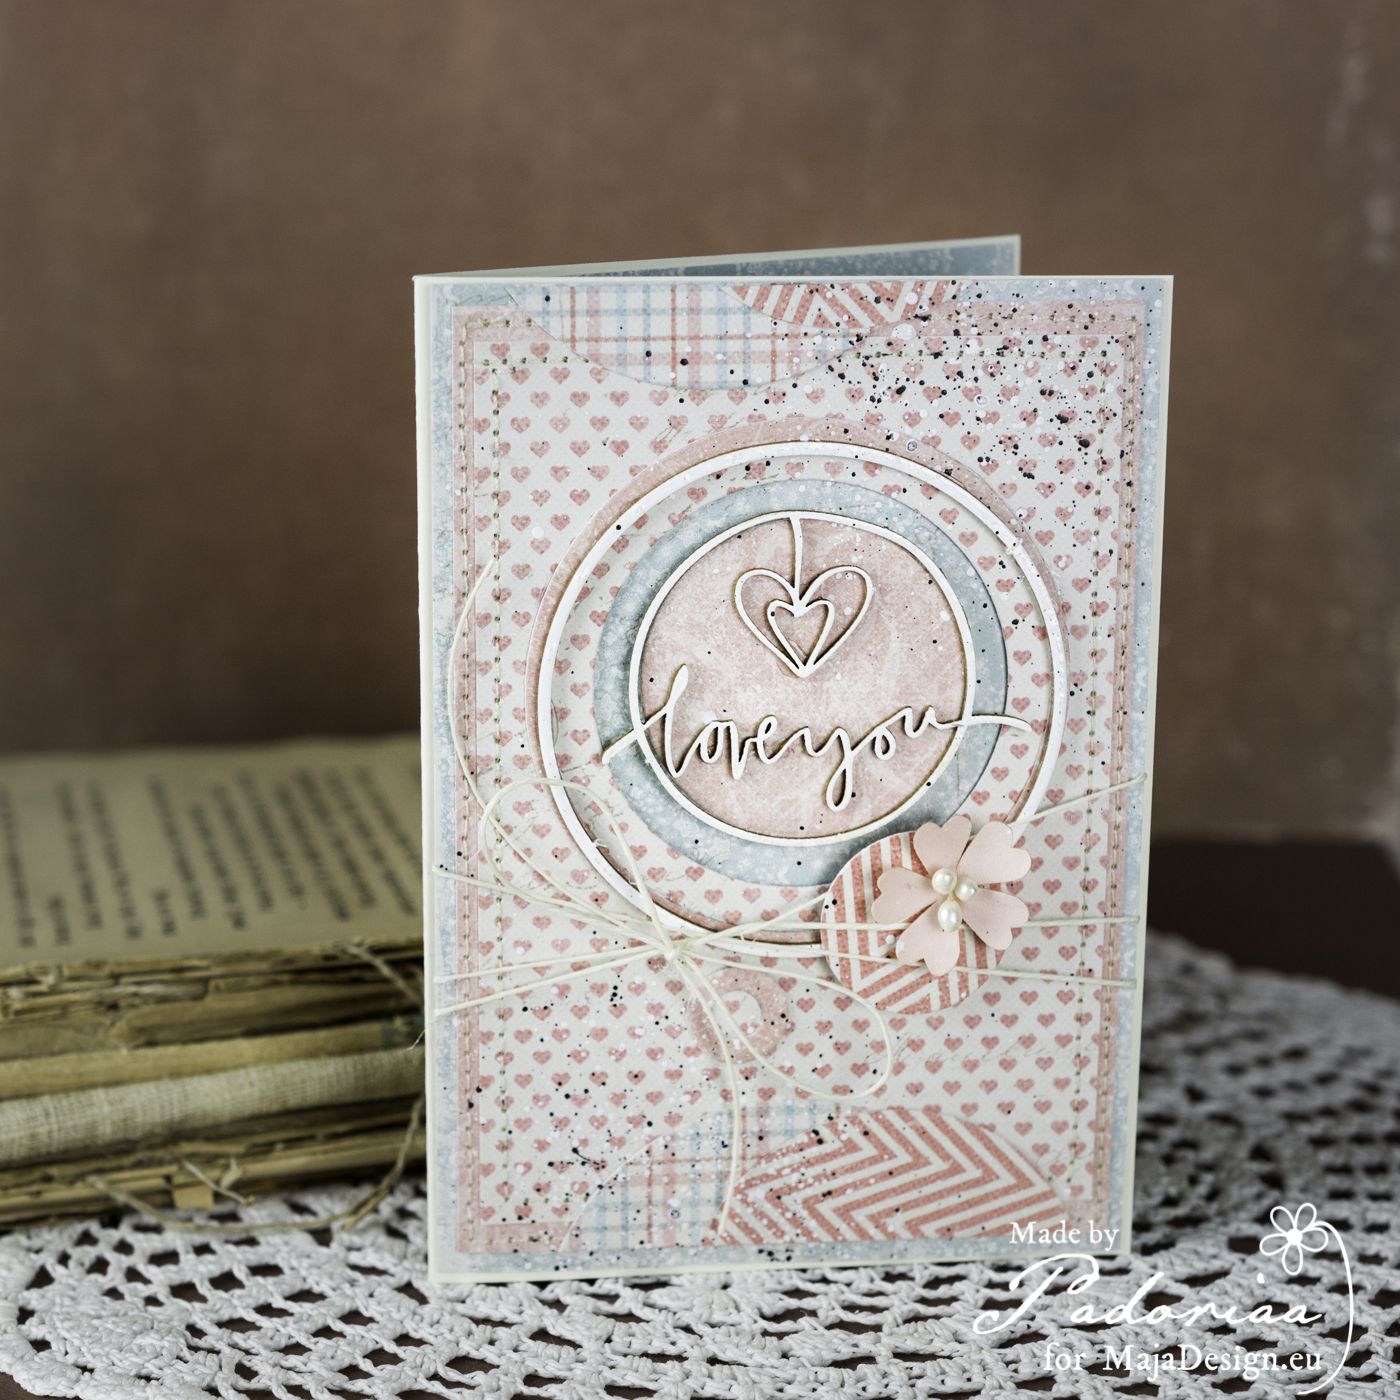

 Hope you will like my today’s inspiration. If you have any question – do not hesitate ask. Used chipboard came from Scrapiniec . Have a lovely day, Paulina