“My love for you” by Tina Ollett

1

Posted by Tina Ollett

23 December, 2020 - ,

Write a comment
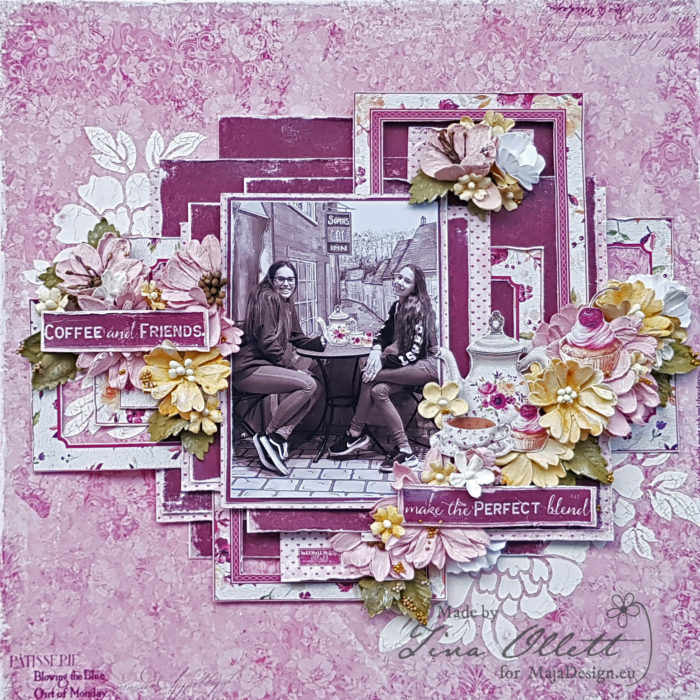
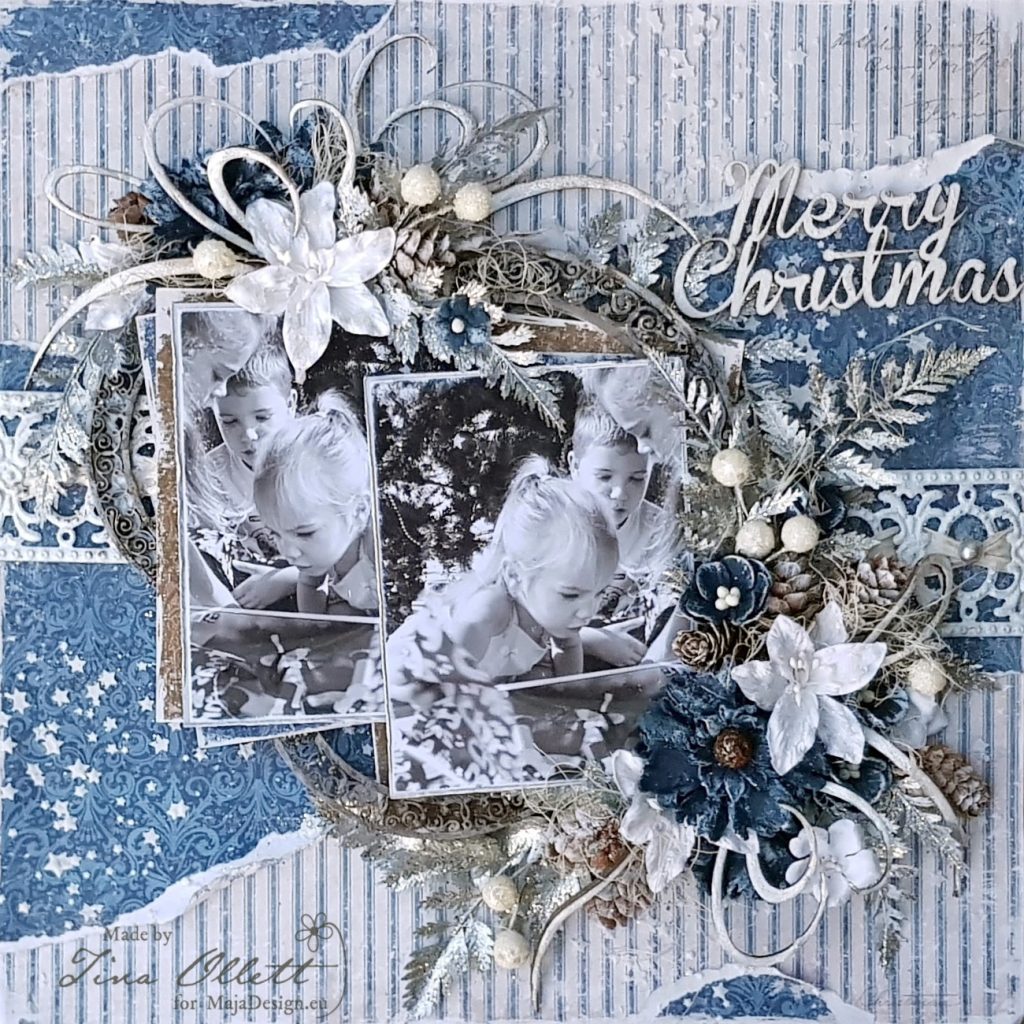
Hello Maja Design friends. Thankyou for returning here today. My project I am sharing with you uses the gorgeous gorgeous collection of Miles Apart.
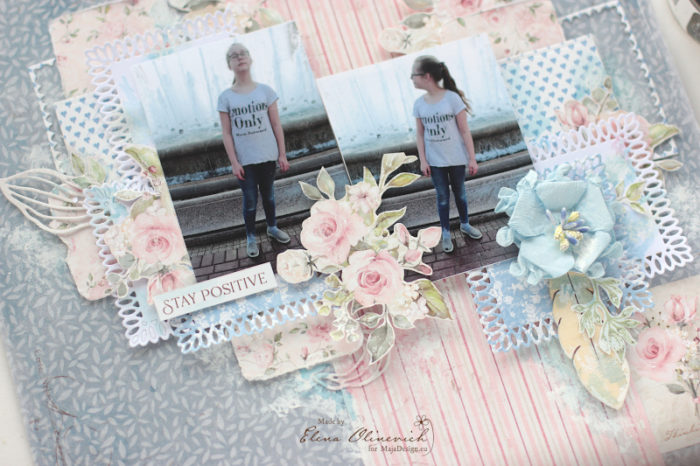
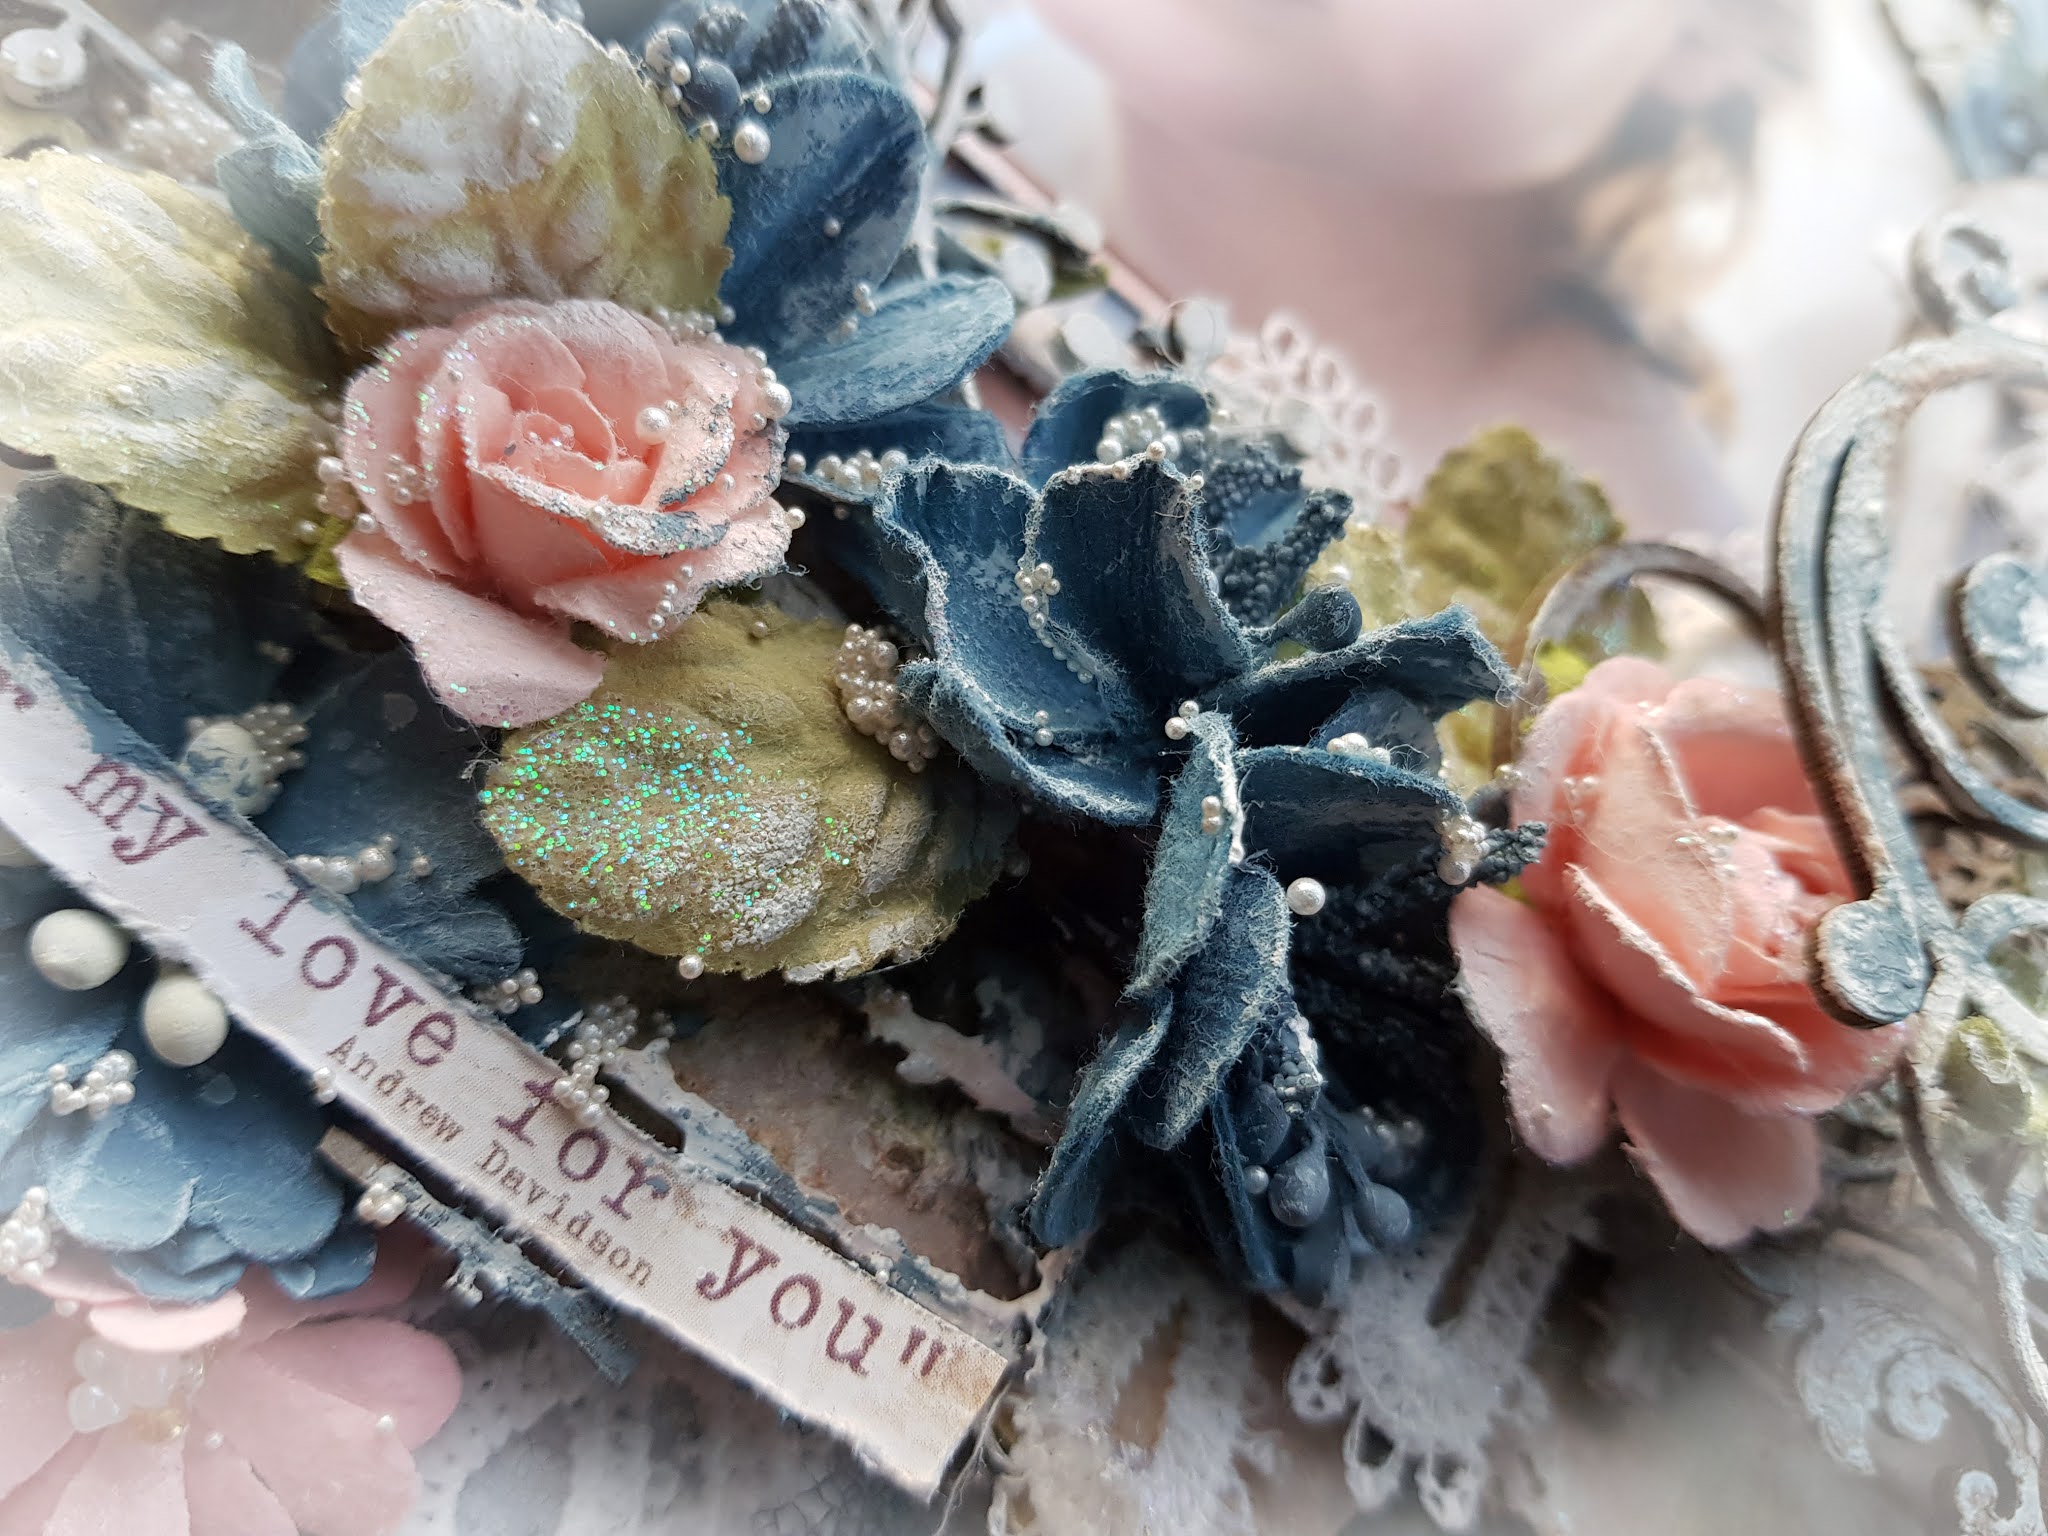
This is  “My love for you”….
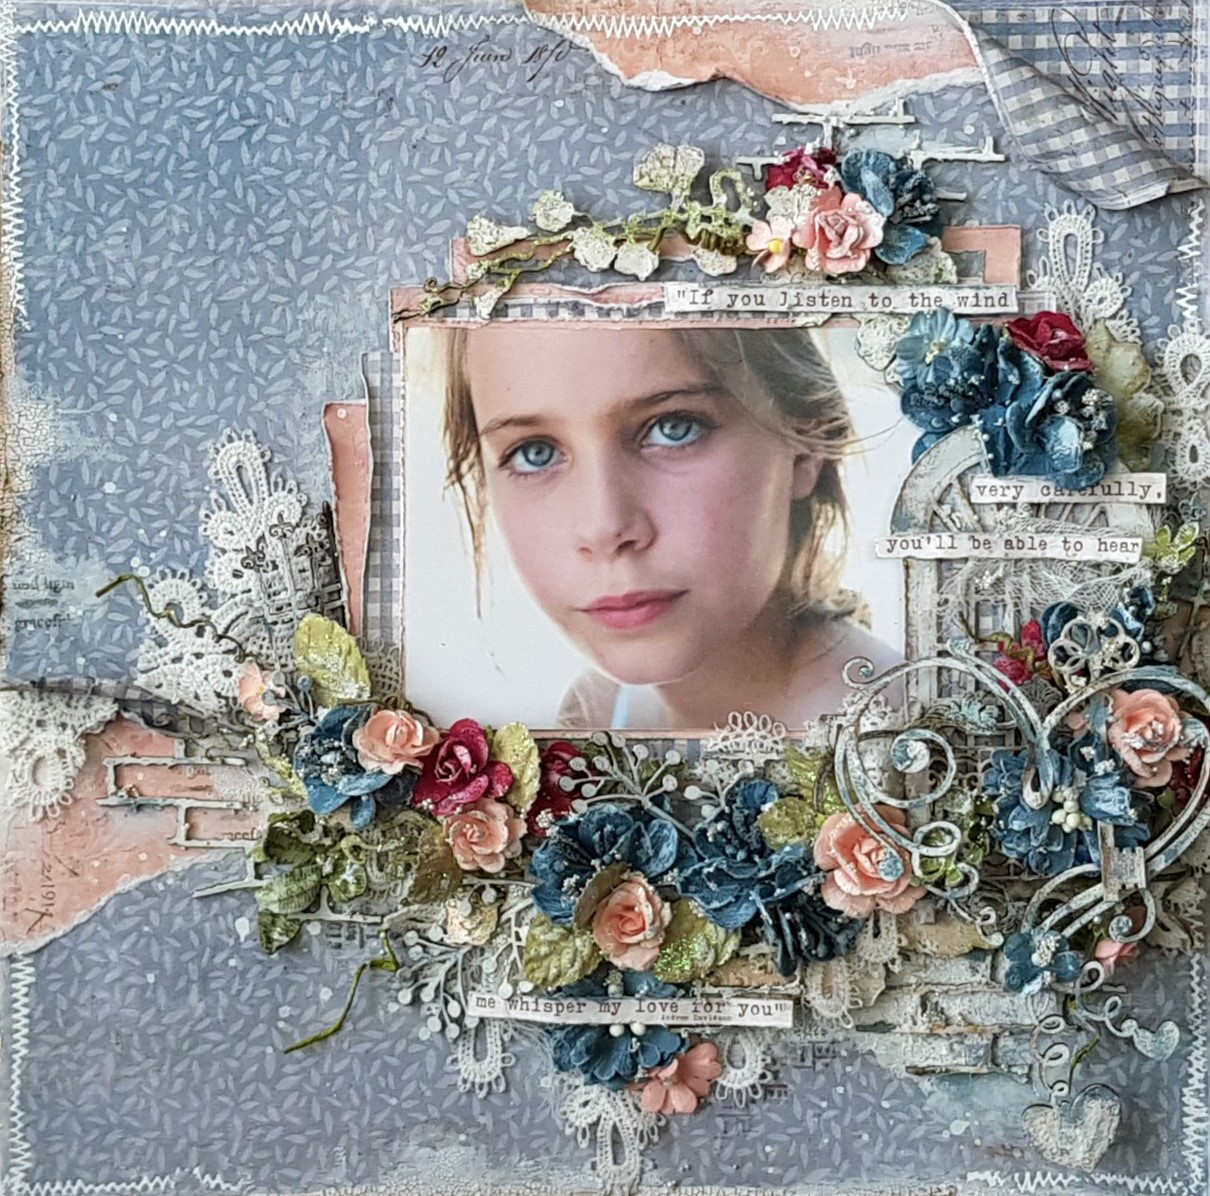
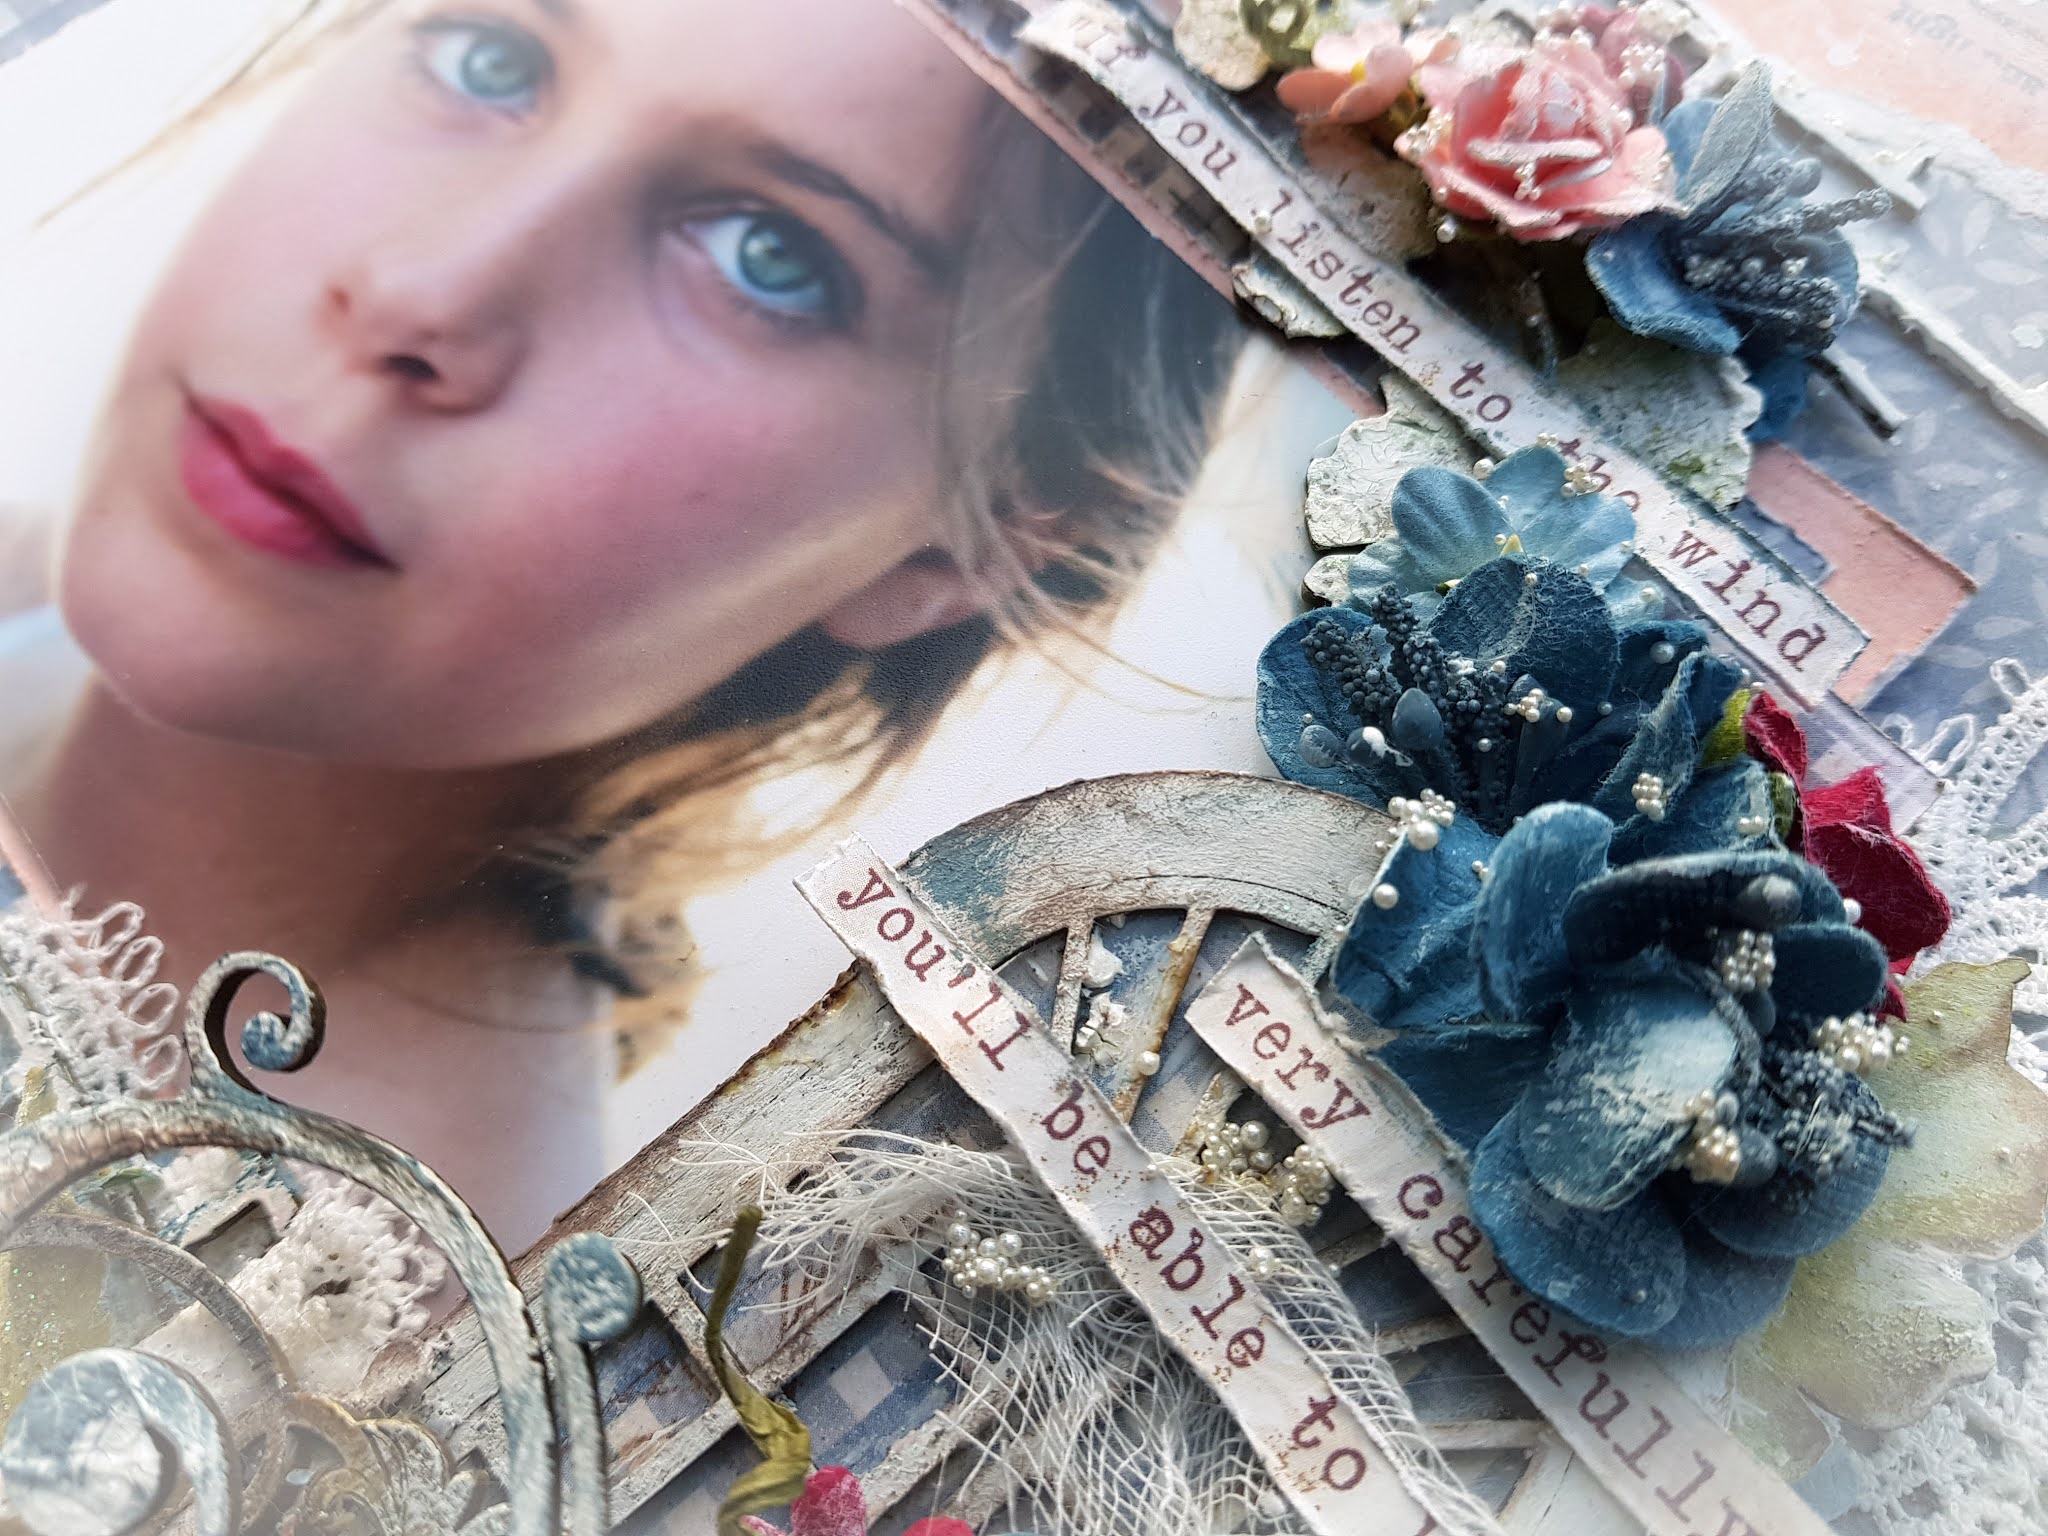
It was when I was going through the absolutely stunning paper collection of Maja Design’s new release “Miles Apart” that I came across a quote from the barcode strip of “Keep in touch”, that I knew this was my starting point.
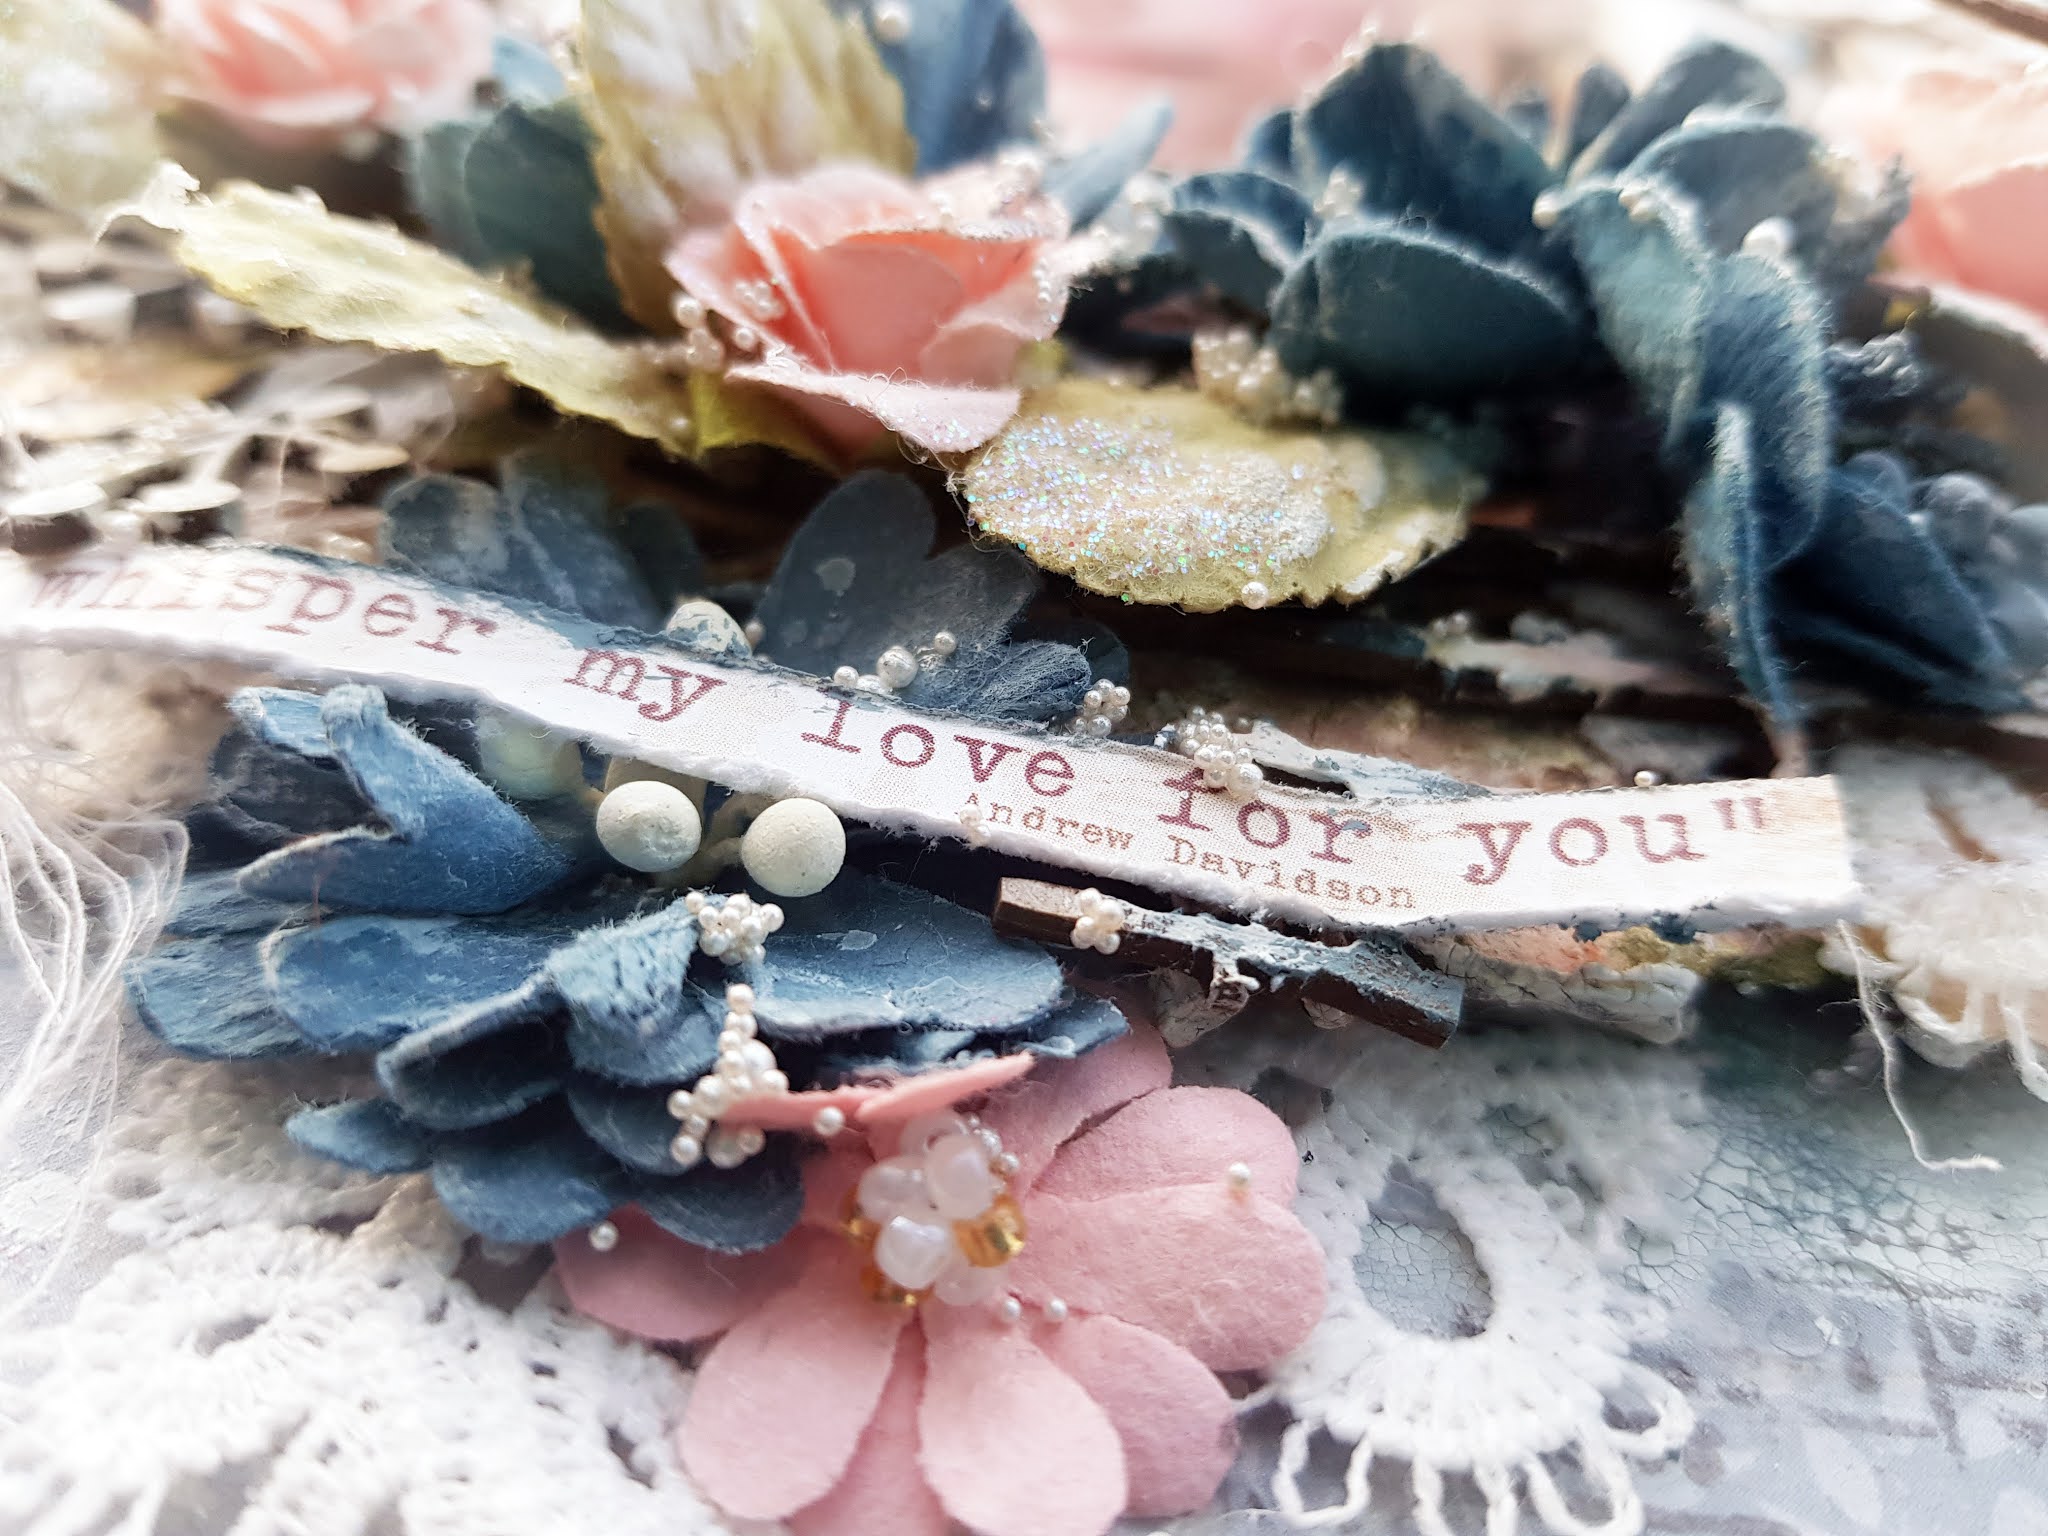
The quote reads:
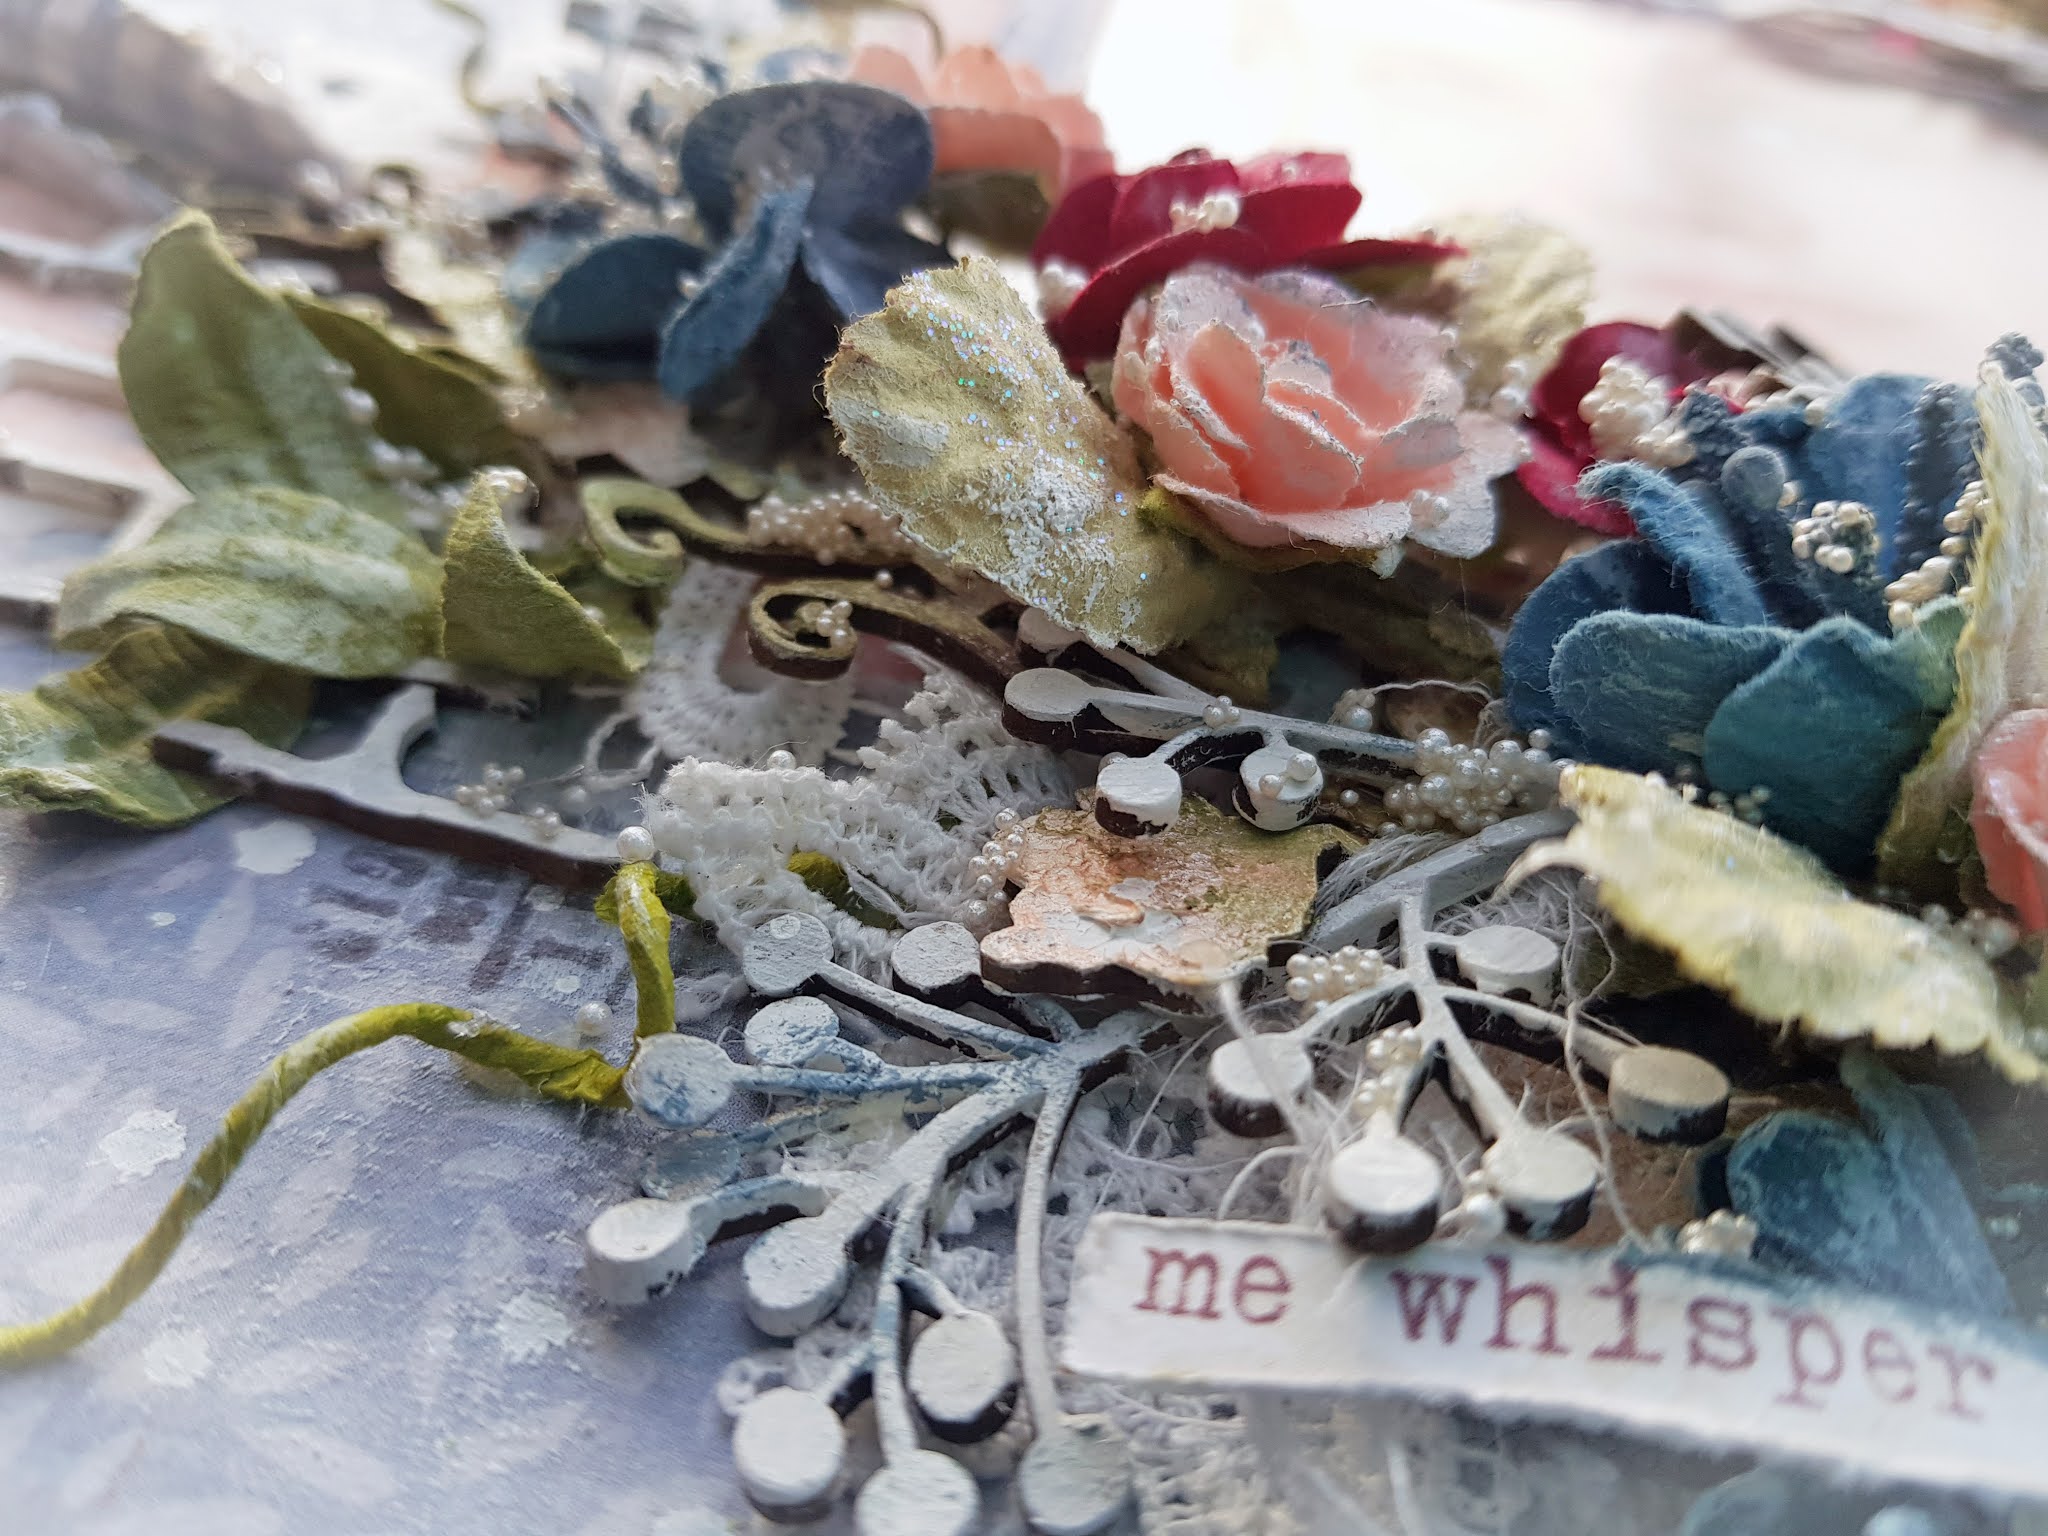
“If you listen to the wind very carefully, you’ll be able to hear me whisper my love for you”.
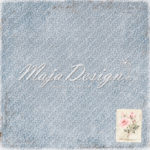
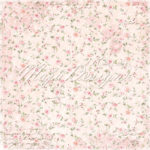
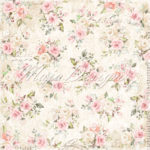
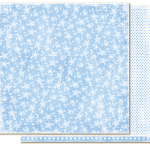
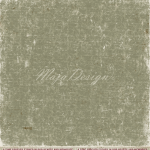
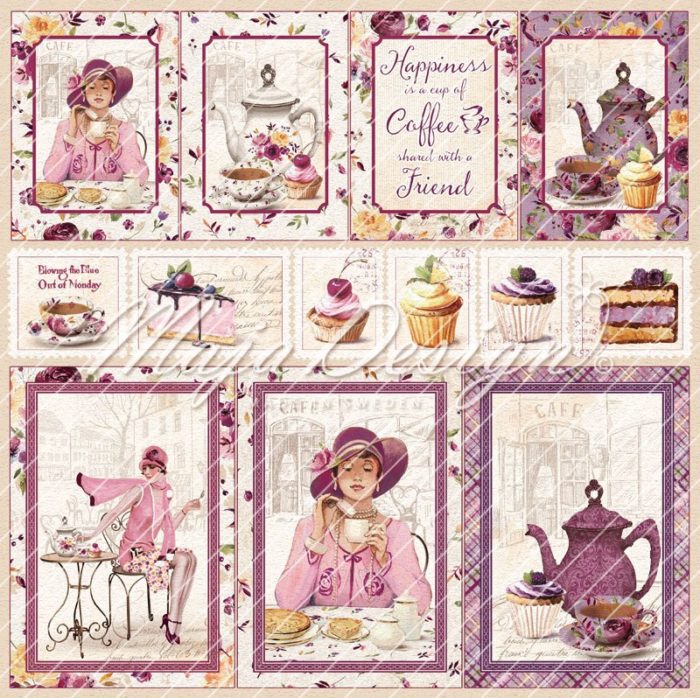
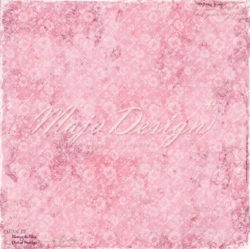
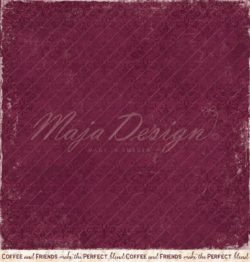
Just beautiful don’t you think? So I found my photo to work with this and went to work. I made lots of layers using torn papers from the Maja collection in the tones of the blues and apricot as in the moodboard below. I couldn’t believe really how close these colours were.


They are as listed below.


Keep in touch “A”
“Keep in touch “B”


“Keeping Busy” “A”


 “Keeping Busy” “B”

  
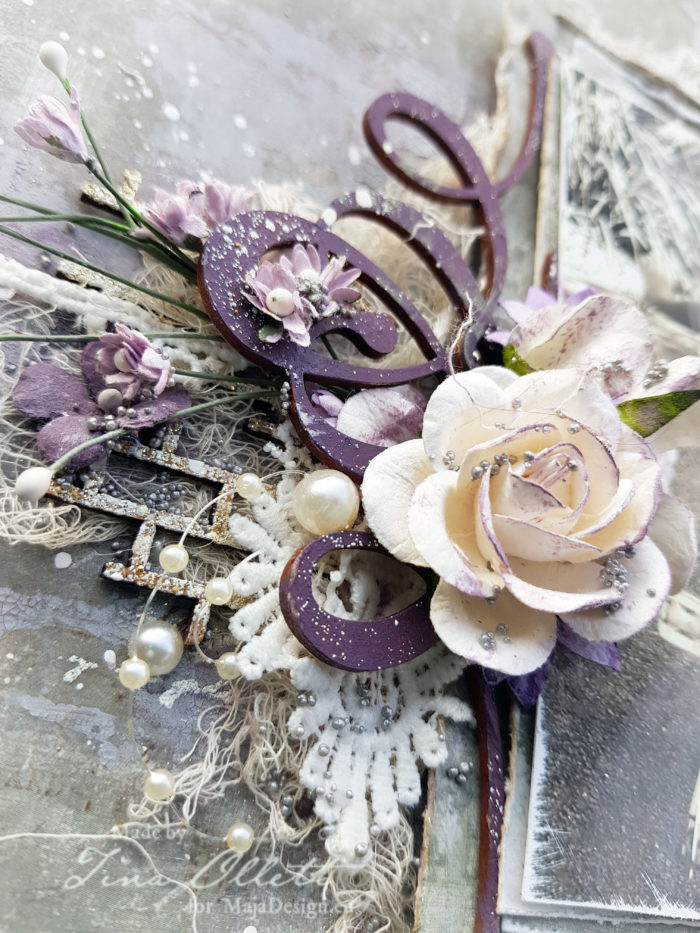
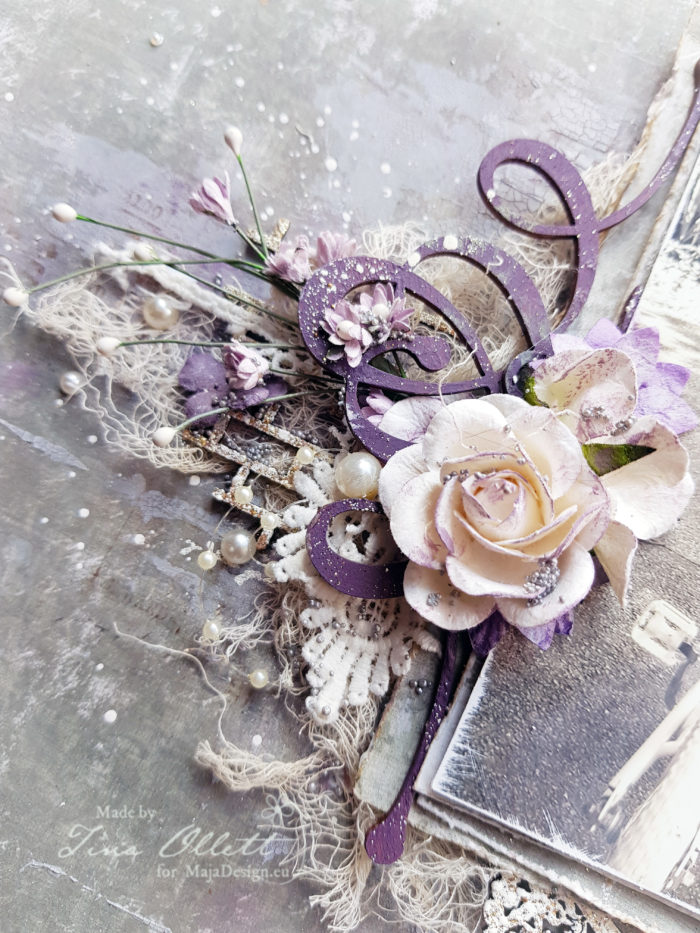
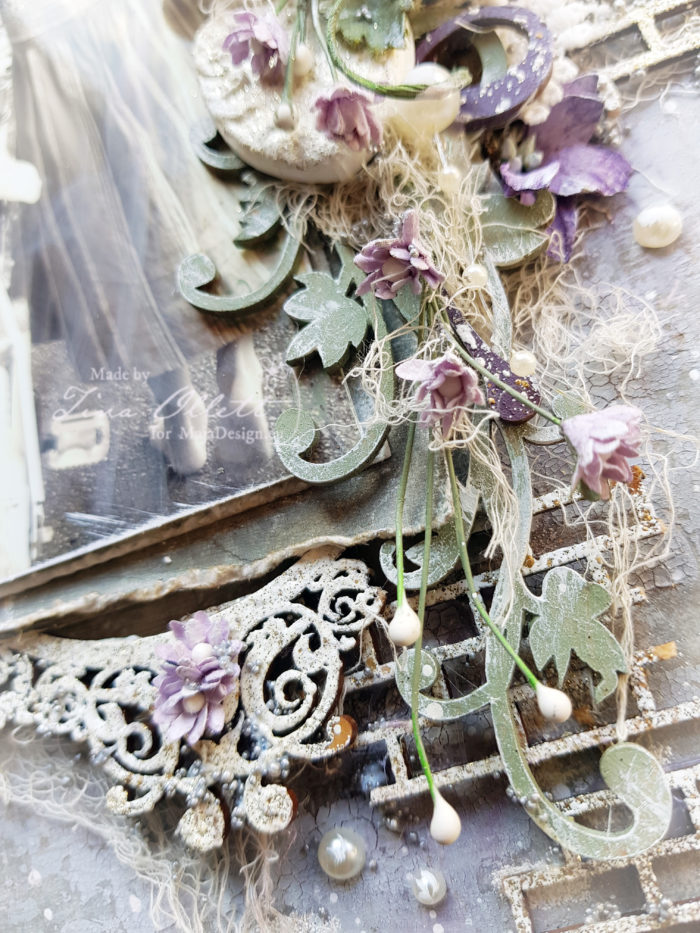
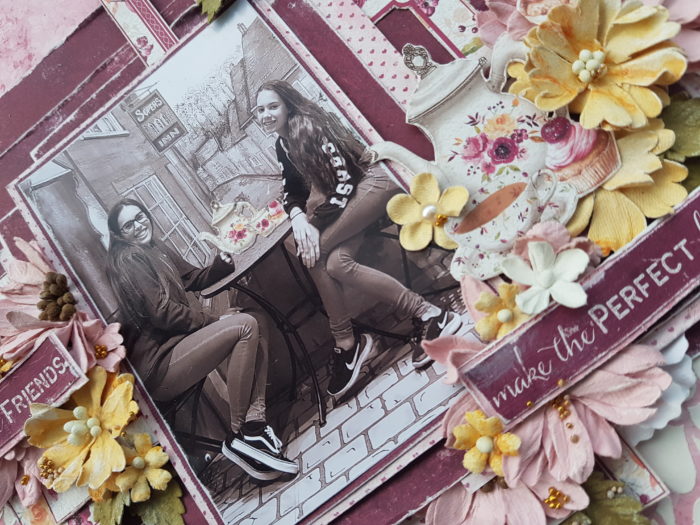
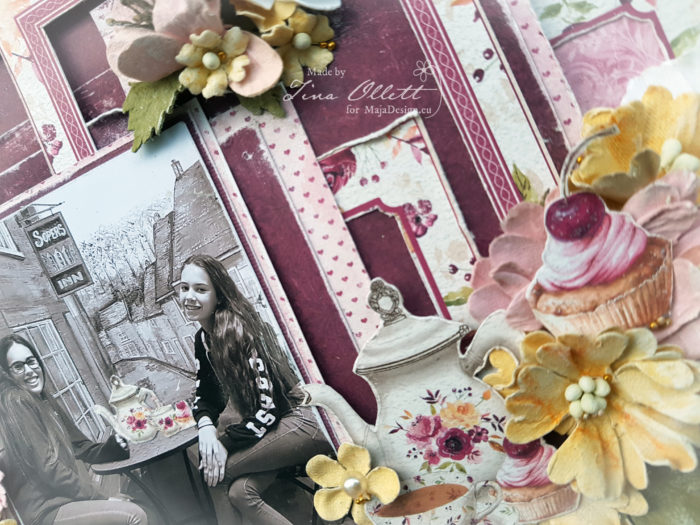
I did a little embossing in white around the outside of the background using a stitching stamp from 49andMarket. I also added in some texture using Rangers White Crackle paste and some random stamping in Archival Ink in Watering Can. The barstrip with the quote was cut up and distressed.
 
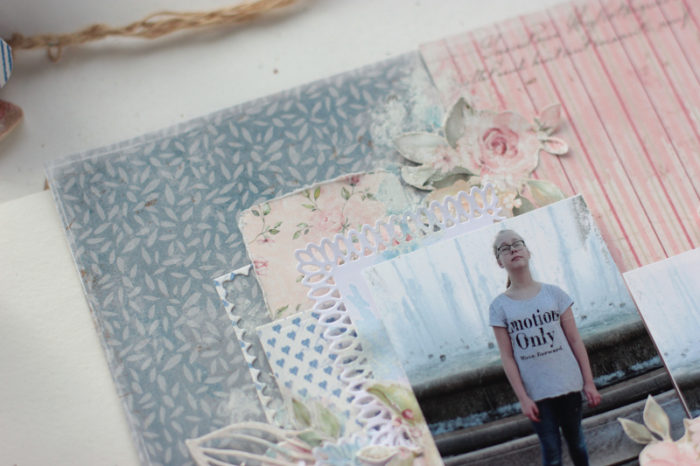
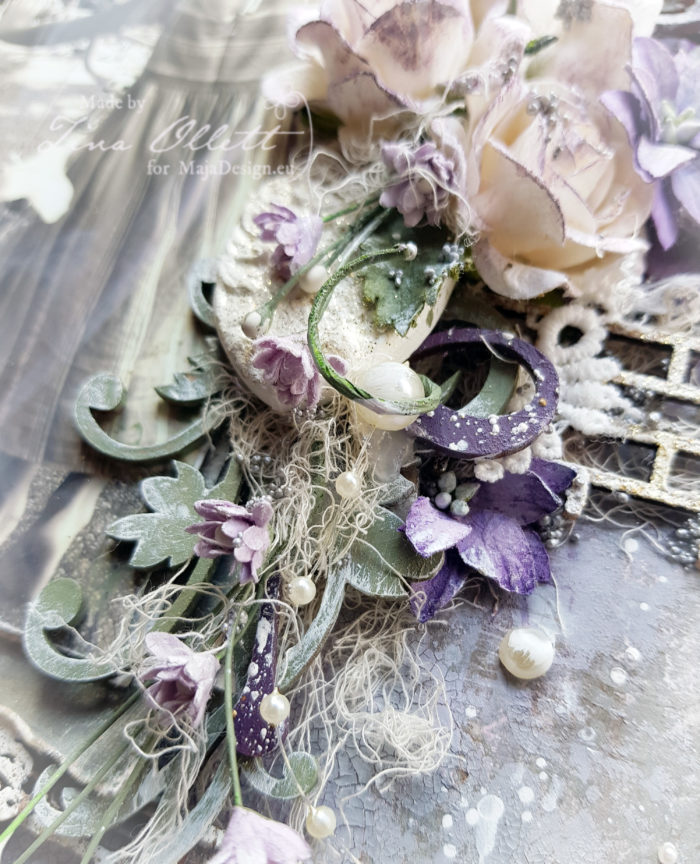
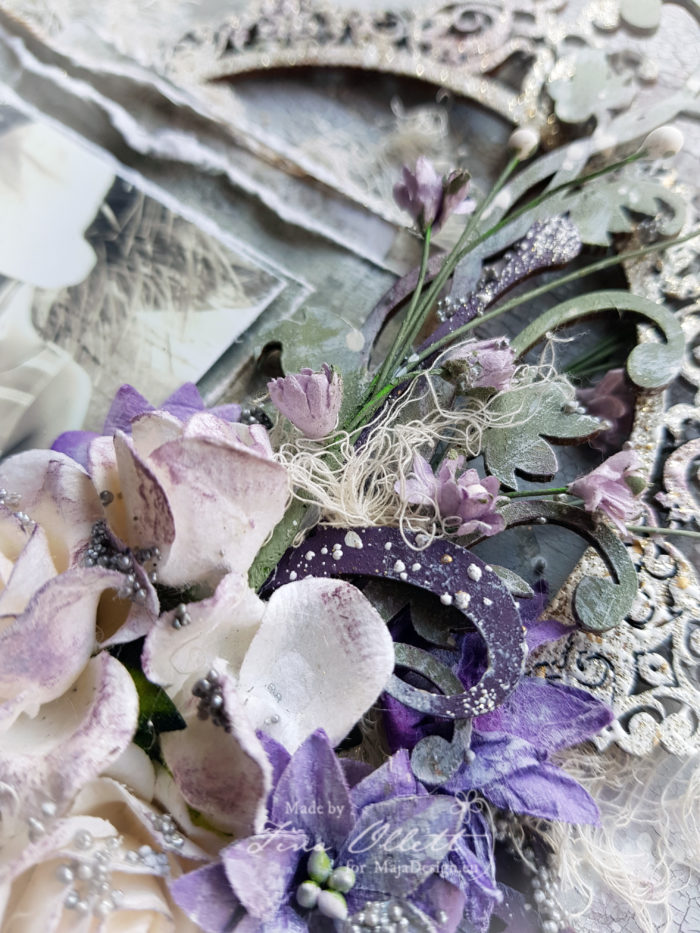
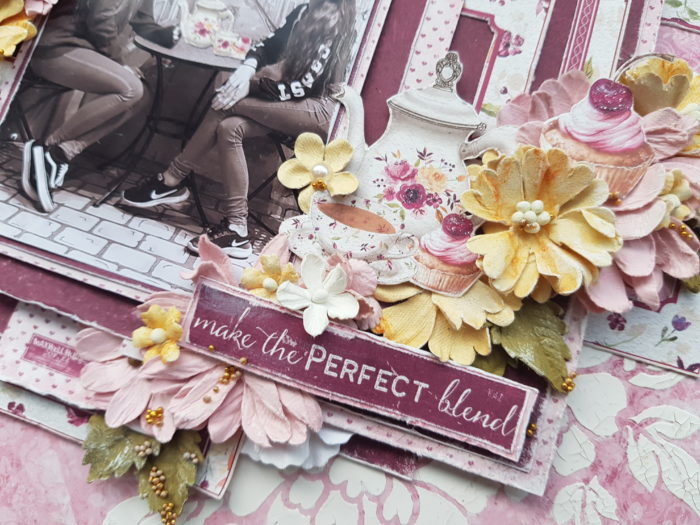
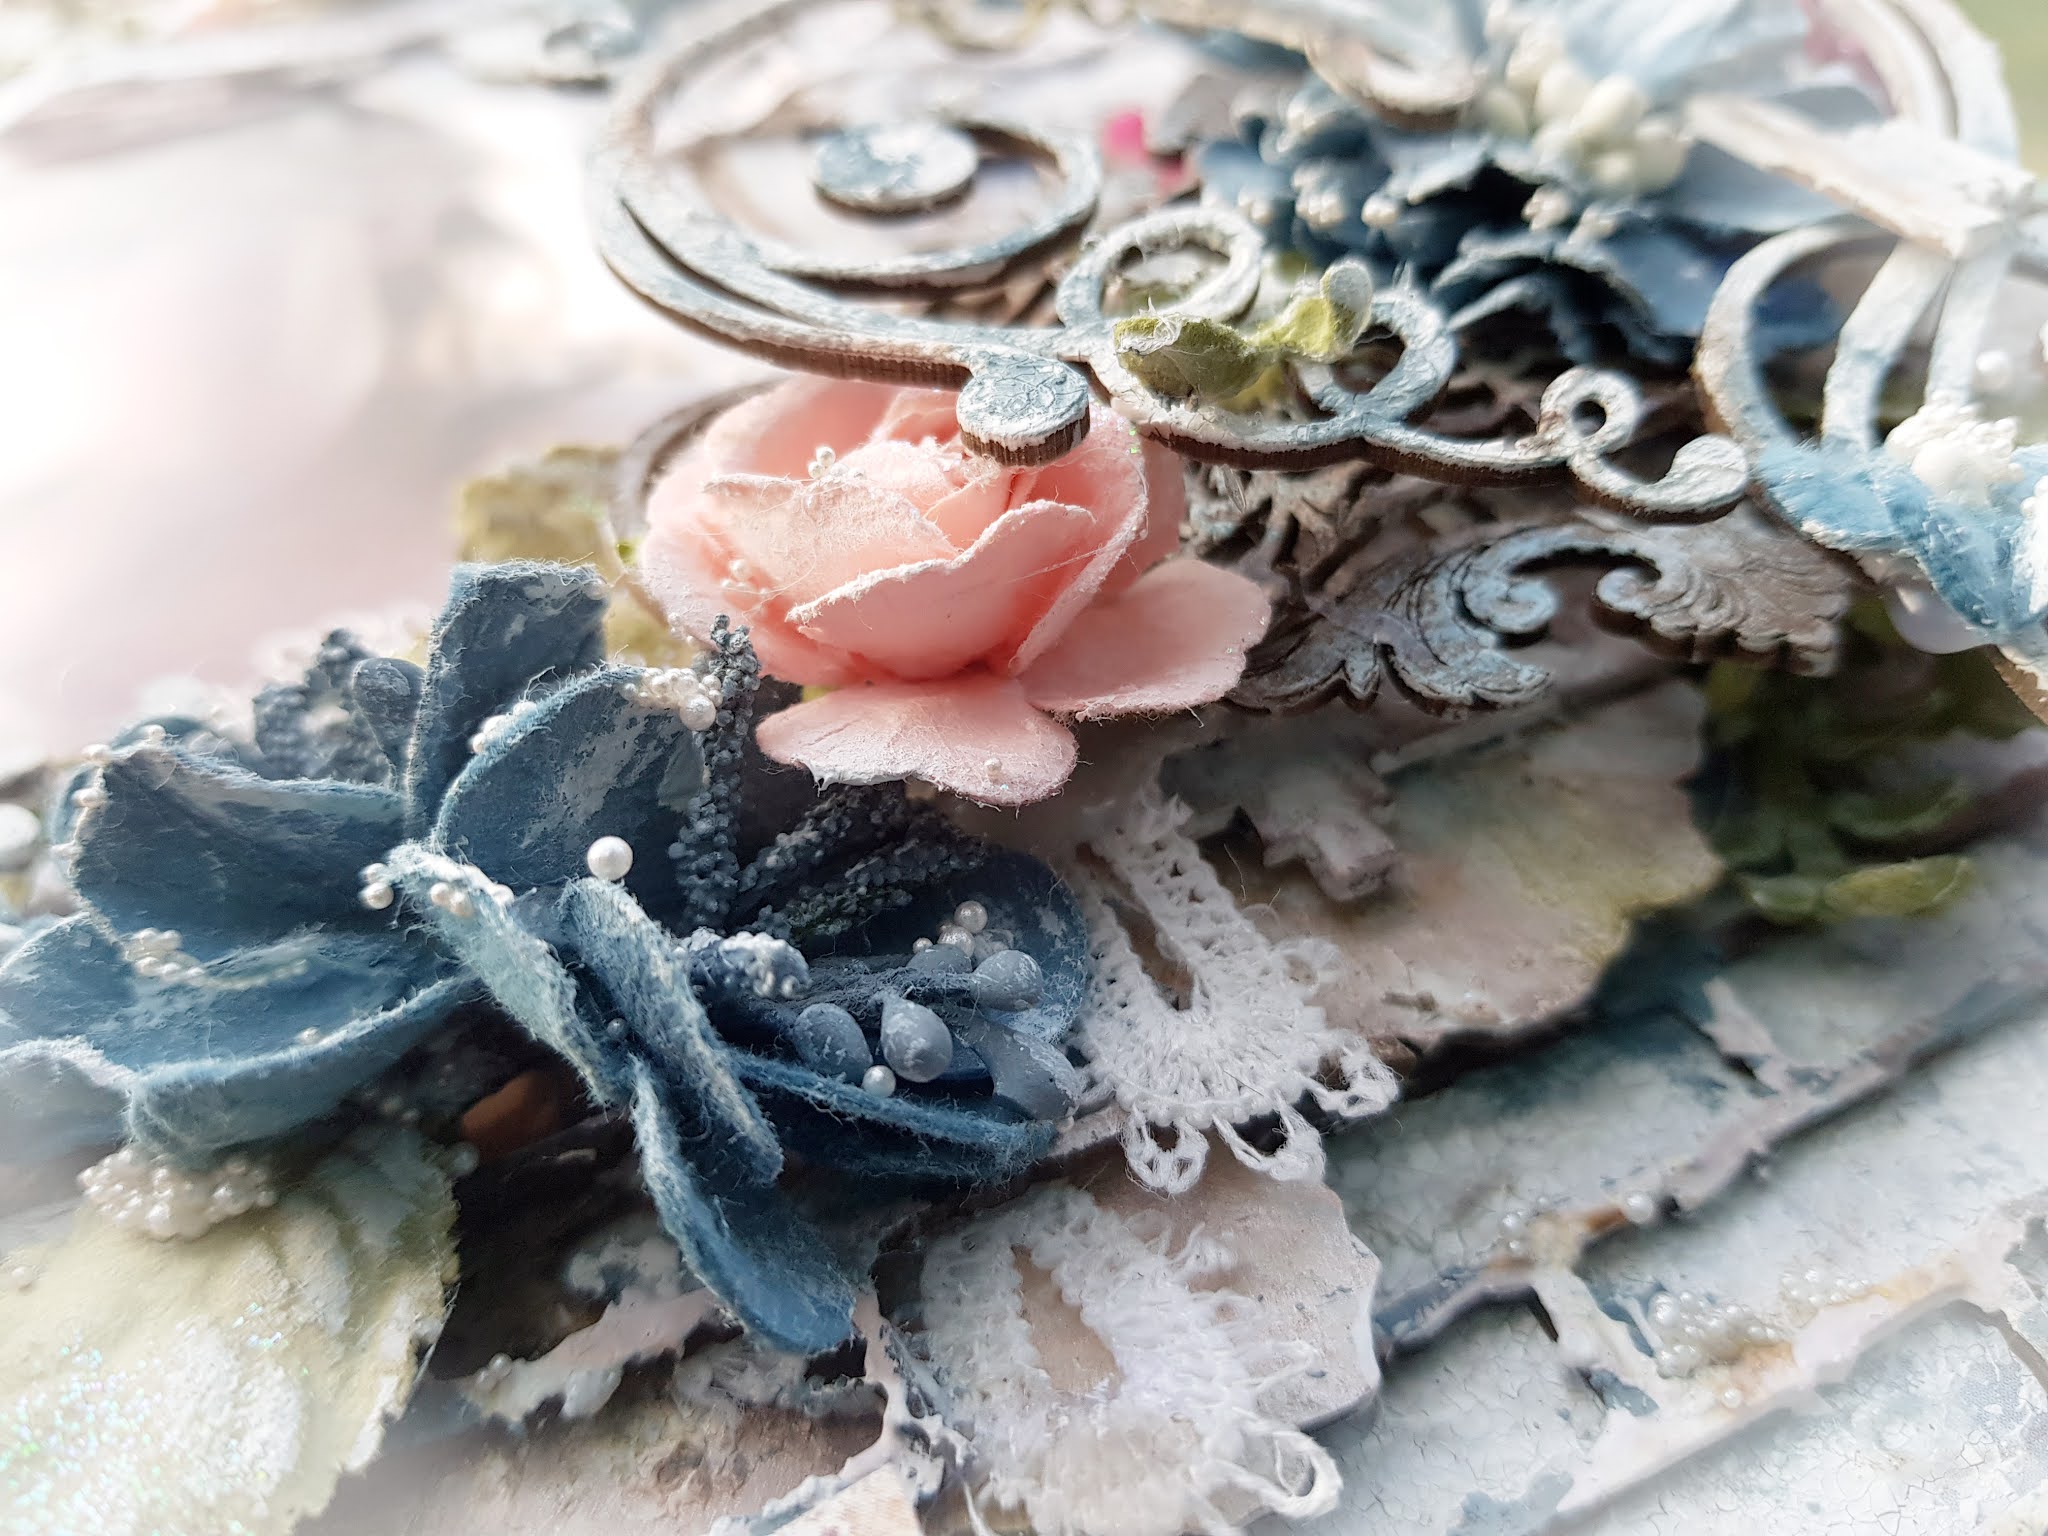
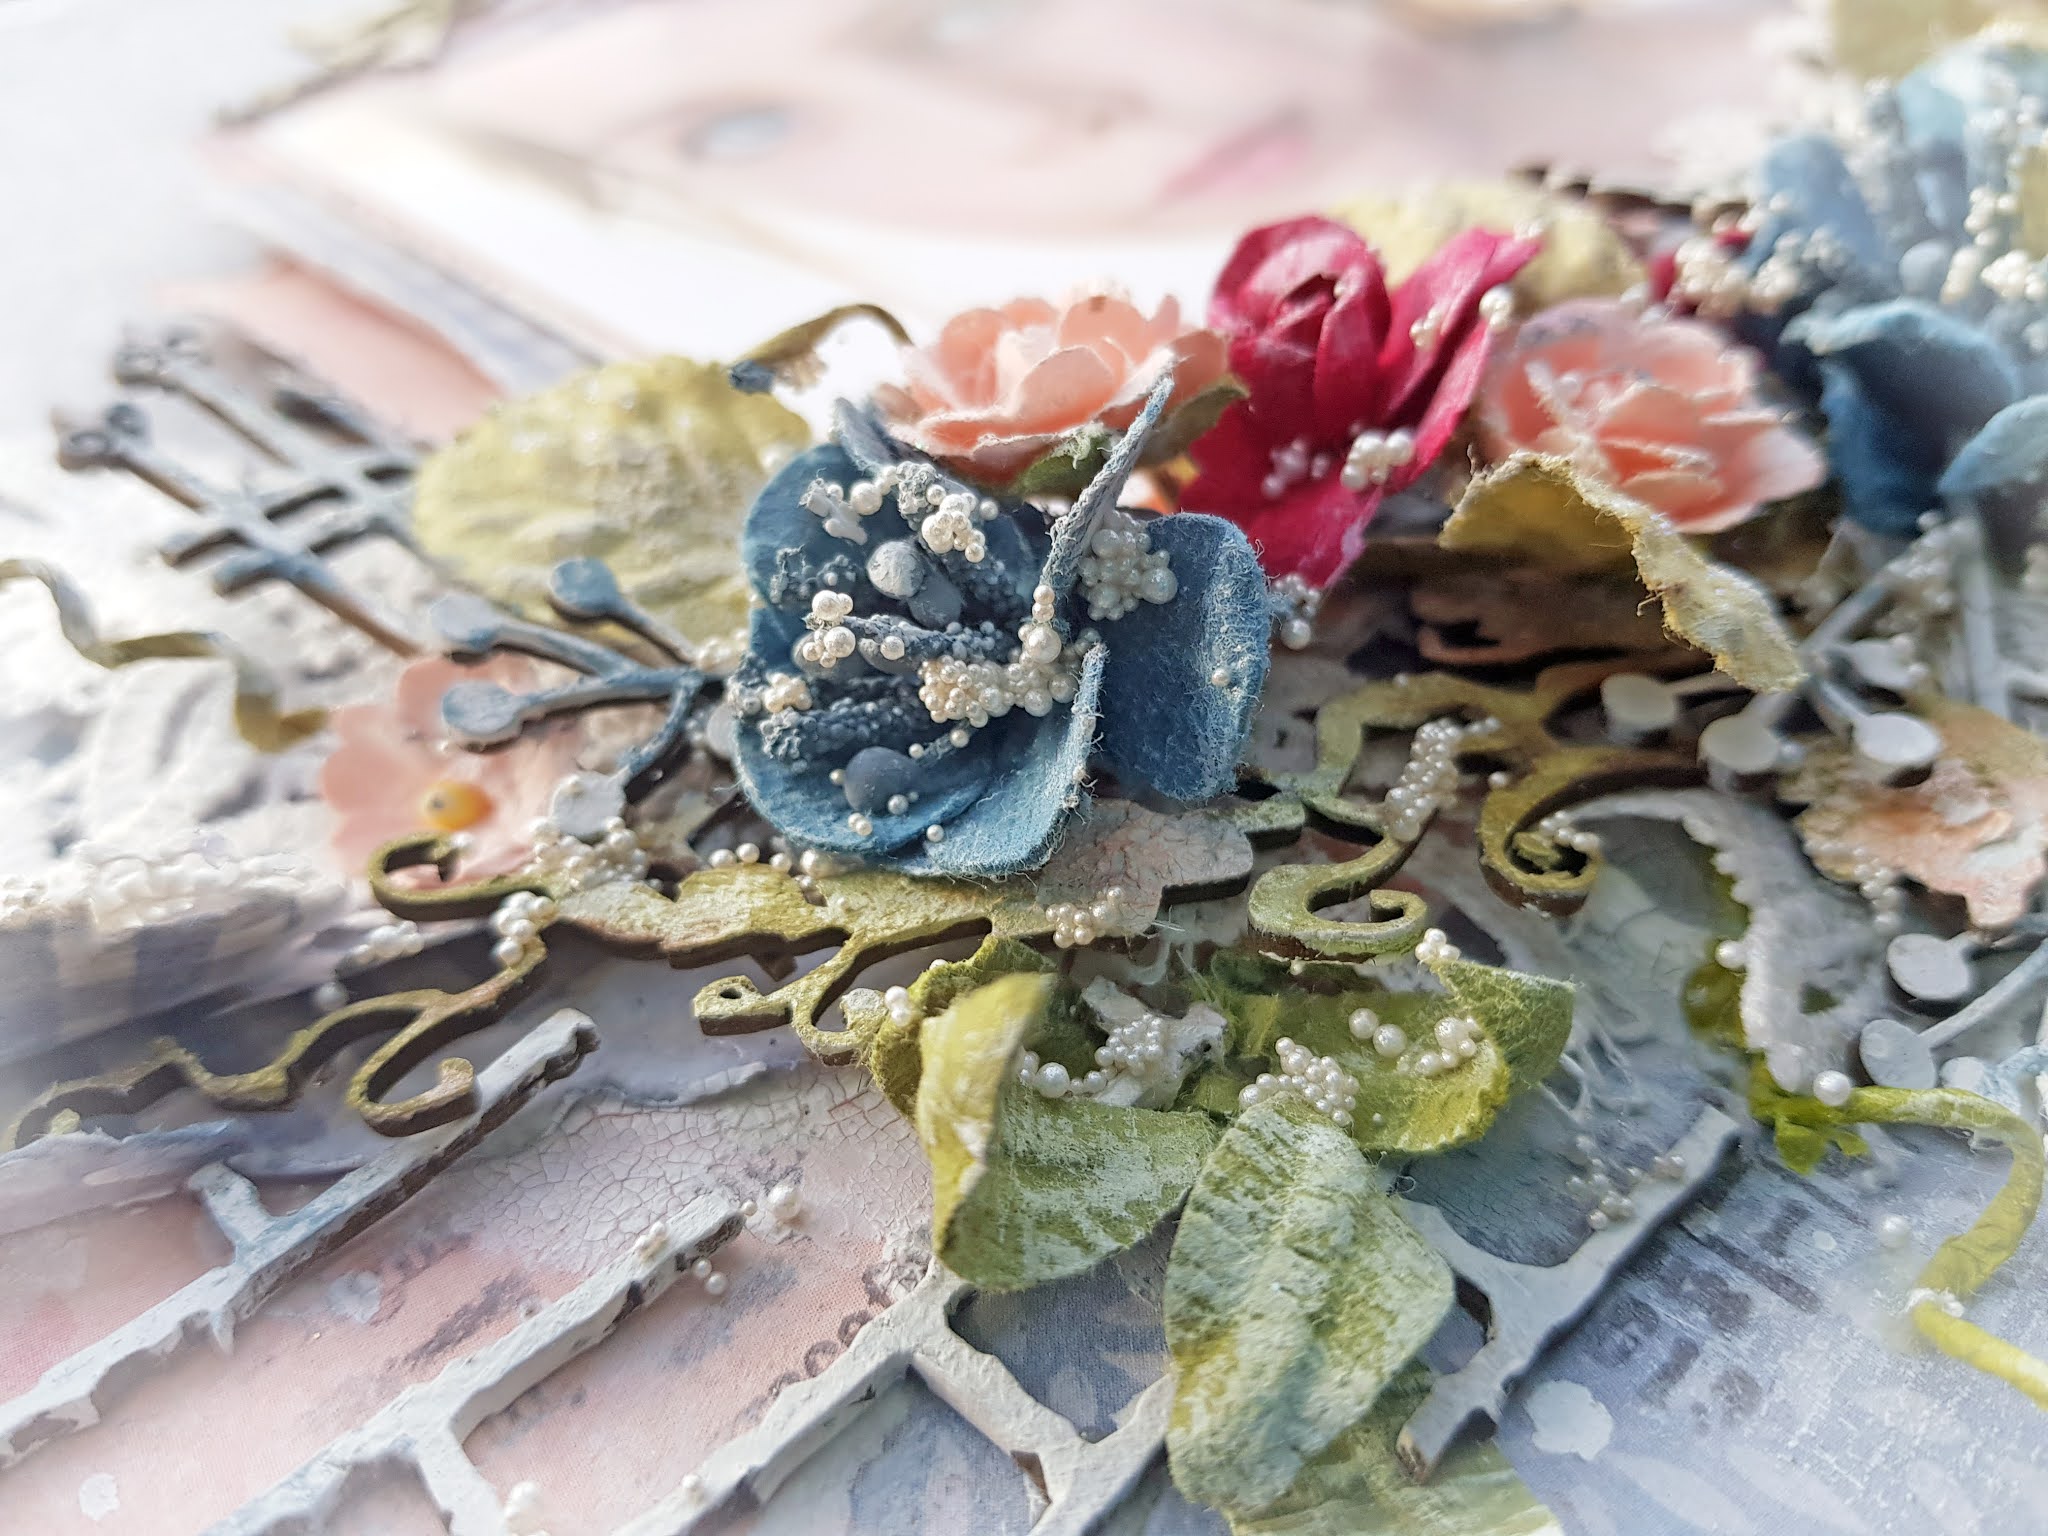
I used a number of gorgeous pieces of Dusty Chipboards some you will probably have to look very hard to see but they are there. For me it is all about the layers. So starting off once all my paper layers were down I added in the new release chipboard the “Flowering Vine”. I have used the smaller vine from this pack. It was dressed in white crackle paste along with Inka Golds in the colours of mint and apricot.

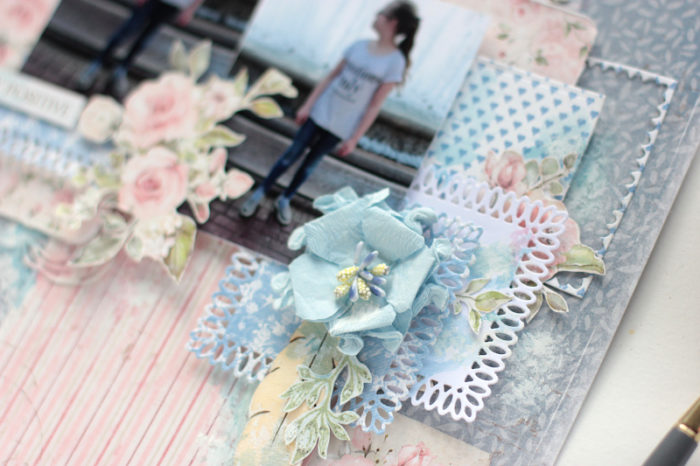
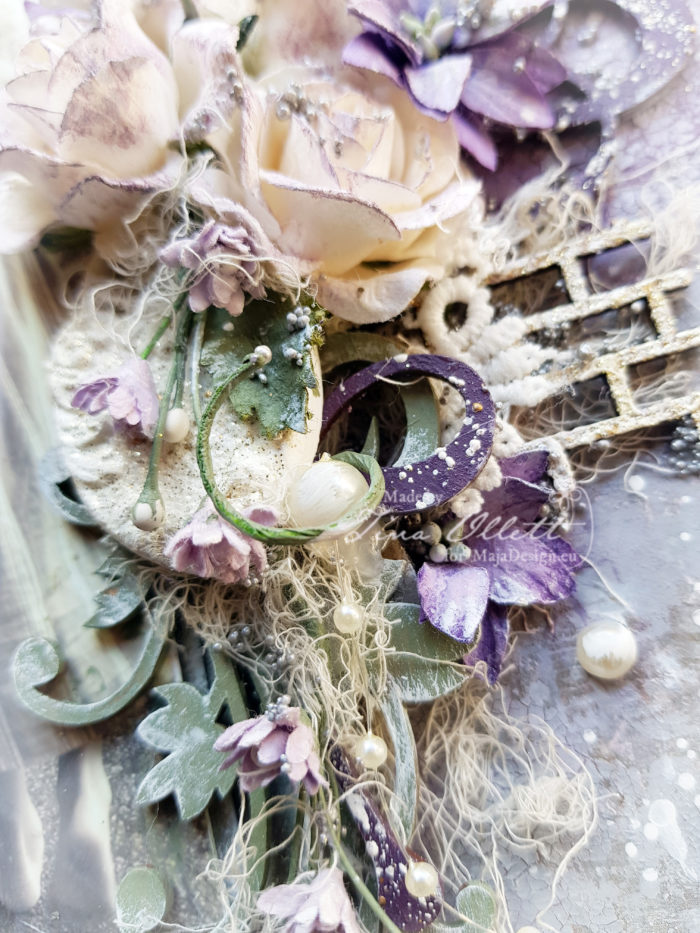
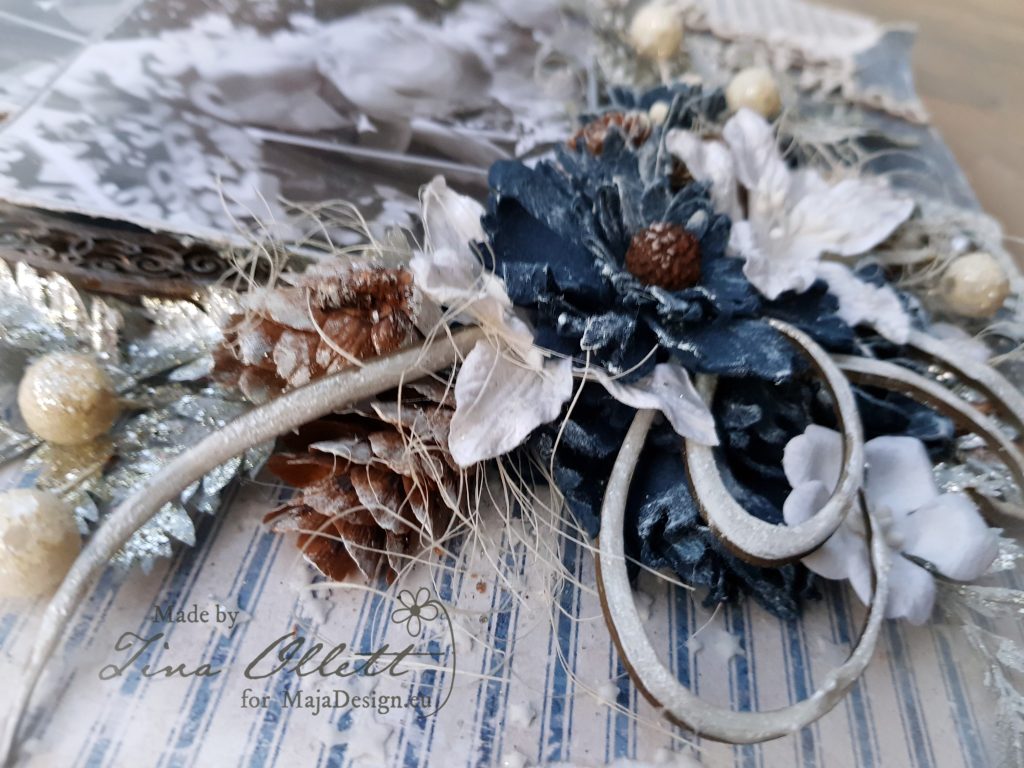
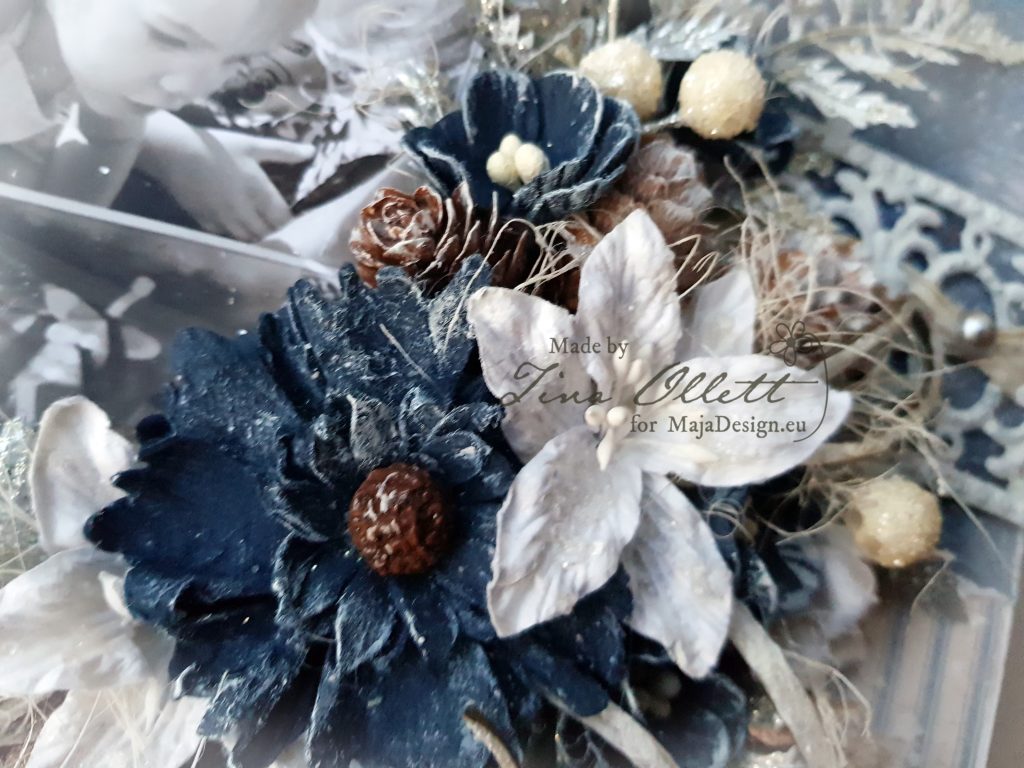
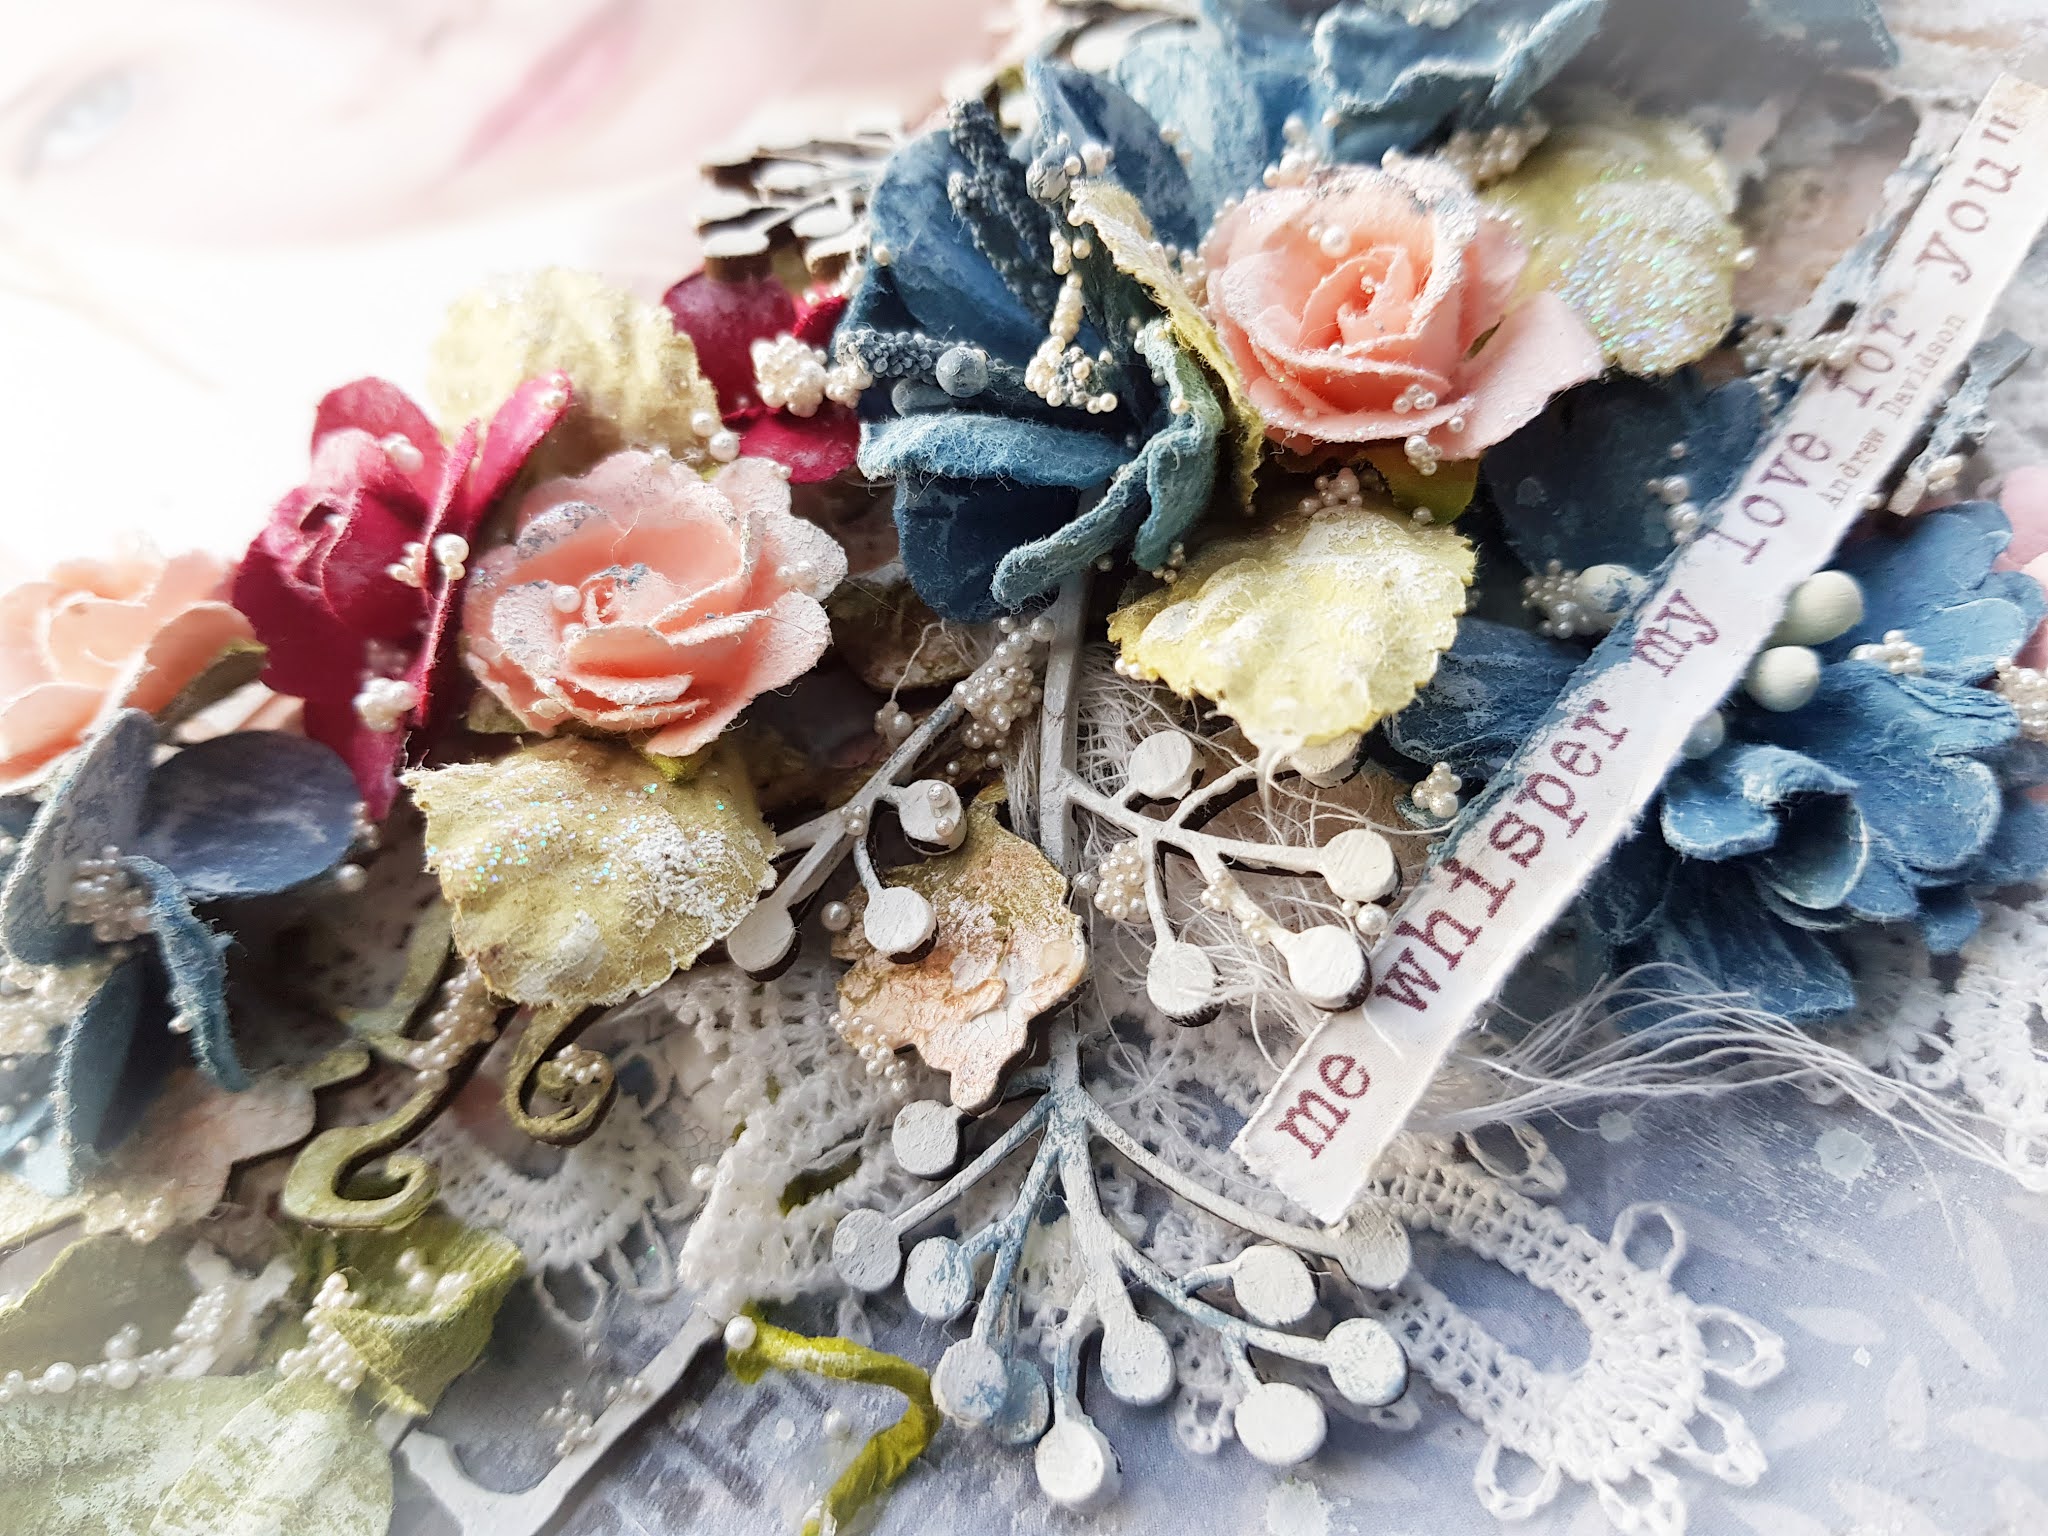
I have used a number of flower packs. Some from 49andMarket and some from Prima Marketing to create my flower clusters.


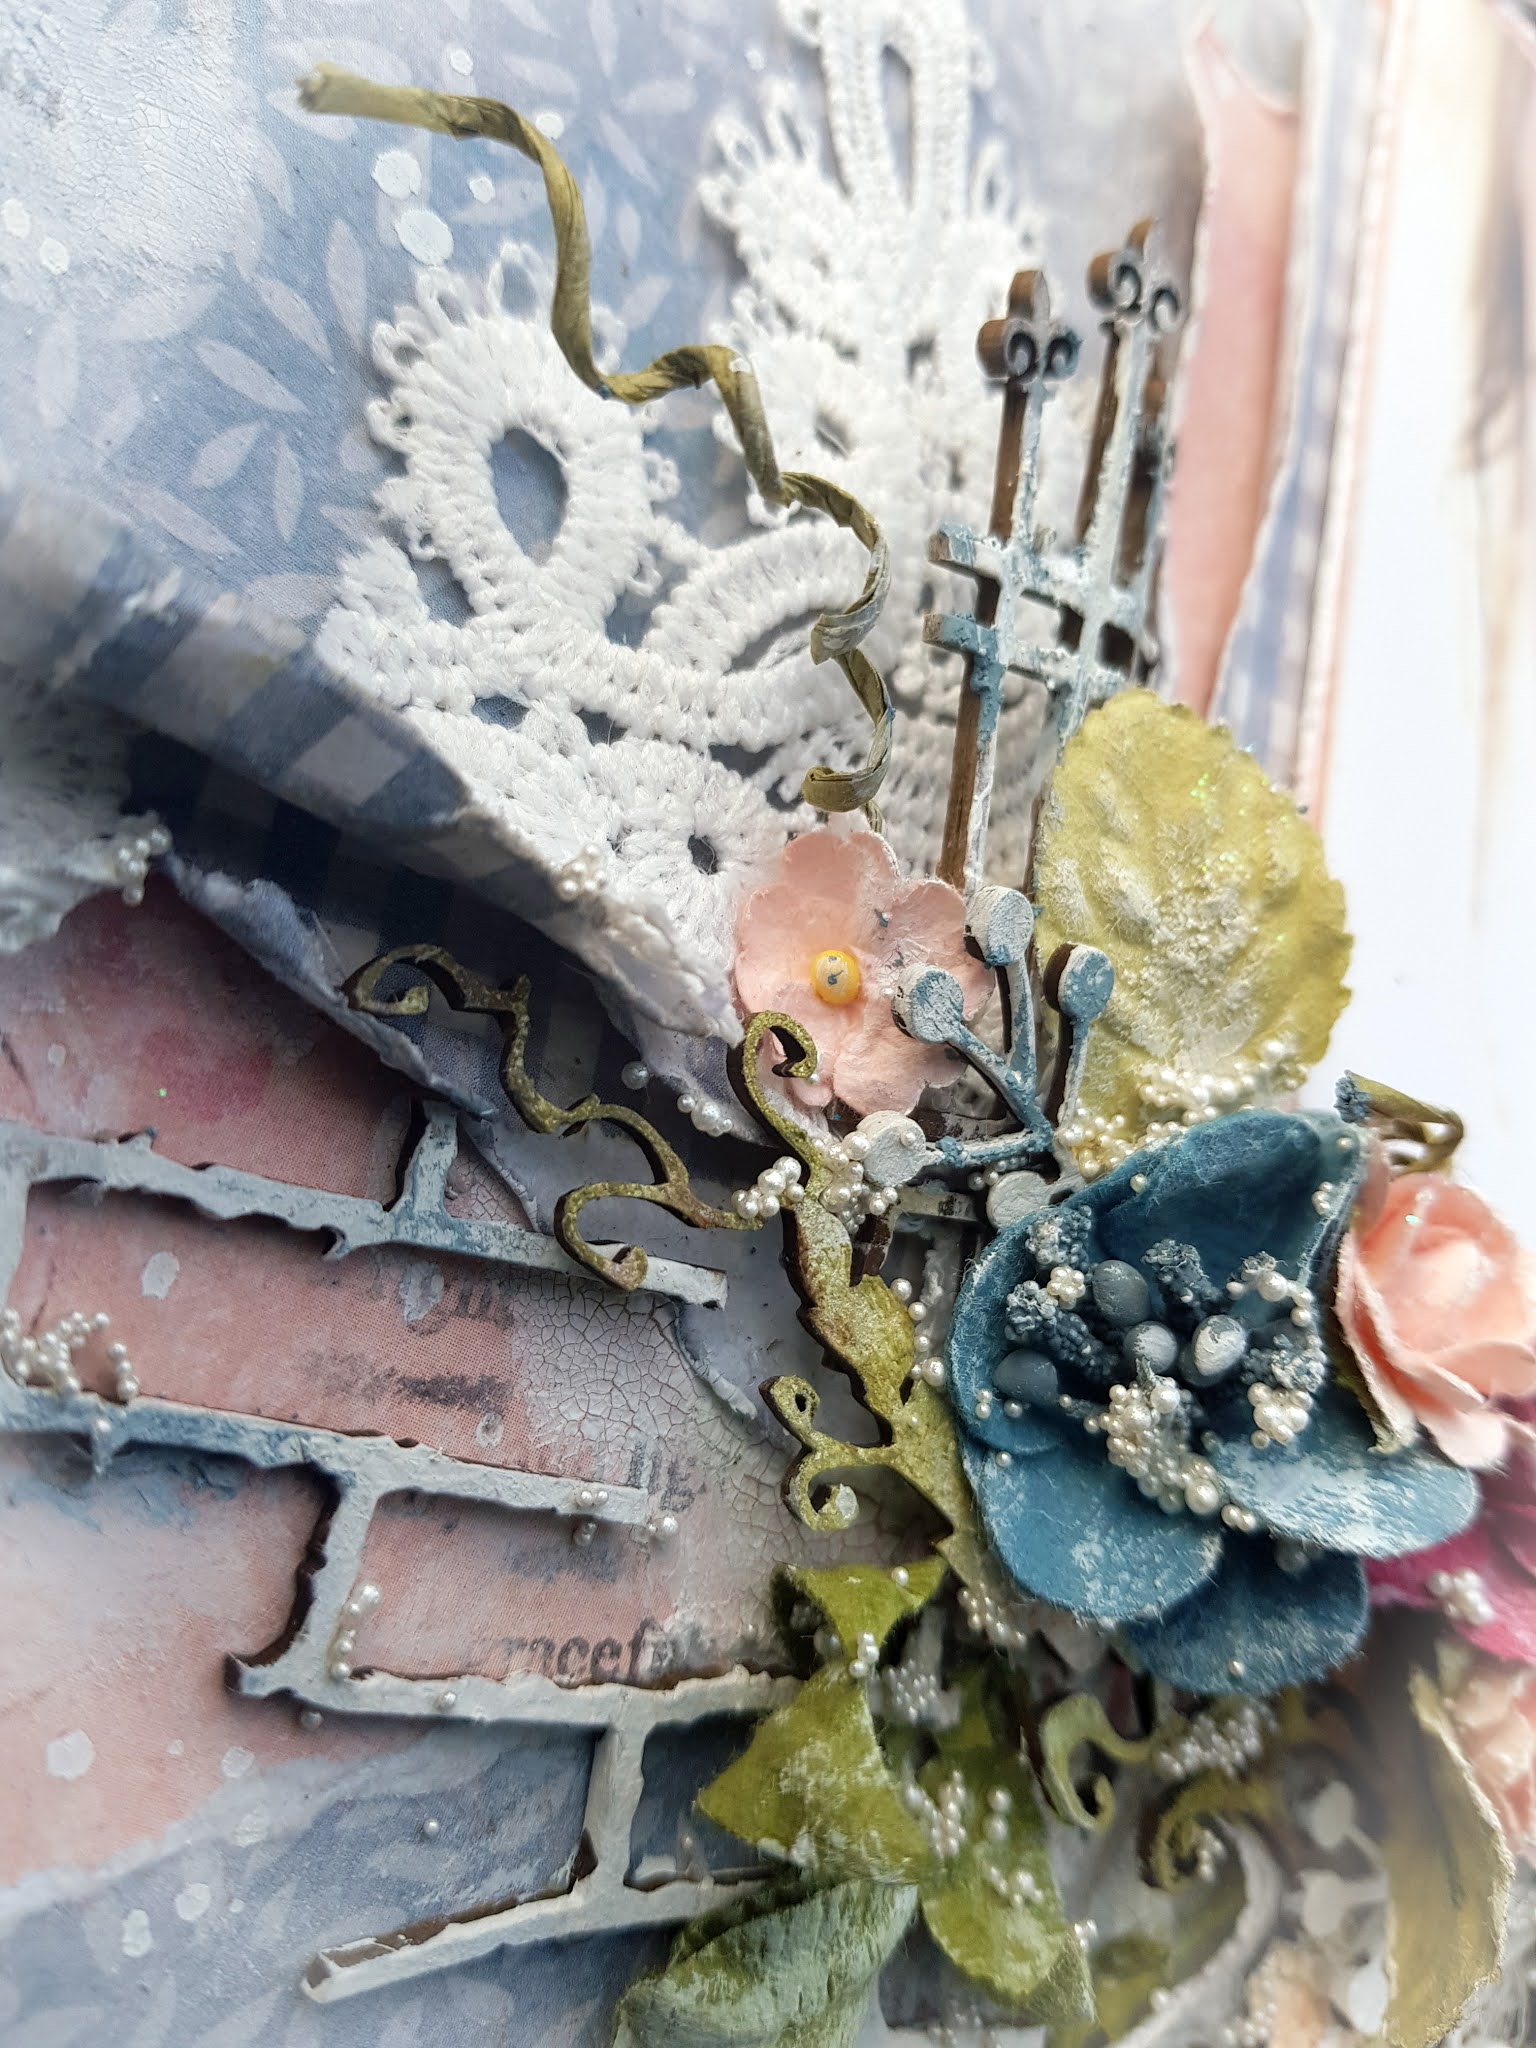
Lots of lace and leaves with pretty flower pearls and muslin were also added in amongst these layers.


Well that is all from me today. I do hope you have enjoyed this blogpost. I would like to take this opportunity to wish you all a very blessed and safe Christmas and New Year.
Can’t wait to see you all back here again next year.
Thanks for calling by.
Teen x


Stay Positive Layout with Elena

2

Posted by Elena Olinevich

30 October, 2020 - ,

Write a comment

Hello Maja Friends,

Today I am happy to share with you my layout that I’ve made recently with the brand new Miles Apart collection.

I found pictures taken during Summer 2019, and since 2020 is not the best year for us, I decided to look for the good memories from the last year.

I played with blue and pink tones, though my daughter doesn’t like pink and anything girly, and even made a short hair cut this year, I thought that I keep all my layouts for my memory, so it’s ok to make it soft and feminine.

I made a rectangle die cuts , some of them are from old collection Antligen, as well as some fussy cutting  and created many layers.

I cut out the title from the paper cut outs with the info about Maja Design papers, and I suppose it is a good idea that the paper name is a good title for any of your project, have you used them as I do?

Since the pictures were taken near the fountain so I ‘ve added some watercolor splashes.


Stay Positive for the upcoming winter days.


Products used:

Miles Apart:

“Time Passes” by Tina Ollett

2

Posted by Tina Ollett

28 October, 2020 -

Write a comment

Hello and welcome today Maja Design friends. Tina with you here today to share my next Design Team post with you. It has been some time since I created for Maja and I so miss playing with the gorgeous papers. Today’s project was created using inspiration from one of my favourite Vintage Basics collections – Autumn. It was only when I was trimming the barcode from the base of this gorgeous patterned paper that I decided to add shades of purple as the barcode had the title ” A time forever etched in our hearts and memories”. Such a beautiful quote and I had intended to use it until I looked closely at the paper and saw in the bottom left the “Time Passes” in brown text. I decided to leave it as my title, nice and simple.

I used two sheets of the Vintage Autumn Basics No VII so that I could use both sides of the papers. And I also incorporated the purple sheet of Vintage Autumn Basics No VI BS. I love this combination of colours and I just couldn’t go past using them without a sepia coloured photo. I used a photo of my youngest from a trip to our Centenary Lakes around the goosepond. This was some years back but I do remember it well.

I dressed the first of the No VII paper using the B side firstly. I made a mix of pigment powder in Black Silver with some crackle paste through a Dusty Attic brick stencil. Once the crackle was dried I coloured over the stenciling with some Chalk Paint in Roman Pines. I also did some embossing of a script stamp in Antiquities Weathered White. I also did some stamping with Walnut Stain Distress Ink.

I cut some of the leftover papers in differing sizes to mount behind my photo. They were distressed sanded and inked with the Walnut Distress Ink.

I embellished with lots of mdf’s from i.craft Designs. Some were embossed and some were painted in chalk paints.

I hand dyed some muslin with a parisian rinse. This gives a gorgeous beige colour which contrasted beautifully with my Vintage Autumn papers. I also used a locket mould and beautiful florals from 49andMarket and icraft Designs. Also I added some pearls from Dusty Attic and finally some pretty mini prills in silver and some splashes of watered down white gesso.

And some more close-up pics for you .

Well that is all from me today. Thankyou so much for taking the time to pop by. I hope you have found some small piece of inspiration from my project today to help with your next crafting project.

Until next time take care and happy crafting.

Hugs


“Coffee and Friends make the perfect blend” by Tina Ollett

0

Posted by Tina Ollett

4 March, 2020 -

Write a comment

Welcome and a warm welcome Maja Design friends. Tina Ollett with you here today to share a project created with the gorgeous new release “Little street Cafe'”. This is titled “Coffee and Friends”.

The cute little sentiment that I used to title my project I found on the tear off strips of the patterned papers. This was actually my starting point When I saw this I knew exactly what photo I wanted to use. Our trip to New Zealand a couple of years ago found my girls posing for photos in lots of different settings. This of course was just a backdrop but a perfect setting for a photo. When I looked closely at the Die Cut sheet from this collection I saw that some of the cards had a similar background work. What a great coincidence don’t you think.

You can see oh so beautiful Die Cut sheet below.

 I cut the die cut sheet using the frames from each card. I also cut a cute cupcake and also the mini mini teapot with cup and sat it on the table in the middle of the girls. You can see it below. Soooo cute! I also cut the larger tea set and popped it up on 3D foam.

I have used the patterned sheet “Something Sweet” as my background piece. I used a Dusty Attic stencil with some Crackle paste to add texture and some added detail to the background. I wanted to keep the page fairly clean so I decided to use a lot of  layering using the papers. I have also used papers from the 6 x 6 pack so there was very little trimming needed for the page. These pieces were distressed sanded and layered alternatively.


Something Sweet


                                                                                         Meeting Friends

I also add in some pretty 49andMarket flowers and some flower pearls to help embellish my layout amongst the fussy cut pieces from the Die Cut sheet that you can see below.

That is all that I really did. Quite a simple yet pretty layout full of layers and gorgeous colour.

I hope you enjoyed this post. Let me know what you think. Until next time happy crafting.

“Merry Christmas” by Tina Ollett

2

Posted by Tina Ollett

22 November, 2019 -

Write a comment

Hello and welcome Maja Design friends. Tina Ollett with you today to share a moodboard inspired creation. As you may already be aware,  Maja Design’s moodboard challenge is now up. Here is a glimpse for those who have not as yet seen it. Absolutely stunning!! A big thankyou to Marie Janson for all of her creativity putting these together every month.

And this is my take on the gorgeous moodboard using the new release collection of Holiday in the Alps.

I have titled this layout “Merry Christmas”. I hunted for a photo fit for this project for a long time. I had to dig very deep and then come across this. I cannot ever remember seeing this photo amongst my pics but there it was. A photo of all 3 of my beautiful children caught in the moment of opening gifts on Christmas morning. So many beautiful memories are bought about by this photo. Isn’t it a beautiful thing that as scrapbookers we can relive the moment when creating.

Anyway more about the project. I have as previously mentioned used the new release designed by the very talented Marie Janson…. “Holiday in the Alps”. She has created an absolutely amazing collection. I am not huge on Christmas but this collection just rocked my world. I can see myself doing lots more in the coming weeks. Below are the papers I have used.

Snowflakes bs

Snowmen bs

I used the striped paper “Snowmen” as my background pieces and tore the blue sheet Snowflakes to sit through the middle of the project and the remaining pieces were made as photo matting for my two photos. I also decided a little bit later to add in some brown. So I added in the patterned paper “A New Year”.

On my background I added in some texture paste through Dusty Attic’s Starry Night stencil and then sprinkled over Sparkling Dust from Dress My Craft.

I have framed my photos using some gorgeous ornate frame chipboards from Dusty Attic. These were dressed in acrylic paints and inks. I also added in a couple of the Swirly frames and cut them into several pieces. They were dressed in Liquid Pearls and sprinkled over with Sparkling Dust.

I found some gorgeous silver branches whilst out shopping this week which fit perfectly for this project. I didn’t even have to colour them. Just cut and adhered.

I have also added in some gorgeous little pinecones. These were spritzed in an irridescent clear spray and dusted with Sparkling Dust.

So that is it. A little bit of Christmas inspiration using this month gorgeous moodboard. I hope you find time to join us in the challenge. Thankyou so much for popping by here today and taking the time to look. We appreciate it.

Until next time take care and happy scrapping.