Hello creative friends!
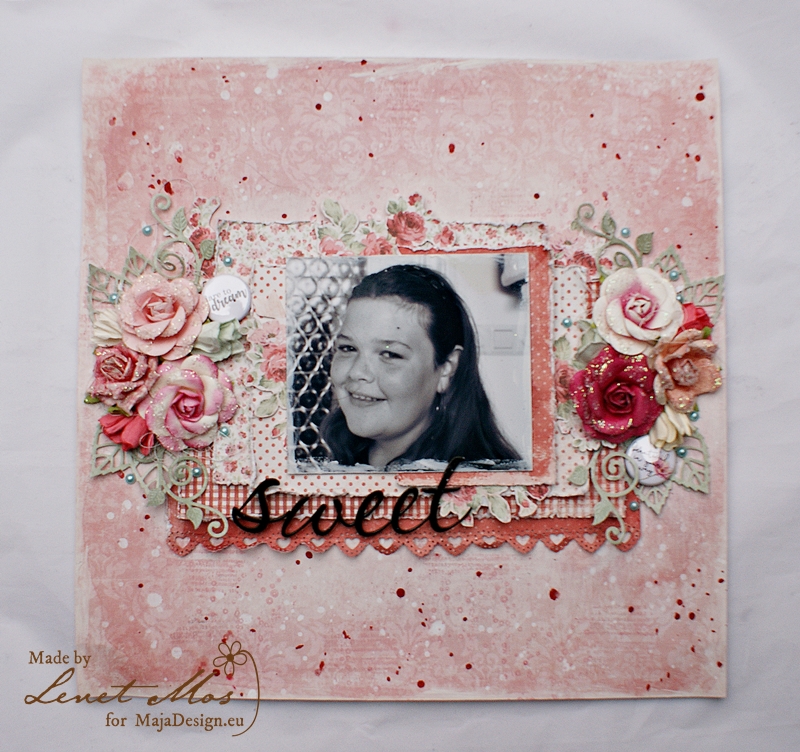
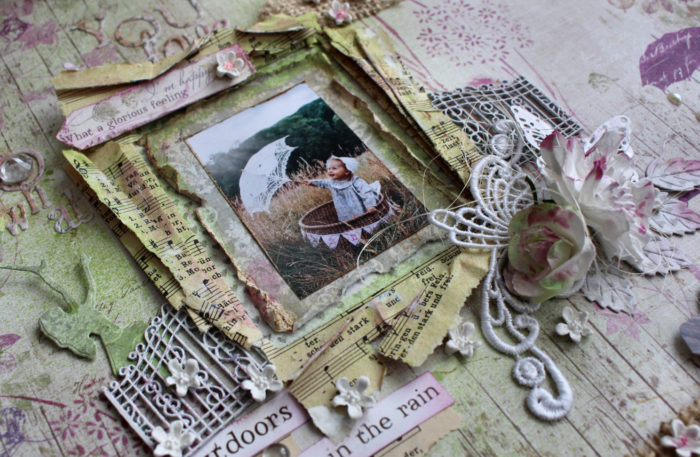
Today I want to explain how you can create a vintage romance layout with an altered 3D frame as your central focal point.
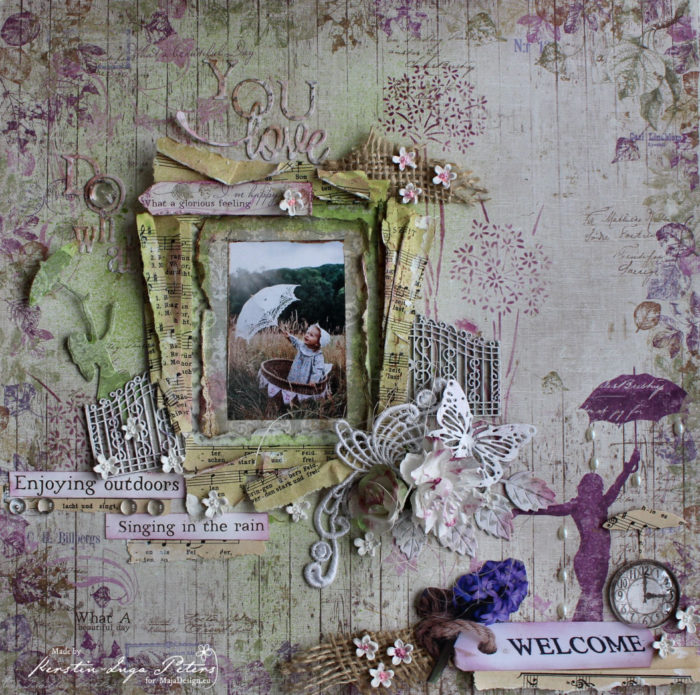
I create a very simple layout because the paper alone gives all the magic effect.
-
- Singing in the rain bs
-

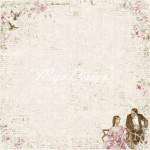
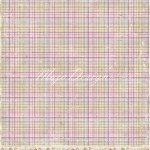
- Singing in the rain
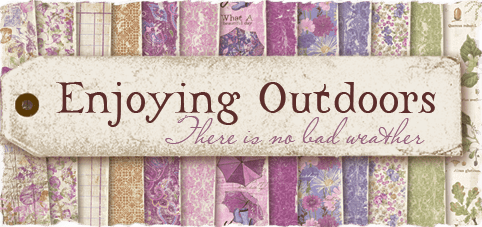
I think is one of my fav in this collection ‘Enjoying Outdoors’ – ‘Singing in the rain’.
I love the beautiful edge design and the girl on the right side and I like people who smile when it’s raining.
Times are not always easy, but I always try to make the most of it.
Take a break from the hectic everyday life and relax.
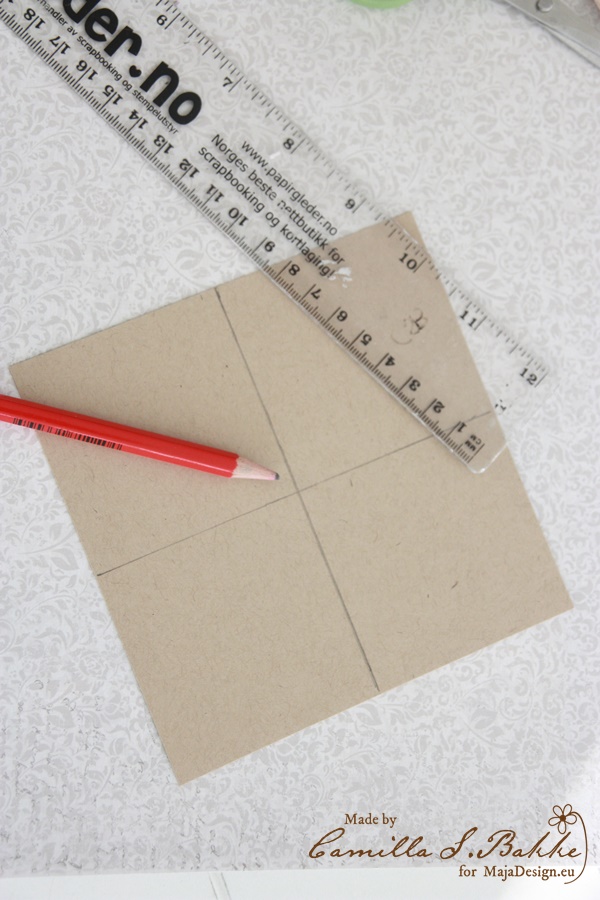
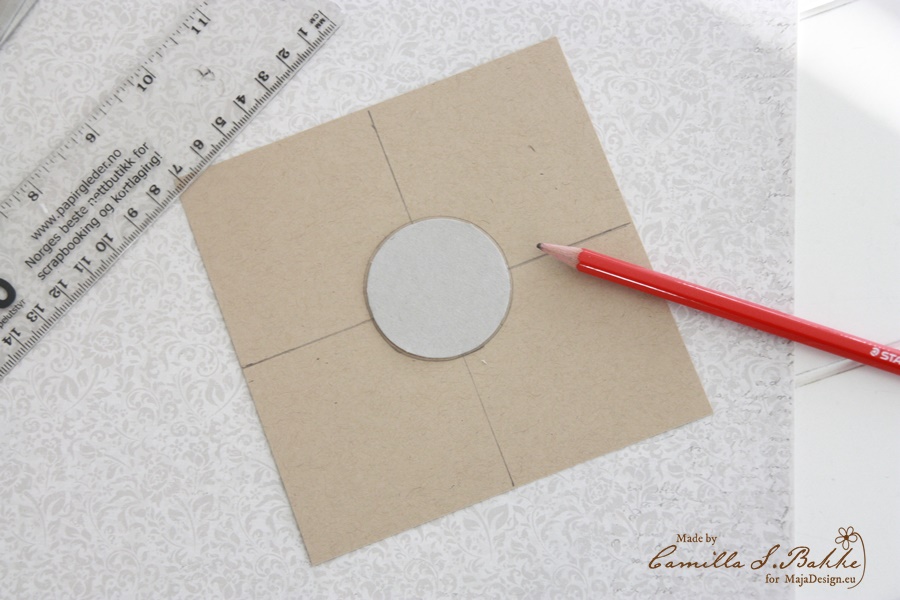
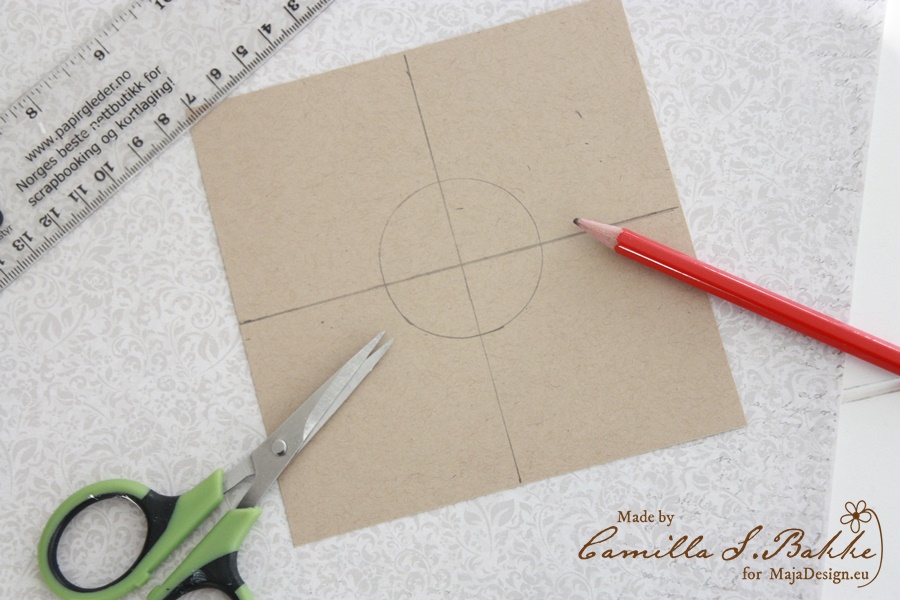
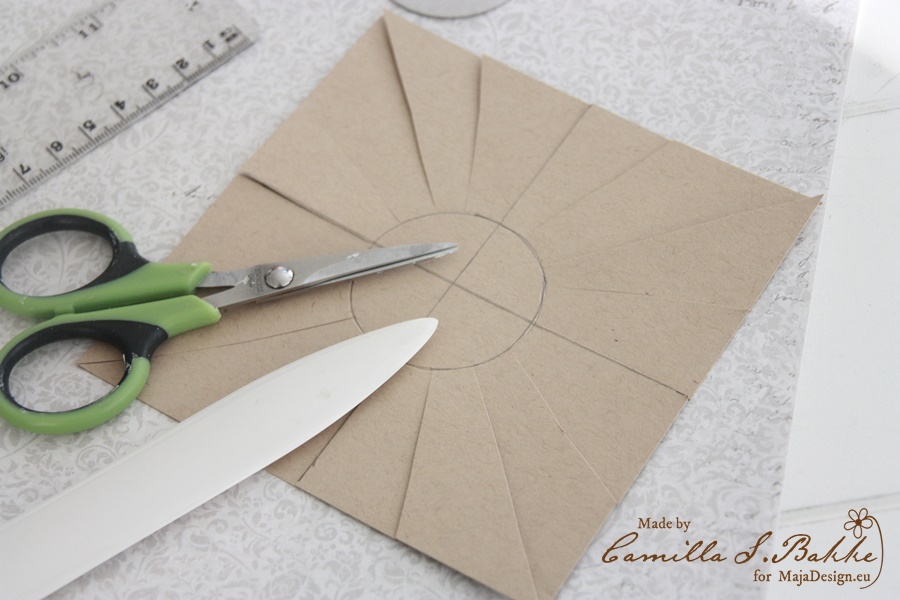
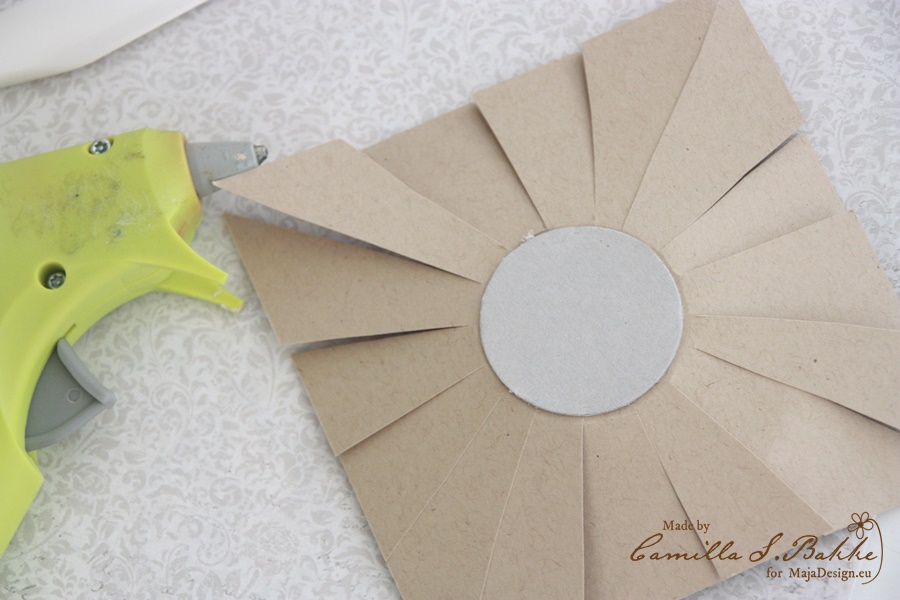
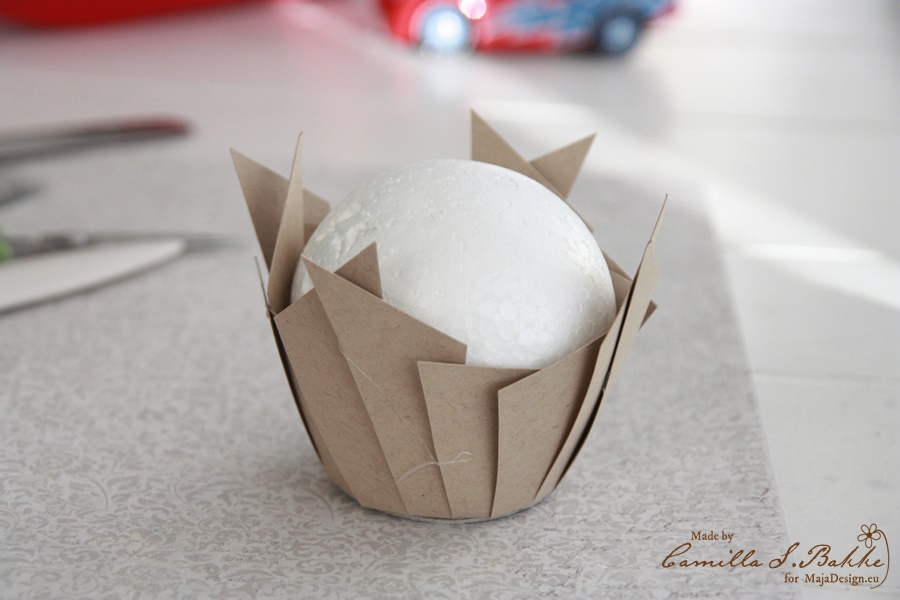
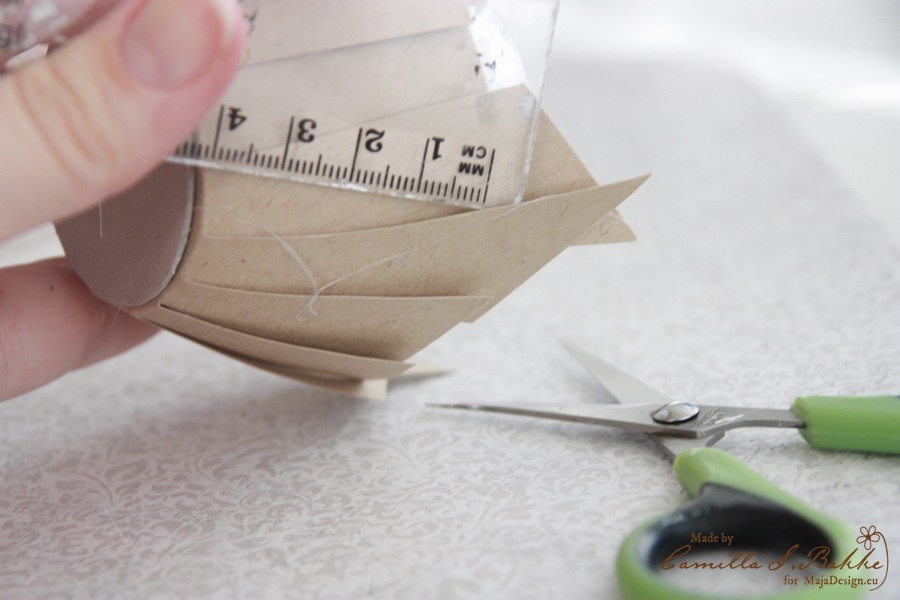
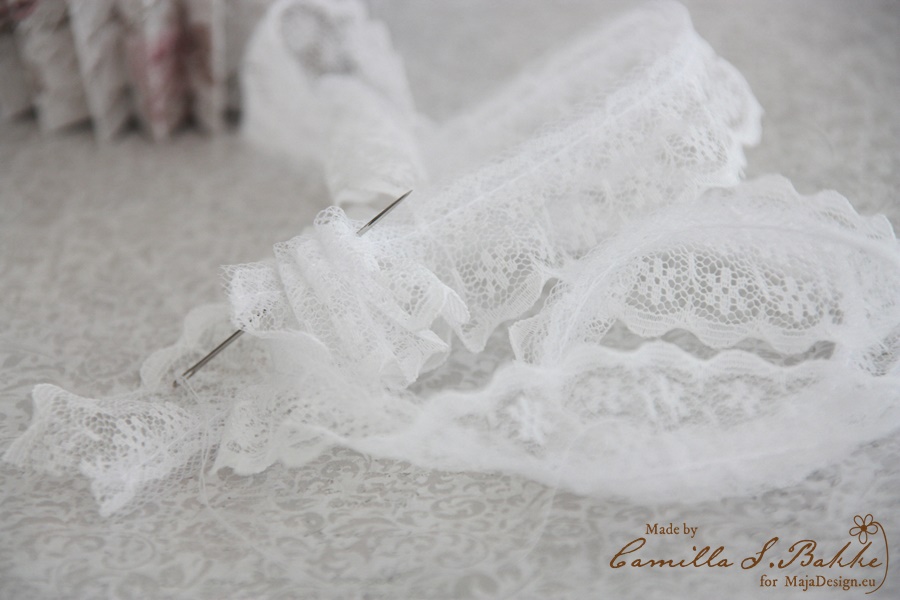
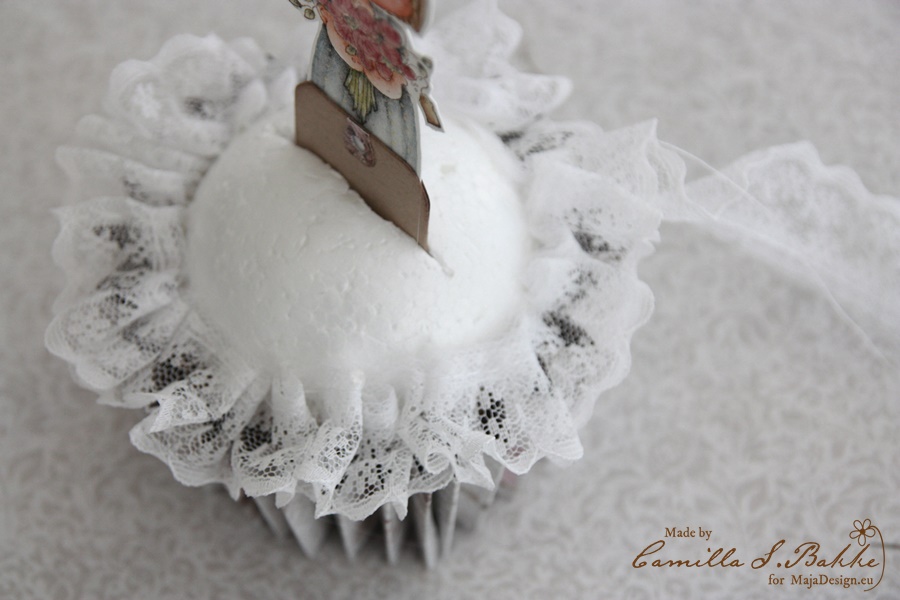
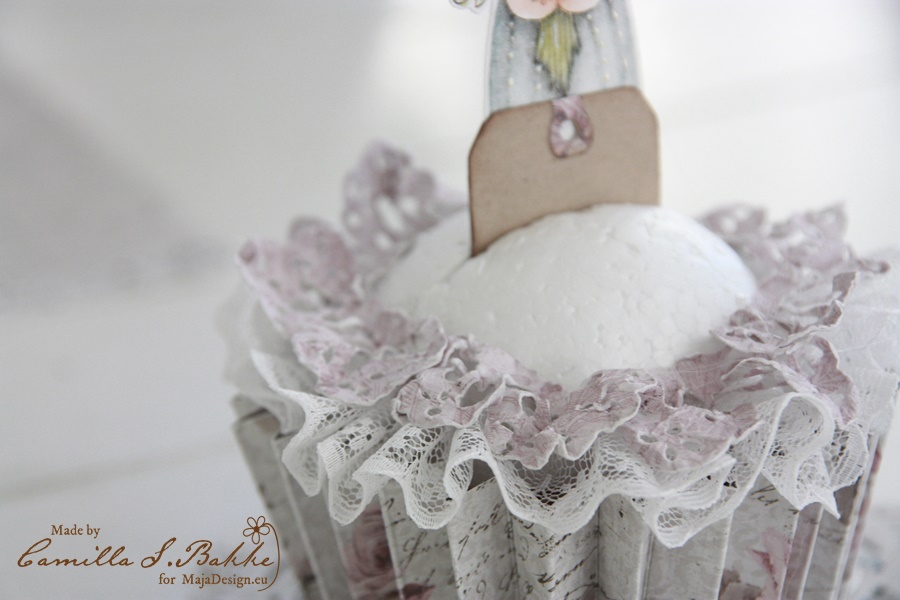
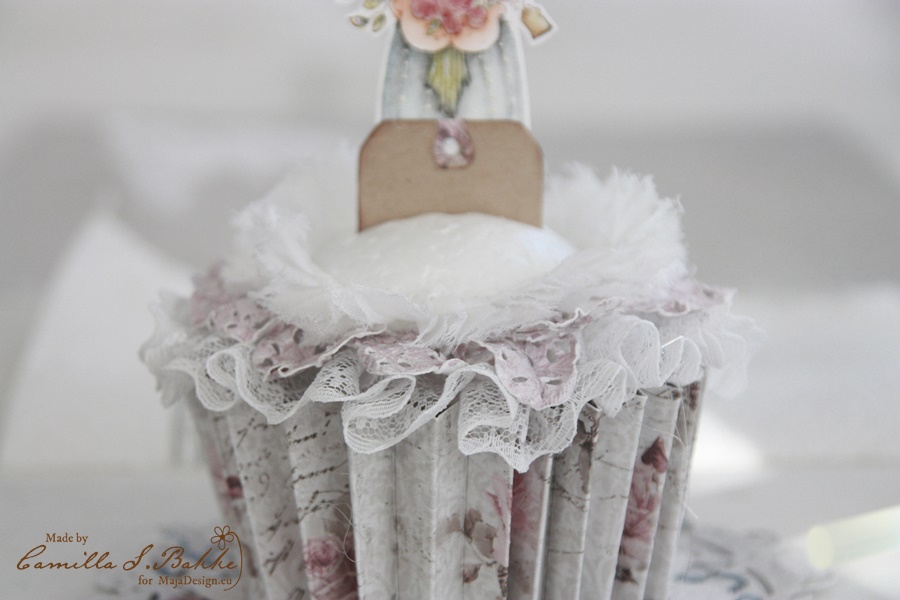
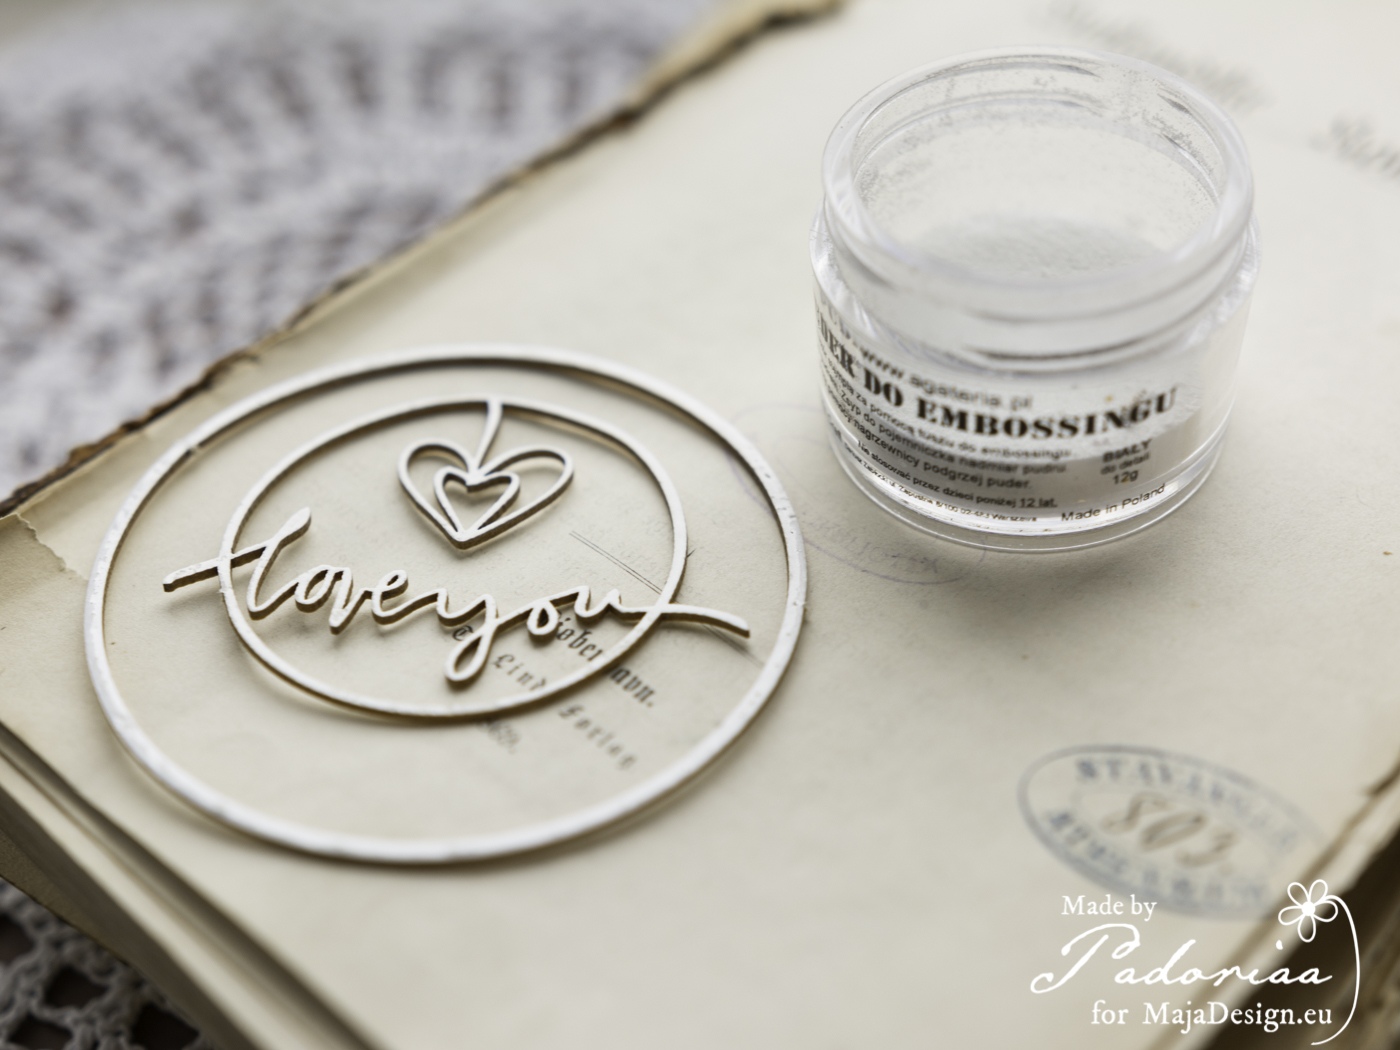
I started by creating an altered frame for my photo.
Want to see how I made this? Here I have some photos from the making.
Snapguide How to an Altered 3D Frame

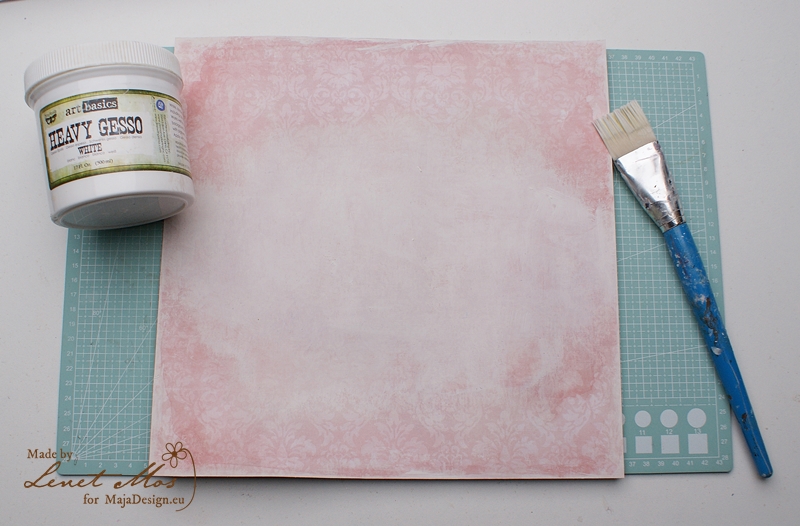
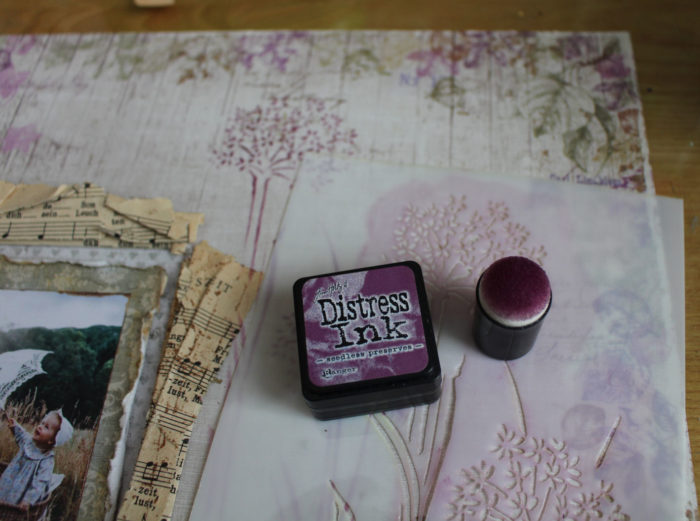
Now to the background, first I primed with clear gesso, then I used Distress ink ‘Seedless preserves’ on a stencil, it’s the same colour how you can find on this paper sheet.
Next, I added a Glimmer Mist Spray ‘Kiwi’ from Tattered Angels
to the background arround the area of the photo.
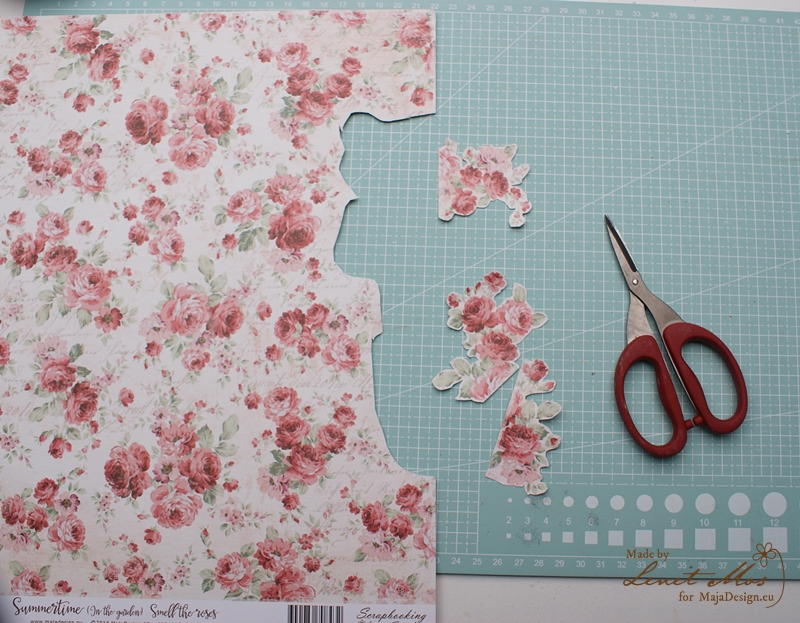
then I use two die cuts to add more dimension
(Wordlet ‘Do what you love’ and ‘Girl under umbrella’)
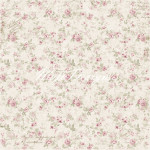
with papers from ‘Vintage Romance’.
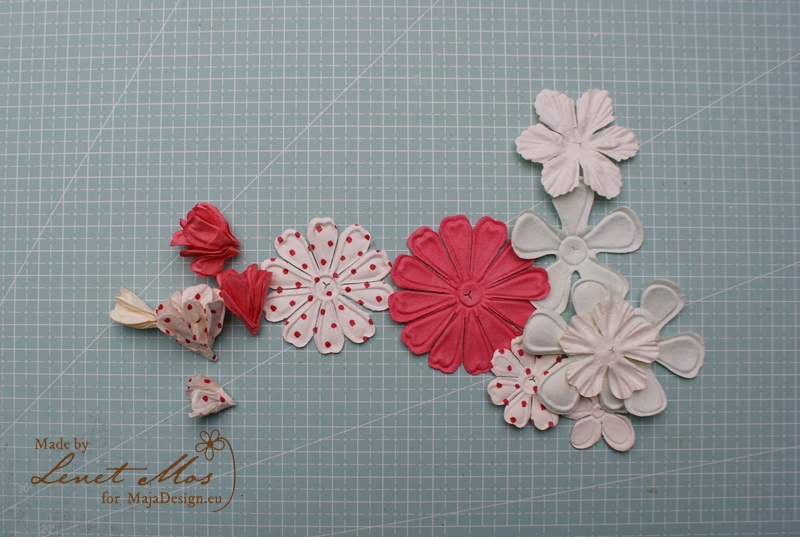
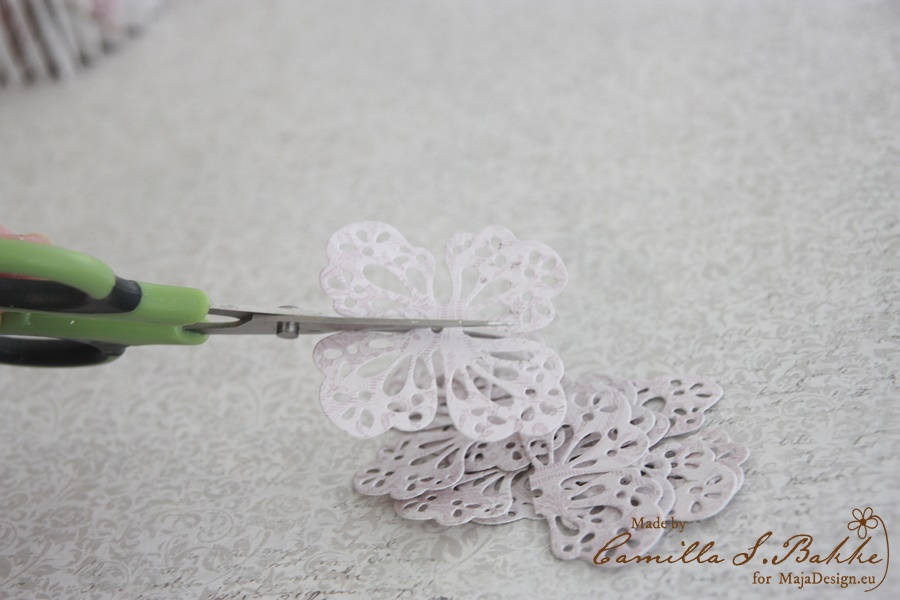
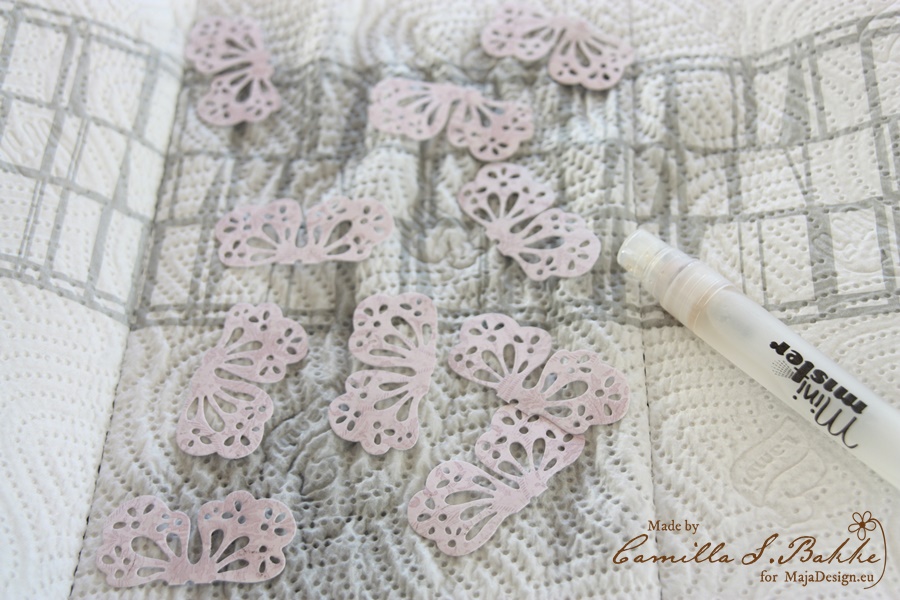
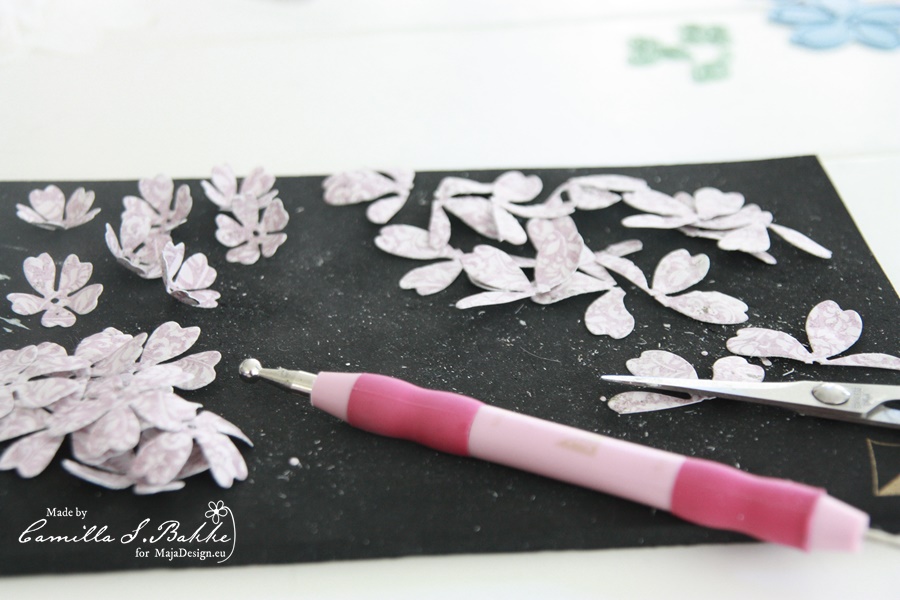
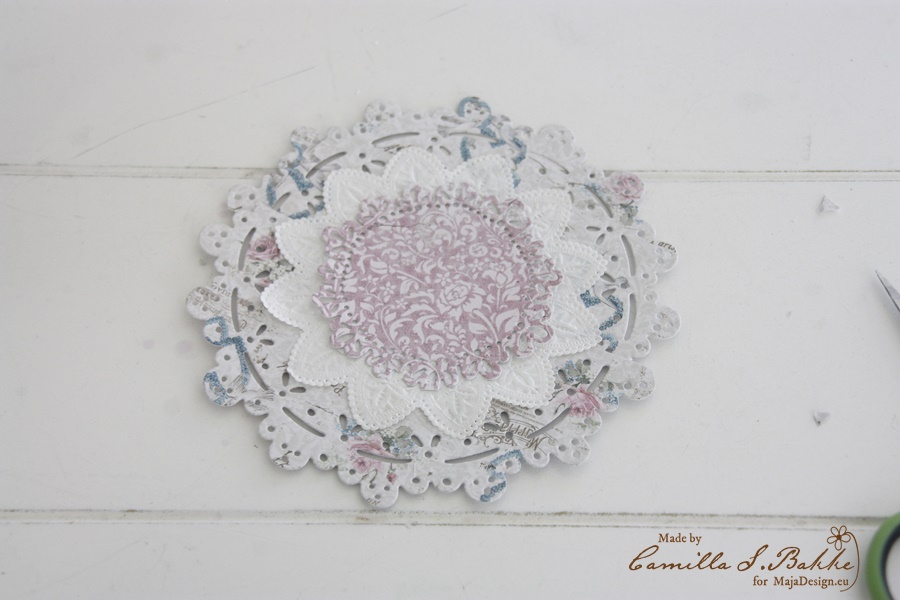
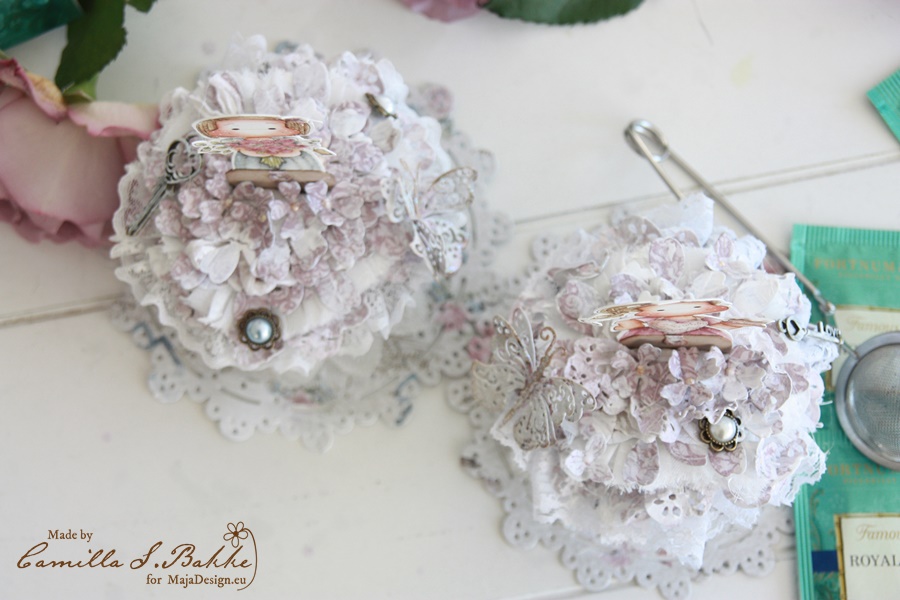
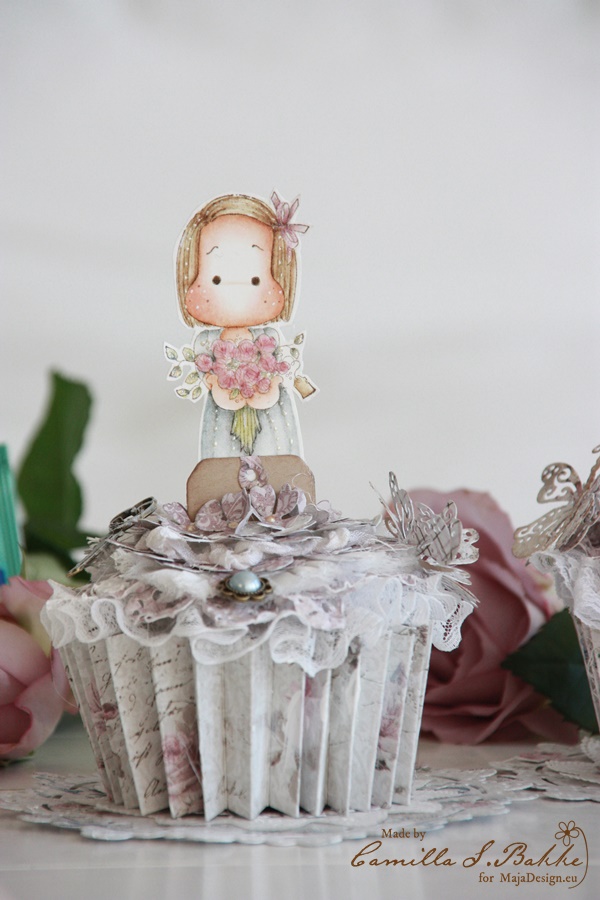
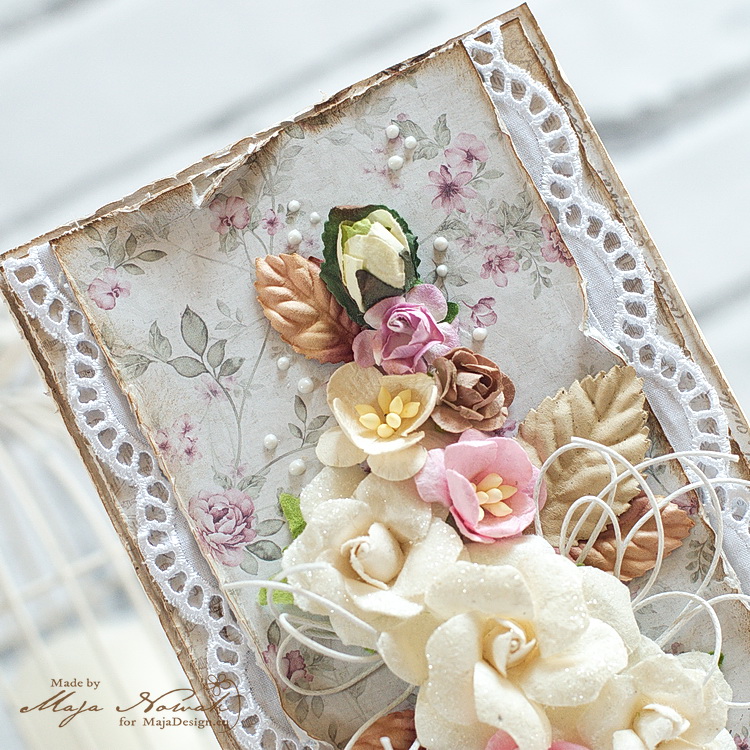
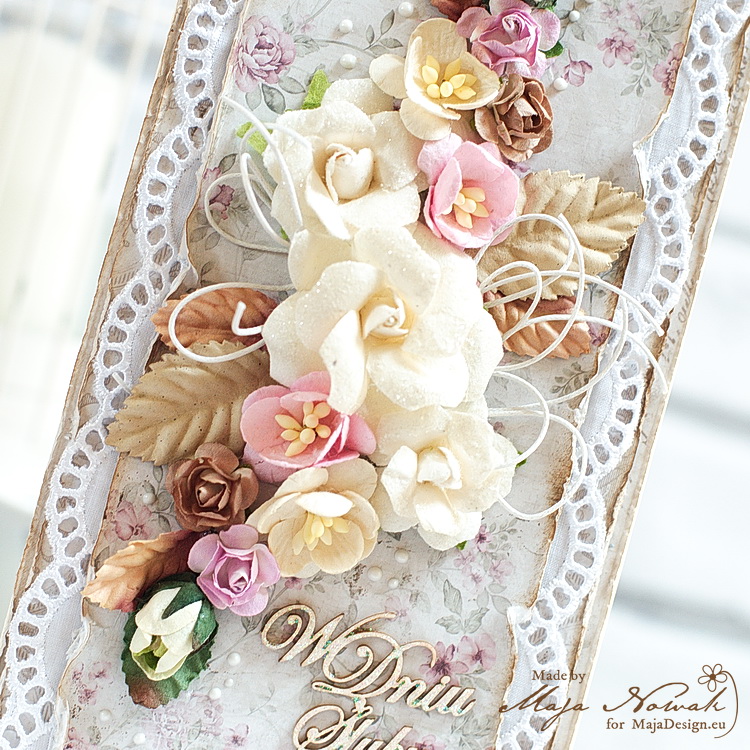
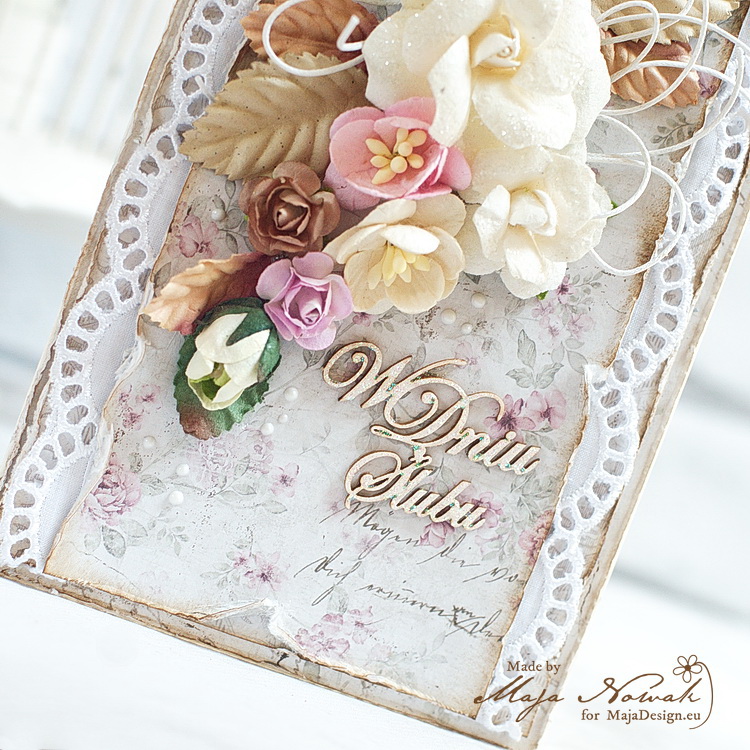
Afterwards I choose some embellishments to decorate this romance layout,
for instance from Prima Marketing (garden gates, butterfly), flowers, lace, fabric leftovers,
water drops, little resin flowers.
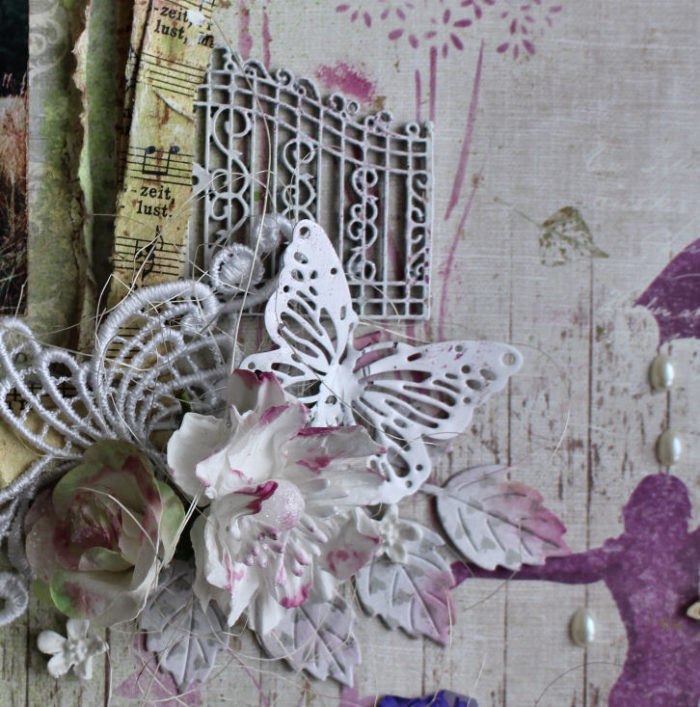
I builded a small cluster on the right side under the photo.
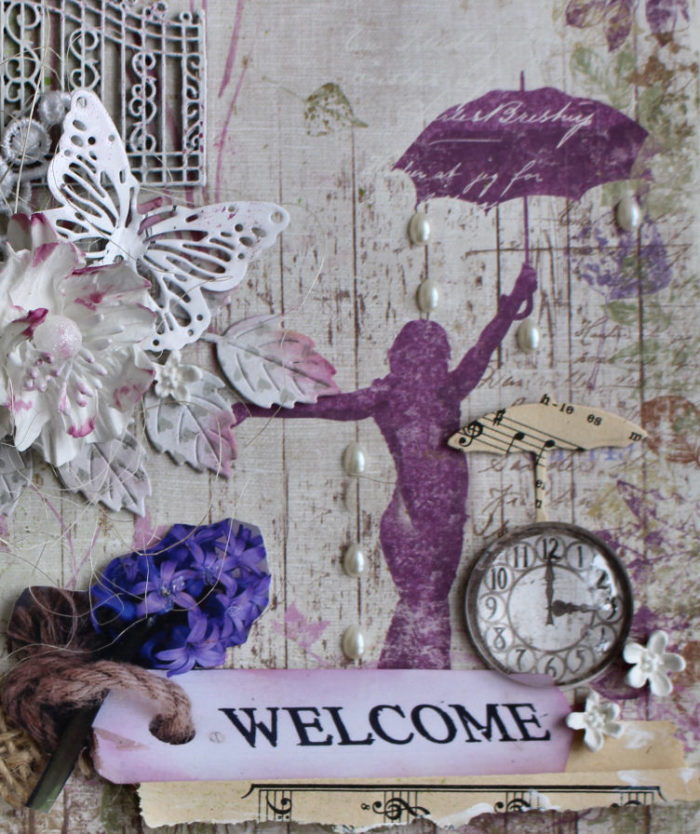
suitable to the titel ‘singing in the rain’ I added some pearl drops and another umbrella from a die cut, as well as a clockface
from the ‘No. XVI’ (Vintage Autumn Basics) above with a glass cabochon.
The ‘Welcome’ sign is a photo cutout with a underlaid folder music paper sheet.
3D look
This project was so much fun to create and I love the 3D effect that you can build up.
Questions??? you’re welcome :-)!
I hope my project can give you some inspiration for your work with Maja Design papers.
What is your favourite paper sheet??
Have a beautiful day!

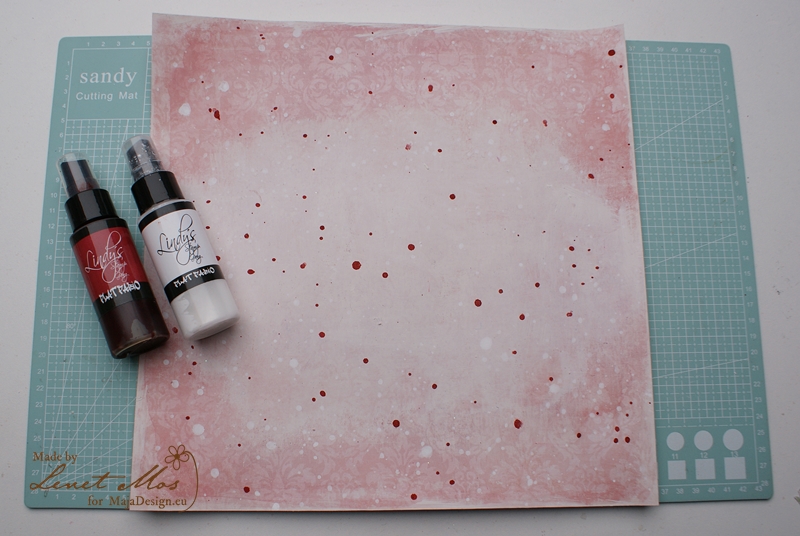
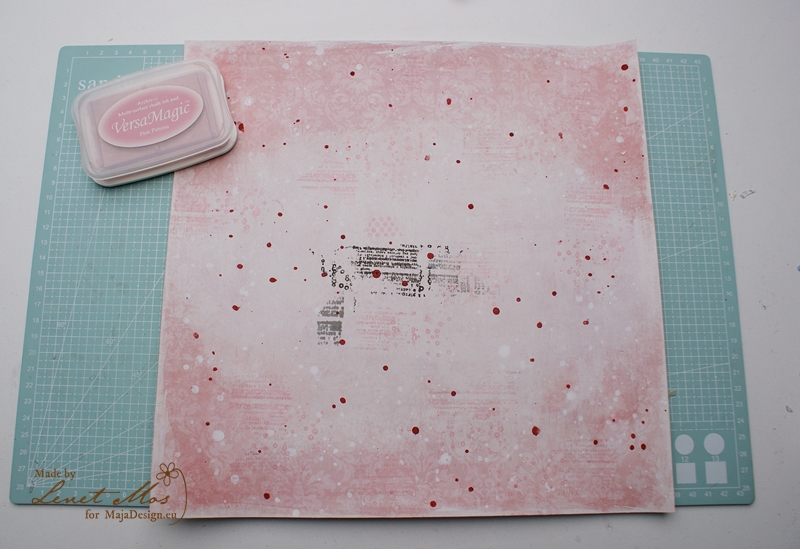
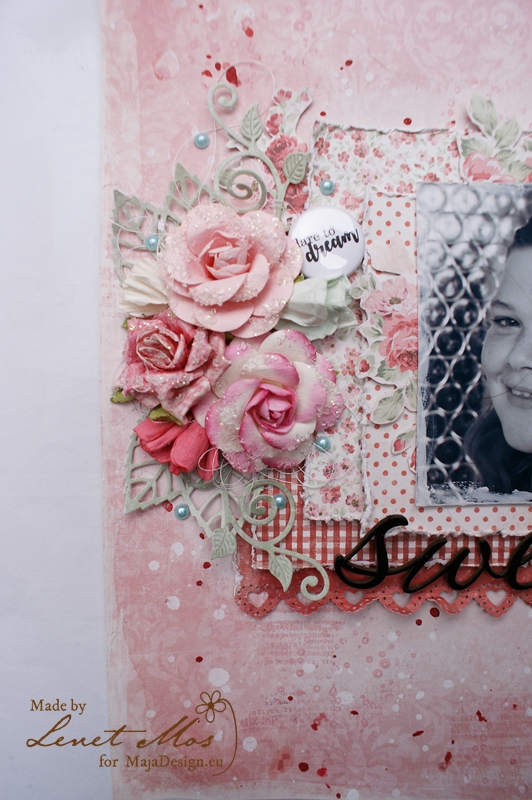
 5. If you like – find a simple add ons. Glue everything together and then add some white and black splashes.
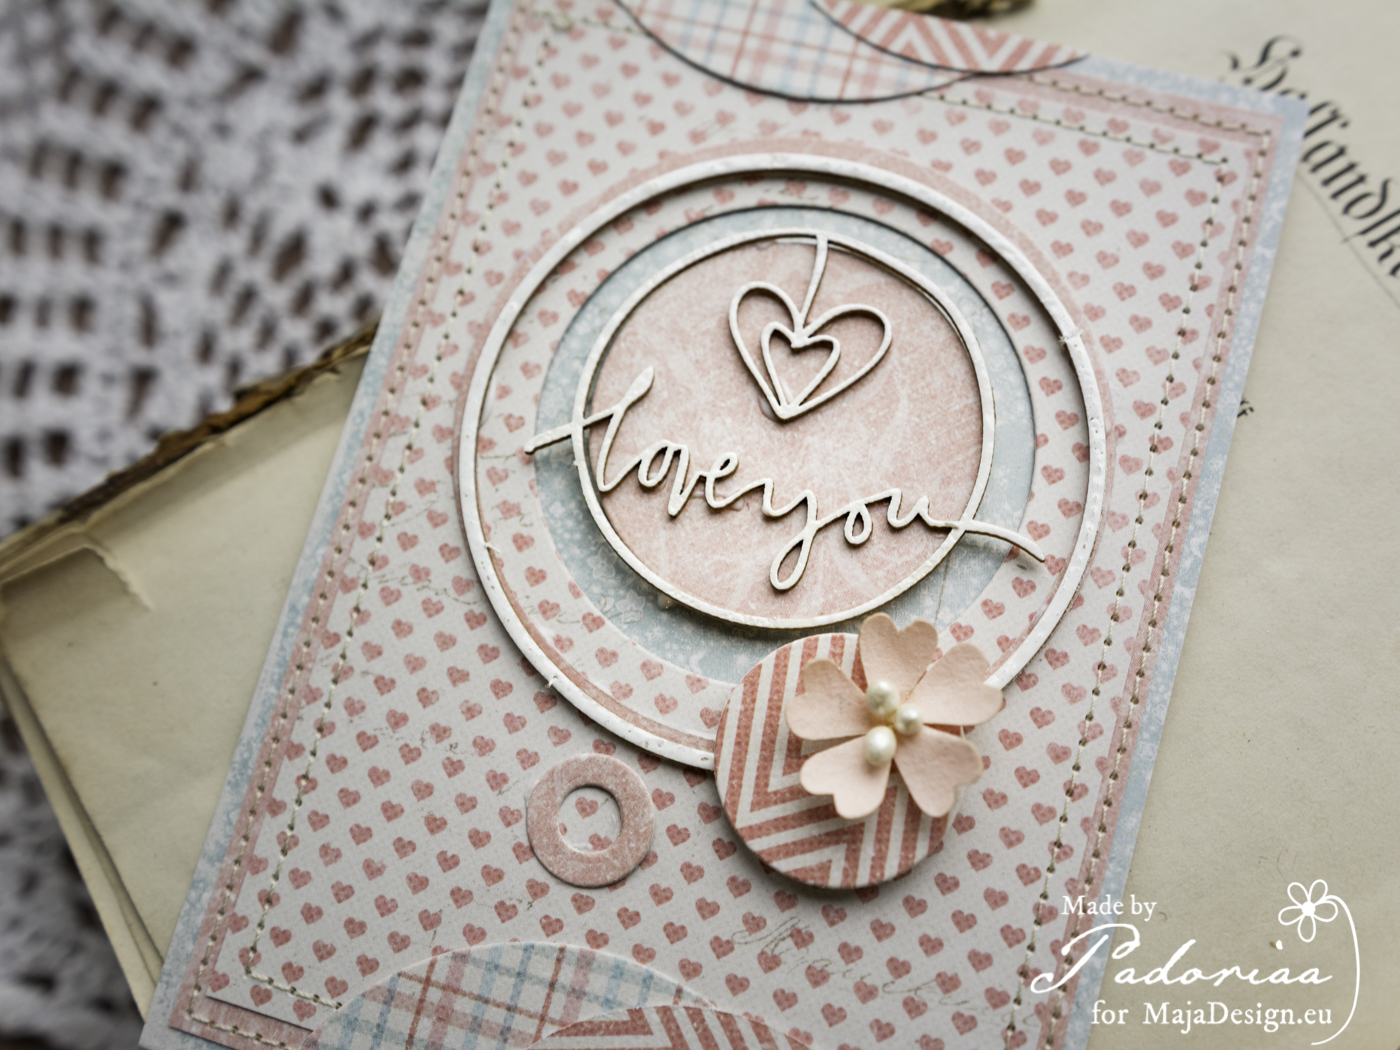

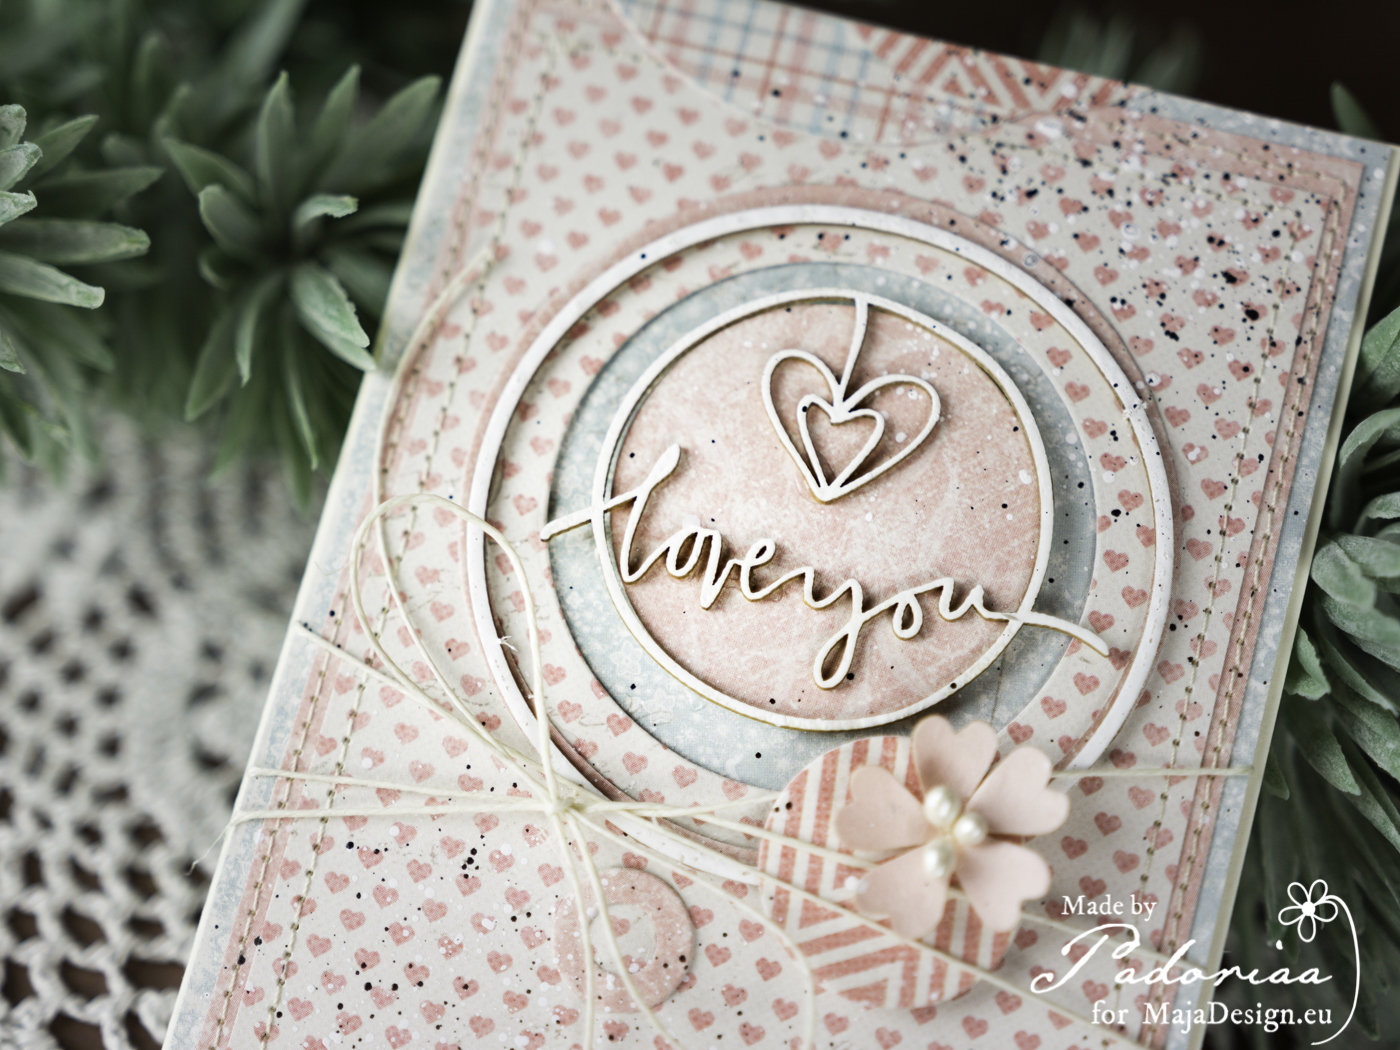
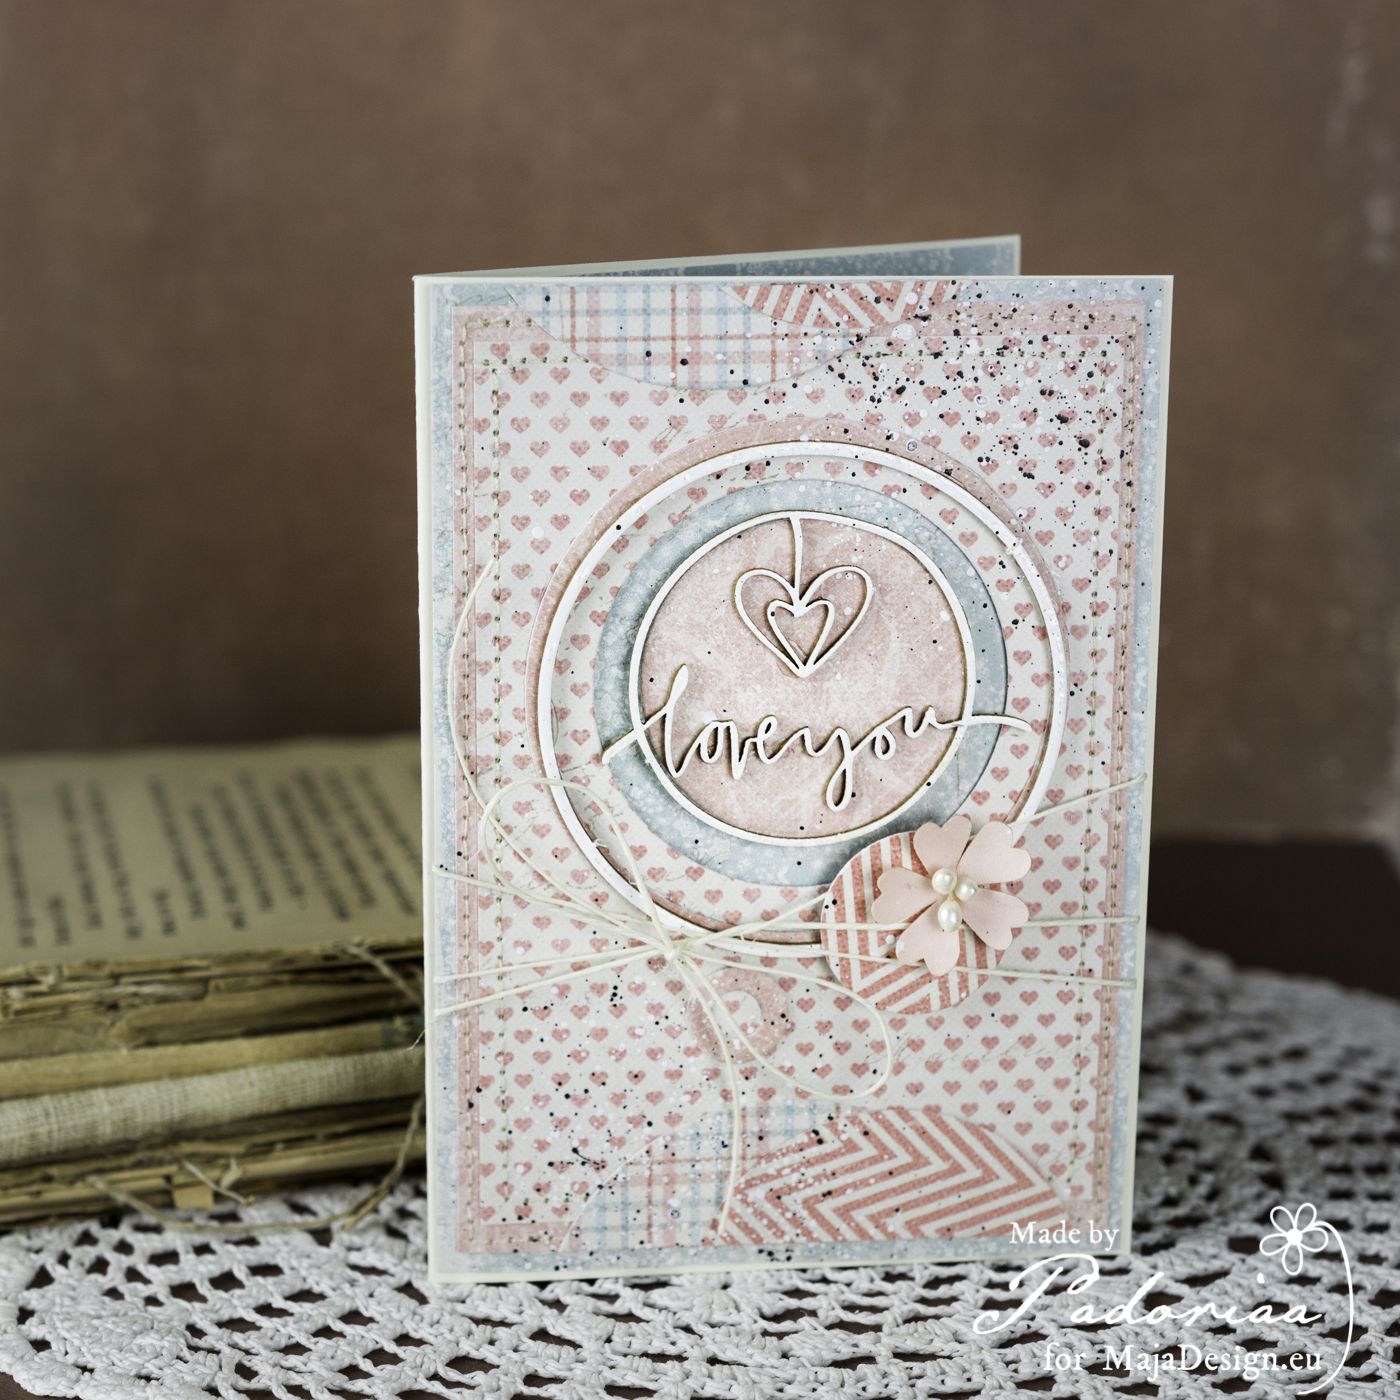

 Hope you will like my today’s inspiration. If you have any question – do not hesitate ask. Used chipboard came from Scrapiniec . Have a lovely day, Paulina