Good morning, Maja Friends, welcome to our blog 🙂
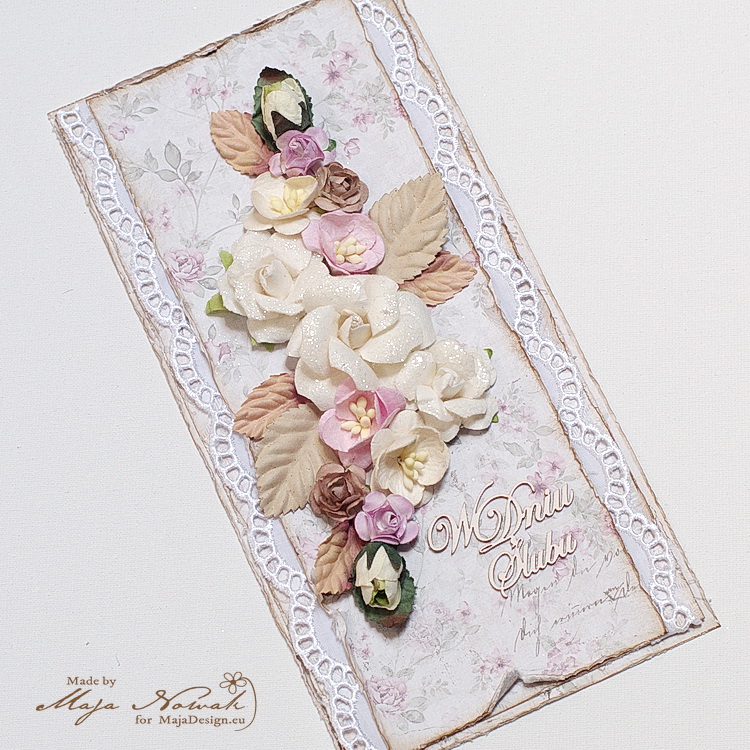
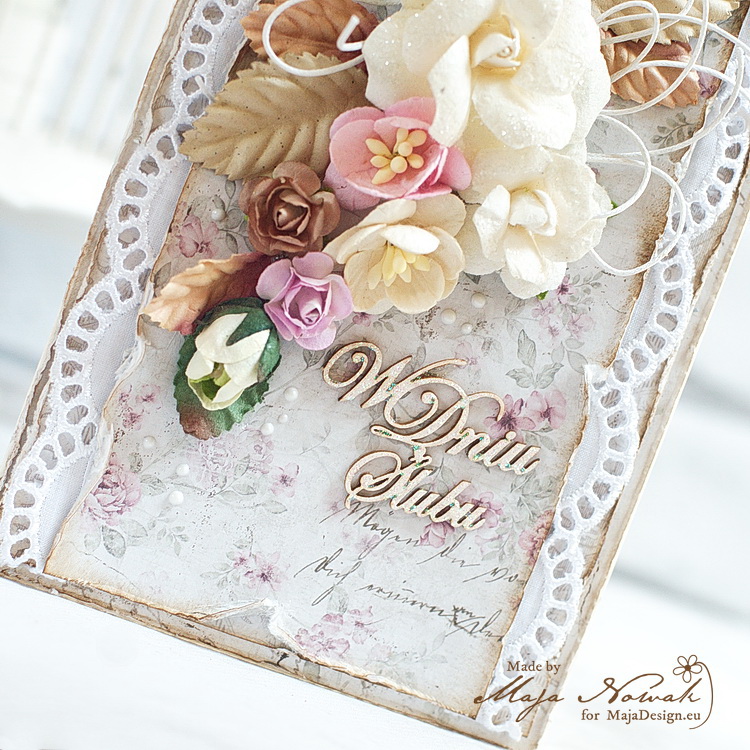
Today I’m bringing you a romantic, delicate shabby chic card:
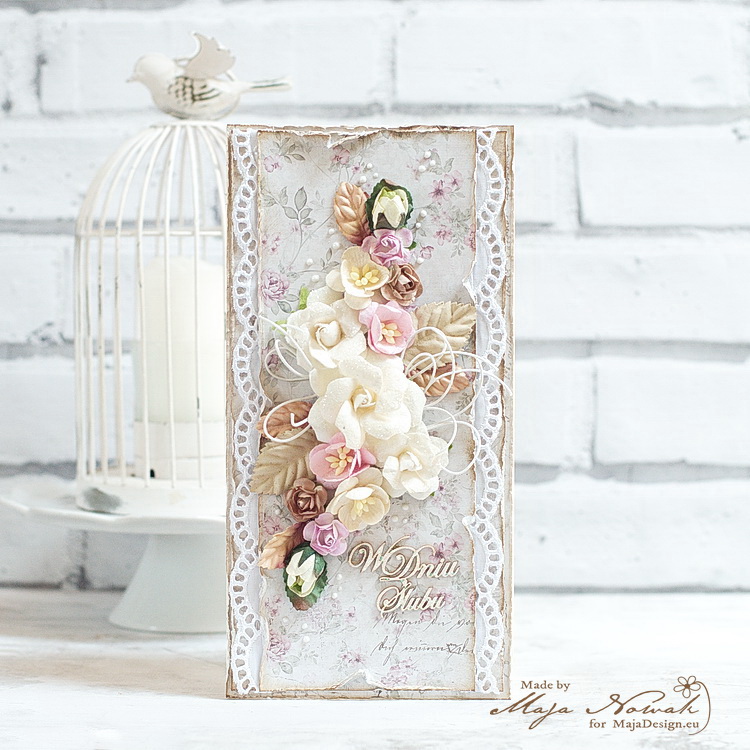
Believe it or not, but it’s super easy to make! And I have a step-by-step tutorial to prove it 🙂
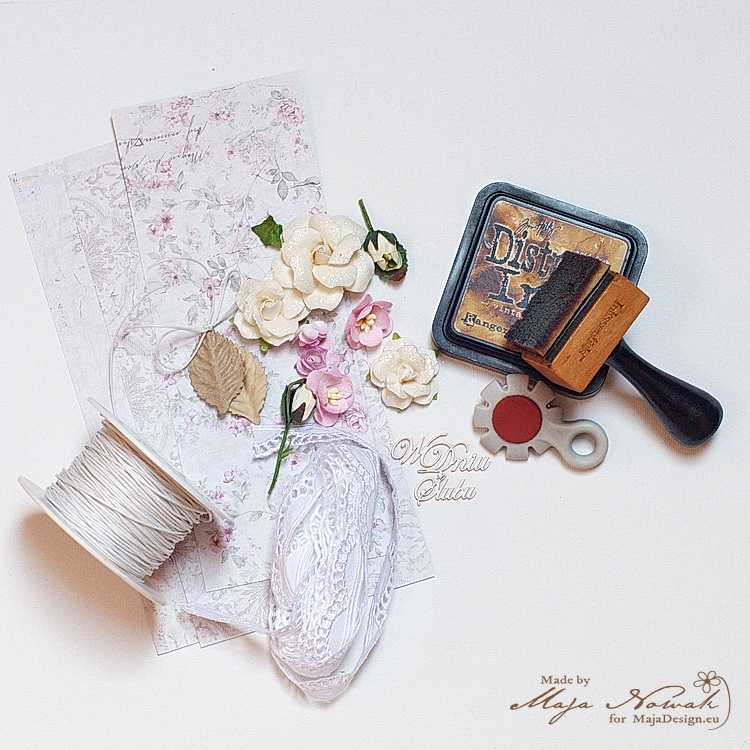
For the card I used: pieces of papers (I chose the Vintage Romance collection), a handful of flowers of various sizes and some leaves, lace, waxed string and some adhesive media. I also used the distress ink and paper distresser to add some “age” to my card 🙂
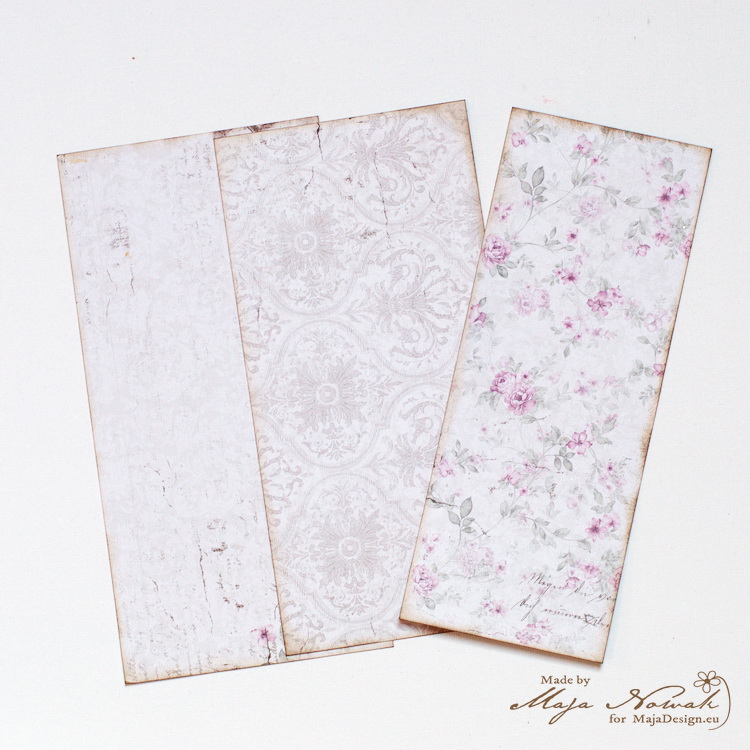
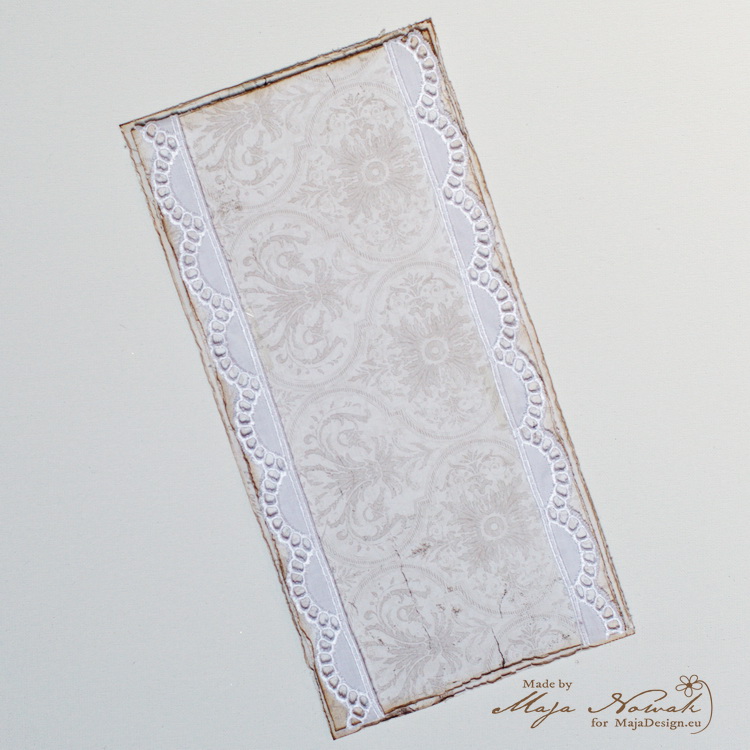
- I started with cutting the papers: I cut the base of the DL card size and trimmed the second paper 0,5 cm less. The size of the top paper depends on the width of the lace (or how much of it you want to be visible) – mine is rather thin so the top layer of paper was ca. 8 cm wide. Then I inked all the edges:
2. I distressed all the edges using the paper distresser. Then I took the middle layer paper and placed the lace along its edges:
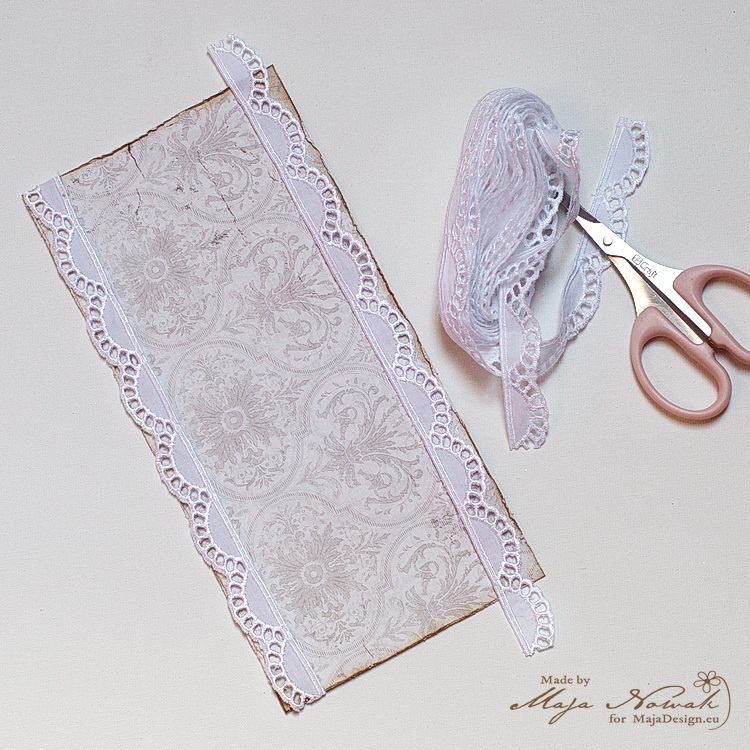
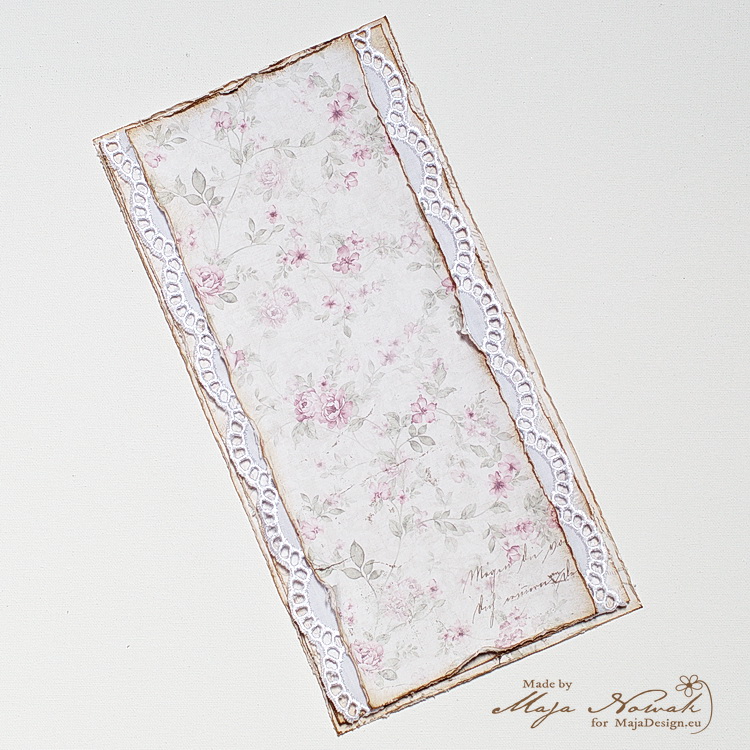
3. I wrapped the lace around the paper and attached the ends with double-sided tape:

4. I layered the background and middle papers together:
5. Then I added the top paper:
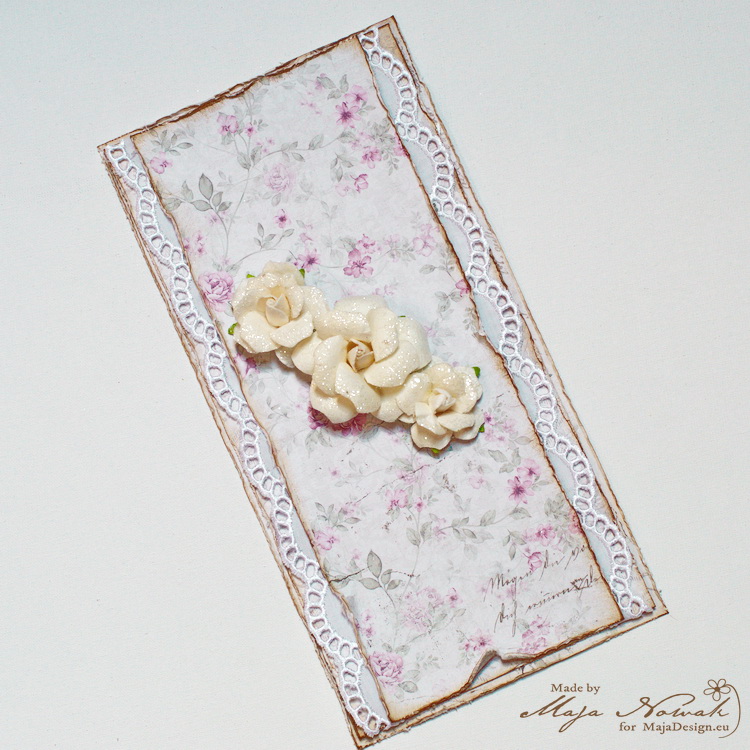
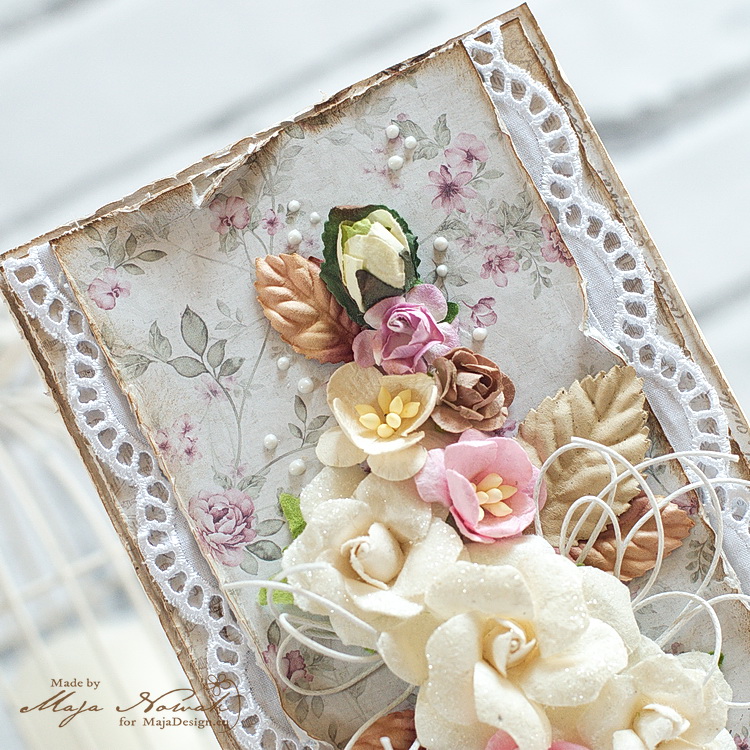
6. I started to arrange the flower cluster, beginning with three largest flower. I placed them slightly diagonally in the middle:
7. Then I added medium-sized flowers…
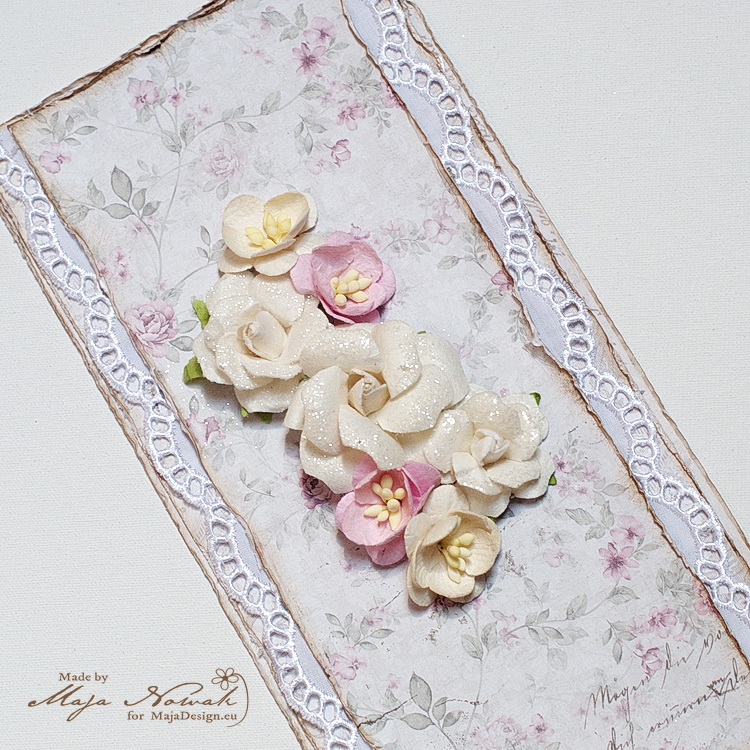
8. …and the smallest flower and buds:

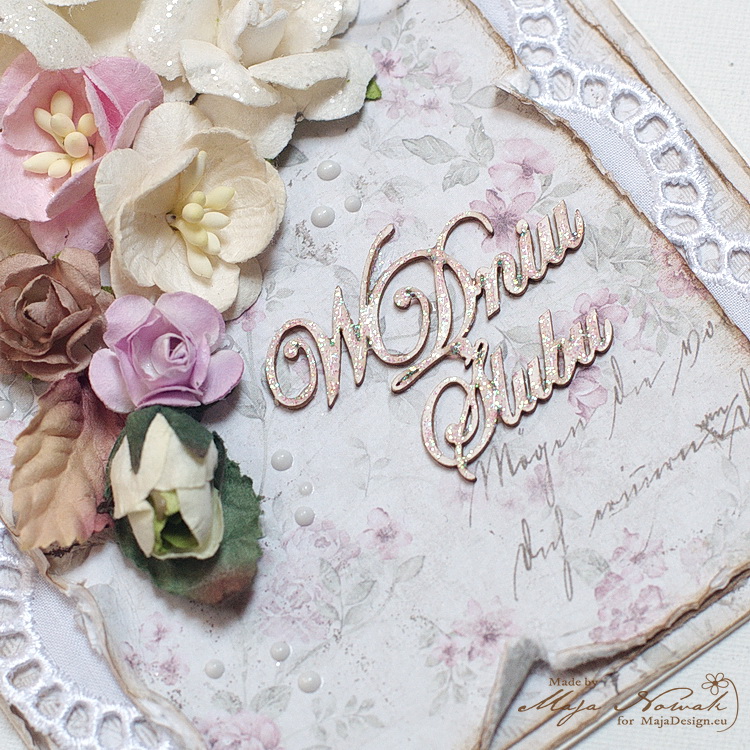
9. Then I added leaves, tucking them in between the flowers. For the sentiment I used a chipboard word:
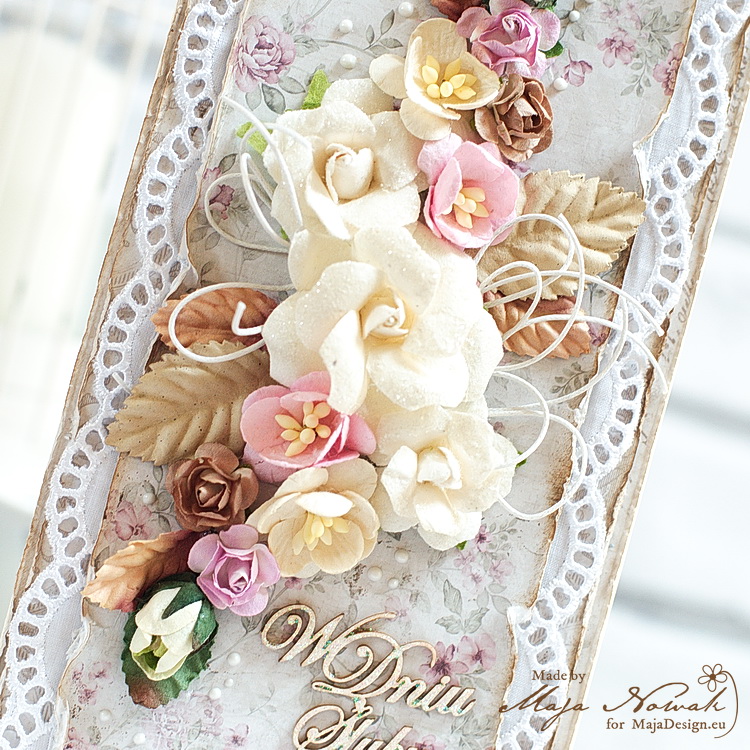
10. I made some bows using waxed string – I reccomend using this type of string as it’s very easy to shape – I curled the ends just by dragging them between my finger and thumb.

11. I folded each bow in half, applied some glue on the knot and tucked the bows under the flowers on the sides:

12. And then I added some finishing touches: covered the chipboard sentiment with glitter and added some liquid pearls dots here and there:
See how easy was that? The card looks rich and elegant but it wouldn’t take more than half an hour to make 🙂 Will you give it a go?
Supply list:
-
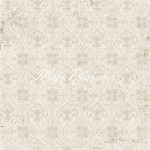
- Champagne
-
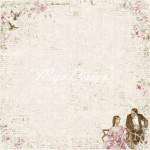
- Love is in the air
-
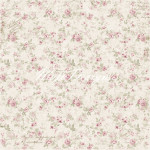
- Walk with me
Other: flowers & leaves: Prima, Wild Orchid Crafts; chipboard: Scrapiniec; glitter: Ranger; lace, string: my stash.
See you soon!

6 Comments
Wow this looks amazing. Will definely give it a try. I would like so much to do a vintage vard but I am a little cary about. But know i will try. Tjank you Maja
Xx Diana
Beautiful. Thanks for tutorial.
Marjeta
Oh, how lovely!
It´s just adorable and very very beautiful. I do this kind often and just LOVE to make them, cause as you say they´re soo easy and yet sooo elegant and gorgeous, and everybody loves to get them. And you´ve done an awesome job on this one ehre too, it really is gorgeous.
Love all the gorgeous layers and especially the added texture of the bows!
Thank you so much, ladies!
DeeDee, you definitely must try, there’s nothing to worry about – and if you don’t try you will never know you can do it! 🙂 I’m sure you’ll do great, please share your project when you’ve finished!