Trifold card with tutorial.

3

Posted by Lenet Mos

25 February, 2019 - ,

Write a comment

Hello Lenet here again ,

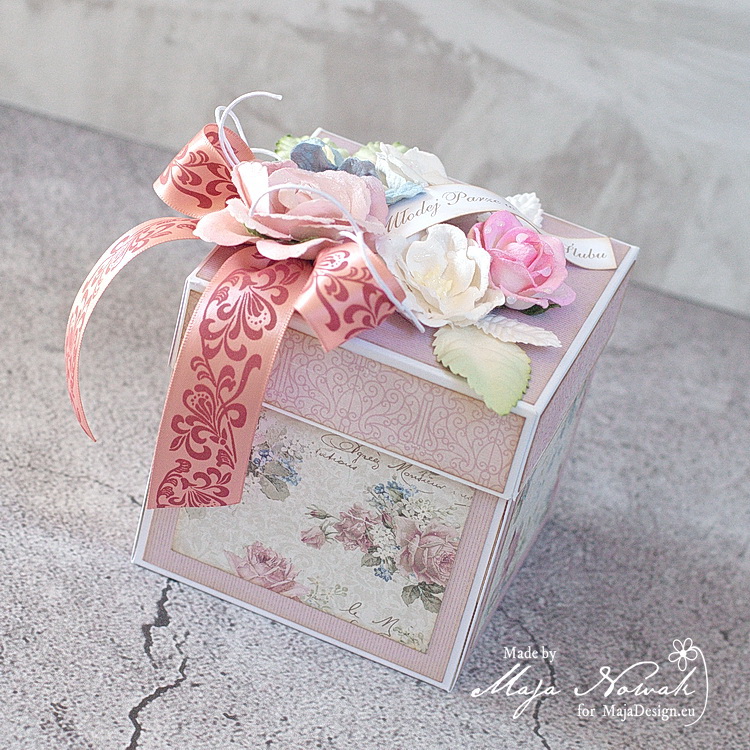
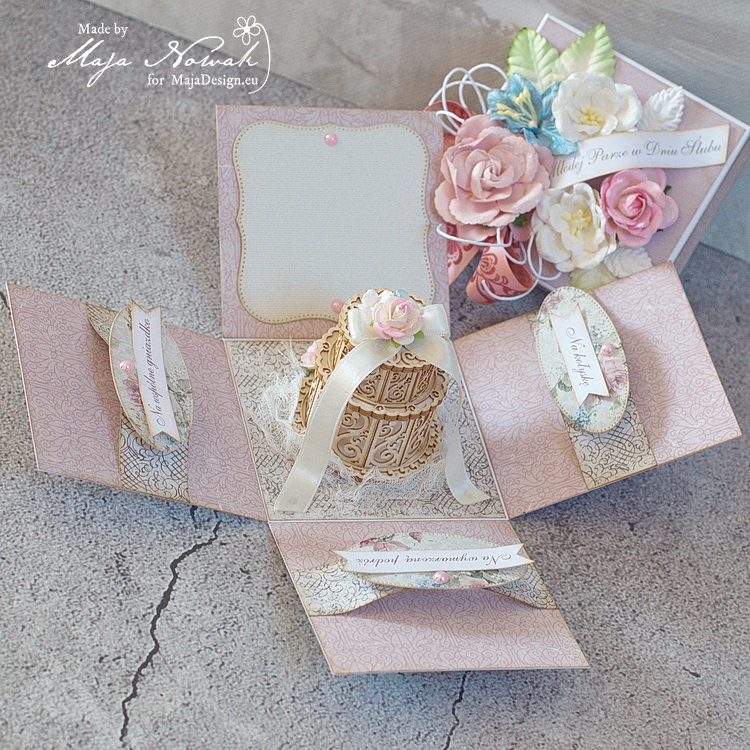
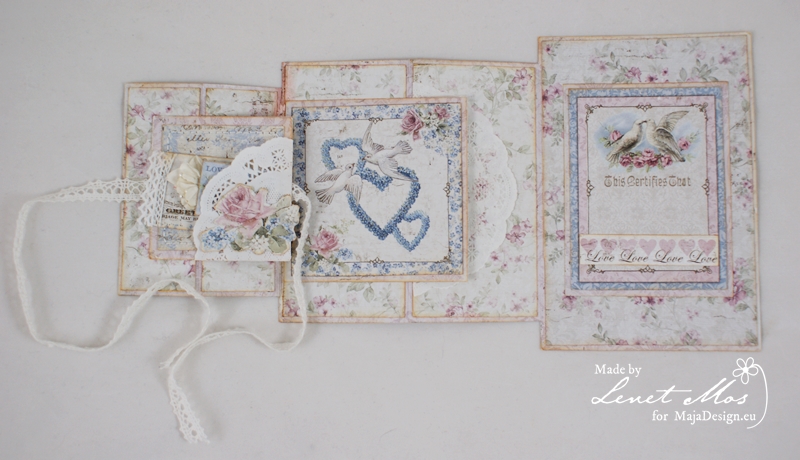
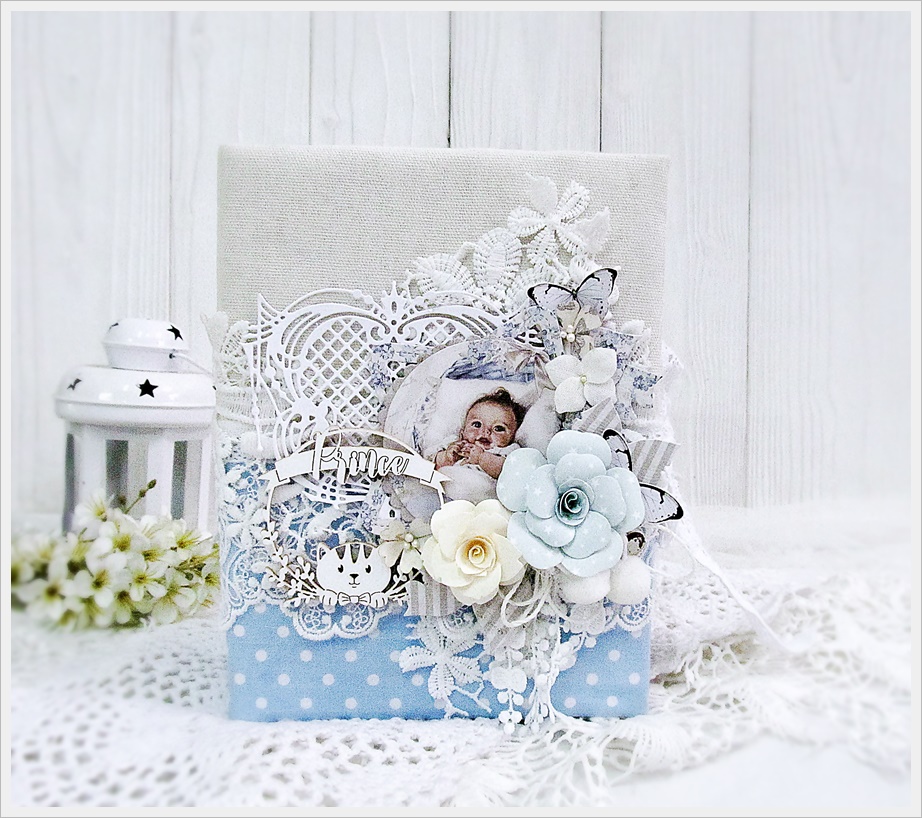
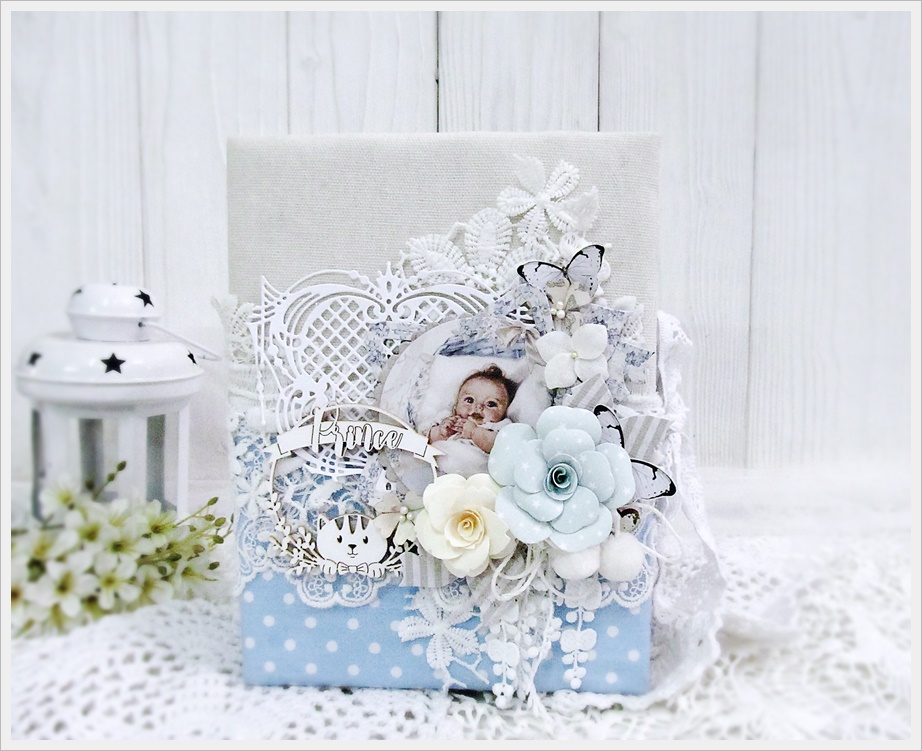
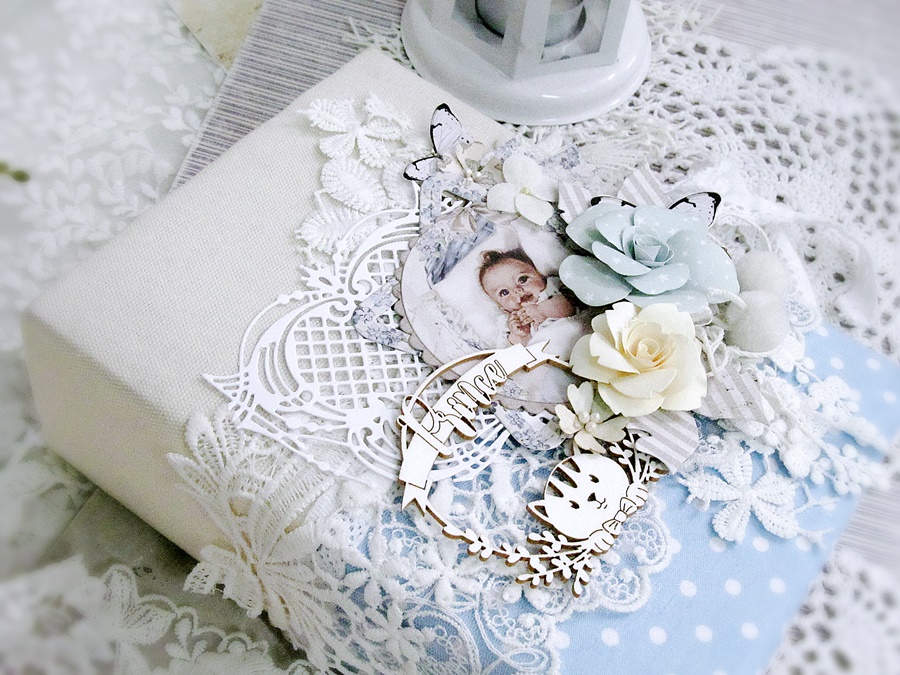
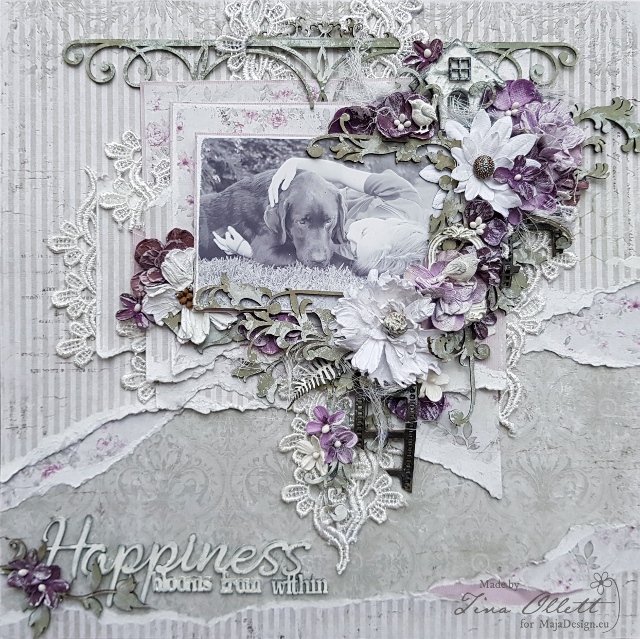
Today I bring you this card, with a little tutorial.

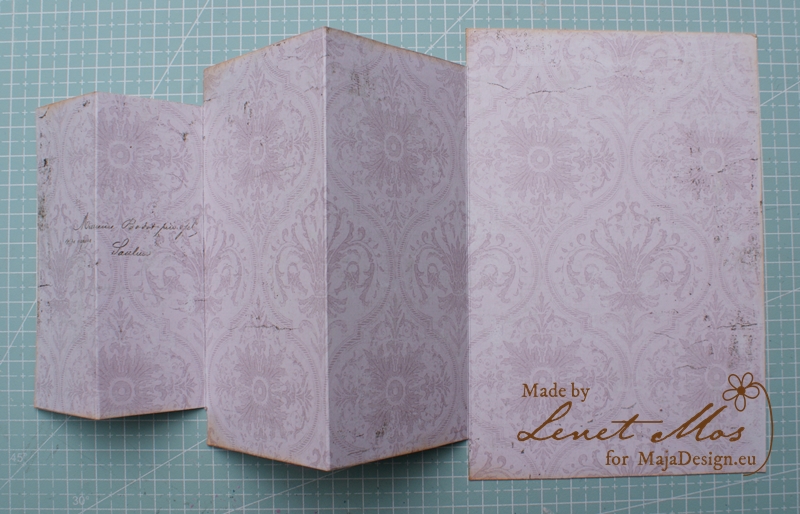
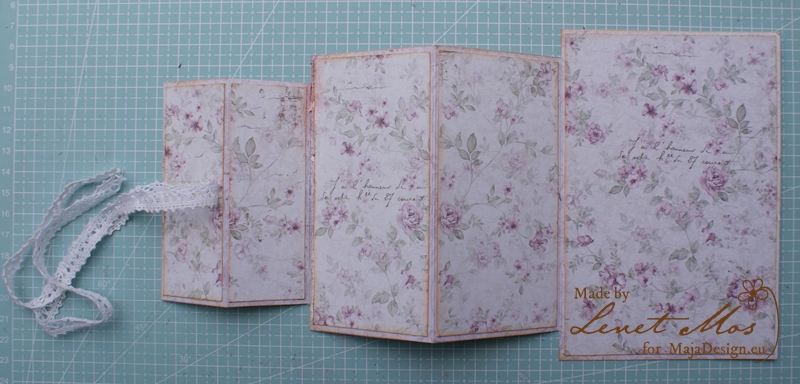
For this card you need a piece of paper of  6 by 12 inches.

Score it at 1,5″ – 3″ – 5,5″ and 8 inch. and fold it like the picture below

Than measure  1 inch from top and bottom of the first fold and 0,5 inch from the second like you see in the picture below.


than cut away those parts and you get  what you see on this picture.

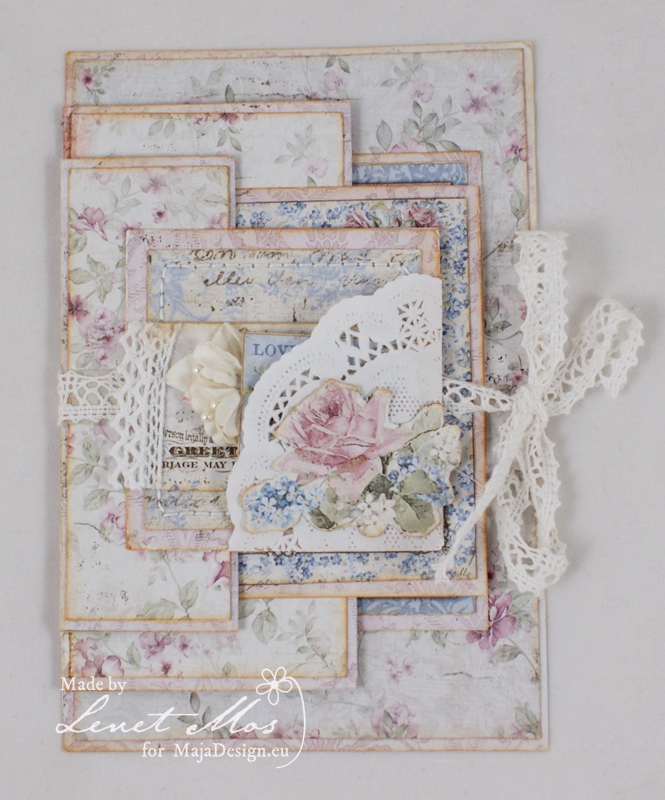
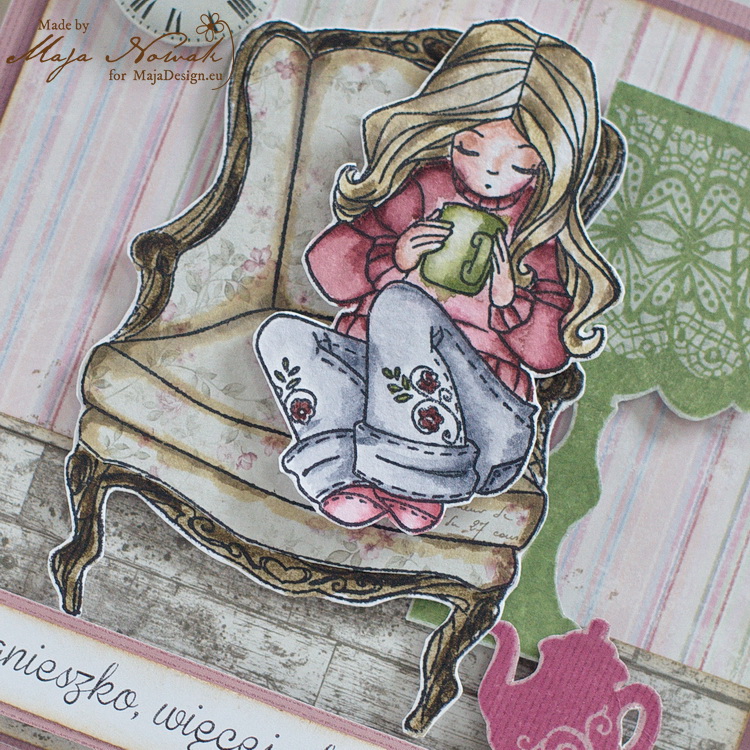
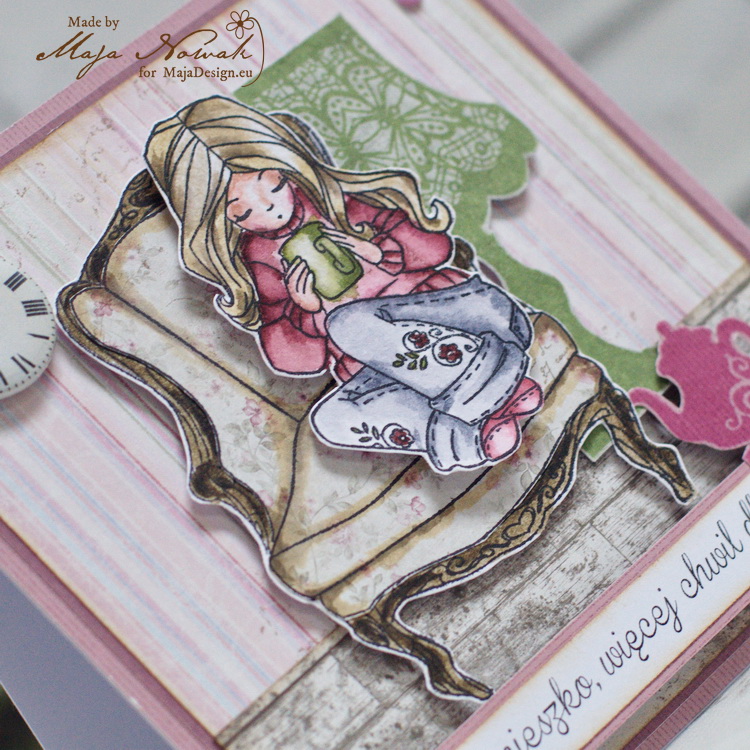
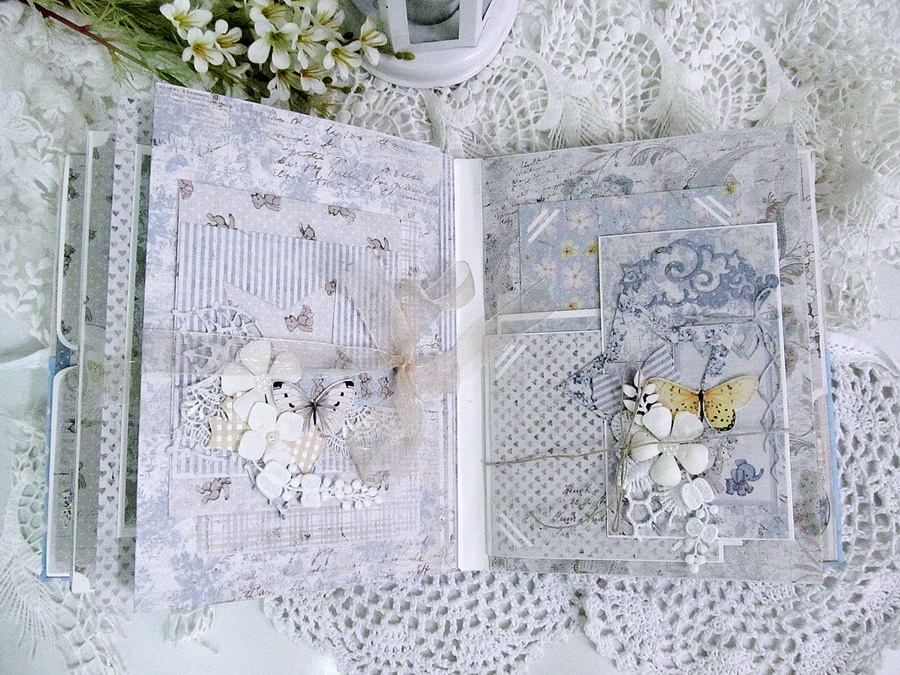
Now we can start decorating the card.

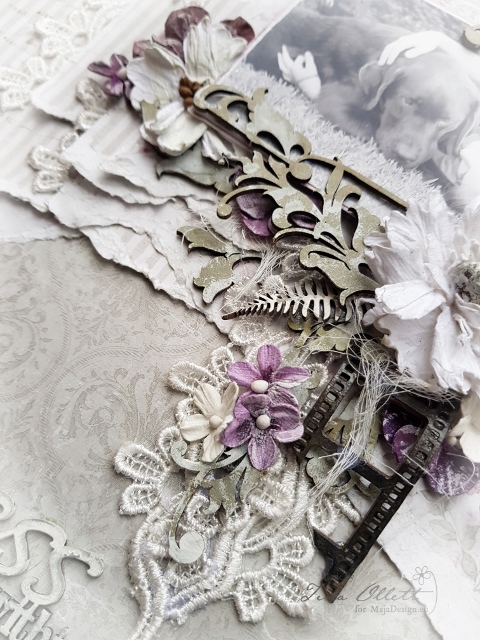
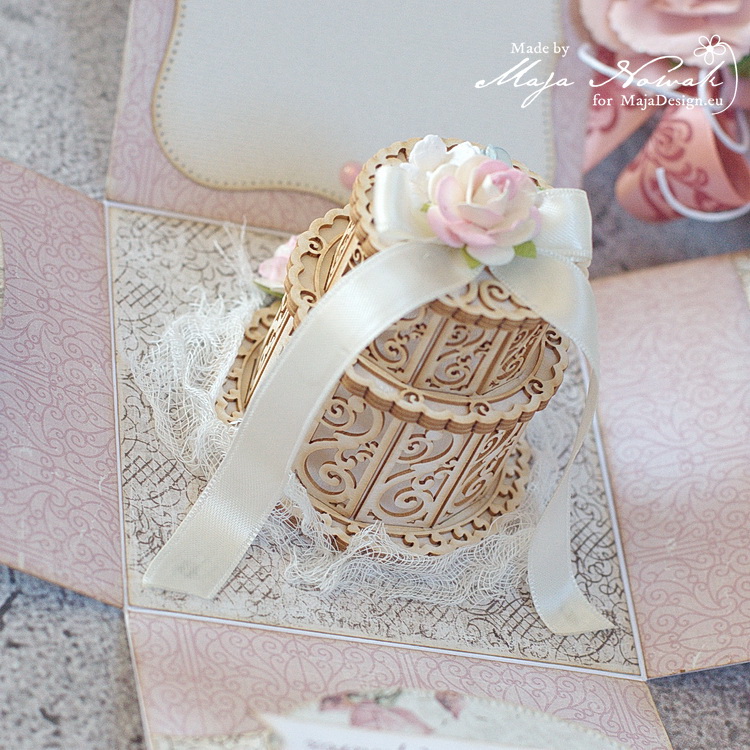
I took 20 inch lace and glued it in the middle to the front of the first flap.  With this I’m going to close the card.


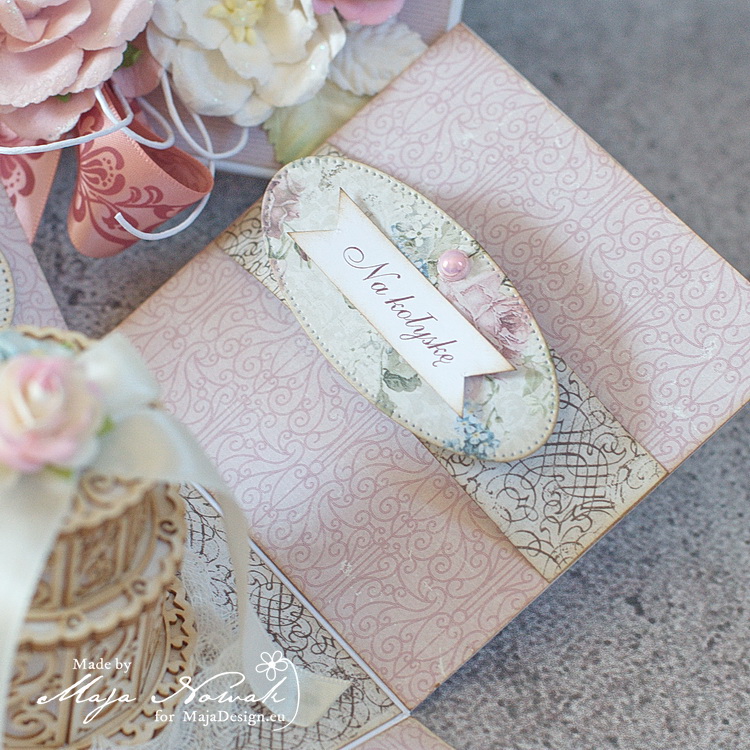
For the front I took a square piece of paper of 2.5/8 inch , and gave it a little pocket by folding a doily around one corner.

And made a little ticket to put in it.


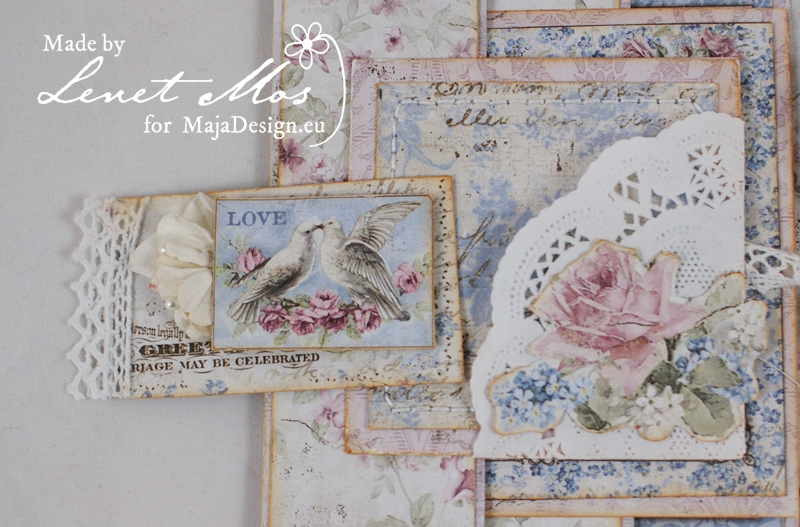
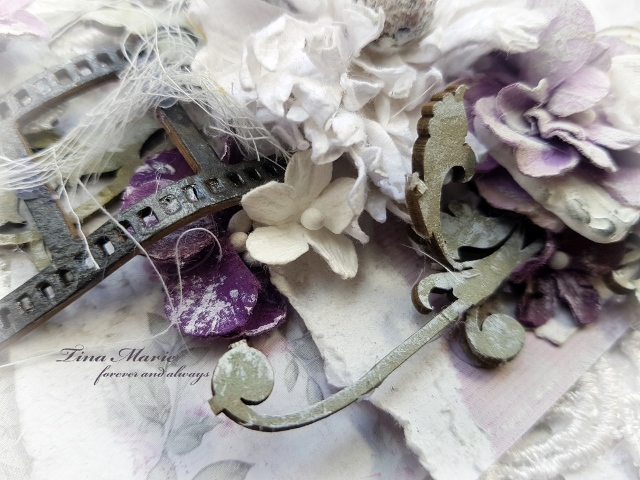
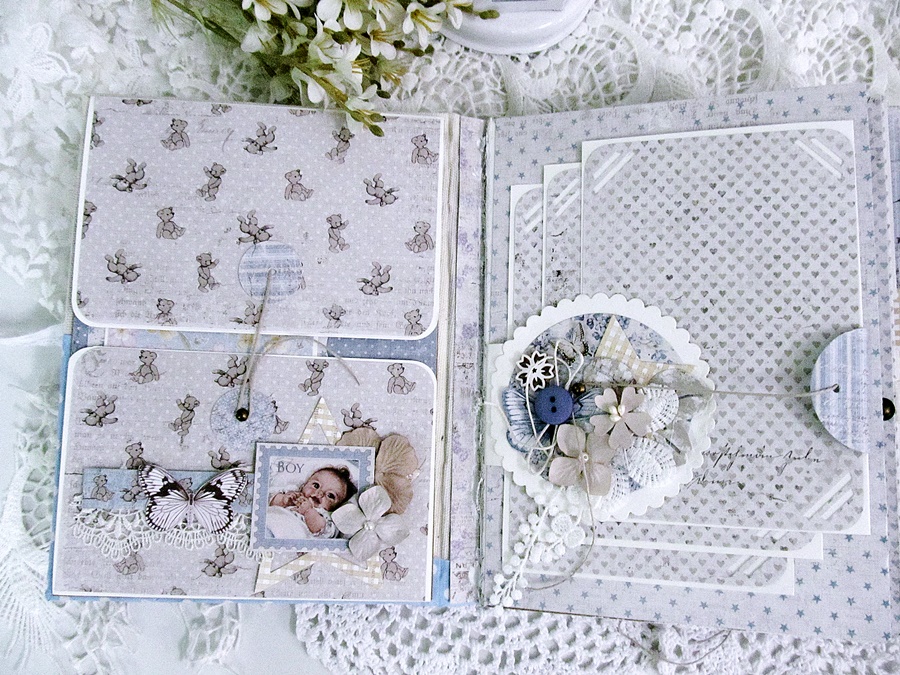
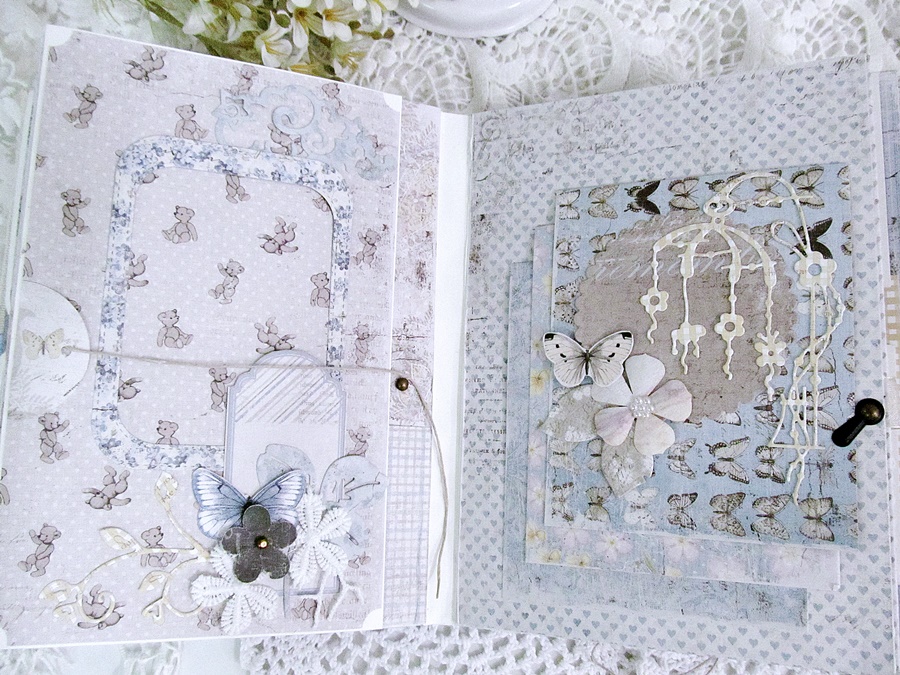
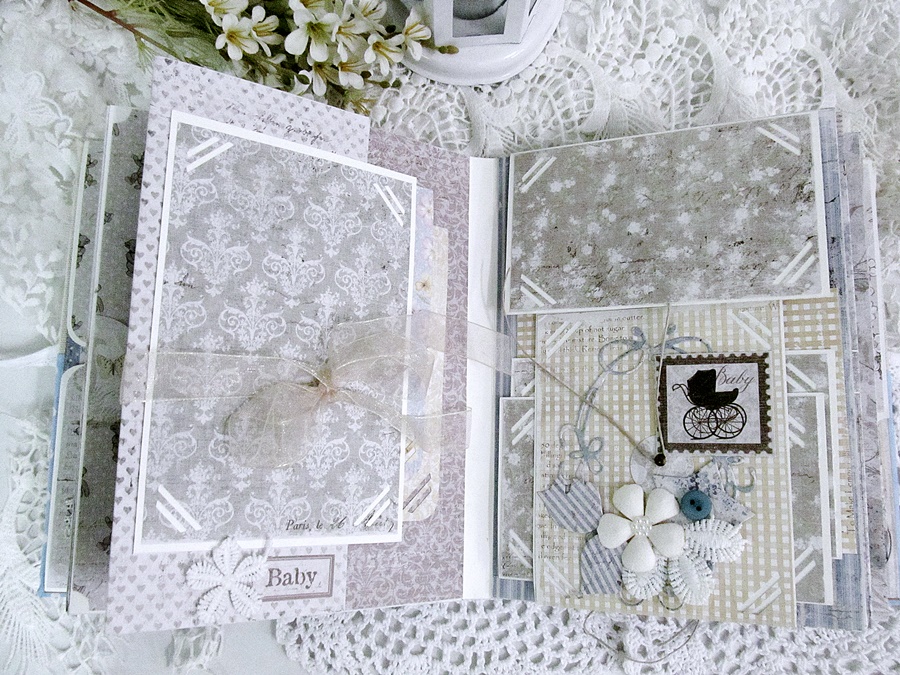
For this card I used the vintage romance collection and took two diecuts  from the diecutsheet.

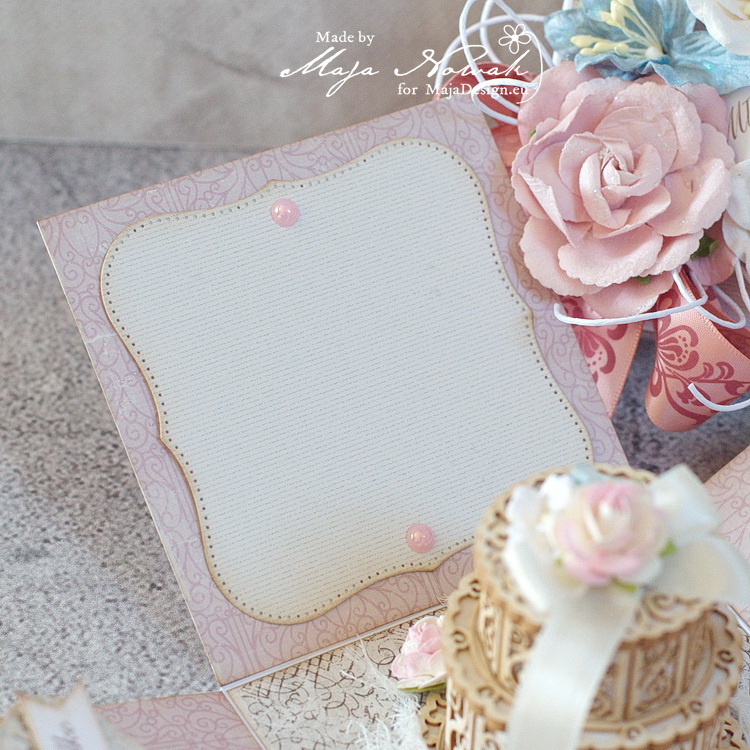
The one  with the doves is glued to one half of the second flap /fold , just like the top square other wise you can’t close the card.

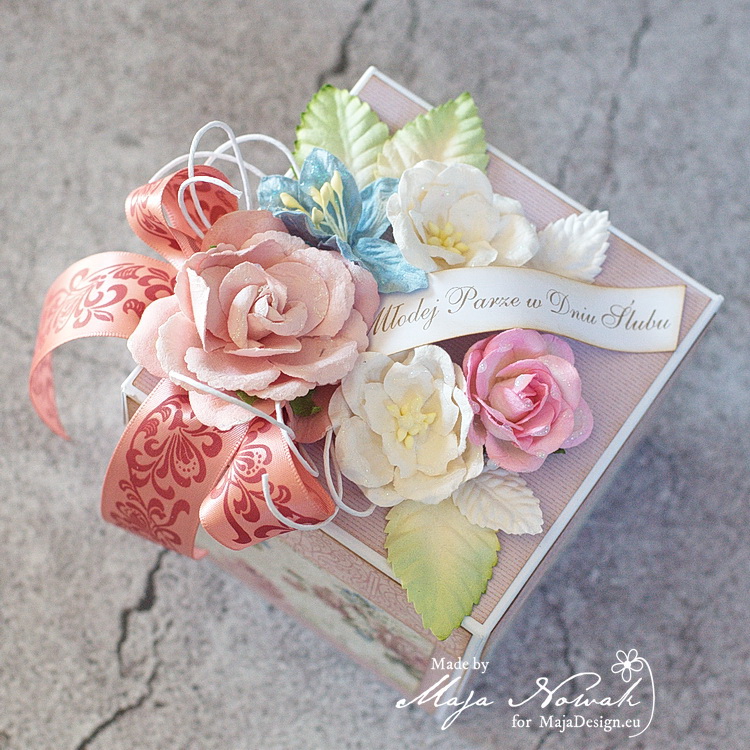
of course you can decorate it to your own liking but keep in mind not to use bulky embellishments .

I hope  you like my card and my tutorial , happy crafting and till next time.

Take Time To Relax

1

Posted by Maja Nowak

21 November, 2018 - , , , ,

Write a comment

Baby it’s cold outside! 🙂 We’re just having the first snowfall this season and it really makes you think of Christmas – but before we get into the holiday mood, I have a card to share focusing on different matters:

When life gets busy and we hurry to take care of so many things daily, we often forget to also relax properly. This card is supposed to remind a certain very busy bee to spend more time resting and enjoying life. Shouldn’t we all? 🙂

I made the card using various bits of papers to create a cozy scene with some stamped motives. First I layered some papers to make the walls of the room and then added various stamped images.

I coloured the girl with Distress inks and used the paper piecing technique for the armchair: stamped the image twice, on cardstock and on the patterned paper, cut out the seat, layered the two pieces and then added some shadows to make the seat more dimensional-looking:

I like the way it turned out a little dimensional but still able to go into an envelope 🙂

And here’s the list of my supplies:

Maja Design papers:

Other: stamps: Whiff of Joy, Inkadinkado; button: Prosvet; pearls: my stash.

And that is all for today, thank you for visiting and see you later!


Baby boy album

3

Posted by Kavi Tha

12 November, 2018 - , , ,

Write a comment

Hello Maja fans,

Kavitha here today to share my latest baby album made with beautiful Maja design papers.I mixed Vintage baby,vintage spring basics and vintage romance collection to make this album.The album measures 6 by 8 inches and has 6 turns with lots of flips and flaps to hold nearly 40 pictures.I combined blue and brown shades of papers with hint of yellow.Its was lots of fun making this album,i hope you will like it too.


Maja papers used:

Vintage-Baby-P

Vintage-Spring-Basics-P

Vintage-Romance-P

Thank you for stopping by.

Happy crafting


“Happiness blooms from within” by Tina Ollett

5

Posted by Tina Ollett

9 October, 2018 - , ,

Write a comment

Hello and welcome Maja Design friends.

Tina Ollett with you today to share my next project with you.

This has been titled “Happiness blooms from within……”

I have kept my project for today very simple and very shabby. I did lots of layering of the beautiful papers from may all time favourite collection Vintage Romance. The papers from this collection are listed below for you.

Walk with me – Vintage Romance

Walk with me bs – Vintage Romance

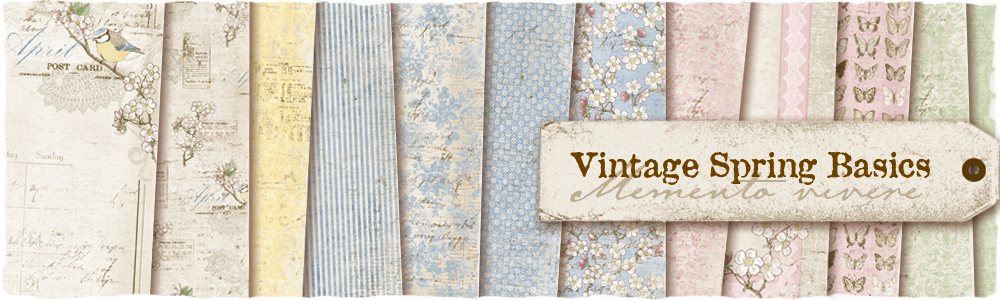
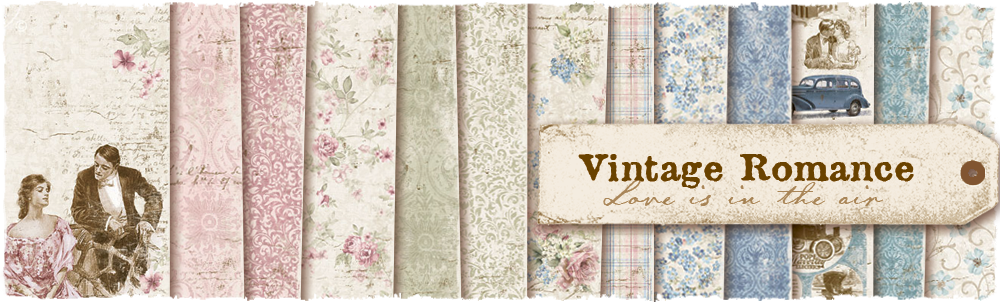
When I saw you bs – Vintage Romance

I have also added in a sheet of the gorgeous Lavendar Rose to compliment my layout from the Monochromes shades of Celebration. This was used to mat my photo and some of the other layers to help them pop a little. It is a very stunning colour.

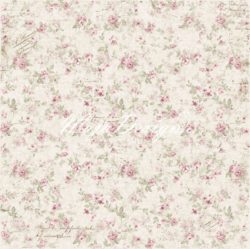
Mono Celebration-Lavender Rose

I decided to go with a black and white photo to help keep the layout light. I also decided to use some cute paper clay moulds.

And as always with my layouts I have added layers of Dusty Attic chipboards to my layers of Maja Design papers. I have used Distress Inks to colour my chipboards along with splashes of gesso to lighten sections of the boards.

I have added in lots of beautiful 49andMarket flowers. These too have been added in layers amongst the papers and chipboards.

Here you can see all the layers of the torn Maja Design papers.

Here you can see I have added in lines of gorgeous lace. This has been cut to sit back to back and over the top of each other and also over the layers of my torn papers. I added in sections of white muslin that has been distressed.

Well that is all from me today. I do hope you have enjoyed my post today. Until next time take care and happy crafting.


Rose Wedding Exploding Box

2

Posted by Maja Nowak

12 September, 2018 - , , , ,

Write a comment

Good morning, dear Maja Friends, welcome to the blog today!

The wedding season is slowing down a bit, but still the wedding bells can be heard each Saturday 😉 And so it is reasonable to have a stock of wedding cards and gifts at hand. Therefore for my today’s post I decided to make a wedding exploding box for those who wish to complete their wishes with some cash too 🙂

I combined two collections in the box, and they are both perfect not only because of beautiful colours and elegant patterns, but also because of their names! Mix Vintage Romance with Celebration and you have a perfect wedding project.

I matched the flowers I used for the box with the printed ones of the Engagement sheet.

Inside the box are the usual slots for money – the sentiments say: for the crib, for the shared nest and for the journey of your dreams – as well as the space for writing in wishes:

The filigree chipboard cake I used perfectly matches the flourishes of the papers! I decorated it with mini flowers and satin ribbon:

And how do you give cash presents to the newlyweds? Just an envelope or something more elaborate?

Here’s what I used to make the exploding box romantic and flowery:

Maja Design papers:

Other: flowers: Prima, Wild Orchid Crafts; chipboard cake: Wycinanka.pl; dies: Crealies; ribbons, cheesecloth, pearls: my stash.


And that is all for today, thank you for visiting the blog and feel welcome to drop by any time to find more inspiration 🙂