Lollipop card with Maja Design papers {tutorial}

8

Posted by Camilla Støen Bakke

10 August, 2016 - , ,

Write a comment

IMG_4239

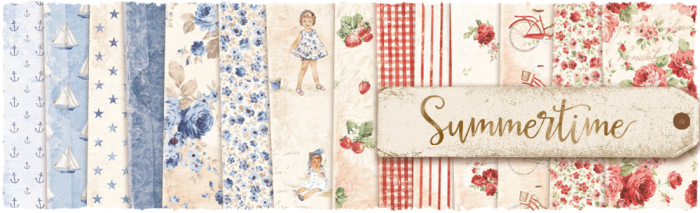
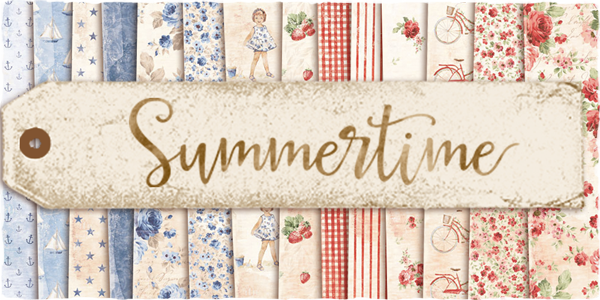
Hi there! Today I will show you how I make my lollipop cards with the beautiful Summertime papers from Maja Design. The collecion has two main colours to work with, blue and red. I have chosen the red colour scheme for my card.

Summertime-P

Here comes my step by step:

IMG_4077

Above you see a collection of dies, papers, doilies, cheese cloth, paper straw, liquid pearls and sissal grass that I have used for my card. The dies are DooHickeys from Magnolia (mainly the club kit vol 5-the blue ones) and Spellbinders (the circles).

IMG_4091

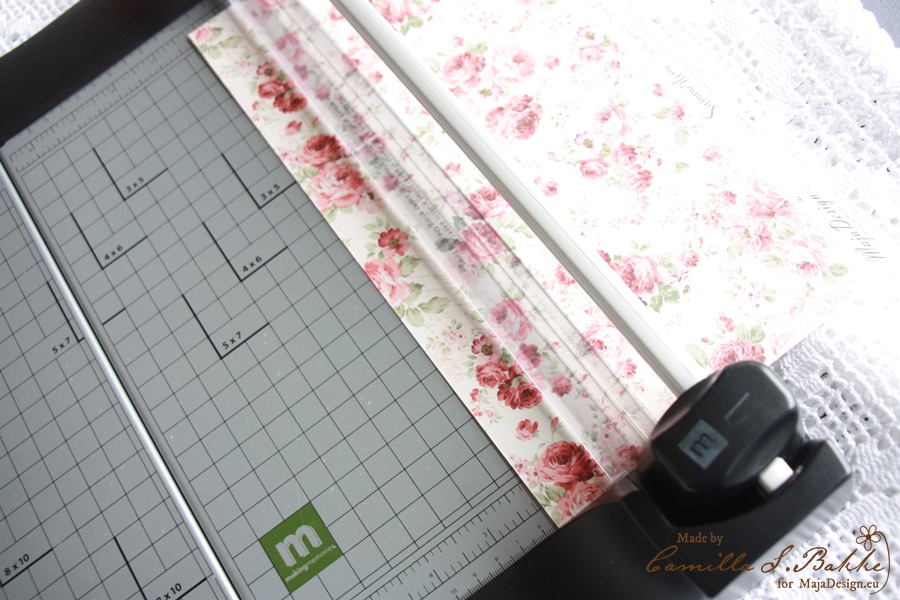
I start with making the main base in the lollipop card, the rosette 🙂 I cut a whole length (12″x 12″) measuring 5,5 cm.

IMG_4092

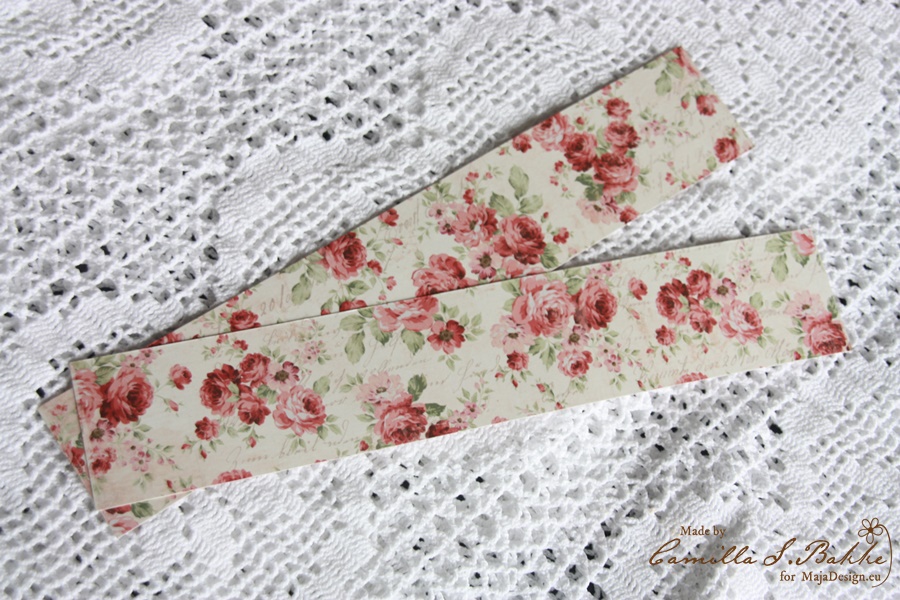
You will need two of theses.

IMG_4095

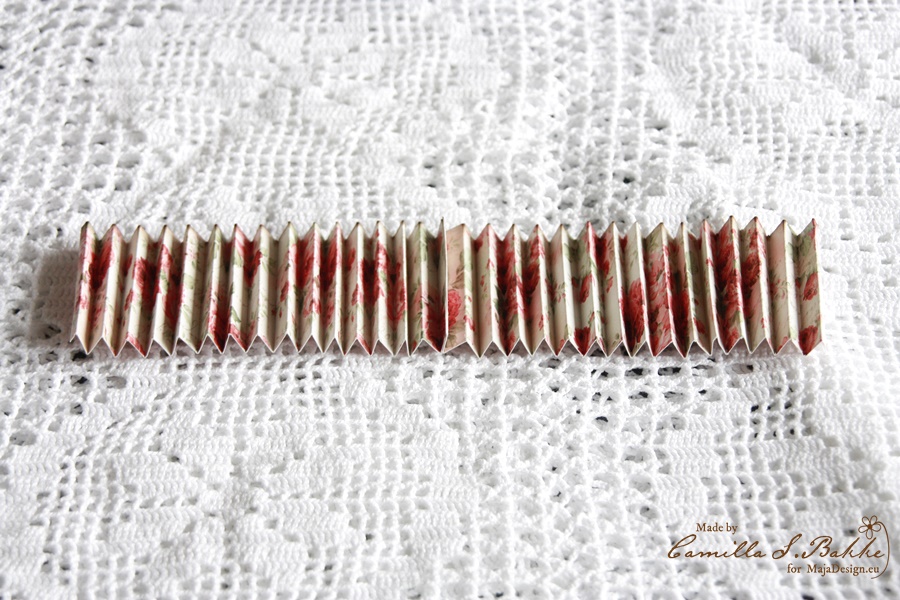
Then I fold the papers using my score pal. If you don’t have one, just fold it with your fingers. I fold every second cm (as you see at 1, 3, 5.. cm).

IMG_4097

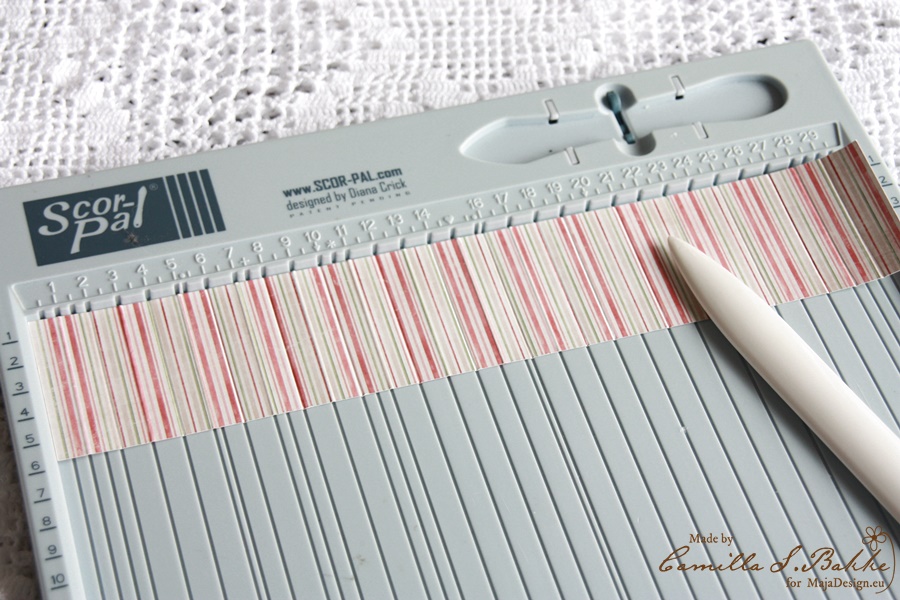
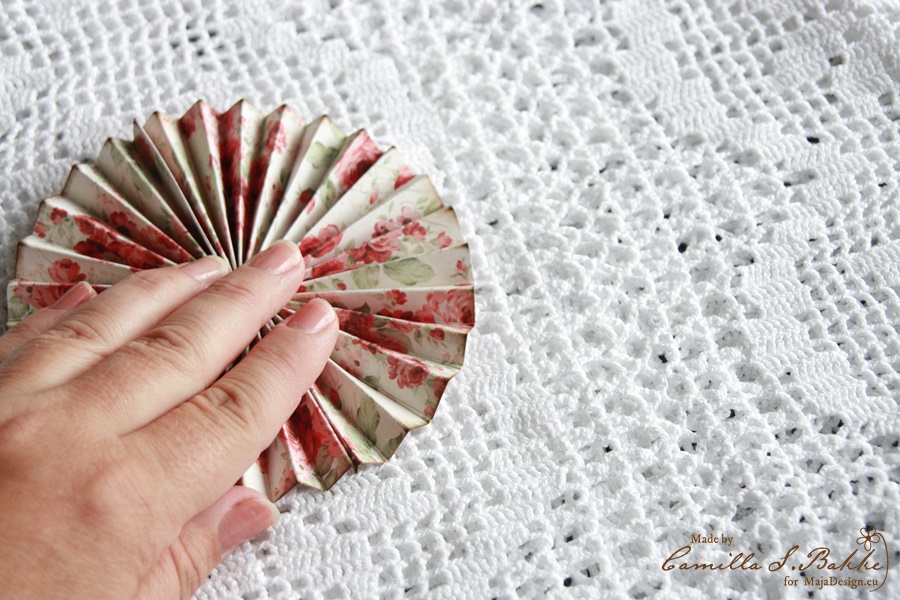
Then I turn the paper around, and fold at 2, 4, 6 … cm. Then I will fold it at every cm.

IMG_4103

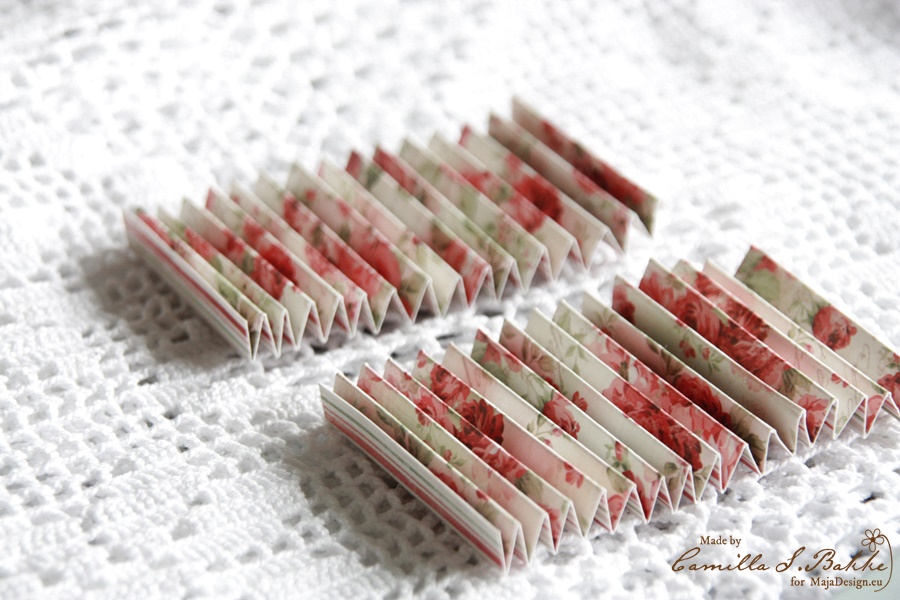
When you are finished, the papers will look like this, two accordians.

IMG_4110

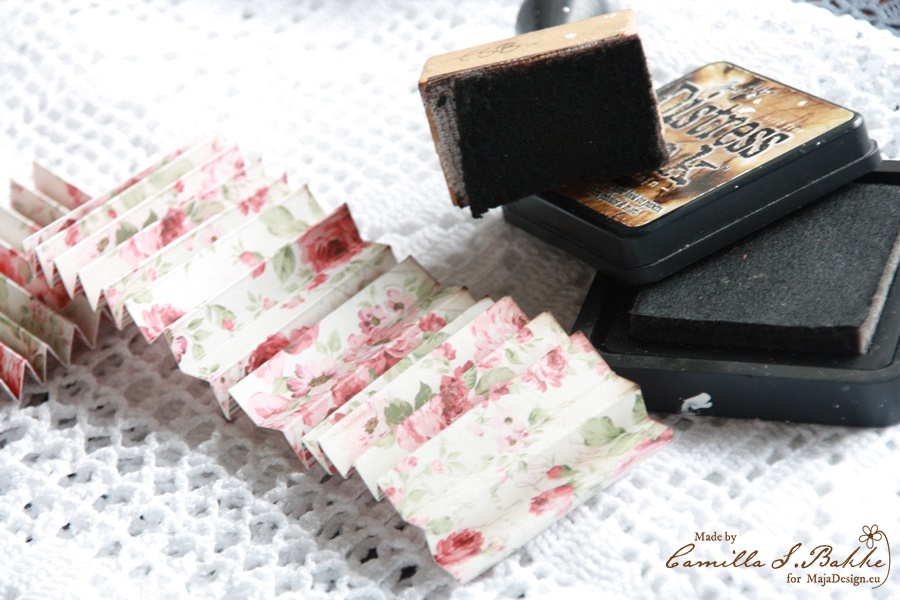
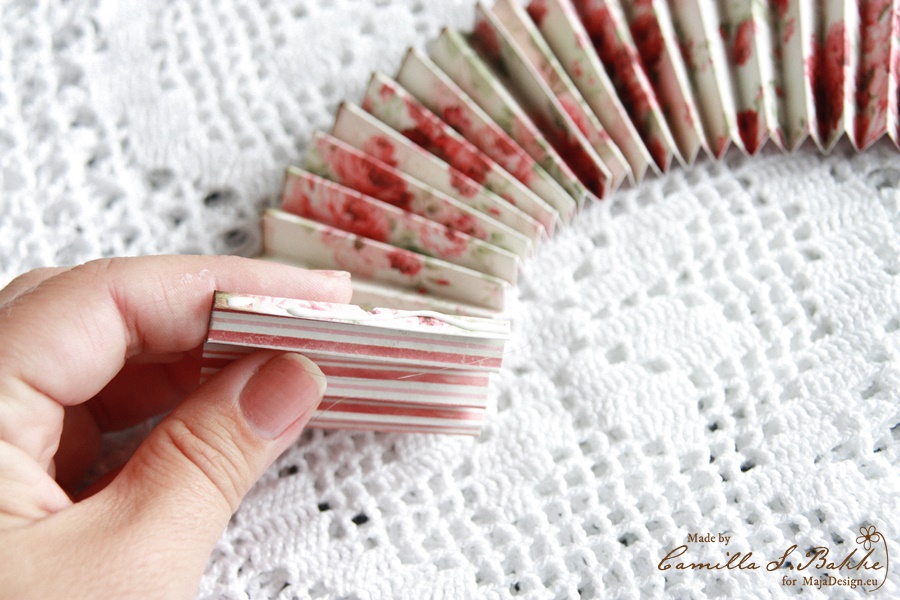
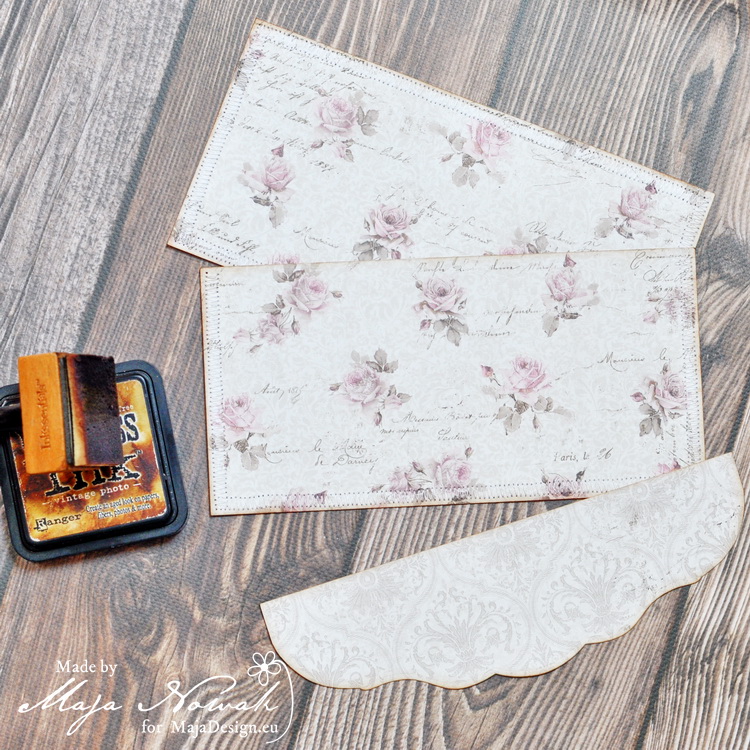
I use my inking tool to ink the edges with the colour Walnut Stain.

IMG_4113

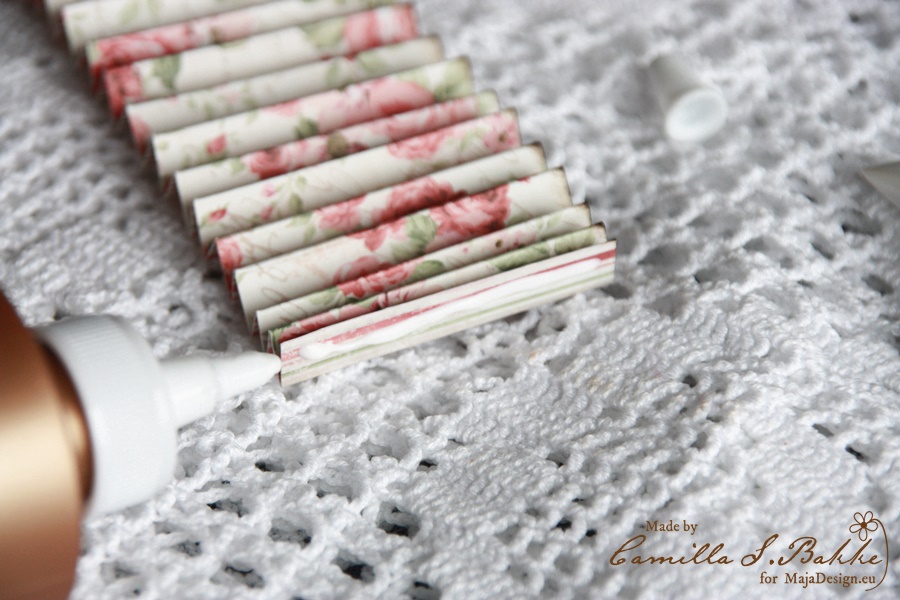
Then I glue the two parts together. I use Tacky glue.

IMG_4114

Now it looks like this.

IMG_4118

Then I glue the two outher parts together. Press it untill it is fasten together.

IMG_4120

You will now experience that the paper rosette will not lay the way you want 😉

IMG_4117

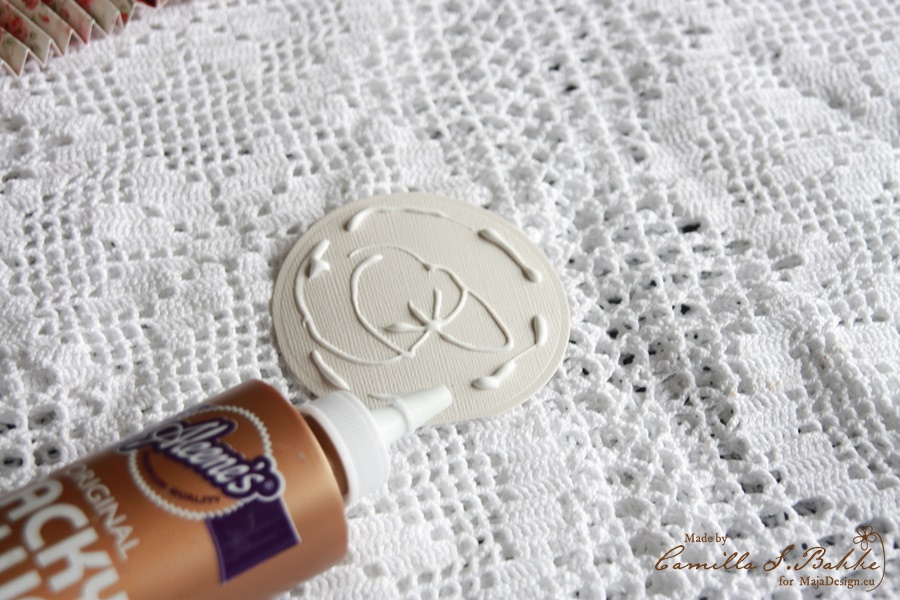
So you will need a piece of paper to attach it to. Use more glue…


IMG_4125

Place it on the back of the rosette. And press untill it is fasten.

IMG_4127

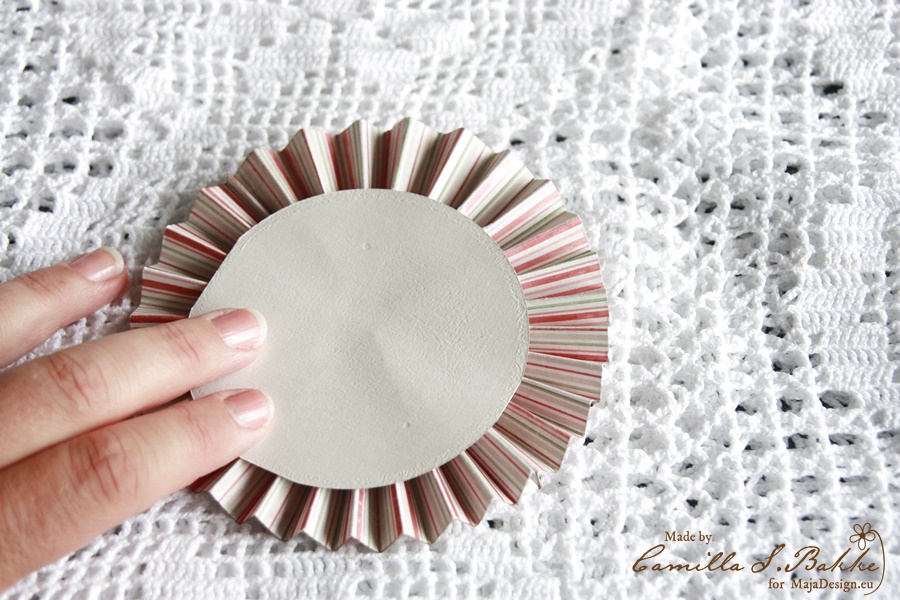
Now your rosette will look like this.

IMG_4128

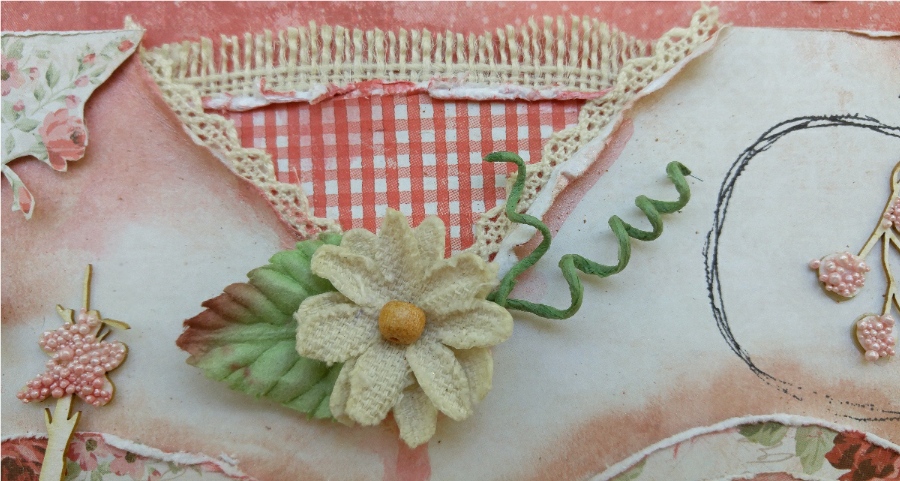
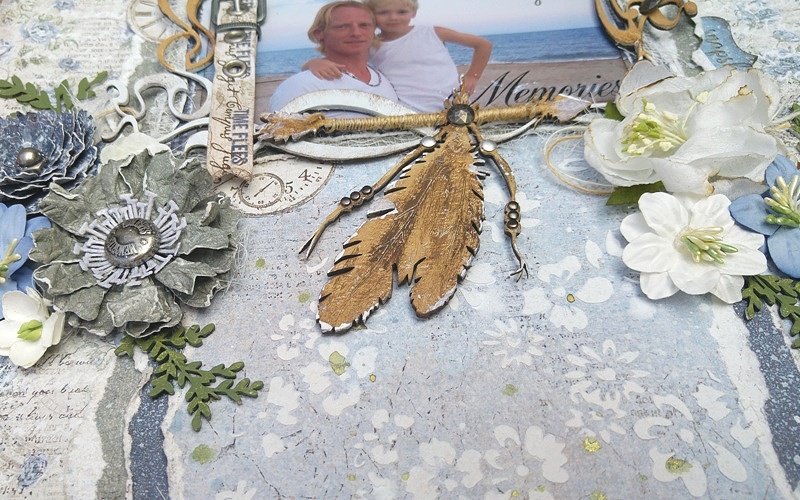
I will use this gorgeous girl as the main image.

IMG_4139

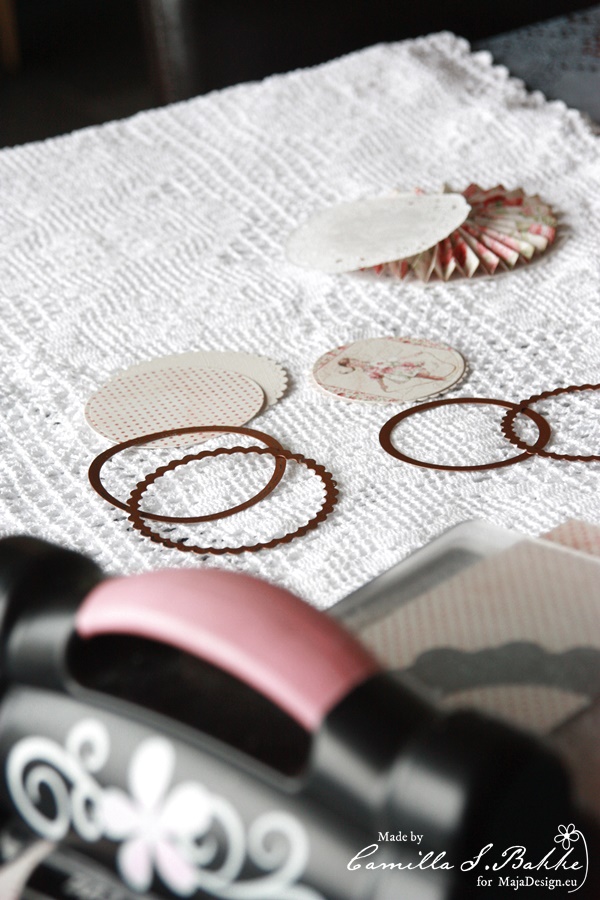
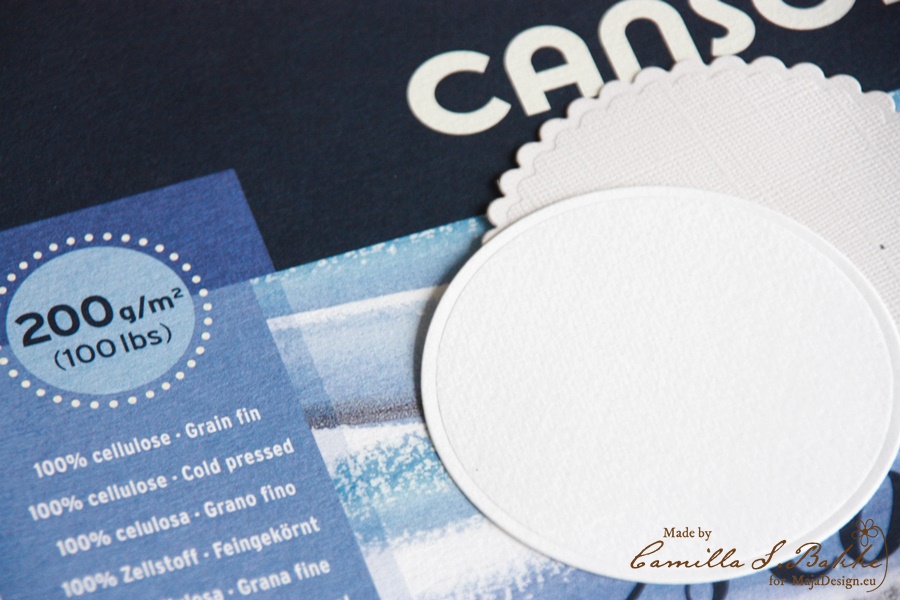
I will now cut out all the other parts.

IMG_4142

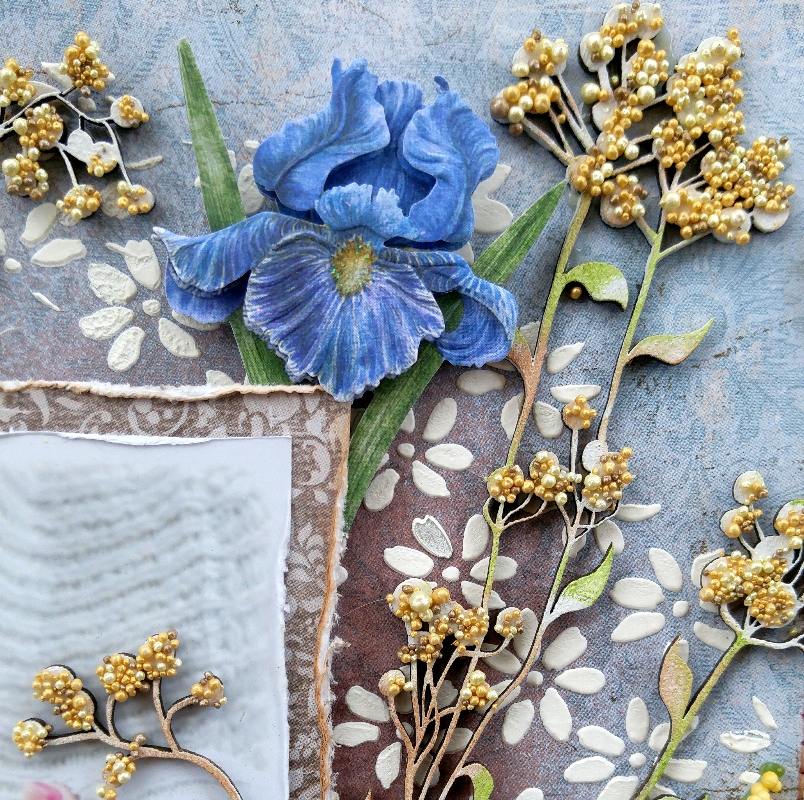
Here they are. The papers are so beautiful! Like as all the parts are small treasures.

IMG_4152

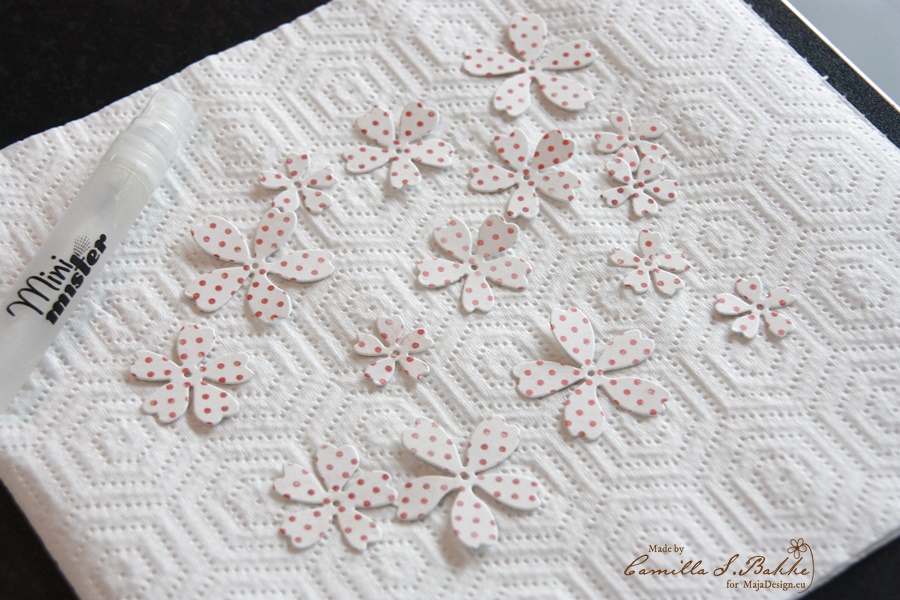
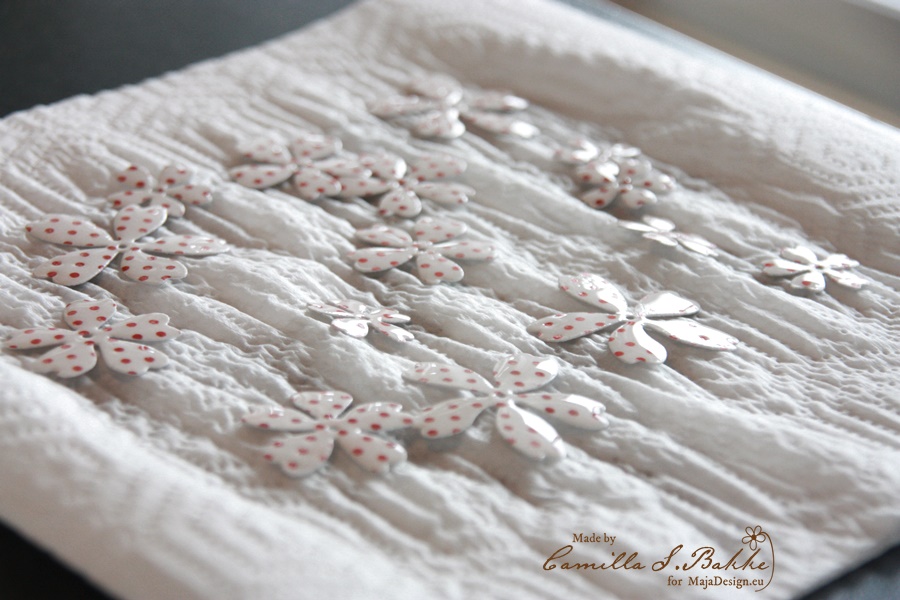
To make the flowers crumpled, I first spray them with water.

IMG_4155

..like this 🙂

IMG_4159

They are thick papers, so you will need some water.

IMG_4162

Then curl them together, and let them dry.

IMG_4166

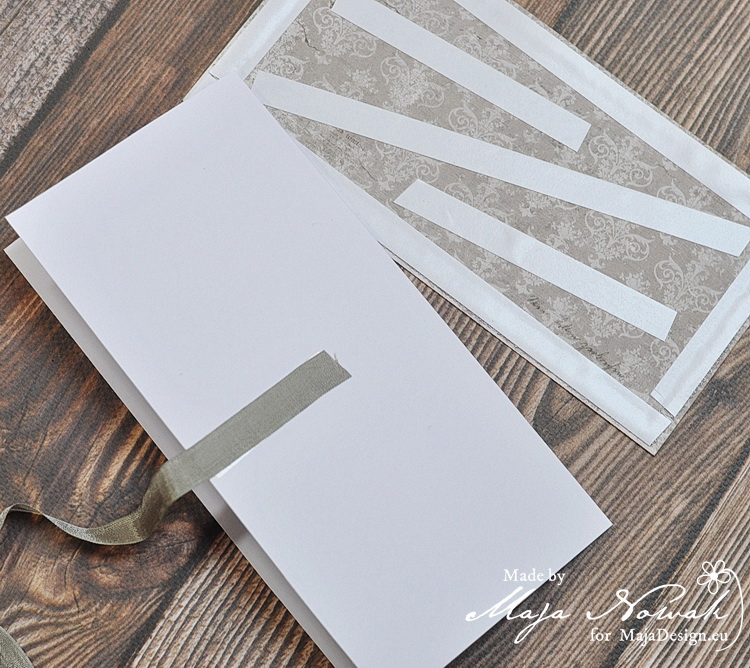
Meanwhile I prepare the back of the card, where I will place a piece of paper to write a greeting on.

IMG_4168

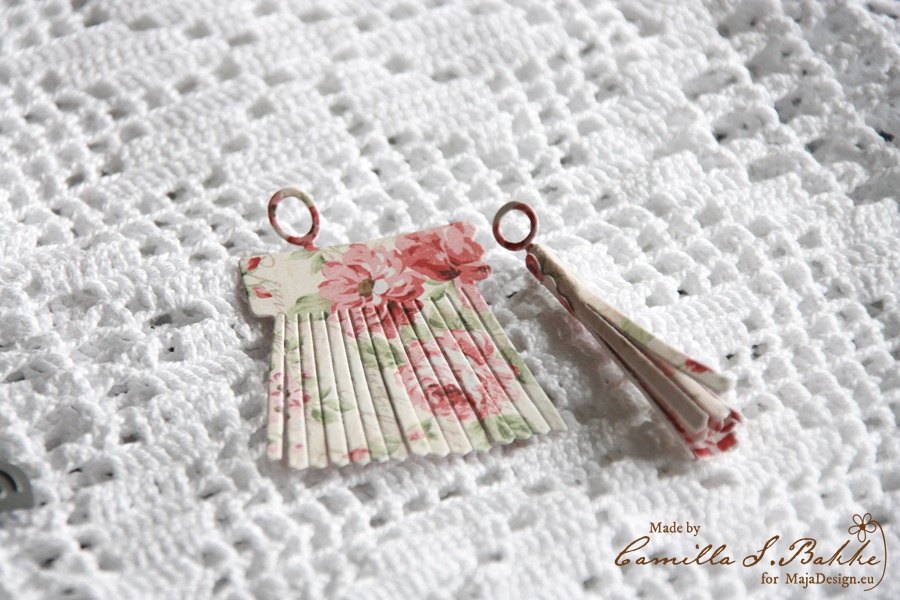
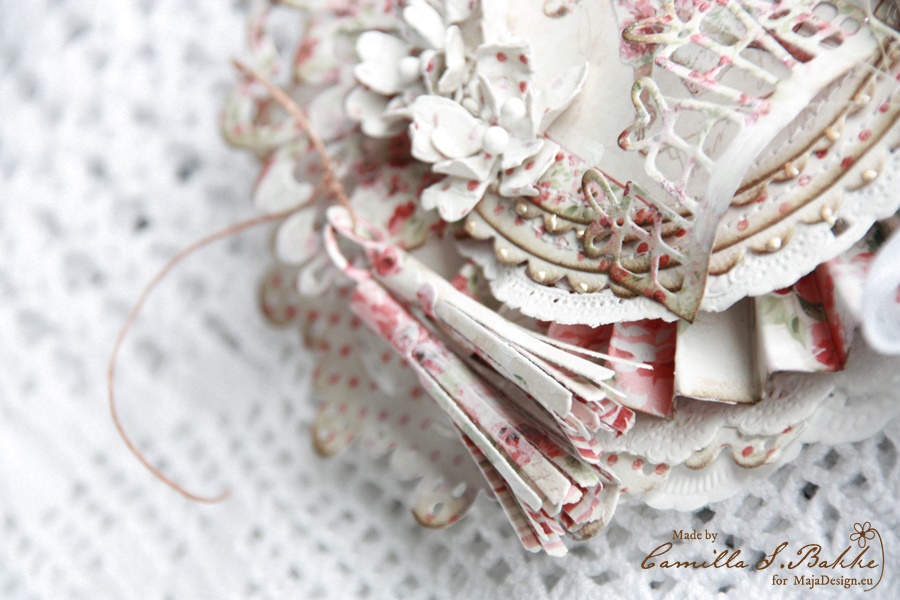
I am also making the tassels. Just love them! Too cute 🙂

IMG_4170

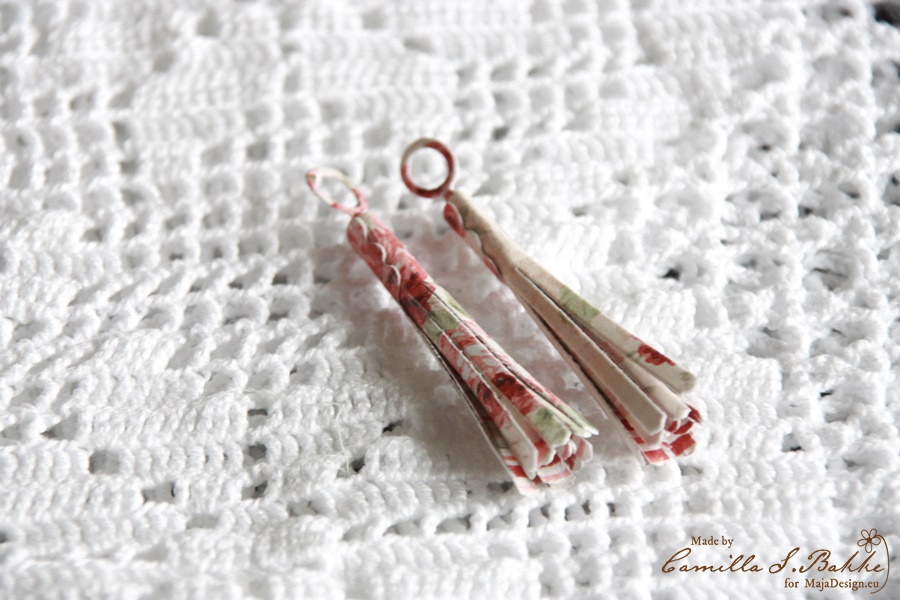
Here they are both, rolled together.

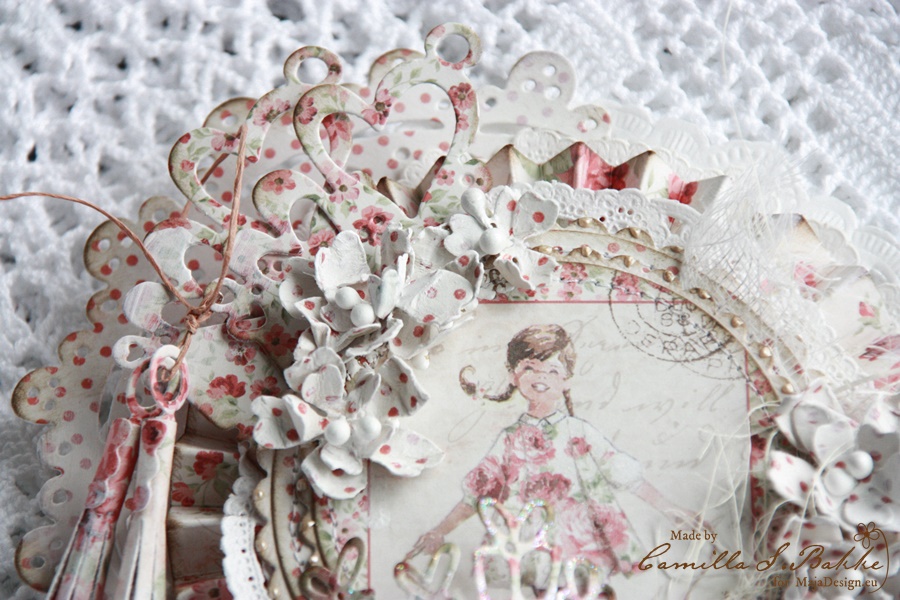
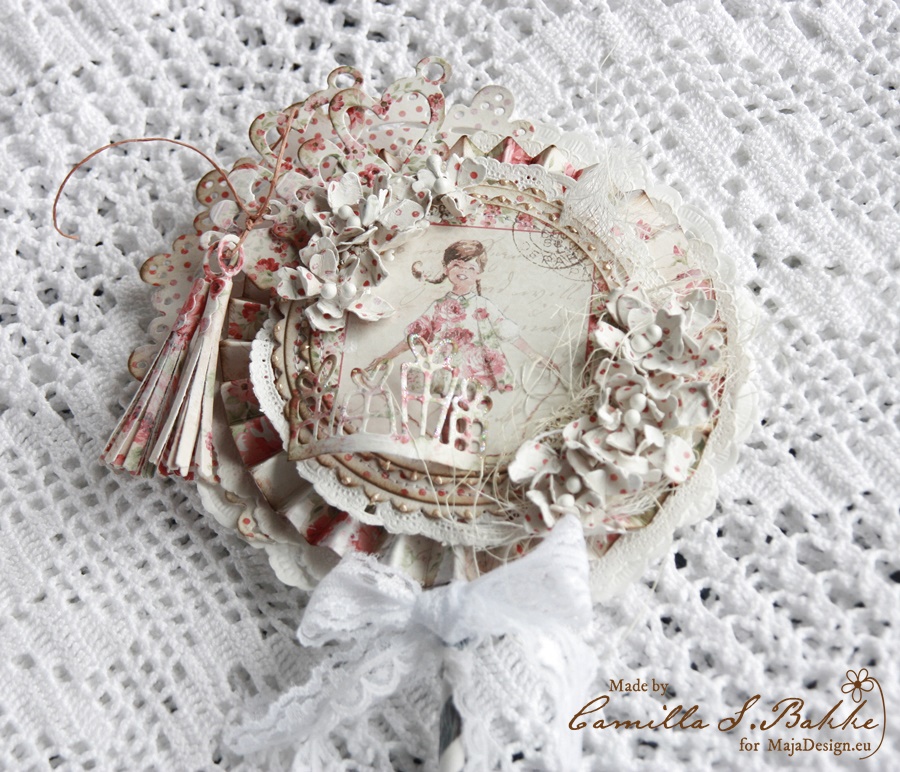
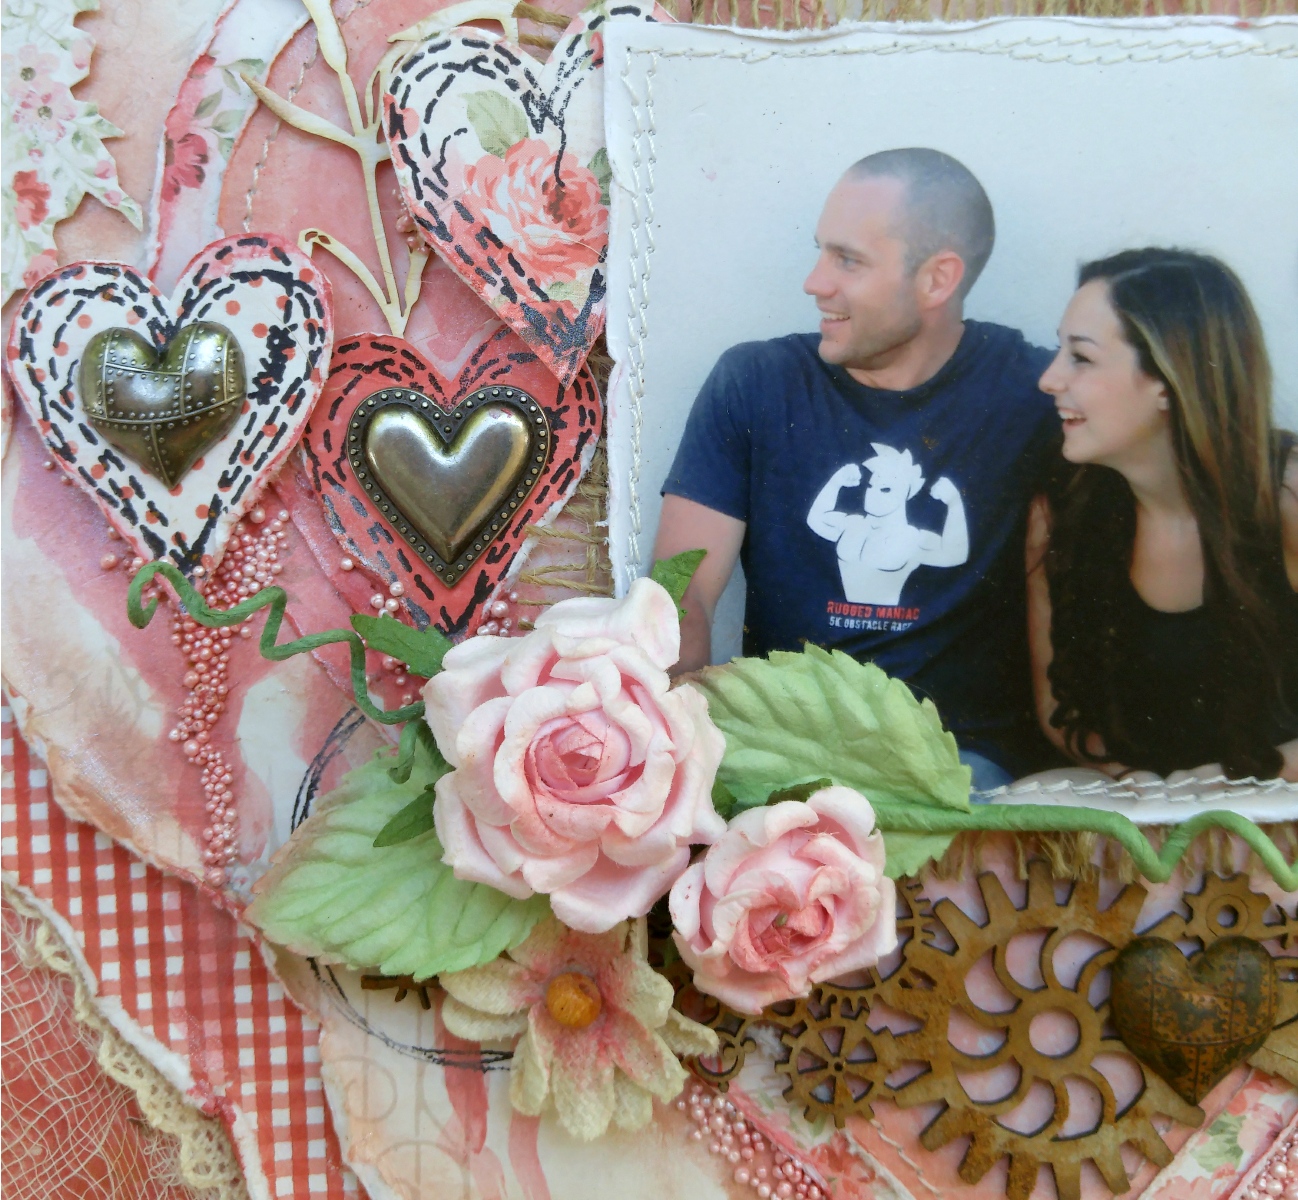
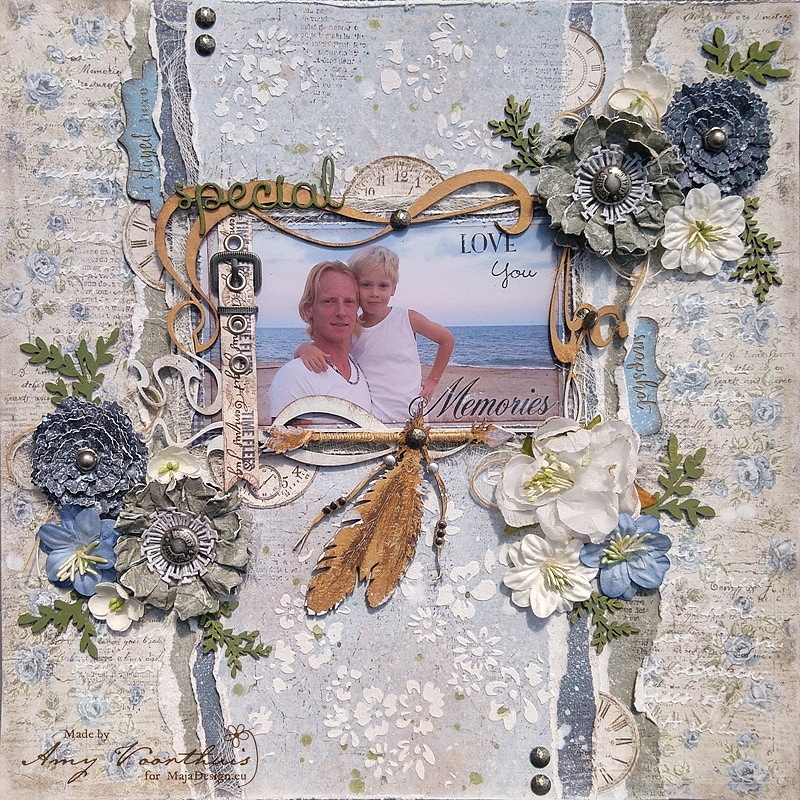
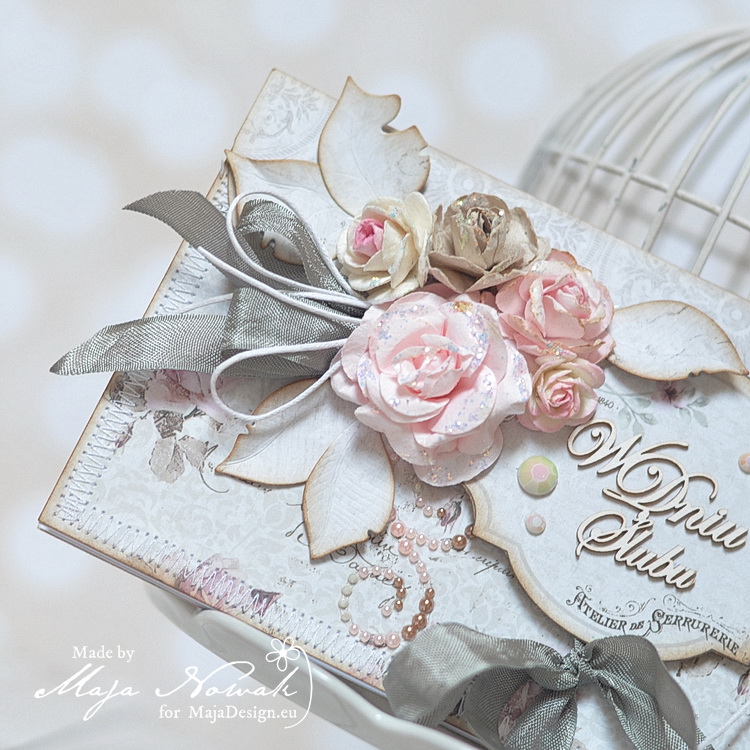
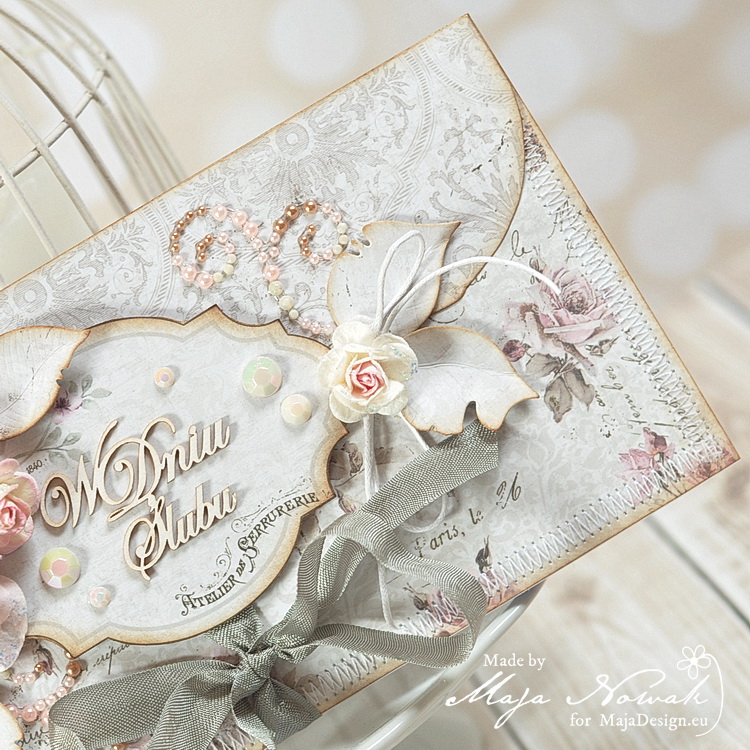
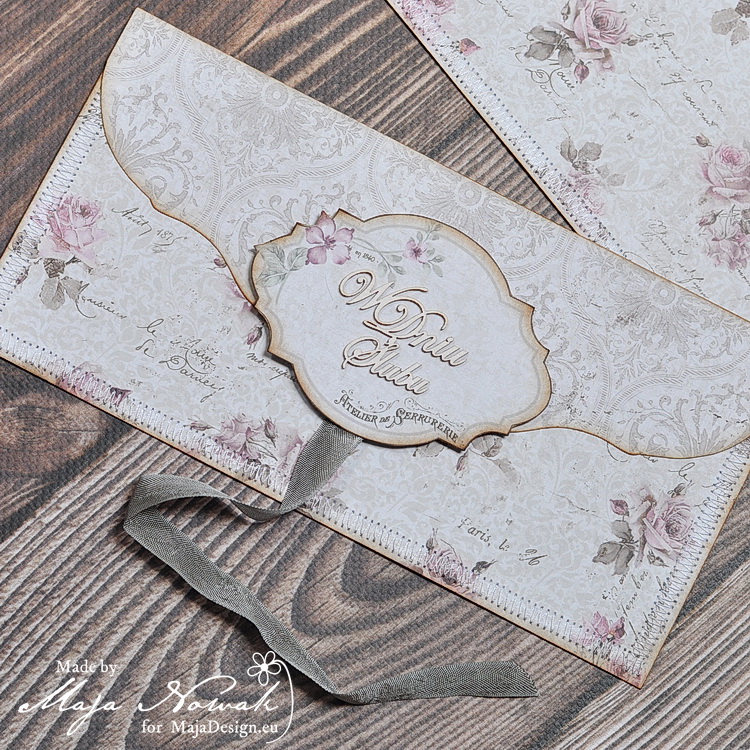
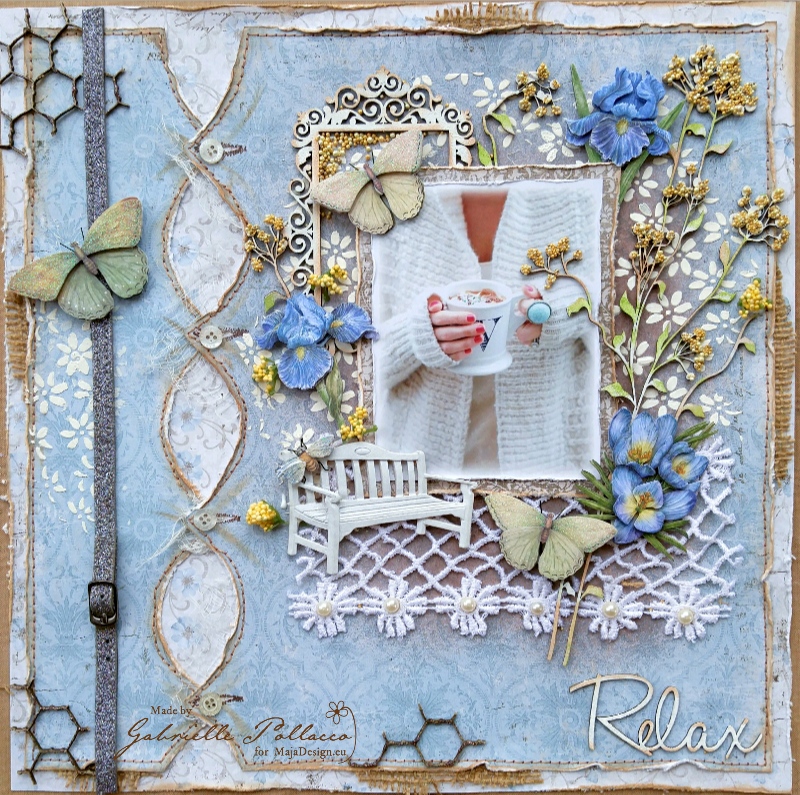
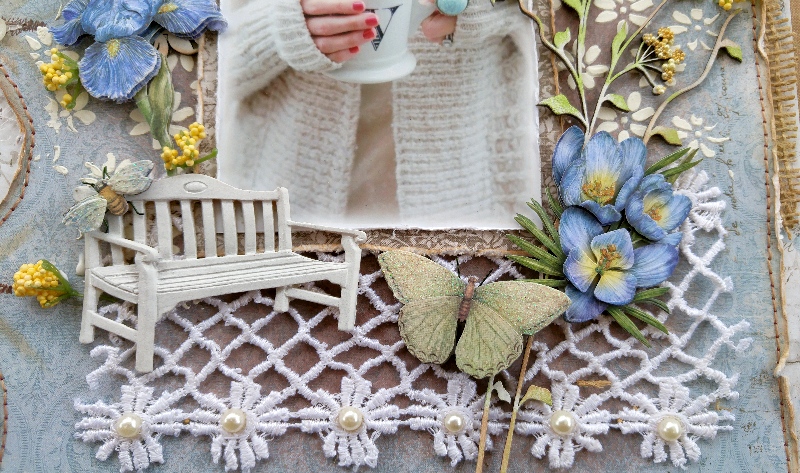
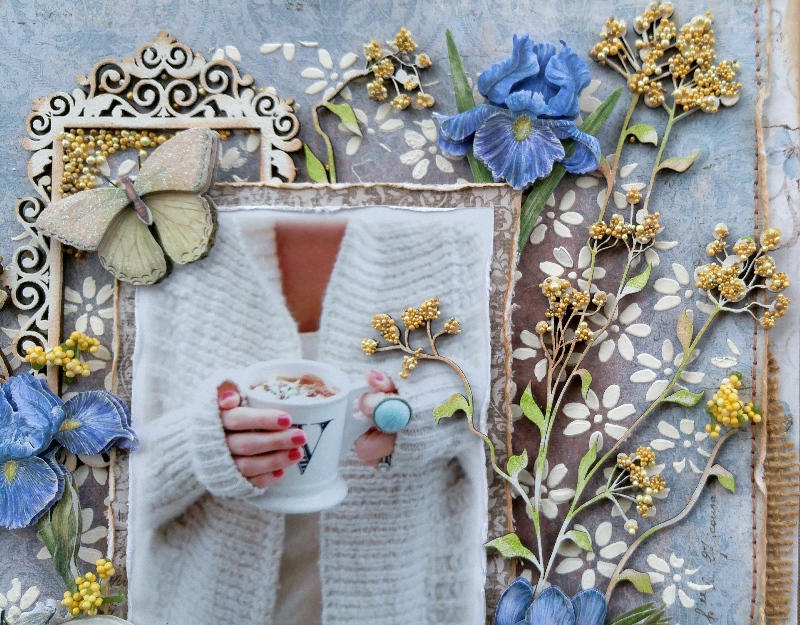
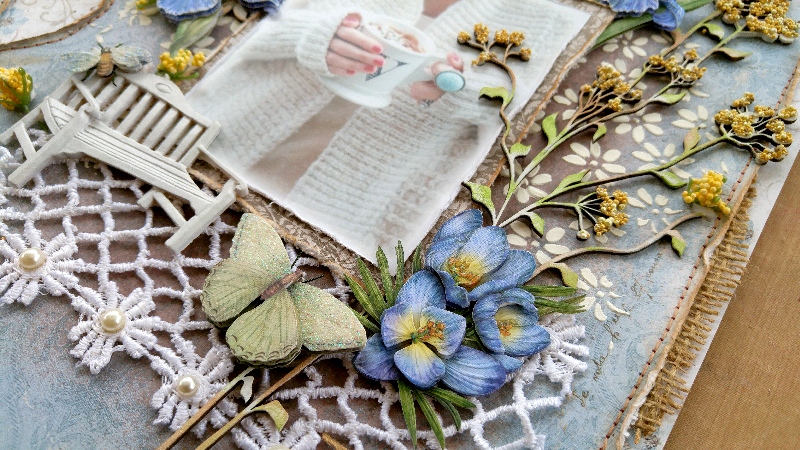
I will now show you how the lollipop card turned out:

IMG_4199

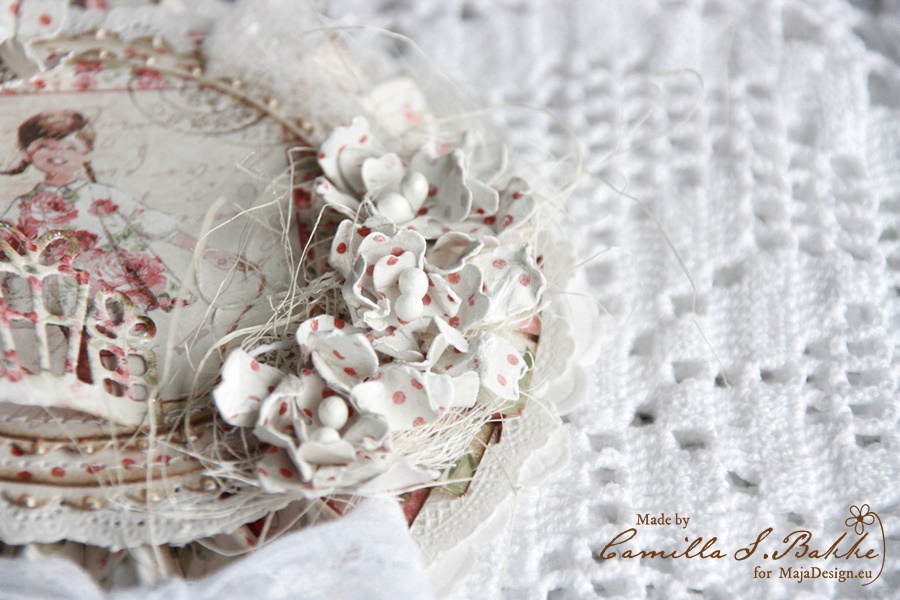
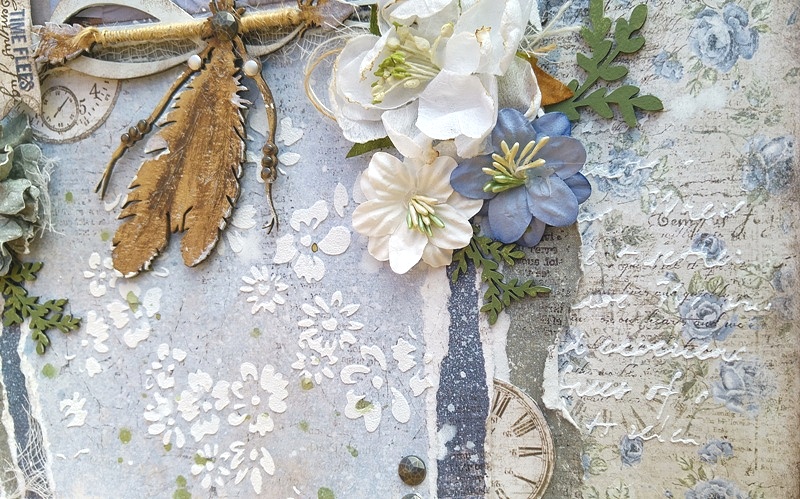
I have also added some white gesso on the flowers and the rest of the papers. And also put stamens inside the flowers.

IMG_4229

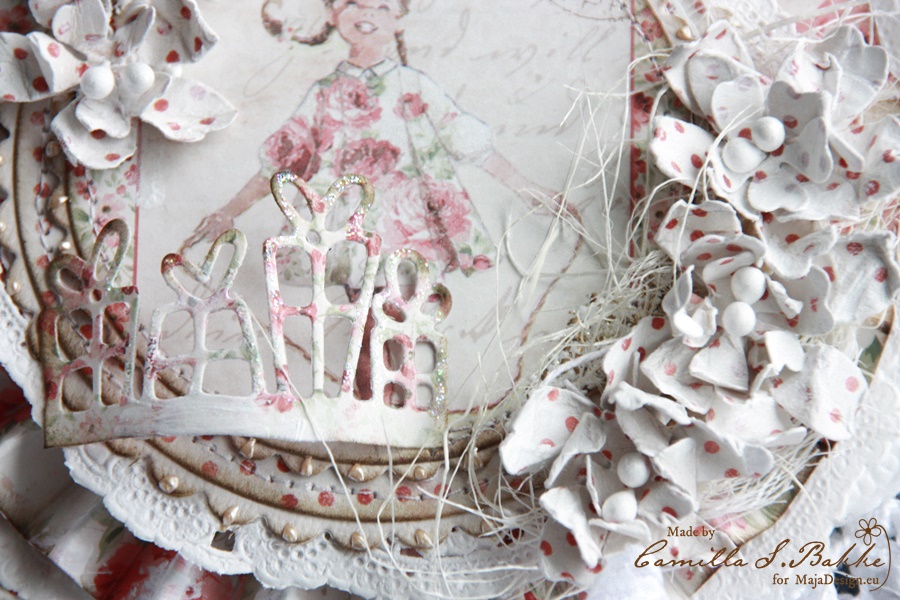
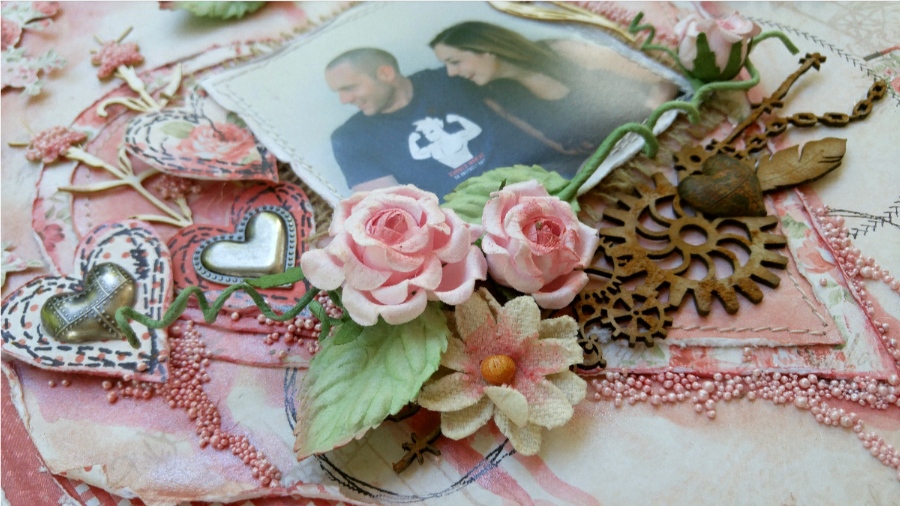
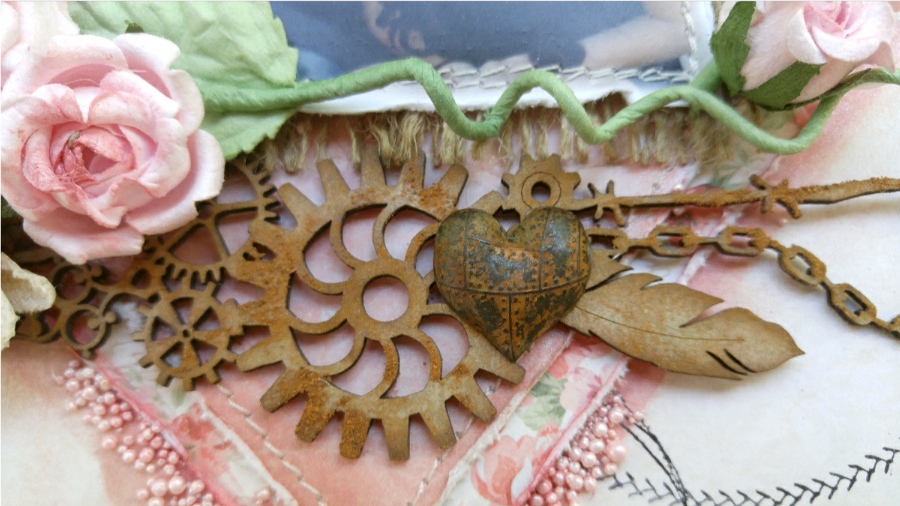
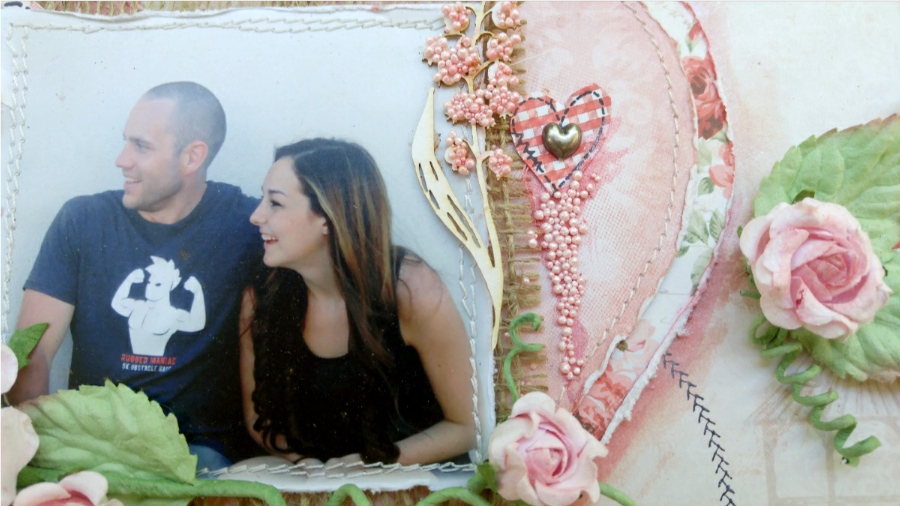
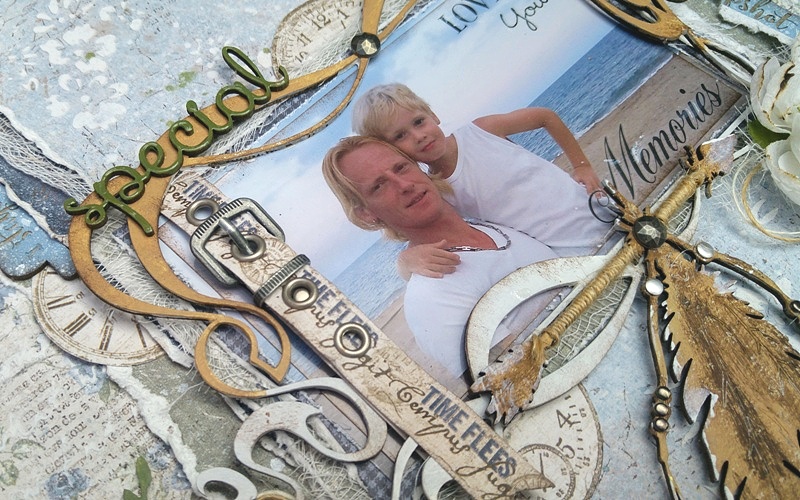
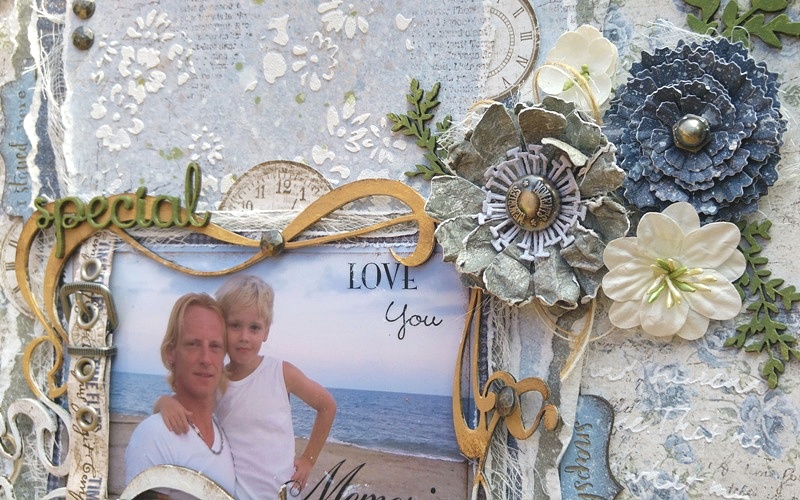
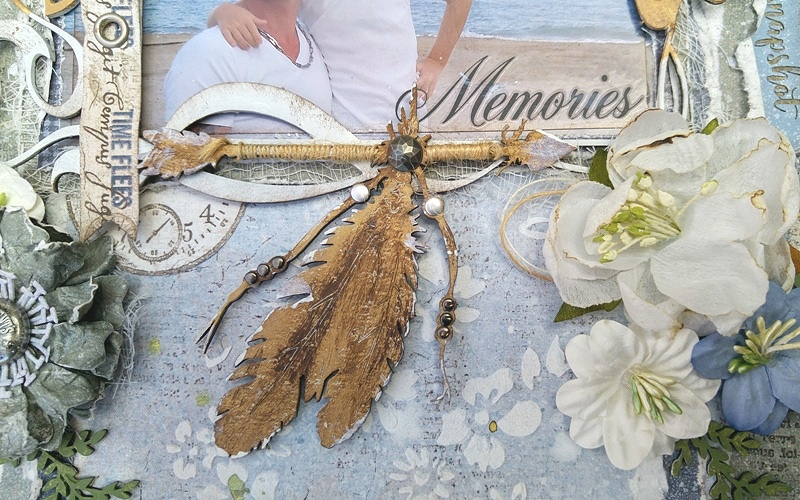
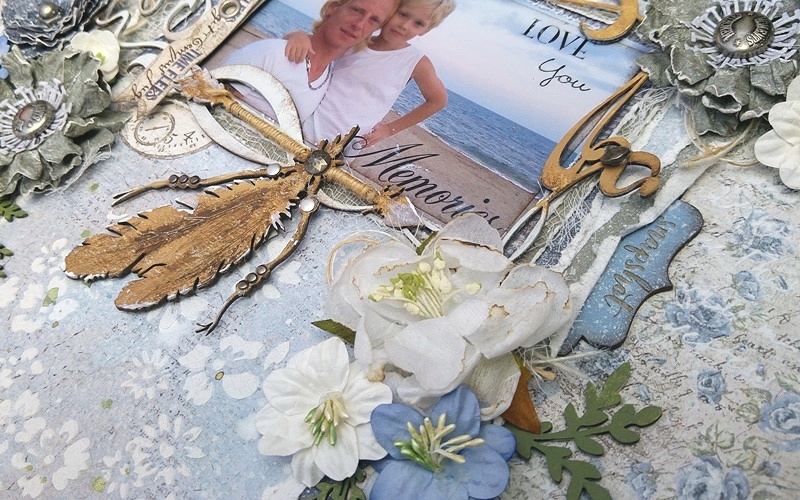
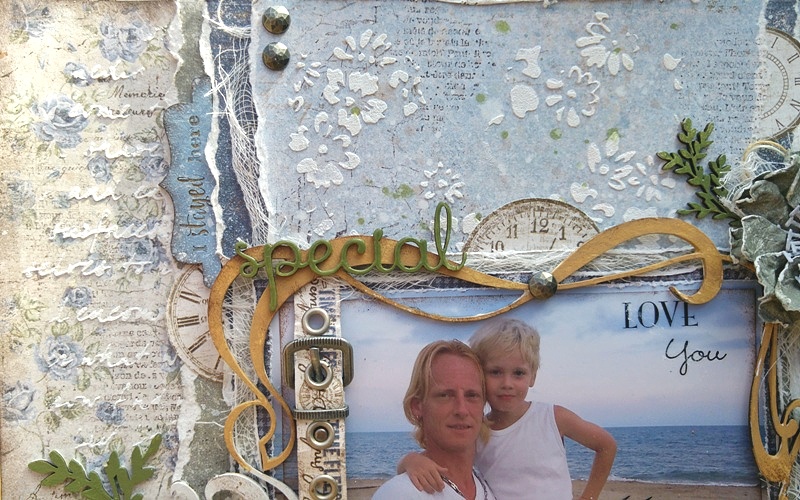
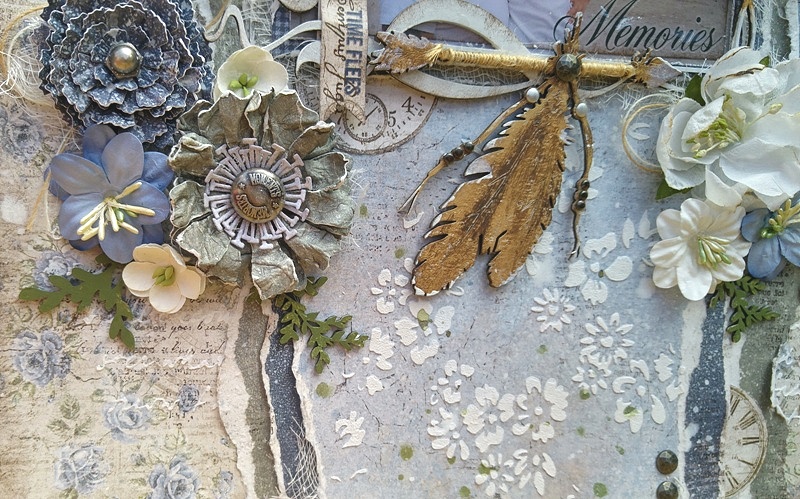
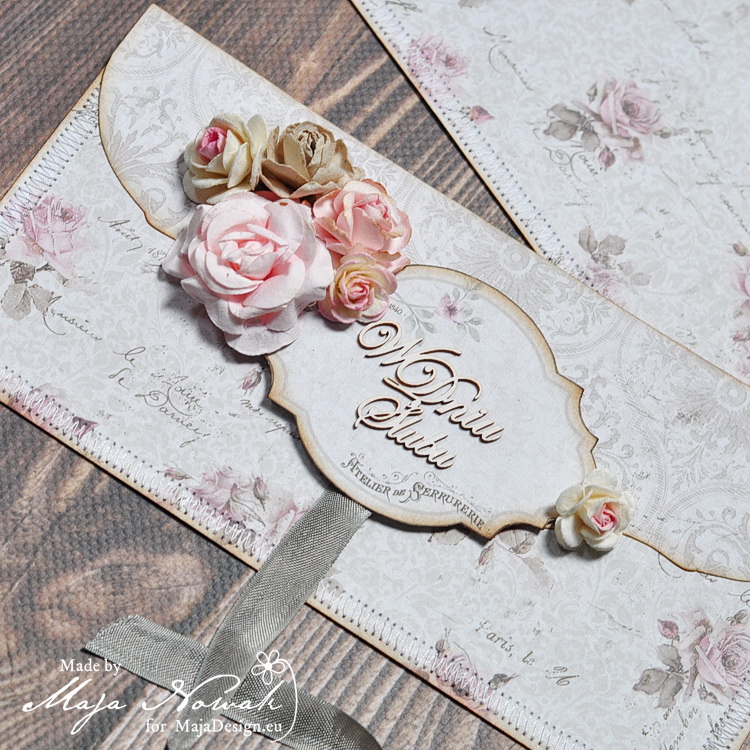
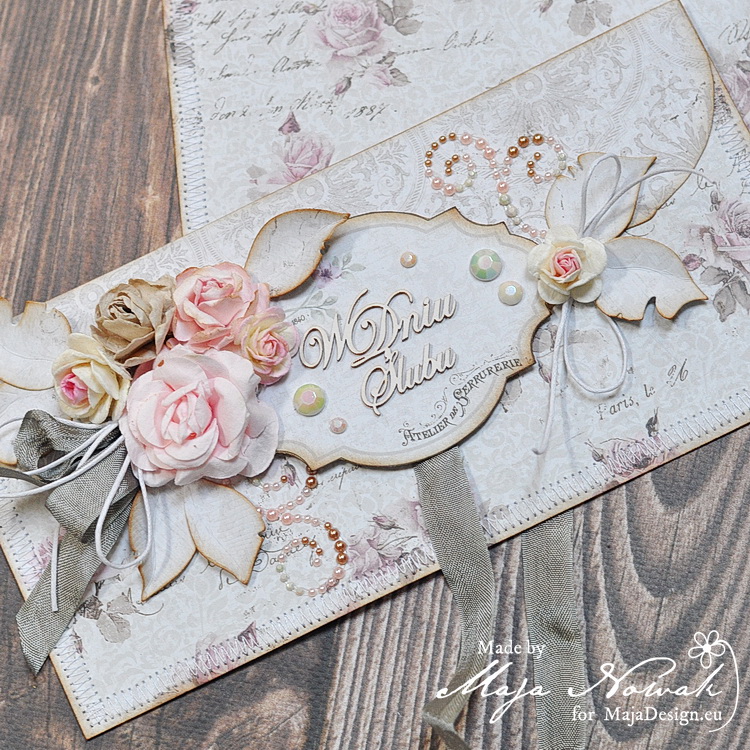
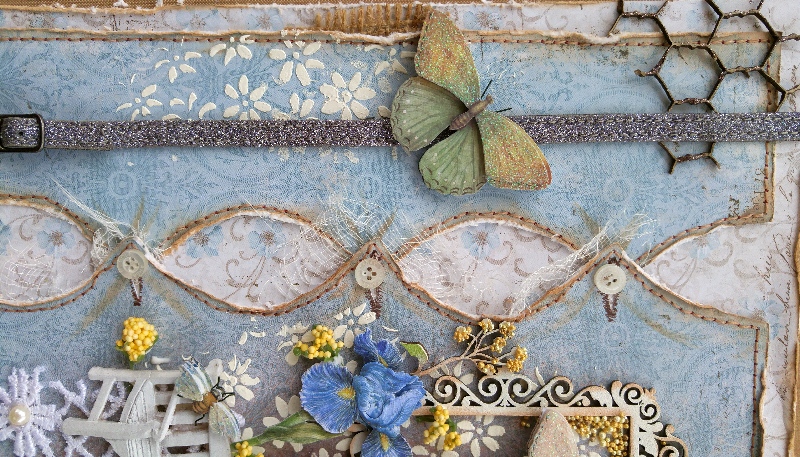
And under comes some detail photos:

IMG_4241

IMG_4193

IMG_4195

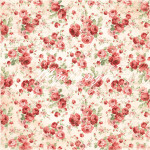
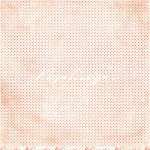
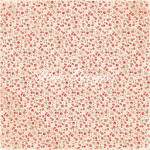
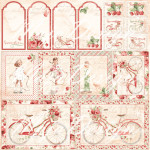
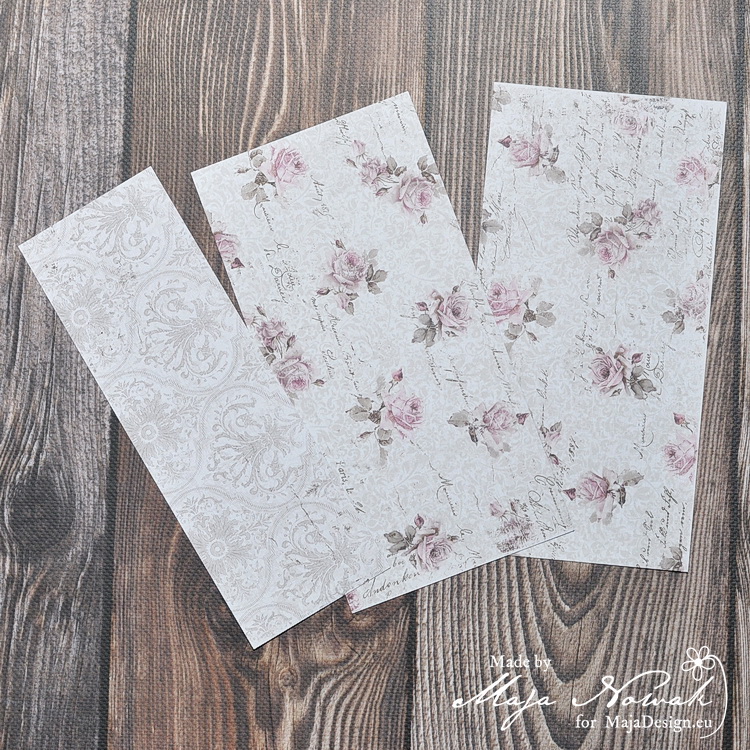
And at last a detailed list of the paper used:

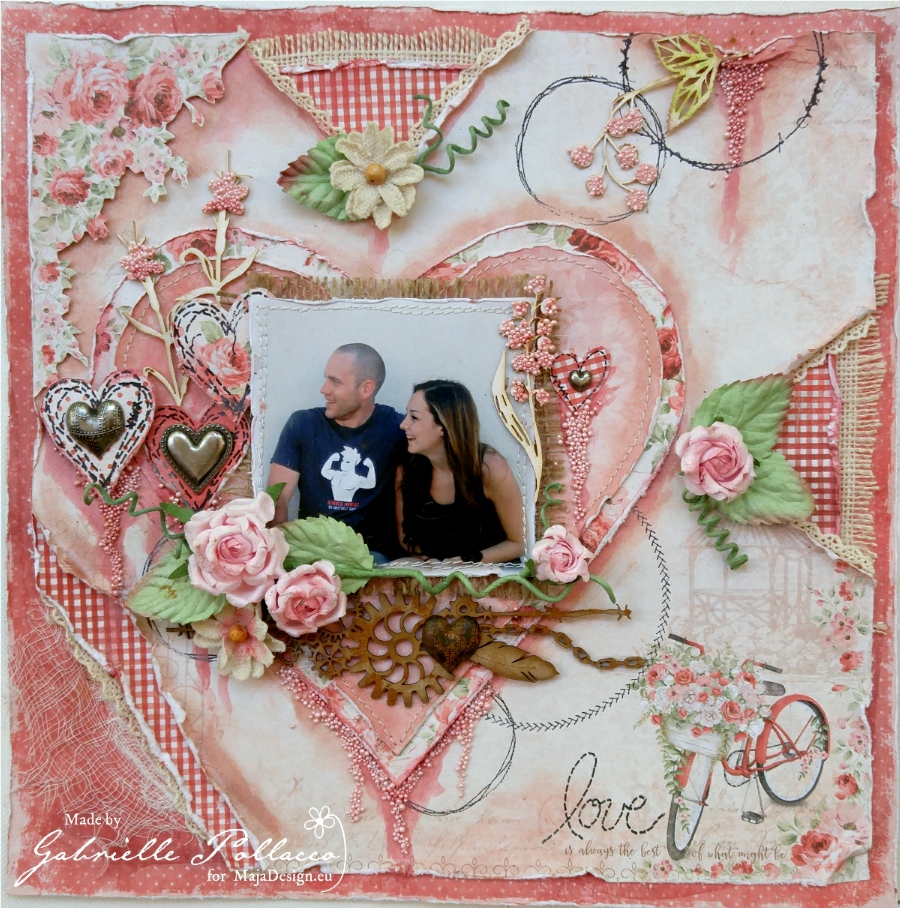
I hope you liked my card, and that you got inspired to make one or two yourselves! Thank you so much for stopping by, and I wish you a lovely day!

With love,

Camilla

Love in the Summertime!

3

Posted by Gabrielle Pollacco

6 August, 2016 - , ,

Write a comment

Love_watermark

Hello Maja Fans!  It’s Gabrielle here with you today to share a layout and video tutorial with you using the absolutely gorgeous new summer collection by Maja Design called Summertime.  I was delighted to be asked back again to do a guest spot using this fresh beautiful new paper collection!  ….Has your summer been a good one so far?  Ours has been busy and lots of fun!  And I have some big news to share….my oldest daughter got engaged a few weeks ago! It’s still hard to absorb that my little girl is so grown up now.  But we are all so happy, he’s an awesome guy and they are so very happy together!  Every photo I have of them, you just see they glow with joy, so I thought I would use one of these pics to scrap with this lovely summery paper!

Summertime-L

I used a variety the Summertime collection papers for my layout…’Light Scarlet’ as my matting paper, ‘It’s Always the Best’ as the main background design, ‘Flowers Everywhere-bs’ for the heart design, ‘Smell the Roses’ for the matting for the heart and ‘Light Scarlet-bs’ for the gingham inserts.  I thought I would share a video tutorial with you all on how this page was put together, so get yourself your favorite summer drink (my favorite is strawberry lemonade), take a load off, relax and enjoy!….
[youtube http://www.youtube.com/watch?v=37nolY7JX4o?rel=0]

I hope you enjoyed my tutorial and hope this inspires you to play with this beautiful collection for your own summertime photos.  Here are some close-ups and details of this page that you can enjoy at your leisure.

closeup1

Since this is a love story, I thought I would use lots of heart images throughout the layout.  I used the ‘Circle Stitch Stamp Set’ I designed for The Scrapbook Diaries, using the stitched heart stamp on a variety of the Summertime patterned papers and added Prima Mechanicals (hearts) to the centers to create fun and unique little embellishments for the page.

closeup2

The flowers are also from 49 and Market, the roses are a floral stem that I cut up and used in various places on the layout, and I used canvas blooms from their Rustic collection to tuck in around the photo area.  For my mixed media product I used two crayons by Faber Castell called Iced Rose and Iced Currant (see video for various ways I used this paint crayon).

closeup5

The cogs chippie is from ScrapFX, and again the metal heart is by Prima.  (this whole page design, including chipboard, mixed media products, stamp and papers can all be bought as a kit from The Scrapbook Diaries).

closeup3

Another product I’ve had a lot of fun with lately is those little colorful pebbles called Prills, here I used Tutu Pink Prills to accent the wooden floral accents from Scrapeniec and to accent my heart designs.

closeup6

I just love to layer all the pretty paper designs in this collection.  For me, the gingham design on the backside of ‘Light Scarlet’ paper just speaks of summer.  Here I tucked it in a tear I made in the background paper “Is Always the Best’. Tucking in a little lace and burlap, I think adds a nice rustic look.

I really enjoyed working with these lovely papers and I think you will too!  Would you like a chance to win this beautiful ‘Summertime’ collection?  Be sure to pop over to my post at my blog and leave a comment, I will choose a winner on August 31st, it’s that easy!

Have a happy Summertime!

Gabrielle-sign

Special Memories

2

Posted by Amy Voorthuis

31 July, 2016 - , , , ,

Write a comment

Goodmorning everyone,

So glad I am here with you on the last day of the month! Are you all enjoying your summer vacation? Today I have a little treat for you. I made a video tutorial my first {so be gentle with me} with a little help of my husband because I don’t know the program we use for video for editing that good well not jet anyways. For this layout I used the always gorgeous “Vintage Autumn Basics” collection plus one of the blue sheets from the “Vintage Baby” collection this time I went for the blues, green & cream papers. I also added some Dusty Attic chipboard pieces on my work with some handmade {dies by Cheery Lynn Designs}, petaloo & dusty attic flowers. It’s so much fun to use all products from the three design teams I am in……it feels like a true blessing.

m123

The blue and green flowers are the ones that I made myself as you will see in the video. The picture is of my little family well without me lol. I was planning on using the background sheet with the blue flowers on it for ages but I always took out the pink tones in this paper collection because I always have trouble finding the correct blue toned flowers, but this time it worked out very well because I made my own flowers.

Here is my tutorial:

Hope you liked my video and I think I am hooked now but I still have to figure out a lot on how to make it better because on this video you don’t see things because I am working out of the screen sometimes.

m2

m5

m3

As you see here I used some different stencils one with the flowers and one with the text! I really enjoy using mixed media on my layouts. I also stamped randomly on my papers and used many different Lindy’s sprays. For the coloring of my chipboard I used the dusty attic acrylic paints. Don’t you just love the tabs? They add so much to your layout.

m12

m6

m7

m8

On the arrow with feathers underneath my picture I used some treat and some metal gems to make it prettier. I painted that particular pieces with some dusty attic acrylic paint but also with the rust paste set by Finnabair oh boy how I love that stuff. To make my layout complete added some clocks from the same collection I used here.

m4

m11

m10

Maja Design papers used: From the Vintage Autumn Basics collection: no.XXII, no.XXI BS, no.XXII BS, no.VII BS, no.XVI, no.XIX BS, no.XXIII BS and from the Vintage Baby collection: Special Delivery bs.

Autumn-Basics-P (1)

Vintage-Baby-P

Thanks for being here with us today and I hope you will visit my blog later today since it’s the last day to enter ==> “HERE” <== for your chance at winning the gorgeous “Summertime” collection…..have a lovely week everyone!

Hugs

4

Faux Envelope Card w/ Tutorial

1

Posted by Maja Nowak

22 June, 2016 - , ,

Write a comment

Hi there, Maja Fans! Welcome to the blog today 🙂

Last time I went back to some older collections, but this Vintage Romance just won’t go off my mind! 😉 And so I’m back with a wedding card today:

mdfenvel

I chose neutral tones of papers with a delicate pink touch for a subtle, romantic card that would be perfect to give to the newlyweds. I matched the dimensional roses with the printed ones…

mdfenvel1

…and added some ribbons and string bows to complete the flower cluster:

mdfenvel2

The card looks like an envelope card, but it’s not! When you untie the ribbon, it opens like an ordinary card 🙂

mdfenvel3

I used to make classic envelope card using one sheet of 12×12 paper, folded so it was made into an envelope. But this form is not very good with thick, sturdy Maja papers as there’s a lot of layers of folded paper, the envelope thus being too stiff, and the paper also sometimes breaks along the folds. And so I used the faux envelope idea, which is both paper-saving and super easy to make! You don’t believe? Just take a look! I cut two 4×8″ pieces and one 2,5×8″ strip:

mdfenv

That’s it 🙂 Not even one full sheet of patterned paper used, and even if you are going to make your flowers or other embellishments yourself, you can use up scraps or even the leftovers of the papers you chose for your background 🙂 I inked all the edges and then I machine-sewed around the larger pieces and die-cut a decorative edge from the smaller piece (which of course it not necessary, you can use it as it is, or use an envelope to trace along the triangular shape):

mdfenv1

One of the pieces is for the back side. I layered the smaller piece (which will work as the faux envelope flap) over the front piece, added a piece of ribbon and covered it with an ornate label I cut out from the Love notes sheet.

mdfenv2

I added some flowers:

mdfenv3

…leaves, ribbon and string:

mdfenv4

…and some bling 🙂

mdfenv5

Then I attached another piece of ribbon to the cardstck card base and added some double-sided tape to the back side piece:

mdfenv6

The back of my faux envelope card was done 🙂

mdfenv7

I only needed to attach the front piece to the card base – and it was all ready 🙂

mdfenv8

See? Easy peasy 🙂 I hope you like it 🙂

Here’s what I used:

Flowers, ribbon: Wild Orchid Crafts; dies: Magnolia; chipboard: Scrapiniec; waxed string: my stash.


See you later!

Maja-sign

Vintage Romance Layout & Video Tutorial

1

Posted by Gabrielle Pollacco

16 May, 2016 - , ,

Write a comment

Relax_main photo_withwatermark

Hello everyone, Gabrielle here with you today!  Yup, I’m back for a little guest spot!  When I received the gorgeous Vintage Romance collection in the mail a couple weeks ago, I felt compelled to make up a layout & video tutorial with these stunning papers!

Vintage-Romance-P

I used ‘Happily Ever After’, ‘Together Forever’ and ‘Words of Love’ for my page design.  I was going for a fabricky (is that a word? LOL) look on this layout, so I added a little machine stitching on the background design, this is optional, I think it can look equally as nice if you leave that off (if you are not a sewer).

So grab your favorite beverage, take a little break and enjoy!….
[youtube http://www.youtube.com/watch?v=wU7IfCNV9LA?rel=0]

I hope you enjoyed my little tutorial!  Here are a few close-ups you all can enjoy at your leisure….

Closeup1

I have this close-up turned on it’s side just so you can get a more close-up and personal look at it.  I simply followed the pattern in the paper to create my button hole design…makes it easy to space out the design.

Closeup6

The next step was to add a little color just directly behind the photo area using some Shimmerz spray called ‘See Ya Latte’ Spritz….then I applied some home-made texture paste through a Dusty Attic stencil called Flower Power.  I was going for a kind of Bohemian-chic look and I thought this daisy design would work well with it.  I also matted my photo with the backside of the ‘Words of Love’ paper, I do love browns with blues!

Closeup5

To continue the fabric idea of my page I also included a pretty strip of lace that I got from Tresor’s de Luxe, which I adhered with Tombow liquid adhesive.  I prefer this glue as it allows you to readjust your placement if need be without making a big mess on the paper (let the glue sit for a few minutes to set up before you apply your embellishment to the page.

Closeup3

I had a little fun with my embellishments on this one….I tried a new product (at least to me) called Prills, they are these little balls that come in different colors. Here I using the color called A-maized. I just applied a little glue to the tops of the blossoms of the Wild-Flowers #4 chippie by Dusty Attic and poured the little pebbles onto it…..I really love the effect!

Closeup2

I finished my design by adding some layered floral and butterfly stickers by K&Company in a few strategic areas of my photo area.  Added a small shabby-chic bench embellishment by Prima and a few adhesive pearls on the lace panel.  Done!

I hope you enjoyed my tutorial today and hope you feel inspired to try your hand with the gorgeous new Vintage Romance collection, I know I’m going to keep playing (I’ve got me some of those pretty pink papers ear-marked for another layout)!  Thanks for stopping by the Maja Design blog today, we appreciate and read all the lovely comments and feedback! xo

Gabrielle-sign