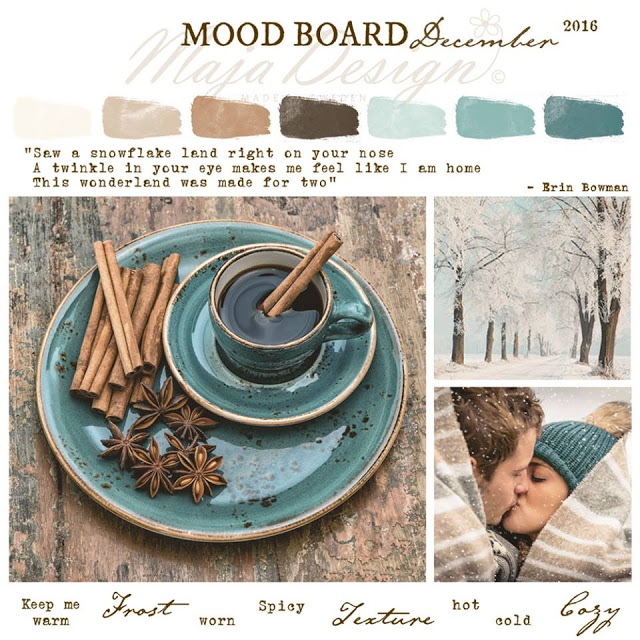
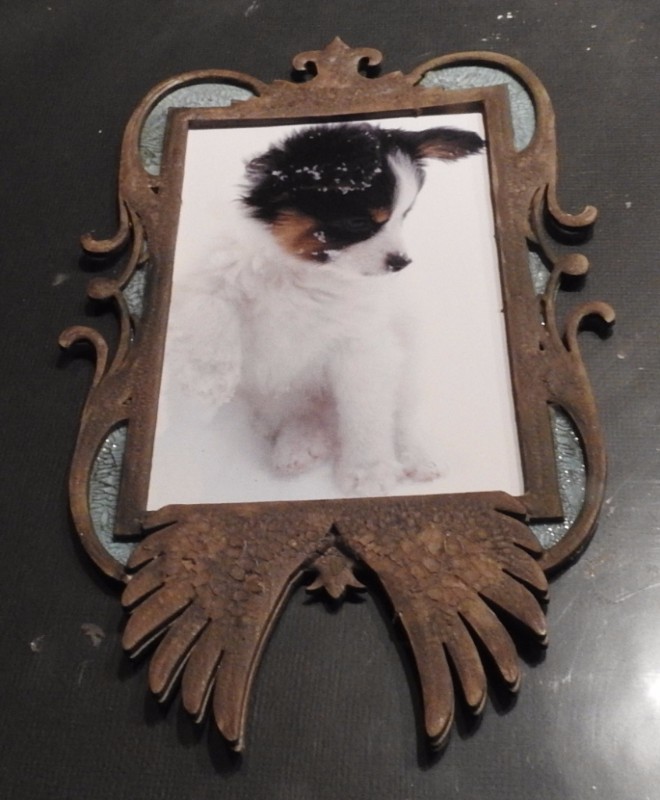
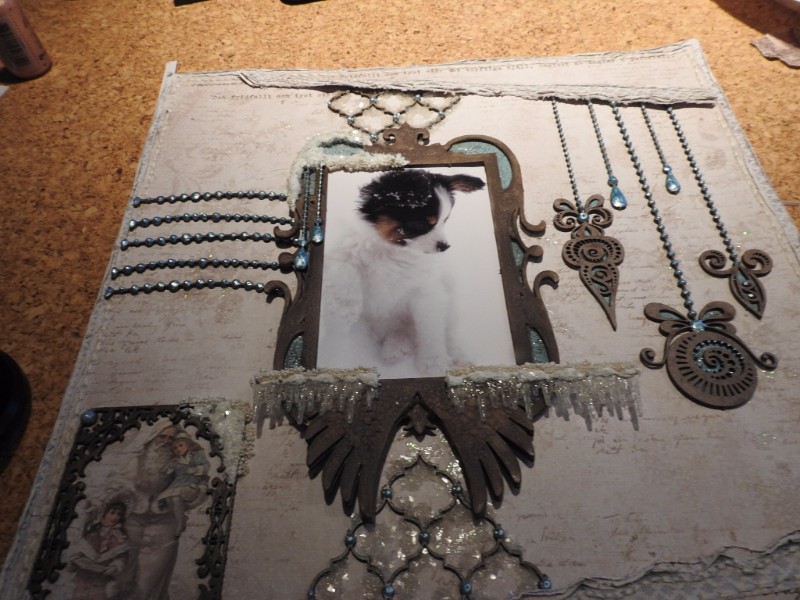
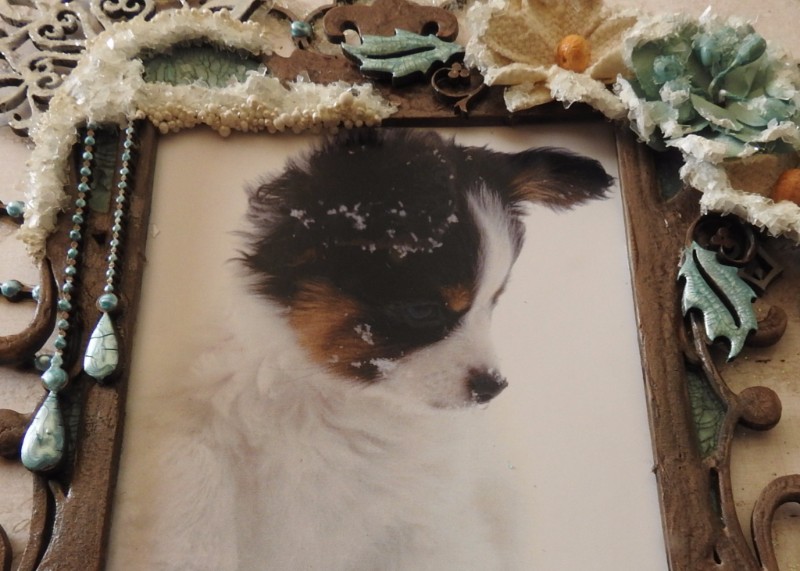
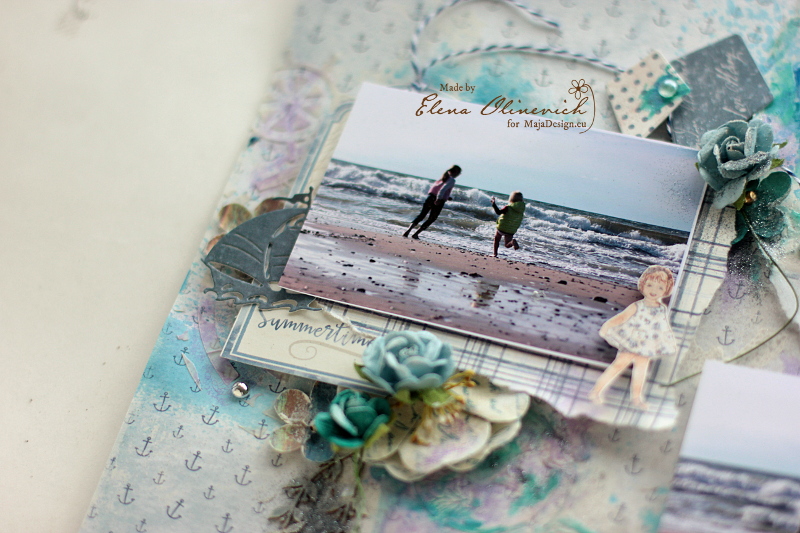
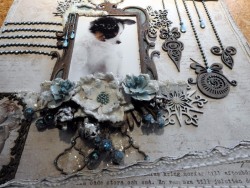
Hello, this is a winter LO I did using Maja Design’s Mood Board for December. I took this photo of one of our Paps “Jona” I also did a step by step photo tut…..

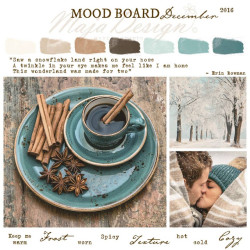
http://majadesign.nu/december-mood-board/
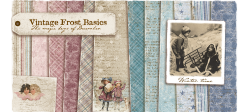

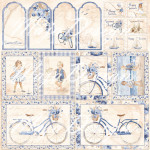
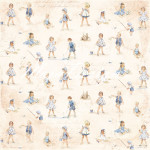
6th of Dec

8th of Dec
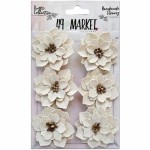
The 49 and Market used:
-
-
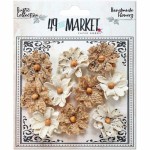
Rustic Poinsettia Blooms
-
-
Rustic Canvas & Burlap Small Blooms
-
-
Garden Blooms-Dusty Shale
The Dusty Attic used:
-
-
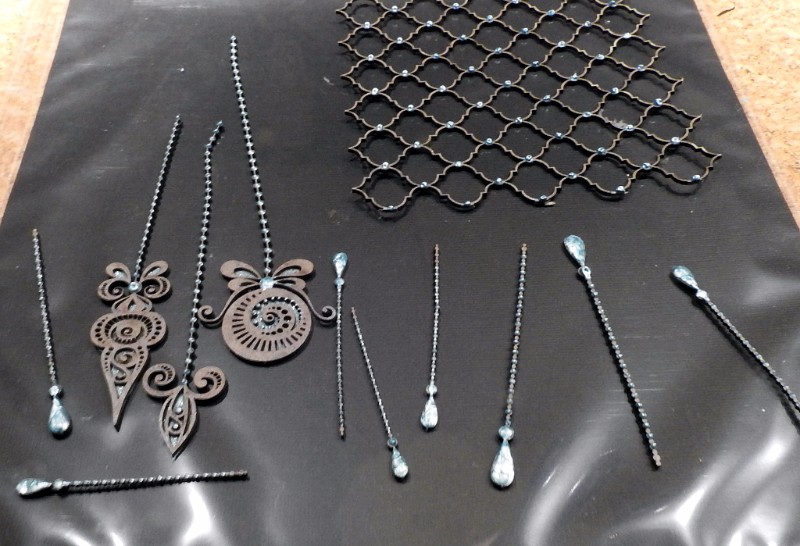
Ornate Pendants
-

-
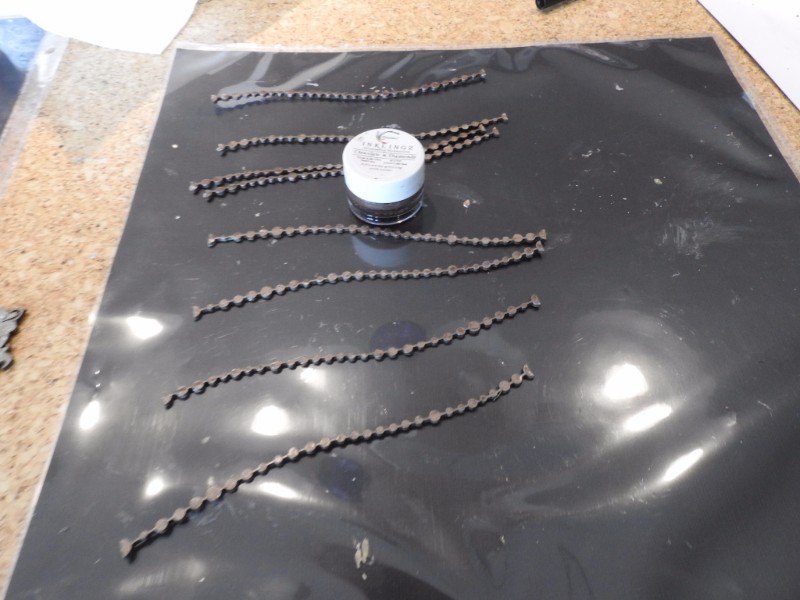
Beaded Tinsel
-
-
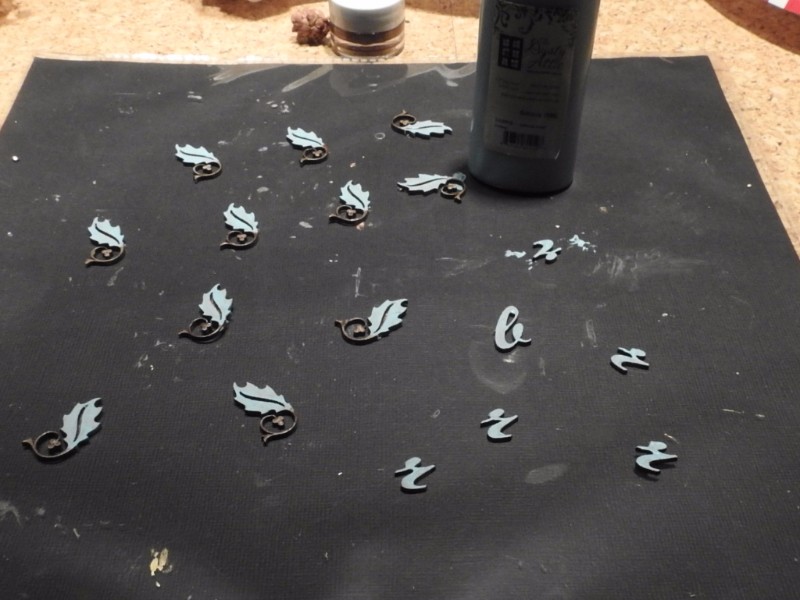
Mini Holly
-

-
ATC Frame #4
-
-
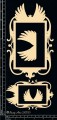
Winged Frame set
-
-
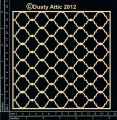
Marrakesh Trellis Small
-
-
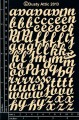
Mini Script ABC
-
-
Dusty in Colour-Oceania
Plus: Dusty Attic Snowflakes
Other elements used: Prills Sage Advice, Prills Mini Pearls, Tim Holtz Snowflake Stencil, Dreamweaver Translucent Embossing Paste, Nuvo Crystal Drops-White Blizzard, Prima Snowflake Paste, Prima Glass Glitter-Pearl, Tim Holtz Clear Crackle, Shimmerz Inklings-Chocolate & Diamonds,Dusty Attic Paint Oceana,Clear gesso, Liquid Pearls-Robin’s Egg, Petaloo Berrie picks & pinecones, Tim Holtz-icicle
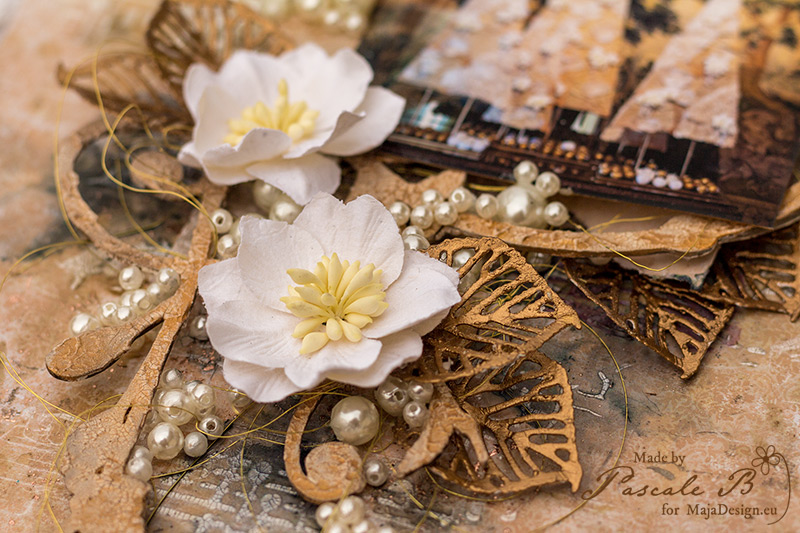
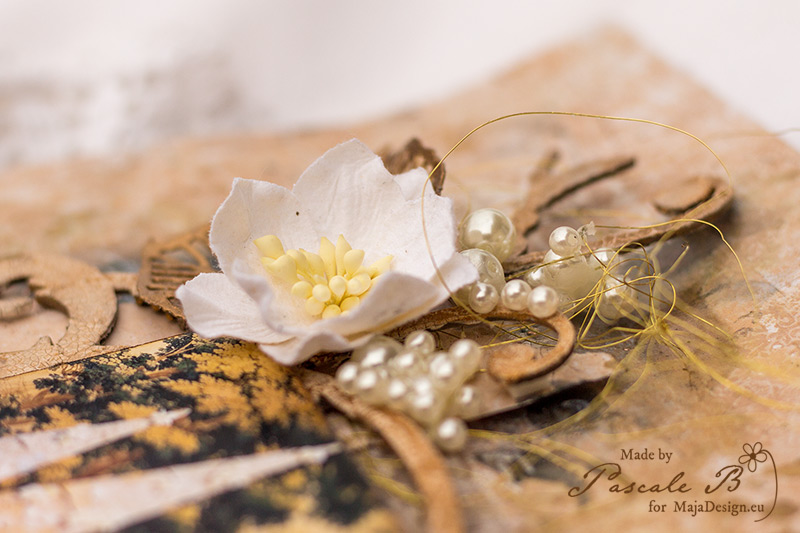
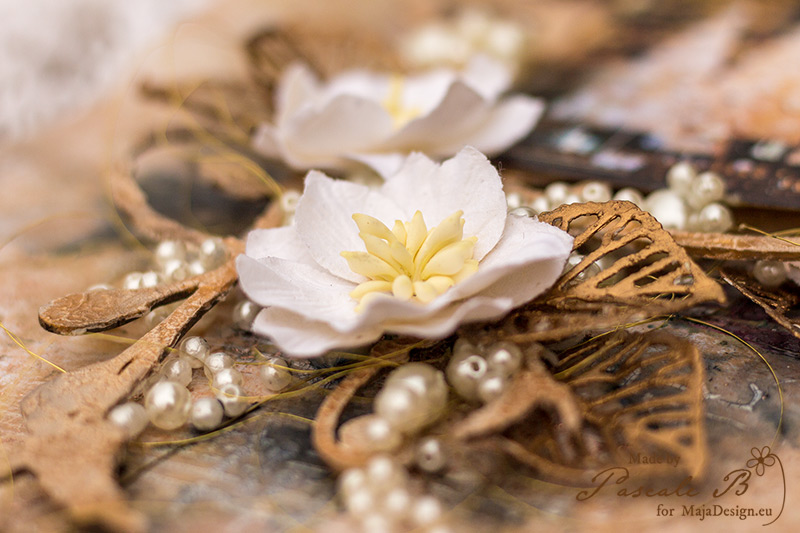
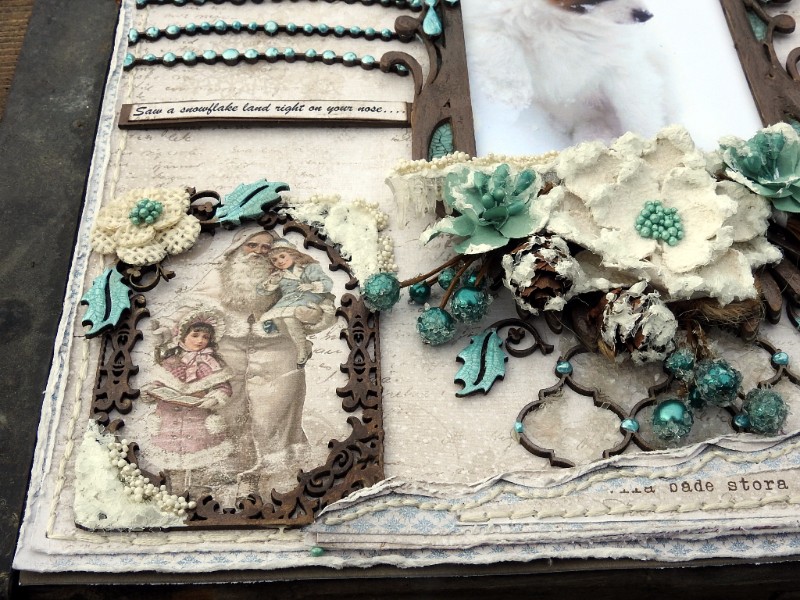
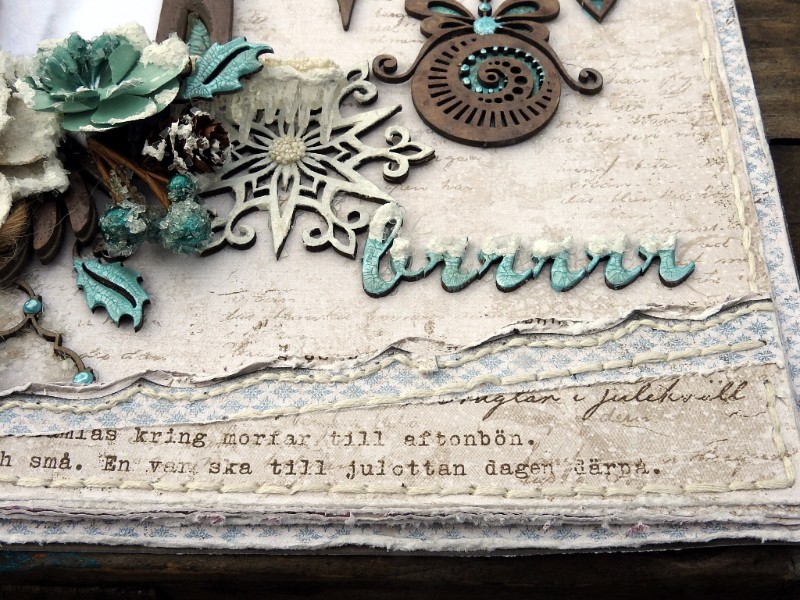
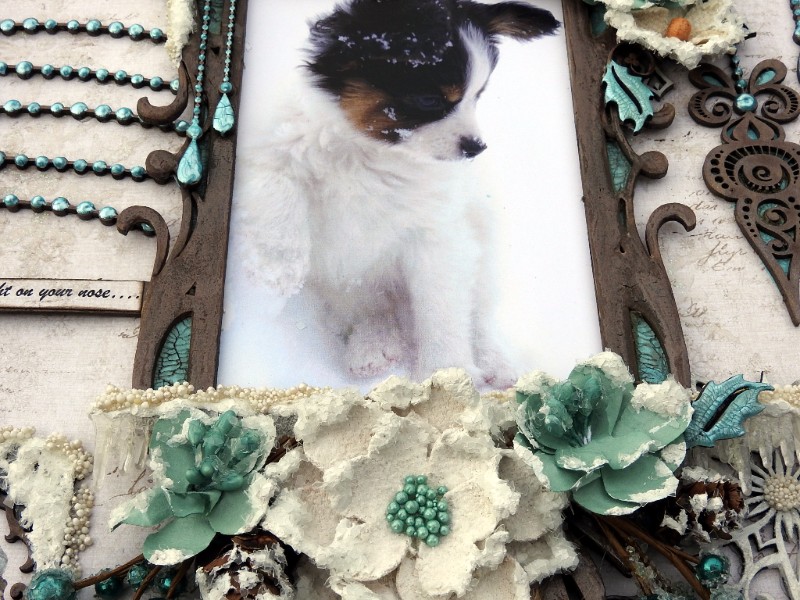
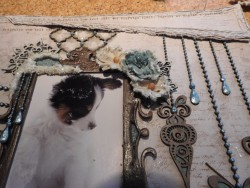
Here are some Close Ups:

Tutorial
Where I live, we get WINTER, snow & cold. Our days are short, & I spend much more time inside our home, so I do more Scrapbooking, in the winter months, to pass the winter away. I love to work on winter LO’s because of the Snow Texture. You may find my tuts confusing, because I do them in the order that I have taken the photos. I have so much on the go, when I am working on a project, plus I have to allow pieces to dry. I do not use a heat gun, I let the pieces dry naturally, either in my front south window, when the sun is out, or my bedroom closest, the smallest warmest room in our home. It has a floor heater, so a placed a rack over top it, & will place pieces of the projects, on that to allow quicker drying…..
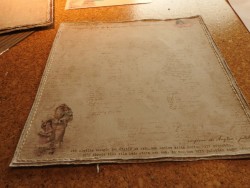
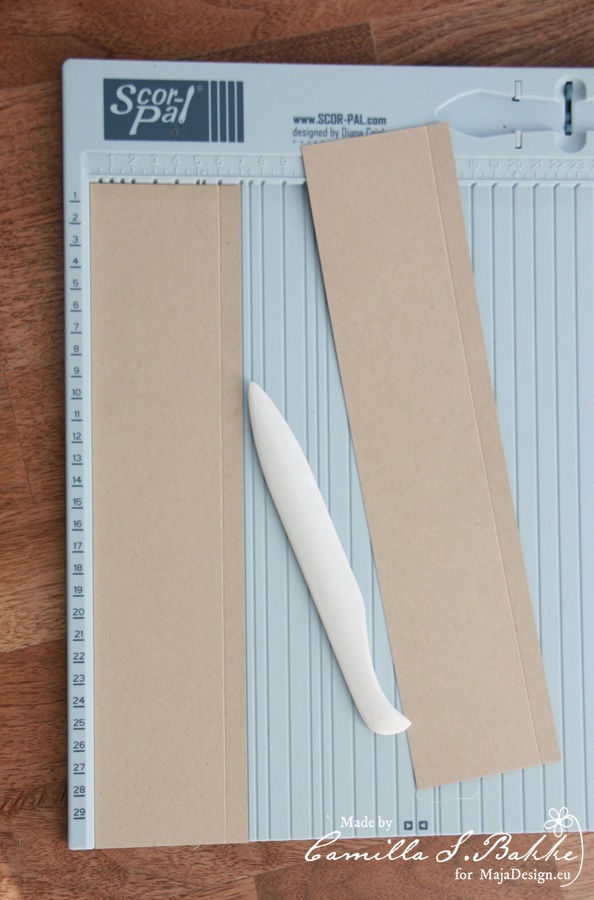
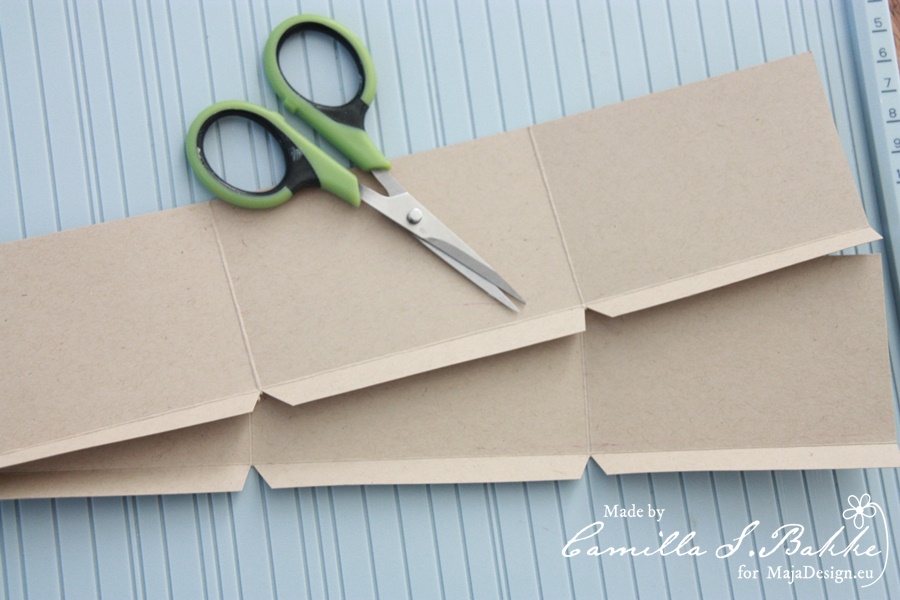
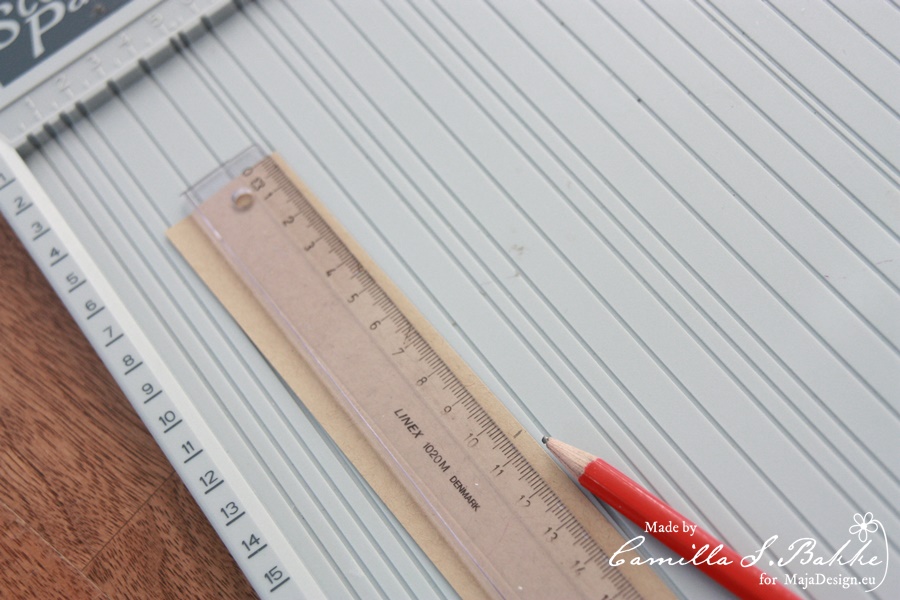
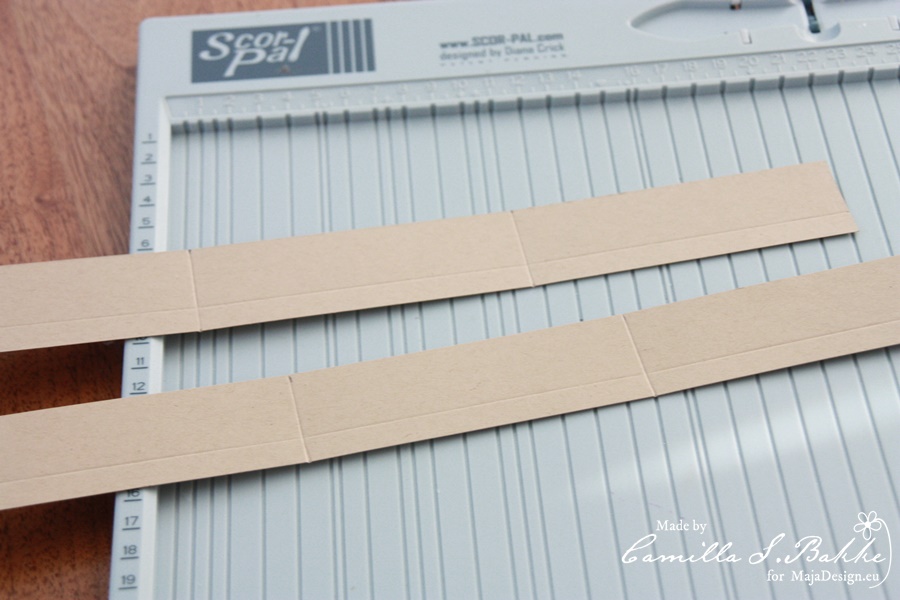
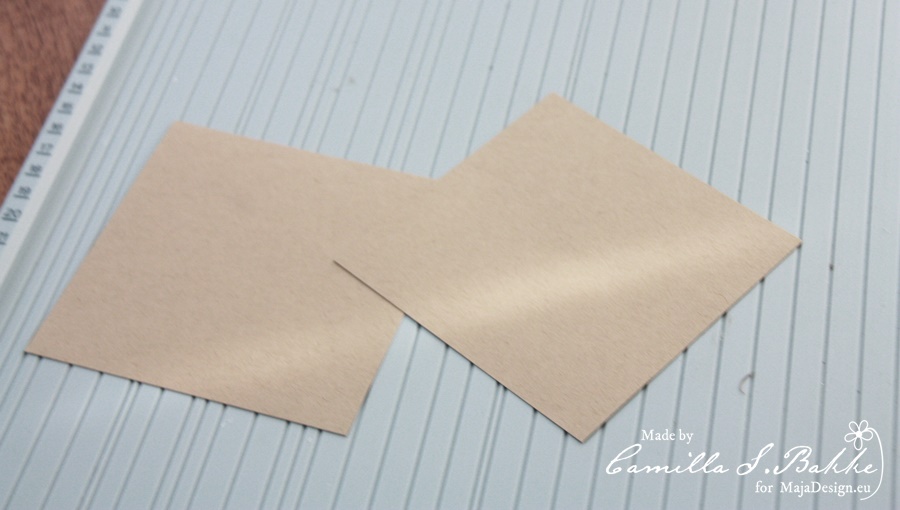
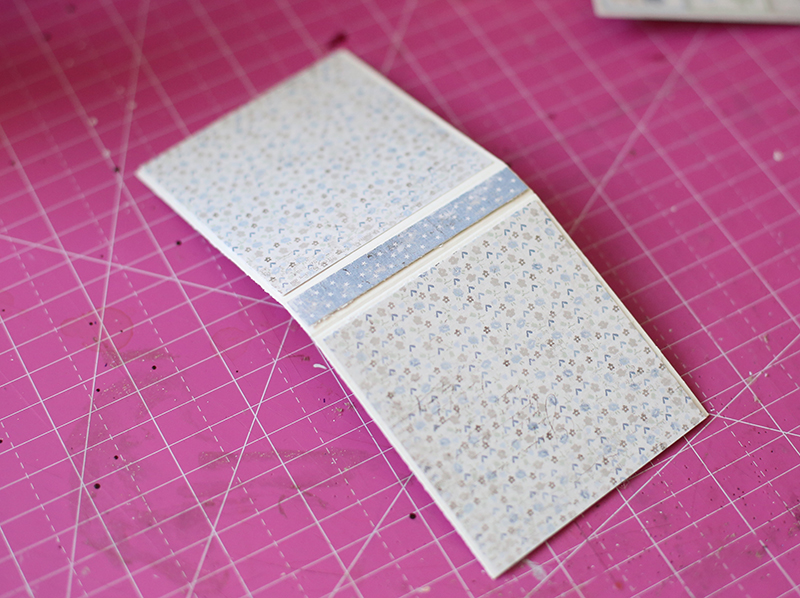
I trimmed the outside edges of the 6th of December sheet, (about 1/8 of a inch),distressed the edges & glued it onto the 8th of December sheet.. I then hand stitched these pieces together…

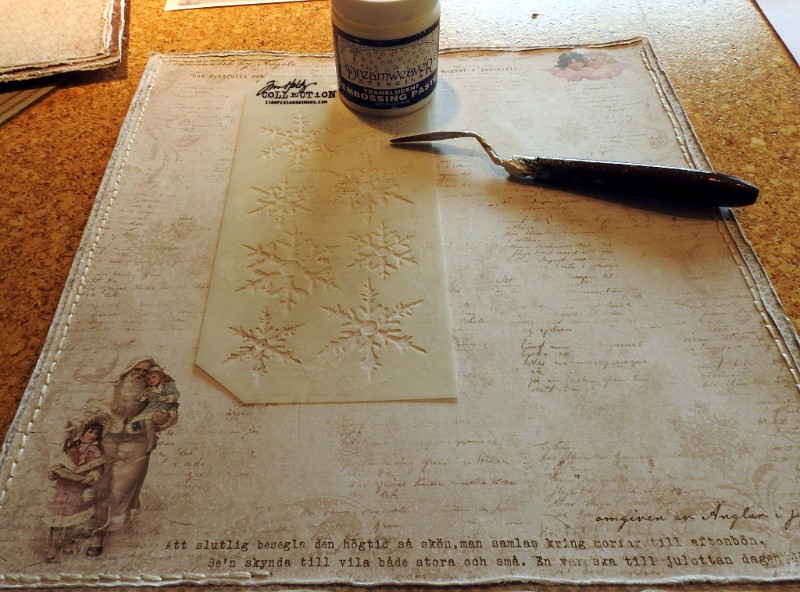
I did some stencil work using Tim Holtz snowflake stencil & Dreamweaver Translucent Embossing Paste

Shows stencil work…
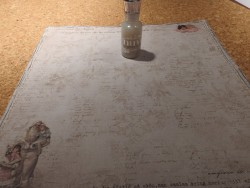
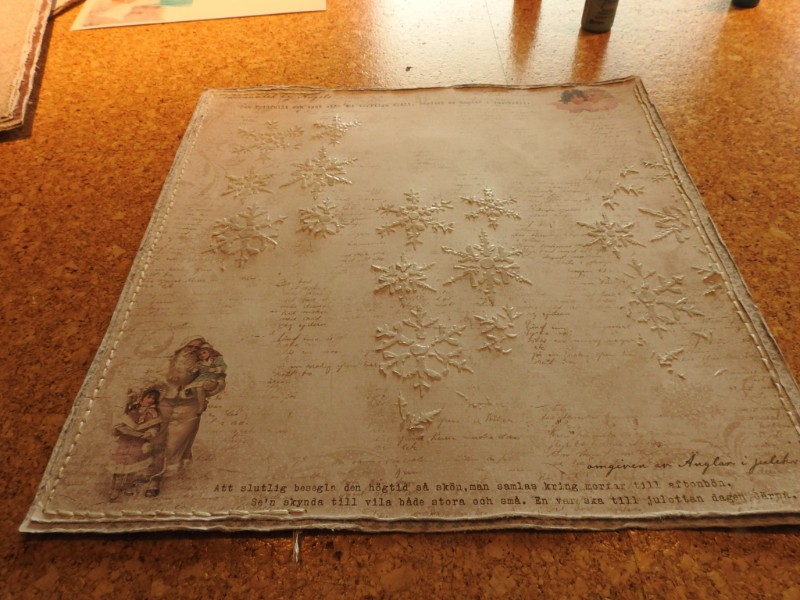
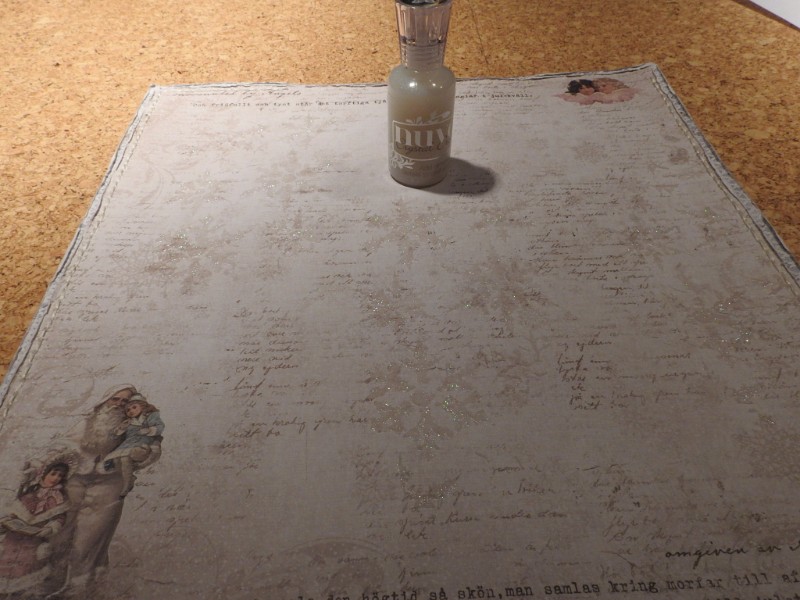
Once the embossing paste dried, I brushed on some Nuvo Crystal Glitter Drops-Blizzard, I love the Translucent paste, you don’t loose the detail in the paper…
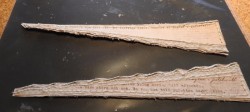
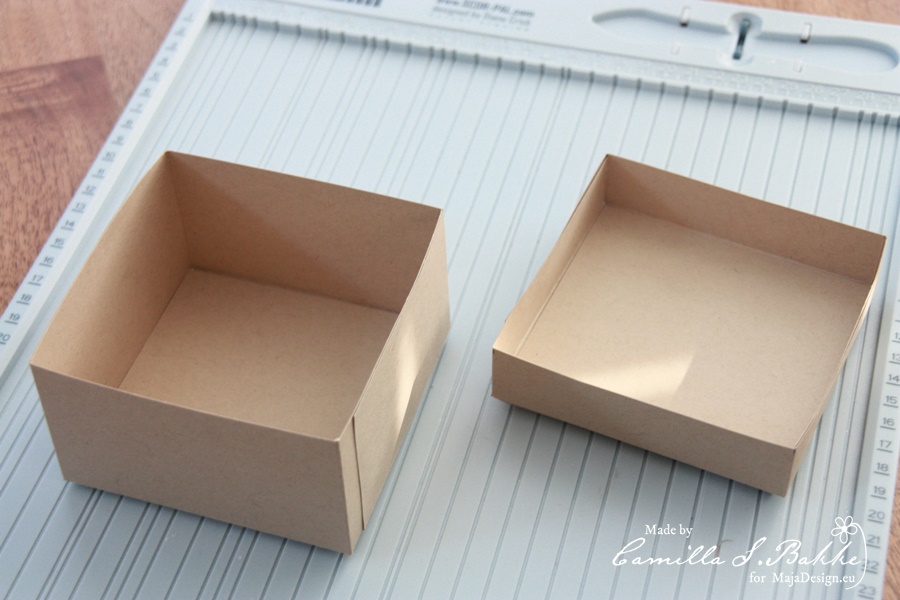
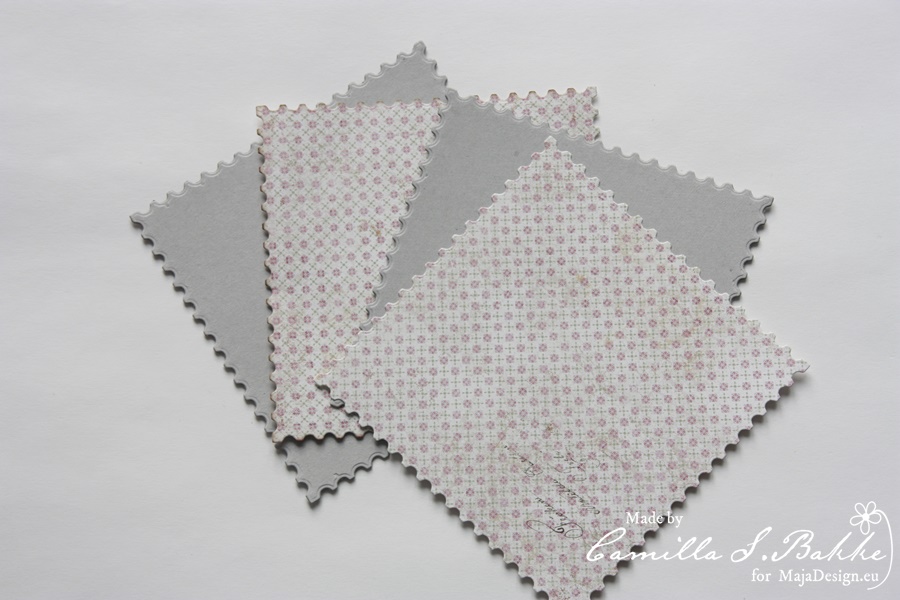
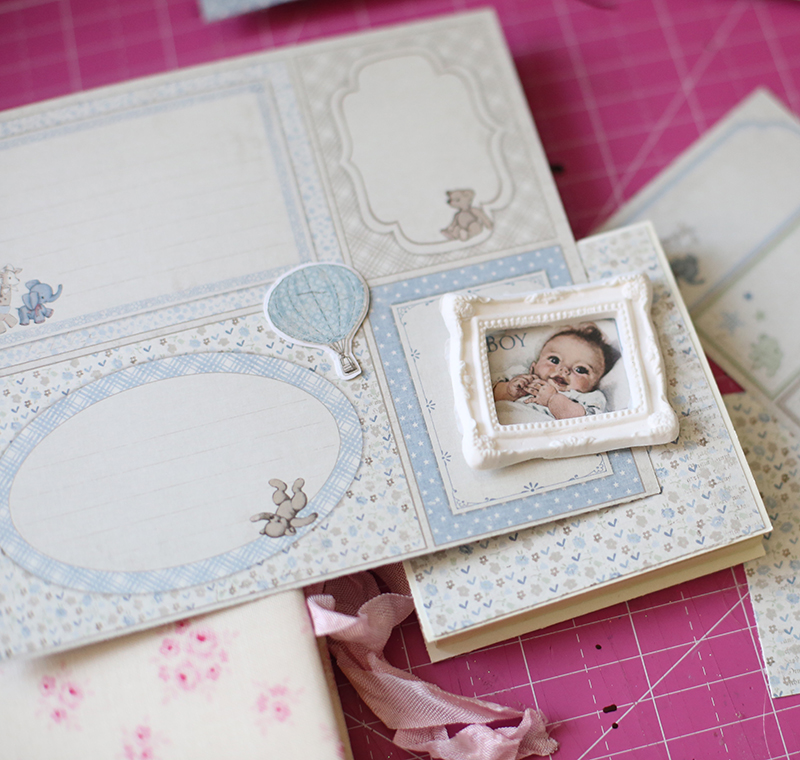
I cut out these 2 pieces from the Dec 8th sheet, did some punch work using Martha Stewart Cherish punch, glued on the Dec 6th sheet, hand stitched & distressed the edges….
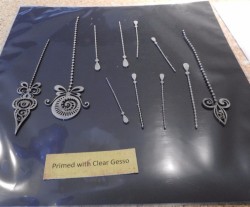
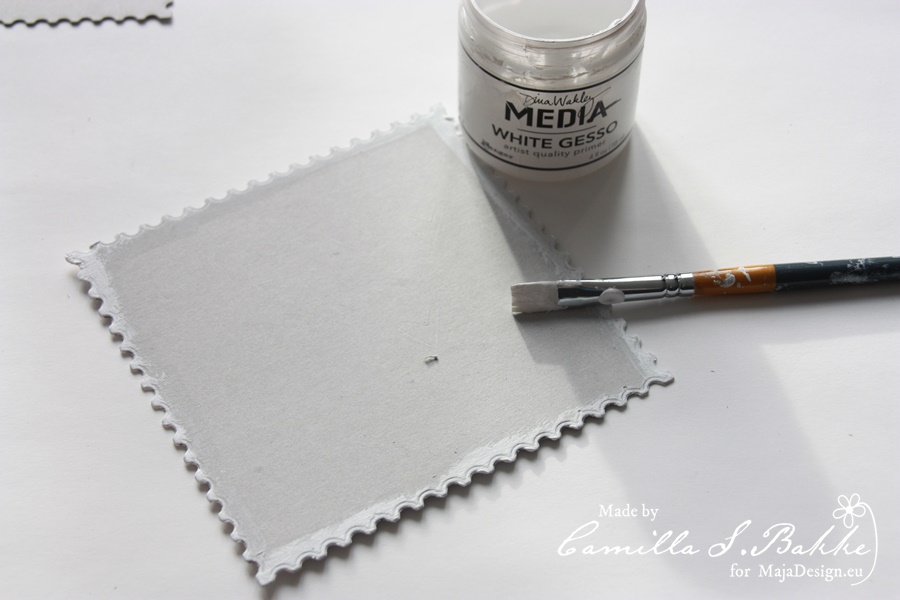
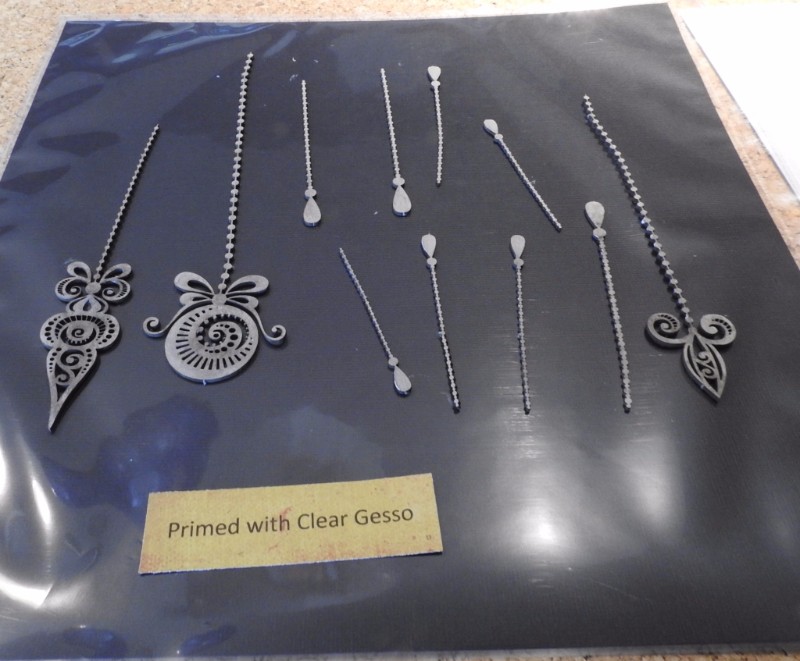
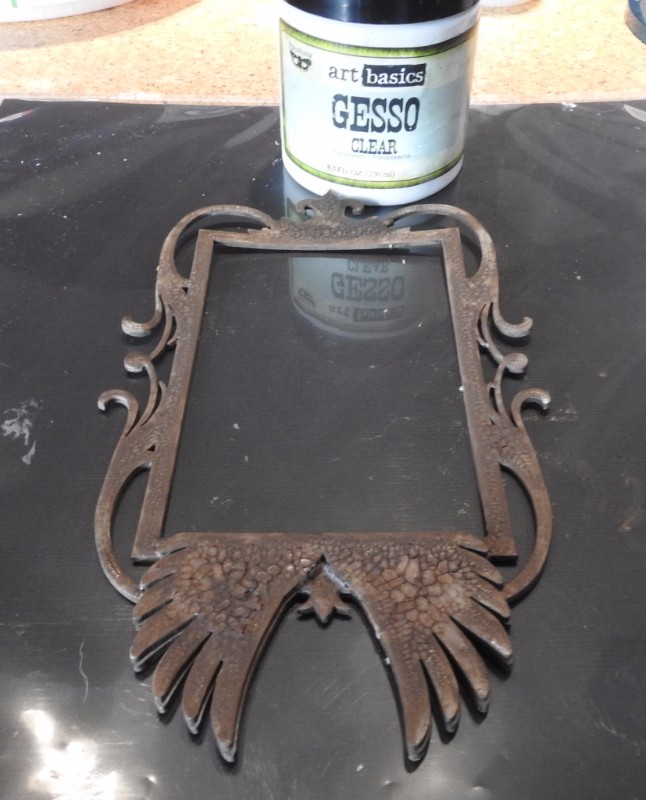
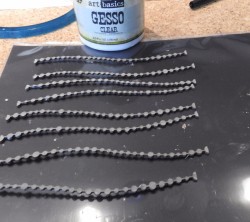
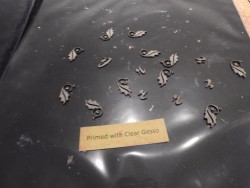
I primed all the chipboard with clear gesso…I do this to make sure the crackle sticks to the chipboard…
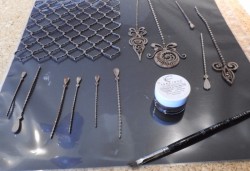
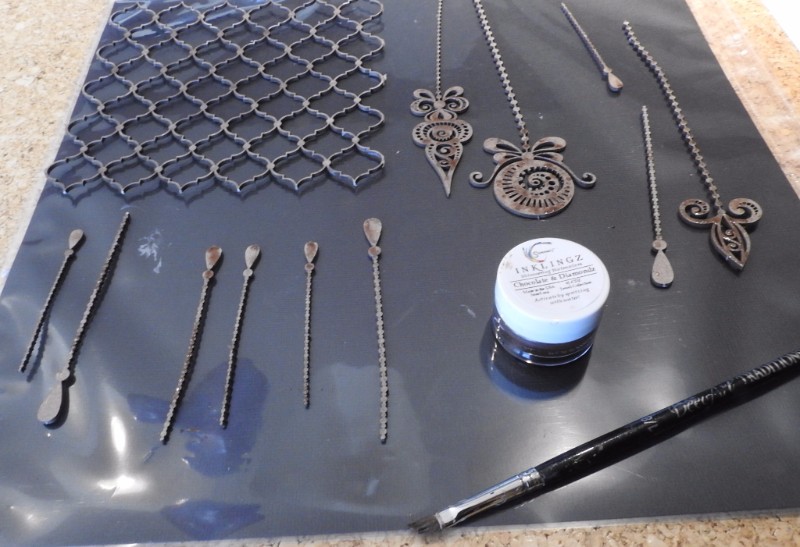
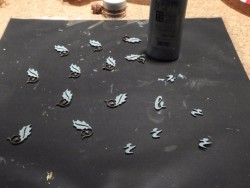
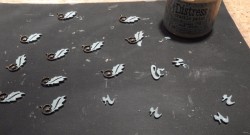
I then pained these pieces with Shimmerz Inklings Chocolate & Diamonds..

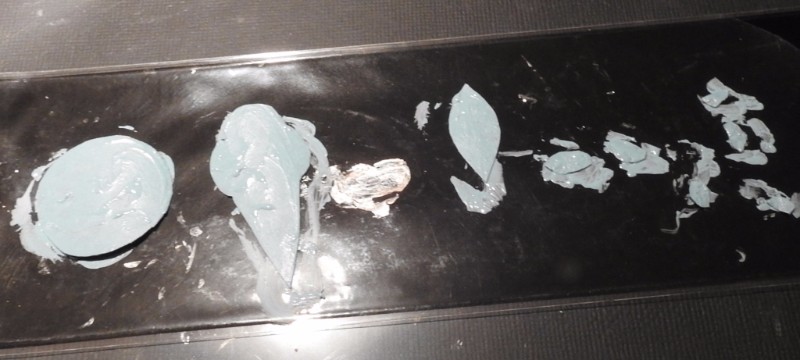
Applied drops of liquid pearls-Robins Egg
I painted these pieces with DA paint Oceania, then clear gesso…

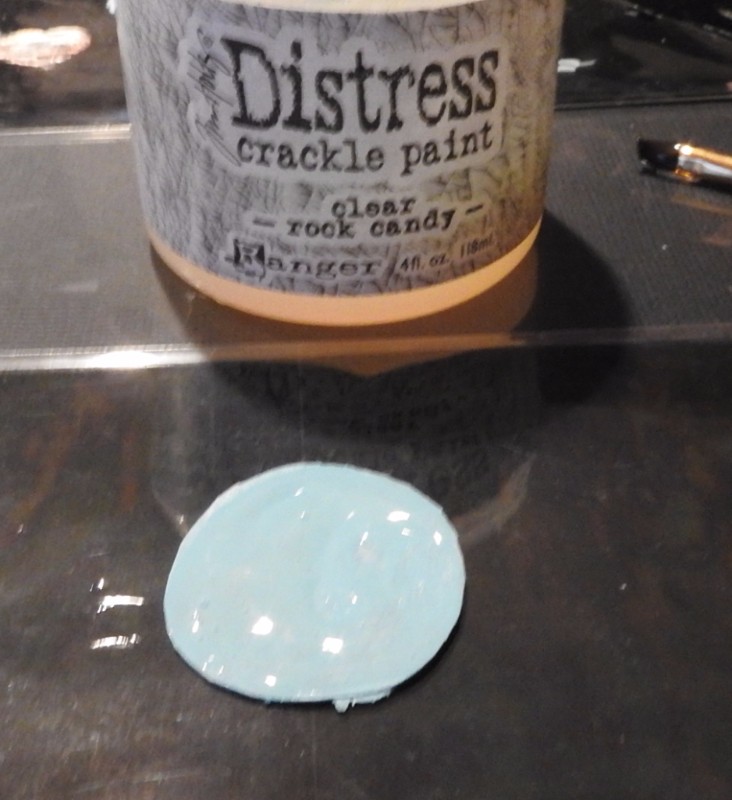
I then applied a thick coat of clear crackle
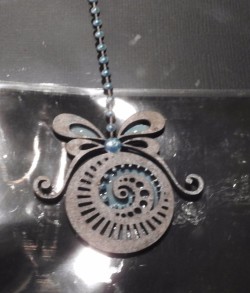
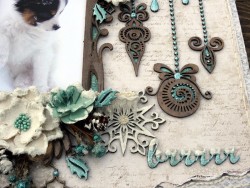
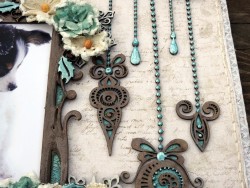
& placed the Ornate Pendants over top the wet crackle

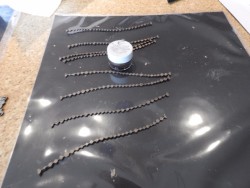
Dry & completed Chipboard pieces…
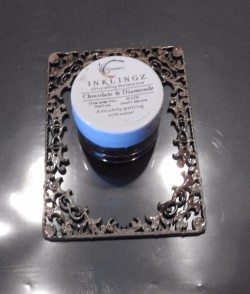
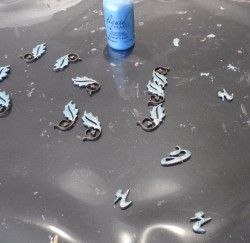
Primed with clear gesso, then painted with Inklings Chocolate & Diamonds
Primed with clear gesso
Painted with Inklings Chocolate & Diamonds
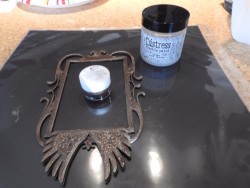
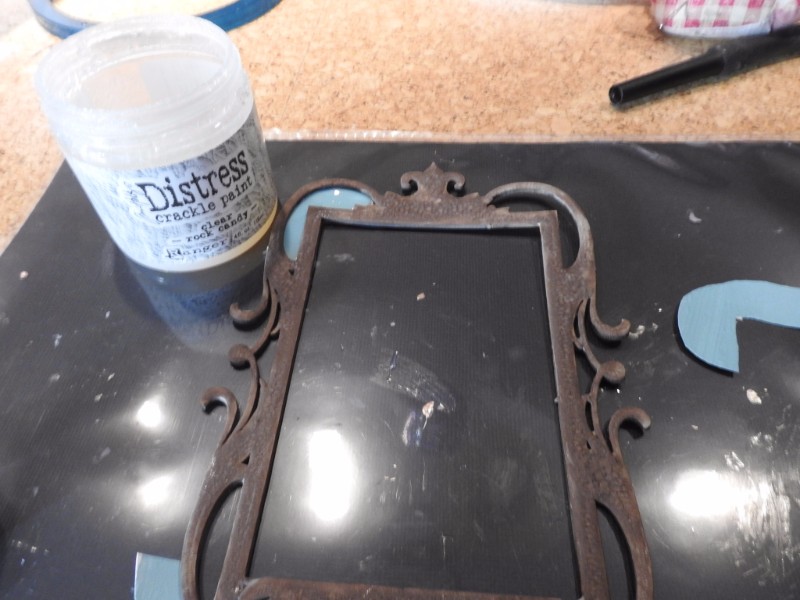
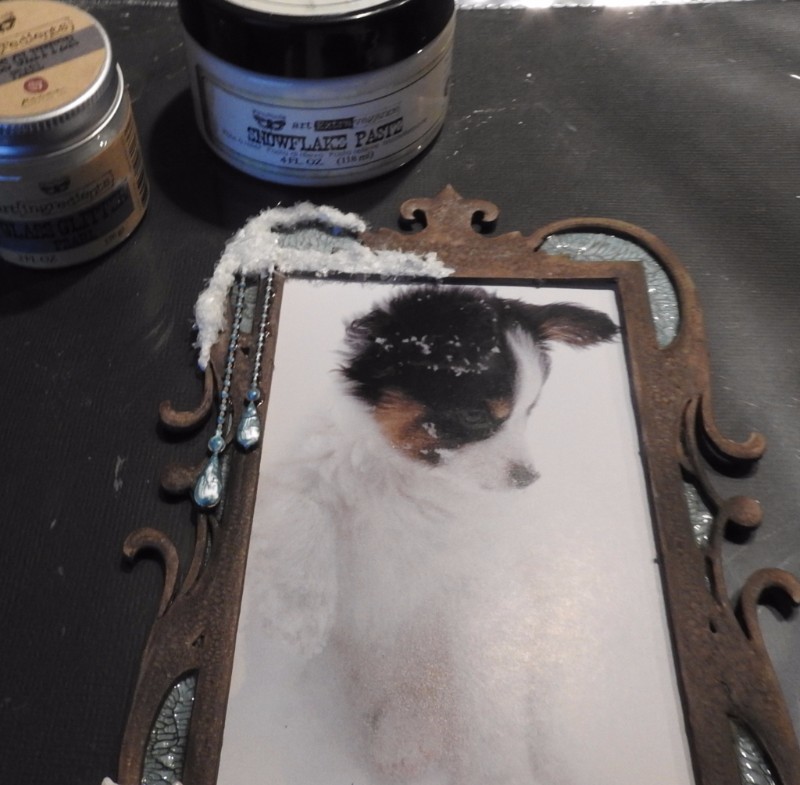
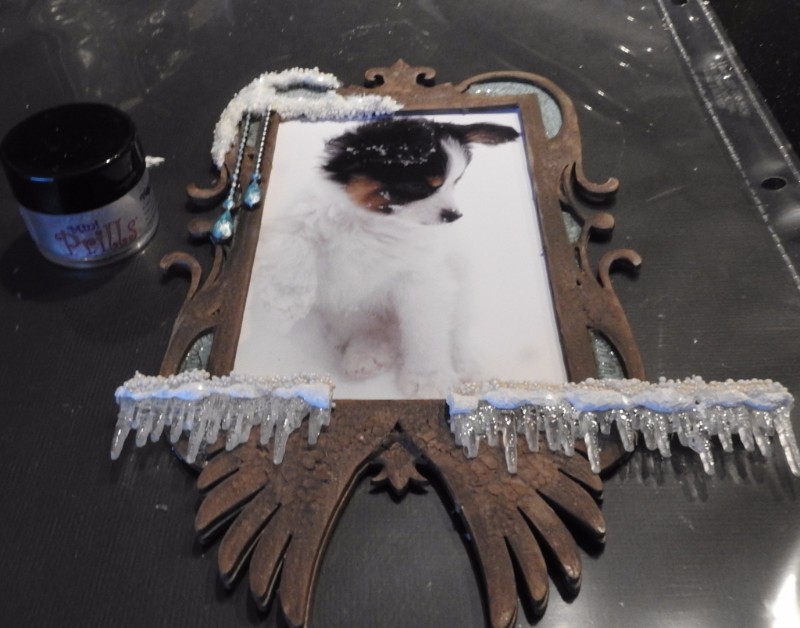
Primed with clear gesso, applied a thick coat of the clear crackle, then once the crackle dried I painted the Winged Frame with the Inklings Chocolate & Diamonds

I applied 2 coats of clear gesso, to seal the color, so it does not bleed through the snow texture….

I did the same to the frame, as I did with the Ornate Pendants…

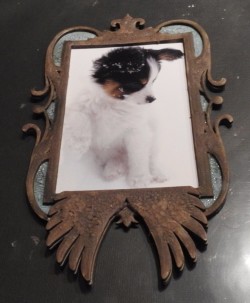
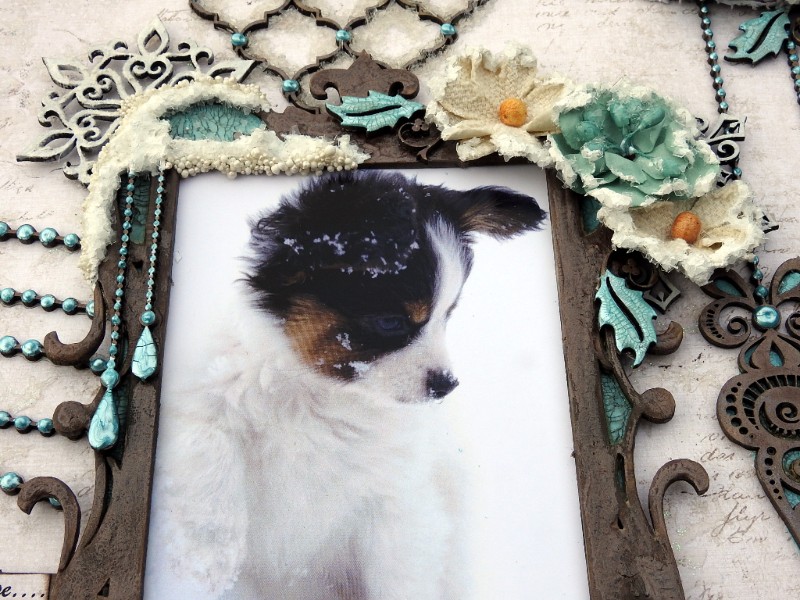
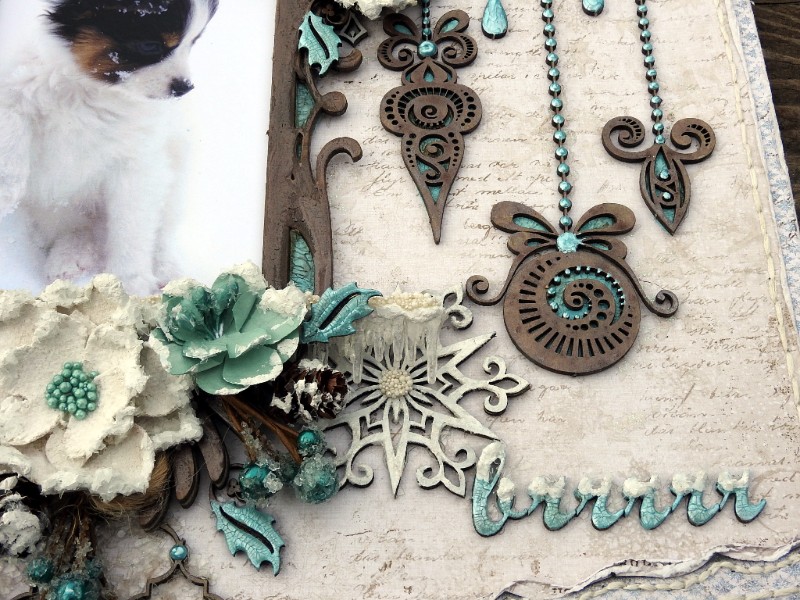
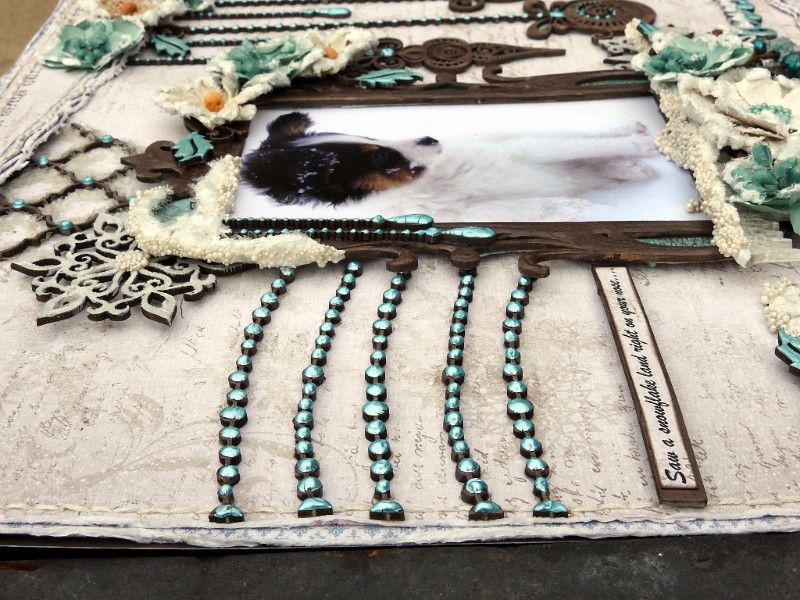
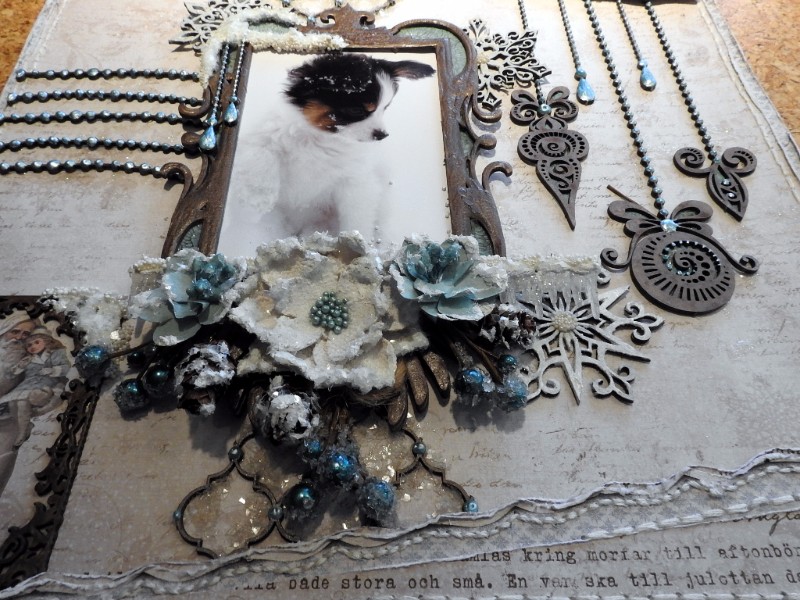
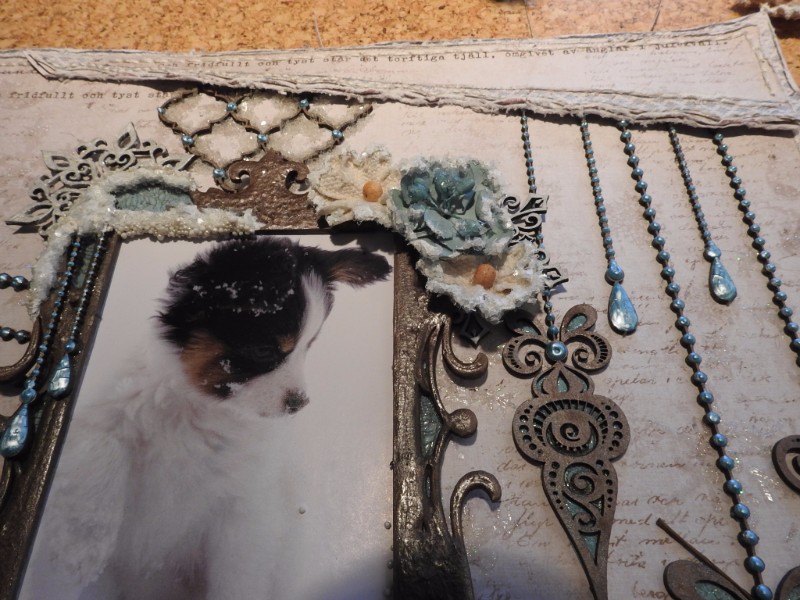
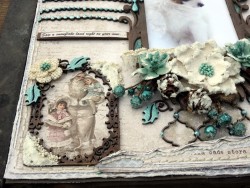
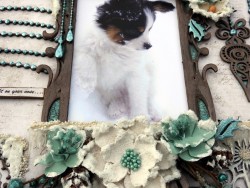
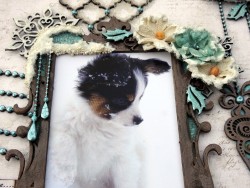
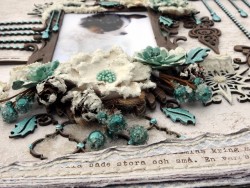
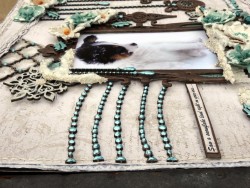
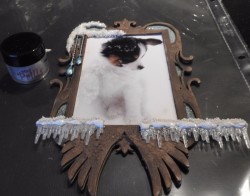
Glued the Photo under the frame…

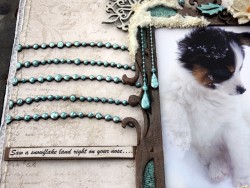
Glued on the pearl dangles & Tim Holtz icicle

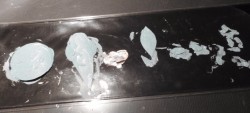
Using a brush I applied Prima Snowflake paste, sprinkling on Prima glass glitter while the paste was still wet. I do not like the snowflake paste by its self, it comes to life with the glitter….
Primed
Painted with the DA Oceania
Applied clear crackle
Once the crackle dried, I painted these pieces, with the Robins Egg, Liquid Pearls…
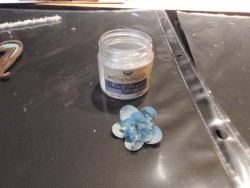
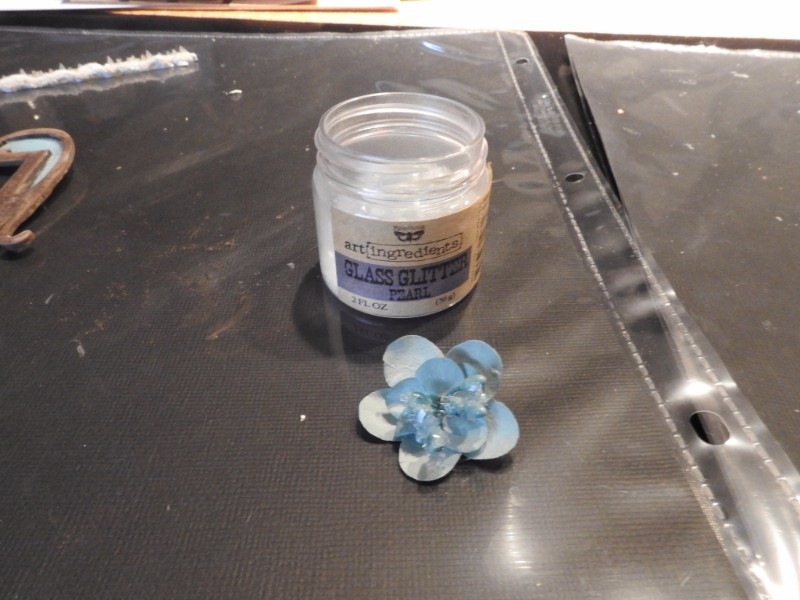
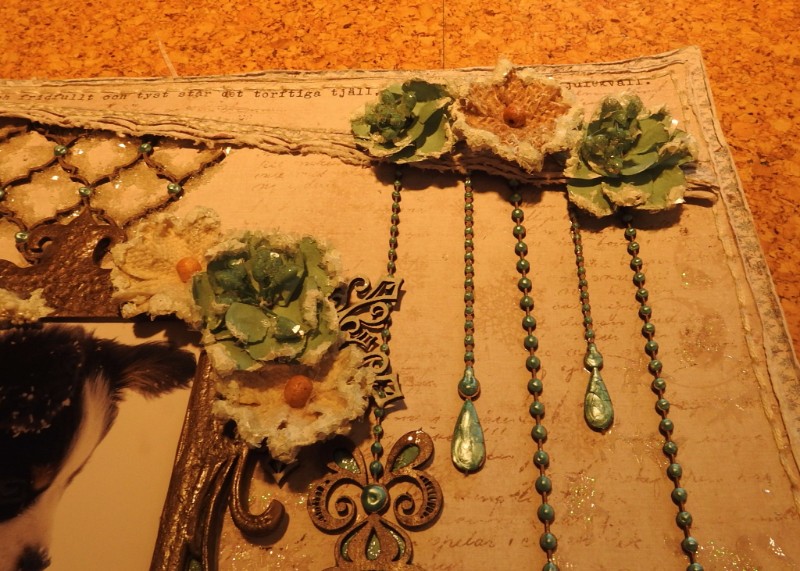
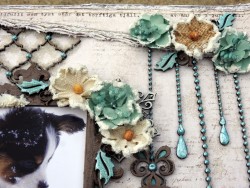
I painted the flowers with LuminArt H20 Heavenly White, to give them shimmer. I also glued on some of the glass glitter on to the flower centers…

I changed the flower centers on all the canvas, burlap blooms, using Prills Sage Advice. I then applied snow texture & glass glitter to the outside edges of all the flowers….
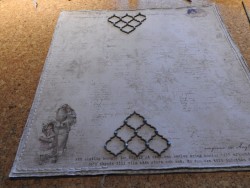
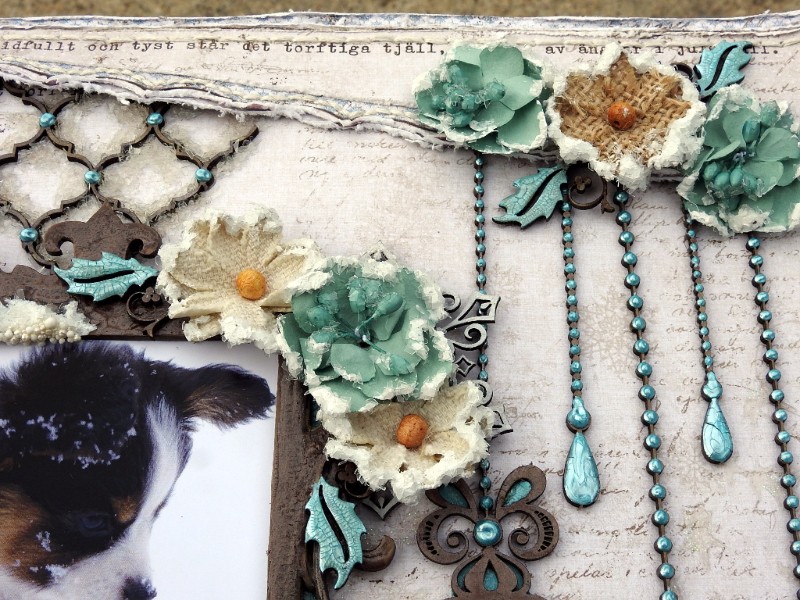
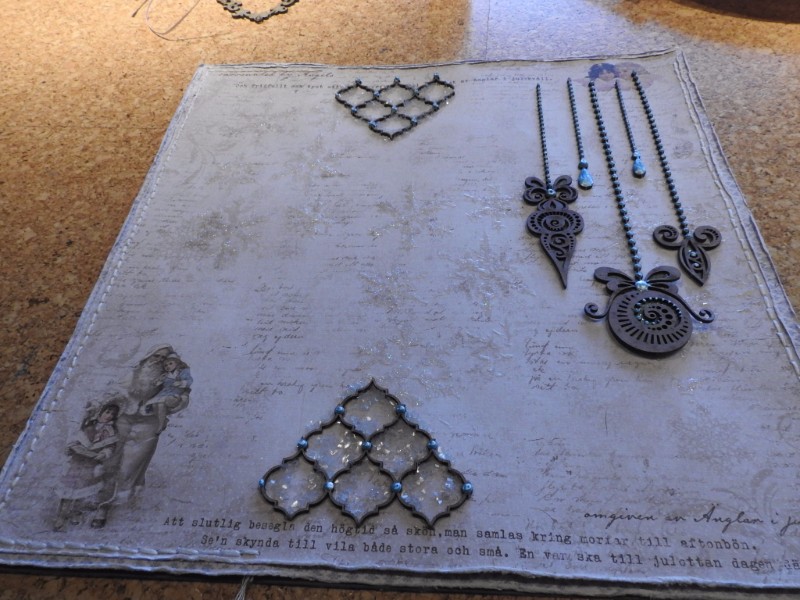
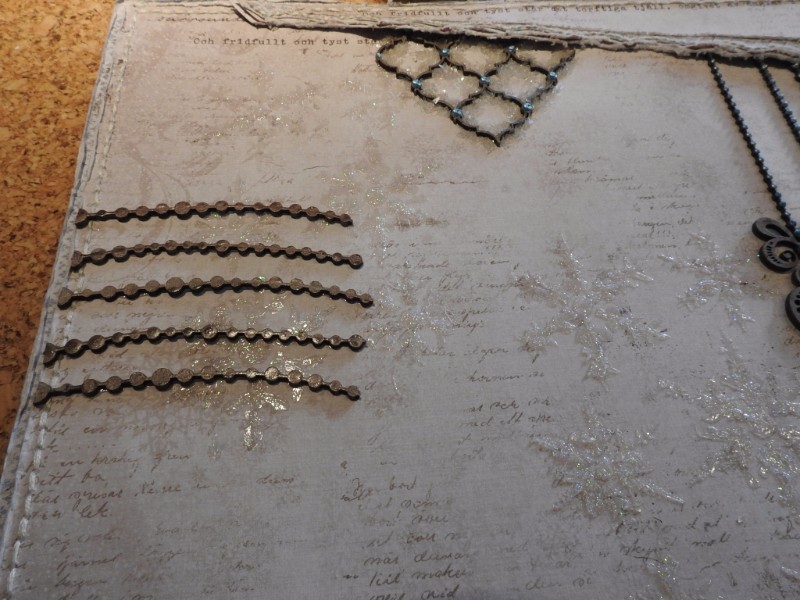
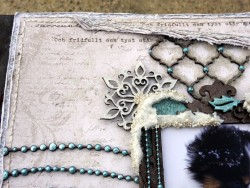
I glued down the Marrakesh Trellis…
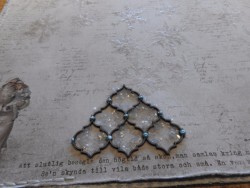
Placed drops of glue, I use Ranger Glossy Accents, it dries fast & holds…Sprinkled on some glass glitter…

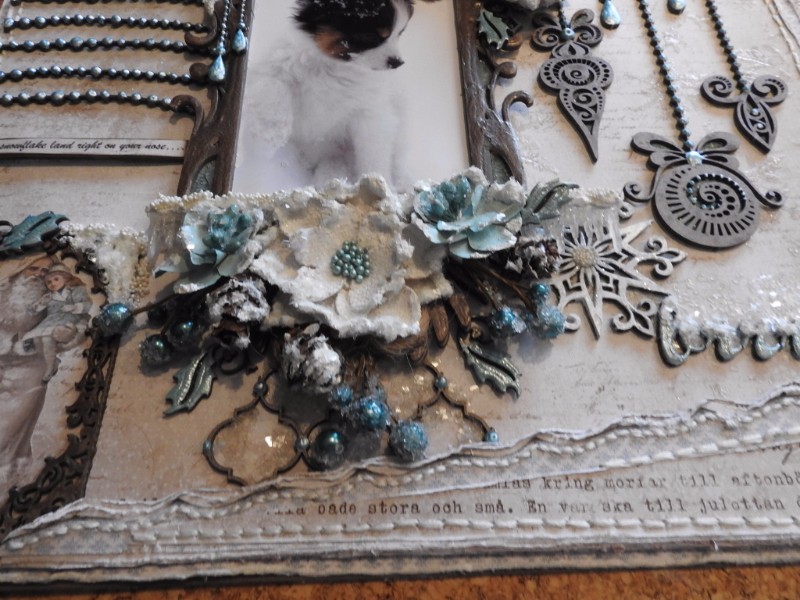
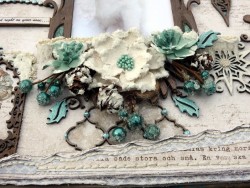
Glued on the Ornate Pendants…
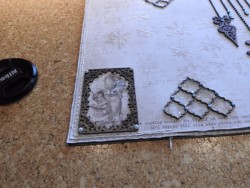
Glued on the frame…
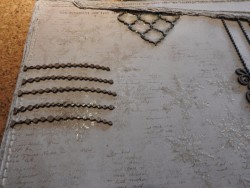
Glued on the beaded tinsel…& the top part of the LO…

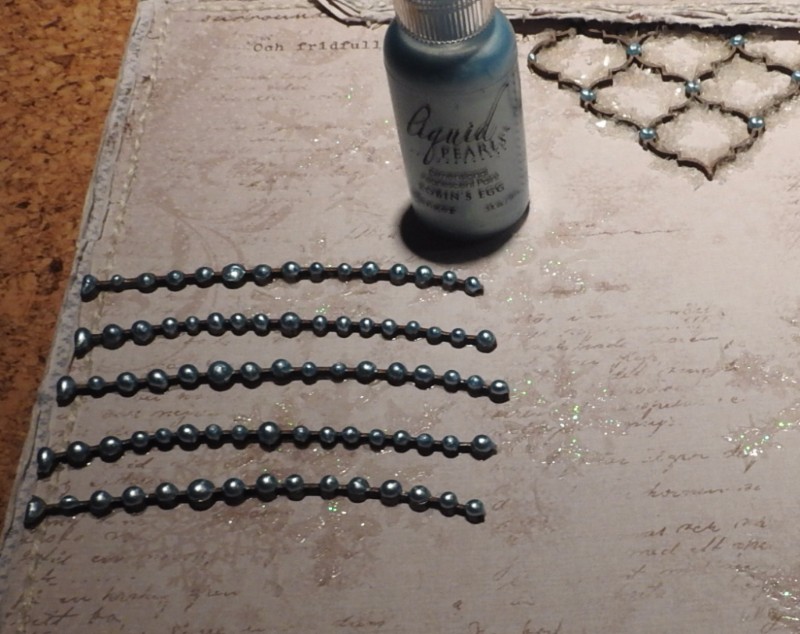
Applied drops, of the Robins Egg Pearls, to the Beaded Tinsel….
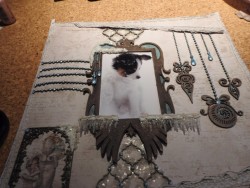
Glued on the framed photo…
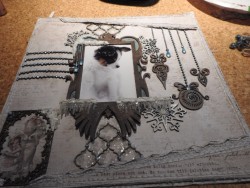
Glued on Bottom part of LO & Snow flakes… I primed the snowflakes with white gesso, then painted them with the clear crackle, & once the crackle dried I painted them with the LuminArt, heavenly white for the shimmer…
Started this cluster using 49 and Market Rustic Pointsettia Canvas Blooms, Garden Blooms, Petaloo Berry Picks & pinecones. I picked the small pine cones, cut off the bottoms to make them smaller, then sprayed them with a acrylic sealer. I also applied the snow texture & glass glitter on to the pine cones…
I painted on another coat of the Inklings Chocolate & Diamonds on the frame, for the Shimmer & Started a cluster here…

& here, top right corner…

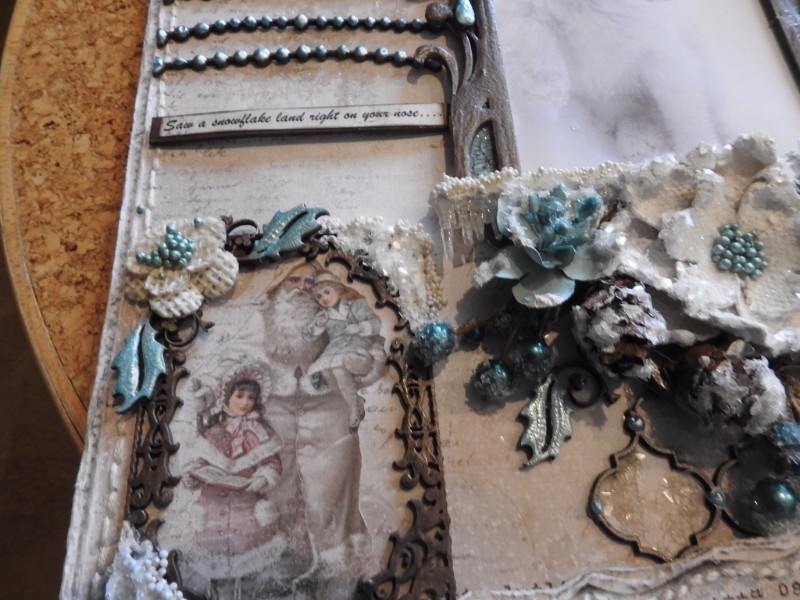
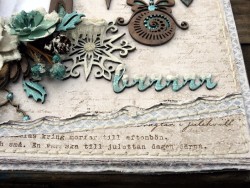
Added this printed piece that I took from the Mood Board…Also glued on some Prills-Mini Pearls onto the snow texture…

Shows the droplet on Jona’s nose…
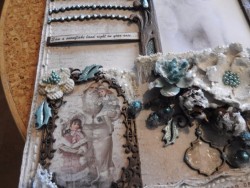
Added a flower cluster over the Santa Frame…
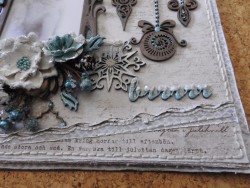
Added the title….
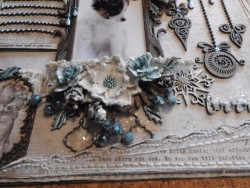
added the mini holly into the cluster…

& into these clusters….
I have also done another photo tut, for my next post on Dec 24.
Thank you so much for taking the time to look….Rachelle