Happy Little Angel

1

Posted by Amy Voorthuis

4 November, 2016 - , ,

Write a comment

Goodmorning everyone,

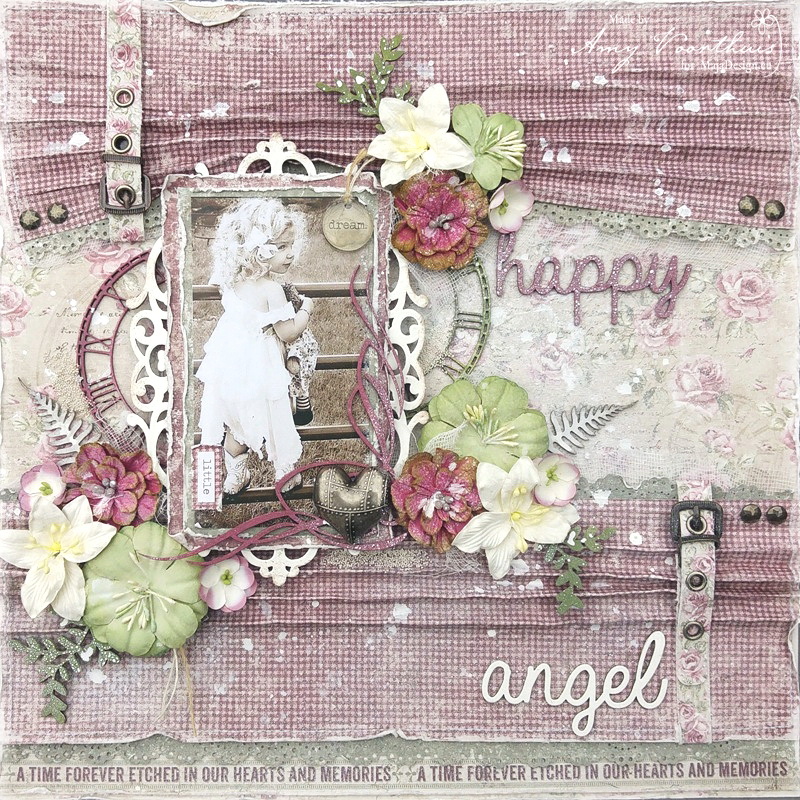
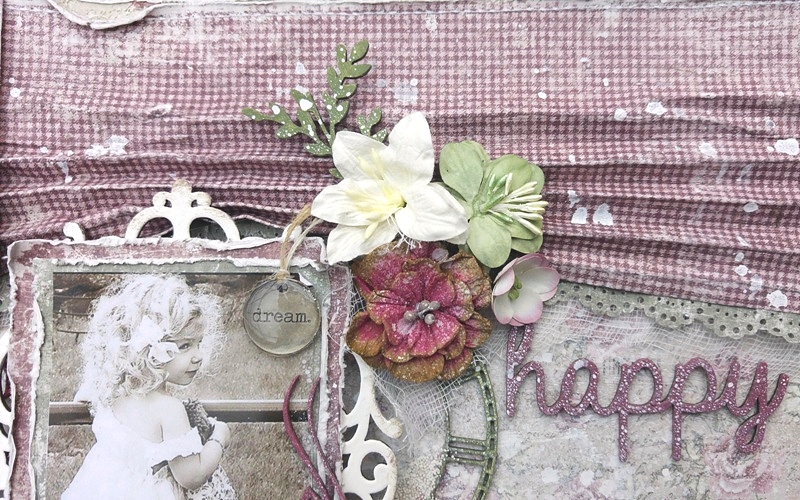
I am back from a little break I had from designing ‘oh’ and does it feel good creating again…..today I am happy to show you a layout I made with the always pretty “Vintage Autumn Basics” collection! I see you thinking everyone is creating with the new “I Wish” collection why not you Amy……well I am creating with it but I will show you that in due time. Since “Vintage Autumn Basics” is my favorite collection ever made by Maja Design I thought well let me start with that one….to get my scrapping juices flowing hehe..;-)

20161104_0842401

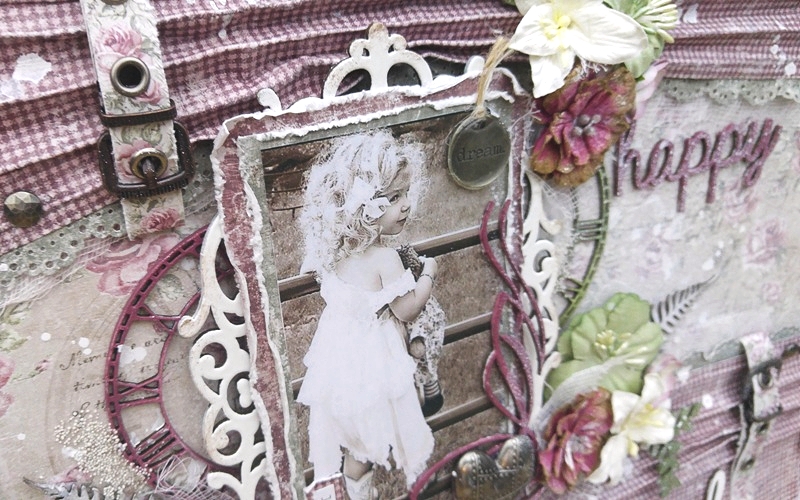
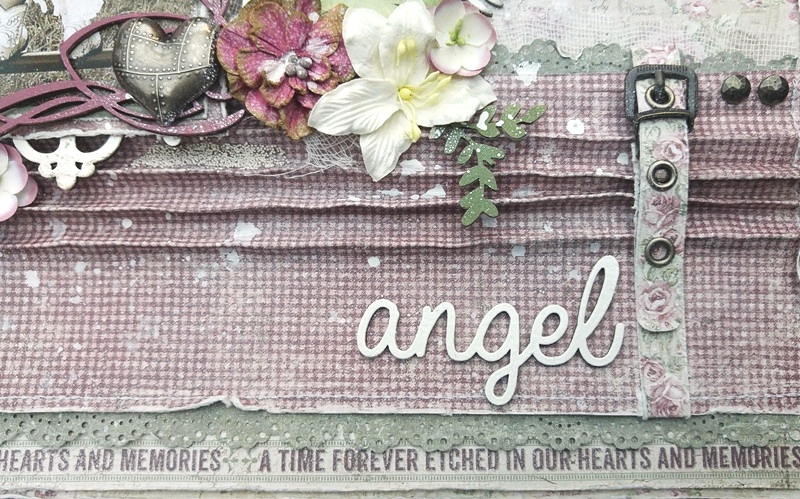
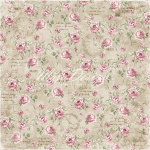
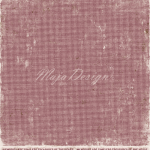
As the base of my layout I used No.II sheet with the pretty flowers on them and on top of that I layered No.III which I spayed with water and wrinkled on the top and lower part of my layout. I also stitched both parts first before adding them onto my layout. The picture I used is from Pinterest don’t you just love that sweet girl…..so adorable <3

20161104_083203

20161104_083338

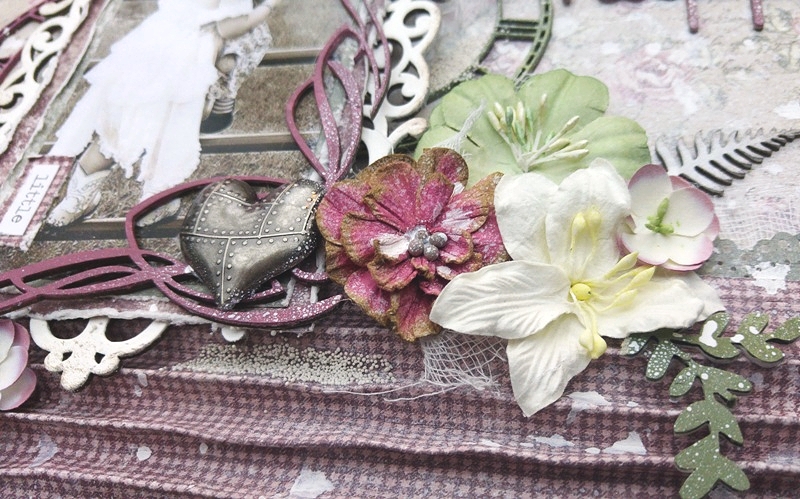
On my layout you see some buckles {oh how I love them} and I used them all the time to add a little extra on my layouts I also love the metal pieces I used here especially the heart……the flowers I used are from Little Birdie, Dusty Attic and some lilies from a unknown manufacture. These lilies are really lovely to use because you can bent them in every way you want to. The chipboard pieces are all inked and embossed and from Dusty Attic.

20161104_083207

20161104_083221

20161104_083255

Maja Design papers used: Vintage Autumn Basics: No.II, No.III, No.V & No.VII

Autumn-Basics-P (1)

625-Vintage-Autumn-Basics-no.II_ 626-Vintage-Autumn-Basics-no.III-BS (1) 628-Vintage-Autumn-Basics-no.V 630-Vintage-Autumn-Basics-no.VII-BS

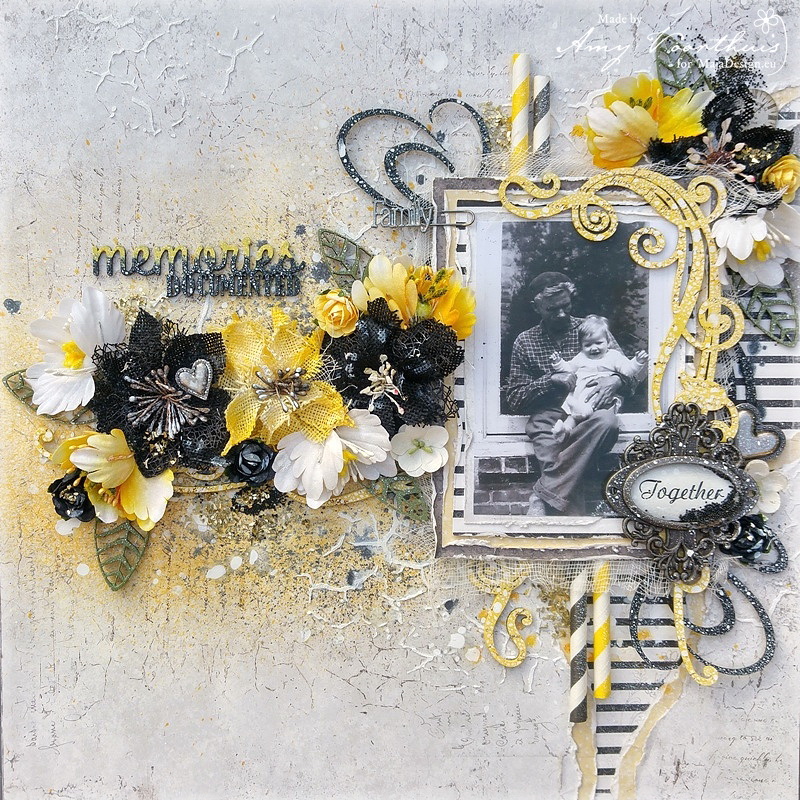
I would like to show you another layout that I created a little while ago using some wonderful Maja Design papers the picture I used here is from my grandfather and aunt oh how I love those old pictures and my grandpa does look handsome…..for this layout I used some straws {yup I am hooked} and some new Prima flowers and three Maja Design collections do you see which ones?

20161016_172734_HDR (1)1

Thank you so much for visiting the blog today and for leaving such nice comments every single time we really do appreciate them. I want to wish you a wonderful sunny & creative weekend…tomorrow I will go to be in a very creative surrounding it’s sort of the CHA but then a whole lot smaller and it’s called the Kreadoe.

Love,

4

T’is the Season

0

Posted by Mary Tzalla

30 October, 2016 - ,

Write a comment

Tag

Hello Maja fans!!!

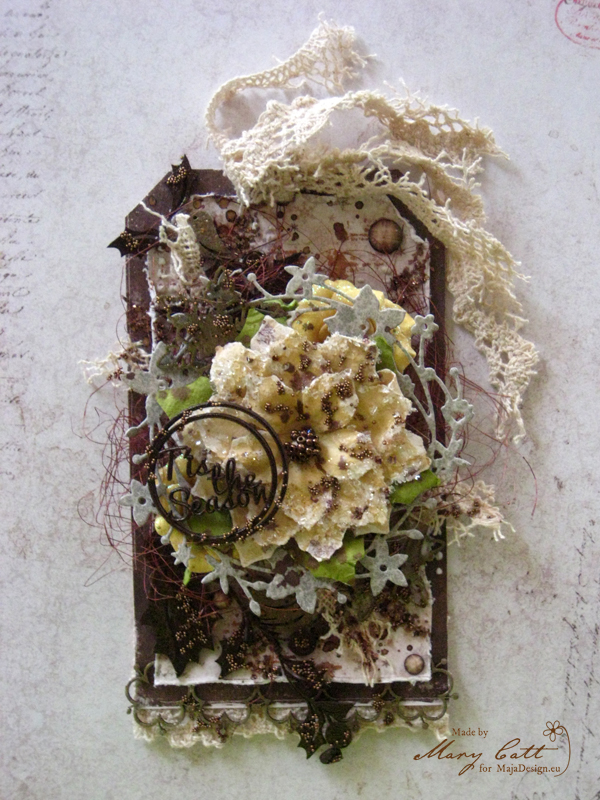
Mary is up on the blog today and I have a Christmas tag to share with you. This is my first project made with the brand new ”I Wiss” collection and I have to say that I really loved it!!! These papers are simply amazing!!!

Close up 1

I used two papers for my background, the ”I wish those memories will last” and for the second layer the ”I wish for frosty mornings”. I applied modeling paste with a stencil to create some texture. Then, I made some splatters with ”Dark Chocolate Truffle” Lindy’s Stamp Gang mist and some random stamping with a script stamp and ”Coffee” Archival ink .

Close up 2

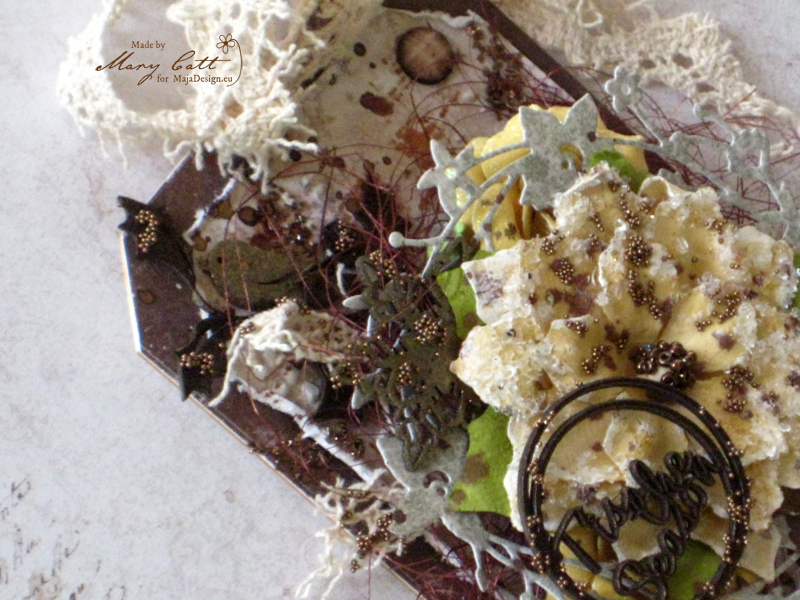
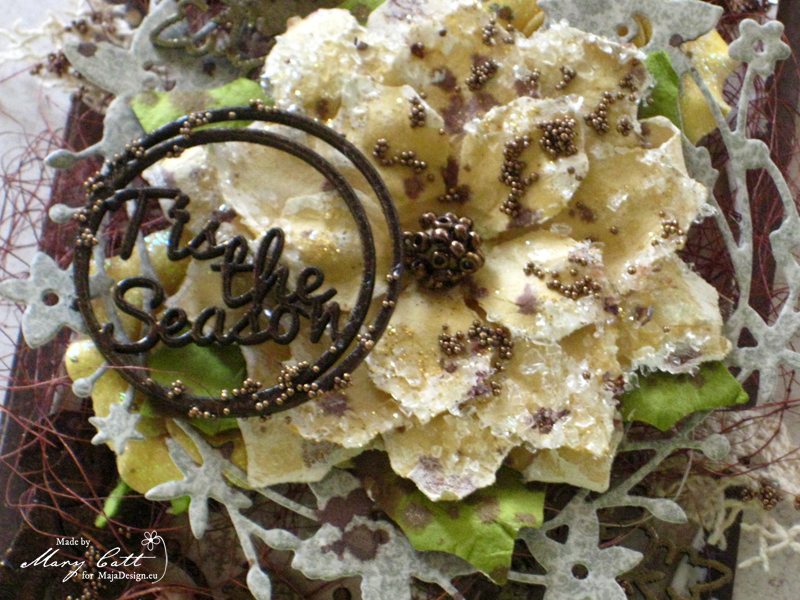
I heat embossed the title and the ”Corner Sweet Holly” chipboard, which I cut in two pieces, with ”Midnight Bronze” embossing powder and the little birds on it with ”King Midas Gold”. With the same powder I also embossed the ”Flower Chain” chippie. The snowflakes were embossed with two powders, first with ”Silver Moon Turquoise” and then with ”Golder Angel Wings”.

Close up 3

  I made a floral frame with a die and the ”I wish for peace and joy” paper and placed it on my cluster under my main flower. A little sisal, colored with the same mist I used before, completed my cluster. Some microbeads and glass glitter and my christmas tag was ready.

Close up 4

All the chipboards used were 2Crafty and the flowers were Prima Marketing.

Papers used:

I-wish-P

Well, that’s all for today, my friends!

See you again in two weeks!

Mary-sign

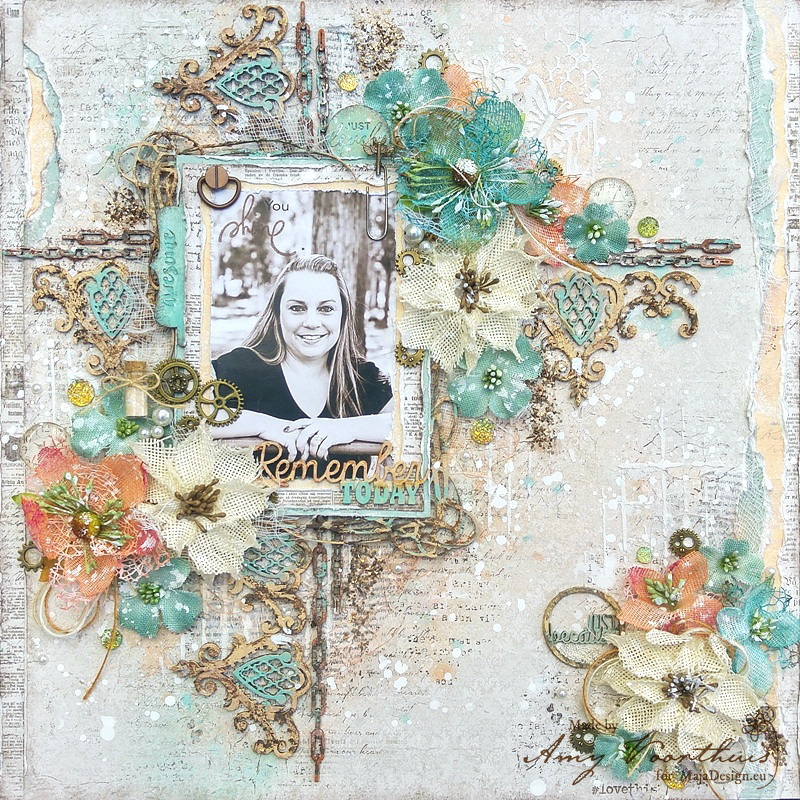
You Shine {remember today}

0

Posted by Amy Voorthuis

25 September, 2016 - , ,

Write a comment

Well hello and good morning to you all,

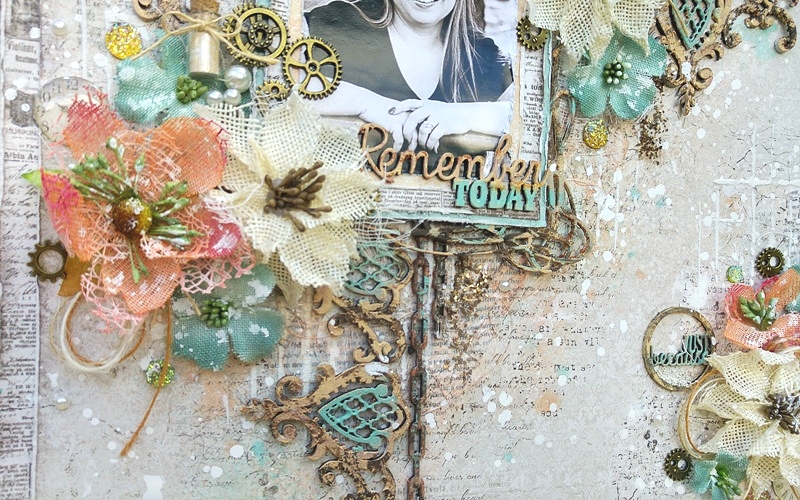
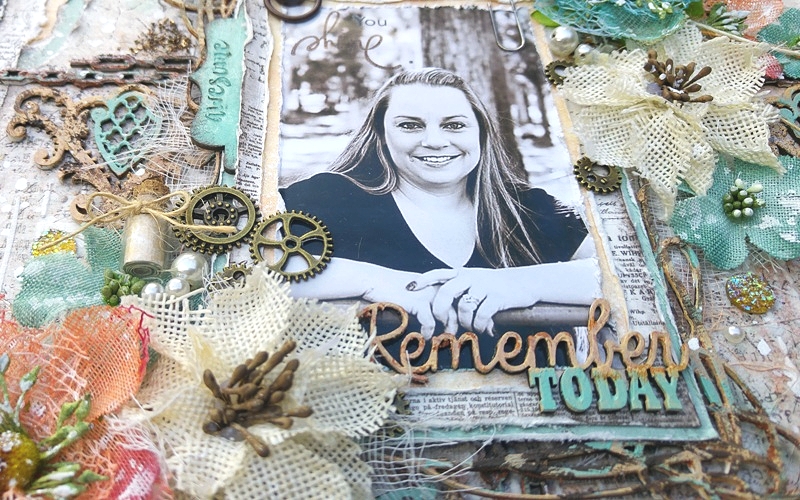
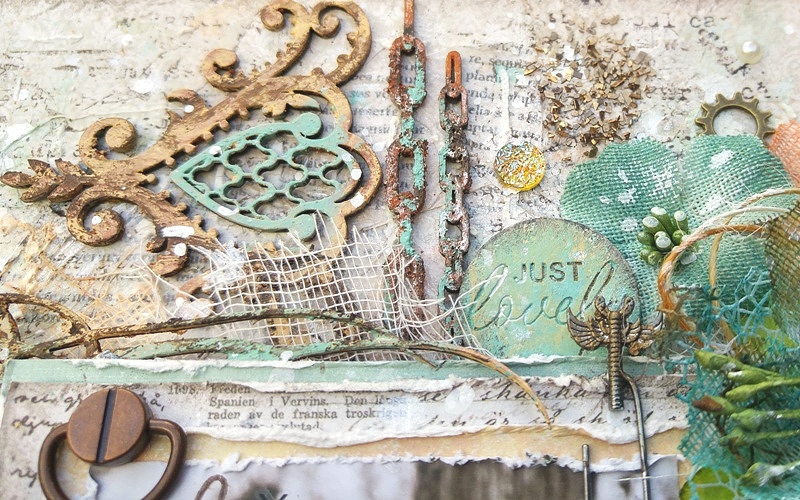
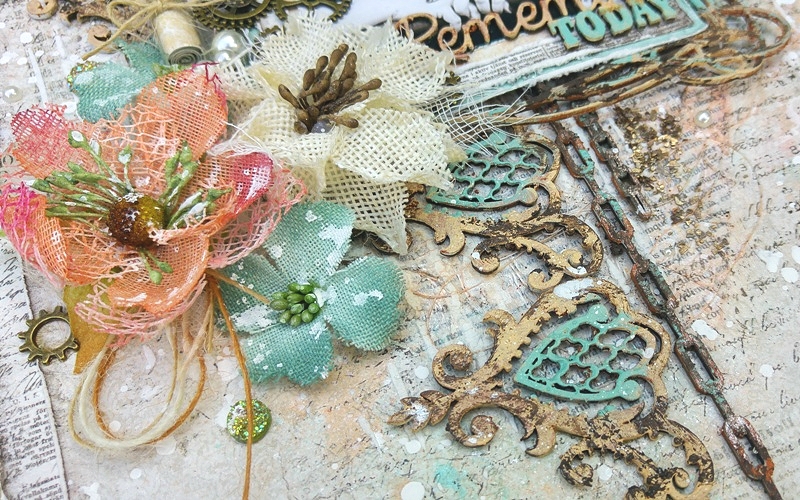
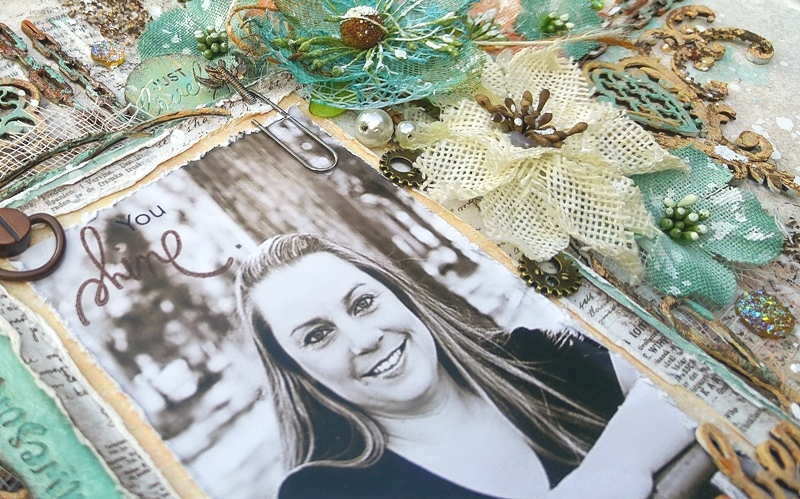
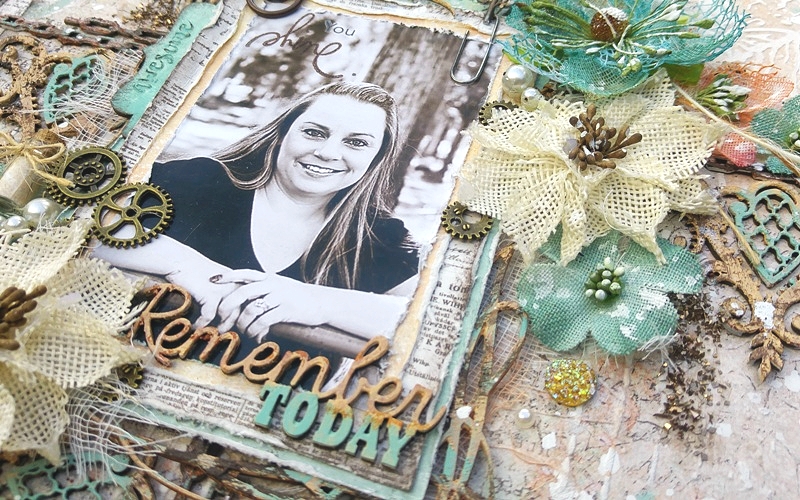
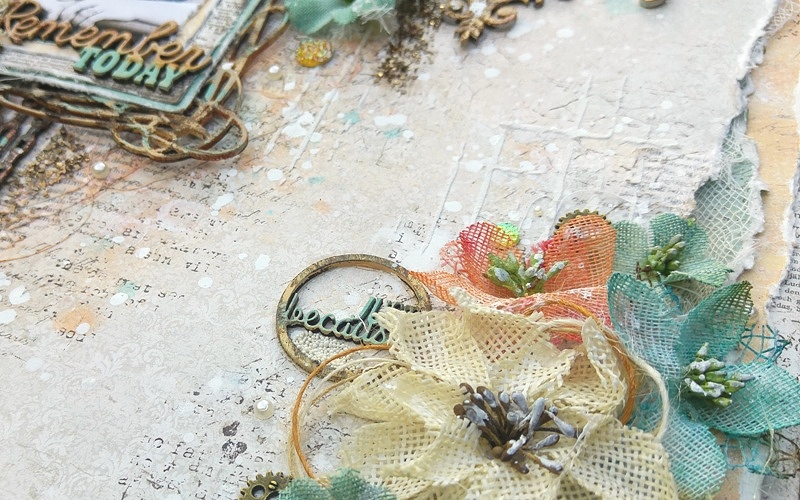
It’s me again Amy and today I would like to share something special with you all. Jennifer the boss of The Dusty Attic celebrated her 40th birthday this month and her friend Jen The Dusty Attic design team coordinator, aka her friend surprised her with a massive scrapbook with all pages of every design team member that is currently designing for them including me. Oh boy was she surprised when she got it Jen made a video for us to watch which was great to see….This is the layout that I made using two Maja Design collections “Vintage Summer Basics” and my favorite “Vintage Autumn Basics” on this layout I used a bunch of chipboard pieces that I treated with the amazing rust paste by Finnabair {did I tell you I am hooked on that stuff} and acrylic paint.

20160918_110626_HDR1 (1)

I used a lot of mixed media techniques on this layout and use products like tissue paper, ink, stamps, sprays, art stones, glass glitter on my layout. If you know me a little by now you know that I really like to incorporate metal embellishments on my work and on this layout I used a whole bunch of those as you can see 😉

20160918_110658_HDR

20160918_110836_HDR

20160918_110918_HDR

Also I added two different stencils with paste and a little glass jar with a piece of paper that wishes her a happy birthday. I really had fun making this layout and this page gave me that yeahhhh feeling that I haven’t felt in a “long” time since I started scrapbooking twelve years ago…..maybe the reason for that is that this one was made as a gift for someone which is always a lot of fun to make someone feel special.

20160918_110751_HDR

20160918_110912_HDR

This time the flowers are by Petaloo and not hand made like I normally do which sometimes is great because making handmade flowers will take a lot of time to make which I sometimes don’t have since I work too……I feel really special to be working for three amazing crafting companies that I sometimes feel like I am dreaming. I am planing to give a class for a bunch of Dutch ladies on how I make my layouts {using Maja Design papers of course} …what I find very scary although I did it once before. You will find more about it on my Facebook page in the near future.

20160918_110840_HDR

20160918_110942_HDR

20160918_110846_HDR

Did you ever feel like you some how can’t finish a page that you started? What I do when that happens I put my layout aside and start all over again….and when it’s another day I just take out that layout again and then {somehow it works} I finish it and those are mostly the prettiest pages I make weird right?

Maja Design papers used: no.XVI from the Vintage Autumn Basics collection & 1943 bs, 1912 bs, 1904 bs and 1891 from the Vintage Summer Basics collection.

Autumn-Basics-P

Vintage-Summer-Basics-P

513w1943-bs 521w1912-bs 527w1904-bs 529w1891 639-Vintage-Autumn-Basics-no.XVI_

Thank you so much for visiting the blog today and I hope you will have a lovely Sunday…on Monday I will be leaving for a week to go on school camp with our son since he is in his last year! I almost could not go due to my work {my boss was being a pain in the but} but it all worked out luckily pheww…..

Much Love

4


”Amazing” Layout with a Video Tutorial

2

Posted by Mary Tzalla

4 September, 2016 - ,

Write a comment

Hello my friends!

This is my very first post for Maja Design as a design team member and I’m so excited to share it with you!

Maja design has amazingly beautiful papers and designing with them is like a dream come true to me! I’m so very thankful to Camilla and Marie for having me in the team and for the their trust in me!

Well, here is my layout…

Layout

I found my photo on Pinterest but unfortunately I don’t know who the photographer is… …so I want to give to the ”unknow” photographer all the credits.

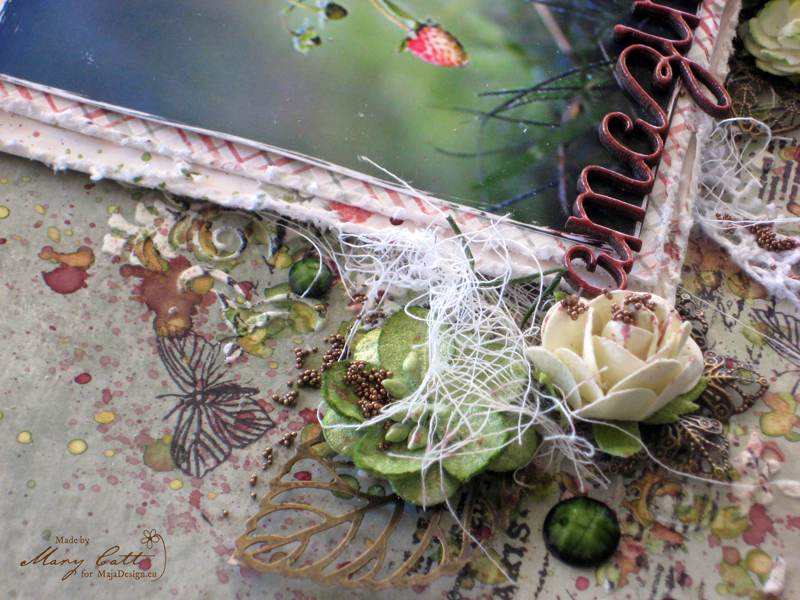
For the background I have used the ”Greenery” paper from ”Summertime” Collection. I just loved that paper and matched so well with my photo.

I also have made a Video Tutorial…

[youtube http://www.youtube.com/watch?v=1US4uqFCSYc]

…and some detailed photos…

Close Up 4

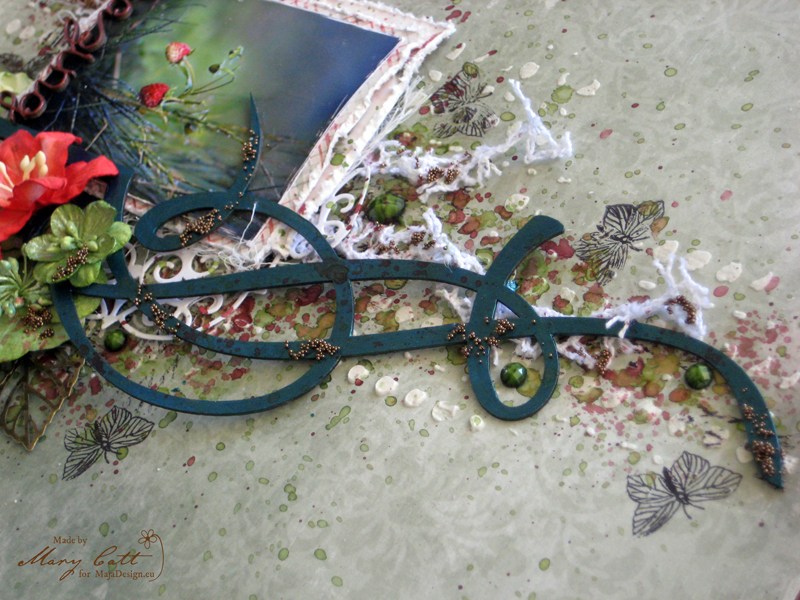
I added texture to the background with a light paste mixed with ”Gold Opal Magic” mica powder and applied it through a stencil. Then I used the ”Edelweiss Moss Green” and the ”Peony Scarlet Red” Lindy’s Stamp Gang mist to give some colour. Some stamps and my background was ready.

Close Up 1

Behind my photo, I made two layers using both sides of the ”Taste the Strawberries” paper from the same collection. I distress the edges with a scissor to give them a vintage look.

Close Up 2

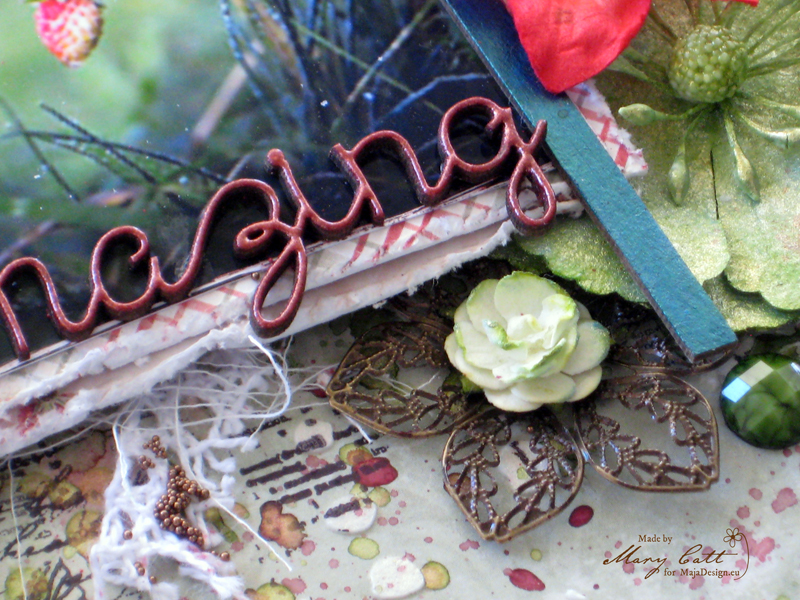
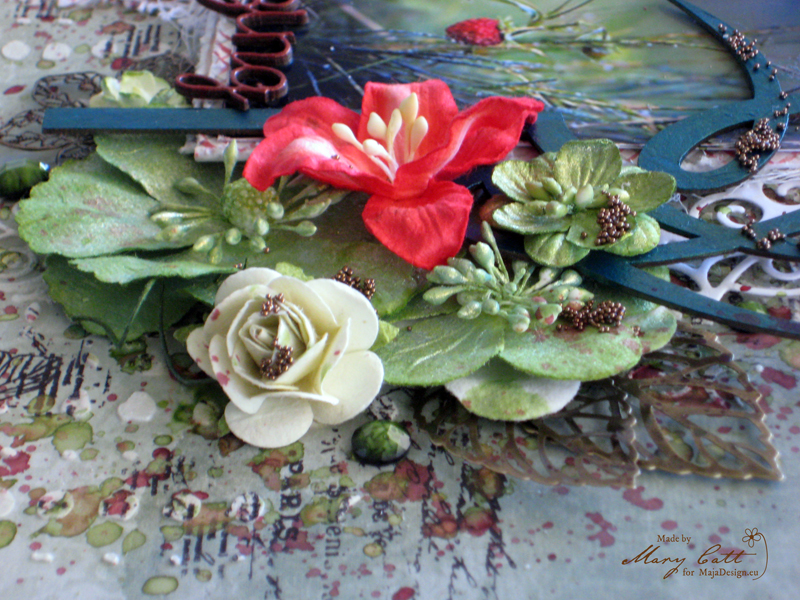
The green flowers were misted with the same mist I used for my background. Oh, I wish I could show you how shiny they are.

Close Up 3

All the chipboards I used are from 2Crafty Chipboard. I painted the florar chipboard with ”Metallique Emerald Green” Finnabair acrylic paint. The title was heat embossed with ”Terra Cotta Rust” Lindy’s stamp Gang embossing powder.

I finished my layout by adding some gems and some ”Bronze” micro beads.

Close Up 5

Papers Used:

Summertime-P

Thank you so much for stopping by!

Mary-sign


Lollipop card with Maja Design papers {tutorial}

8

Posted by Camilla Støen Bakke

10 August, 2016 - , ,

Write a comment

IMG_4239

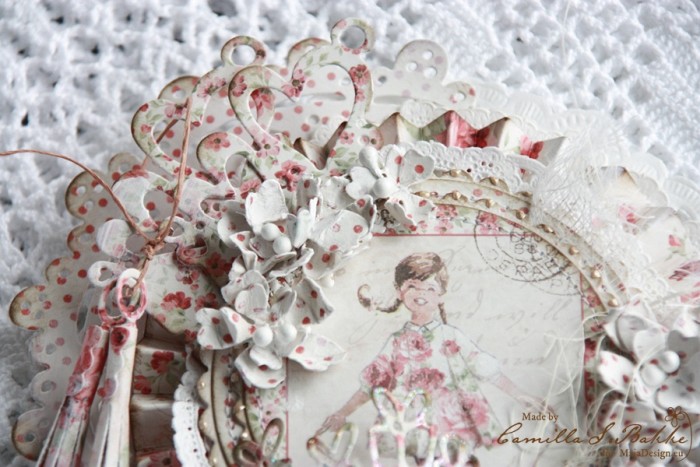
Hi there! Today I will show you how I make my lollipop cards with the beautiful Summertime papers from Maja Design. The collecion has two main colours to work with, blue and red. I have chosen the red colour scheme for my card.

Summertime-P

Here comes my step by step:

IMG_4077

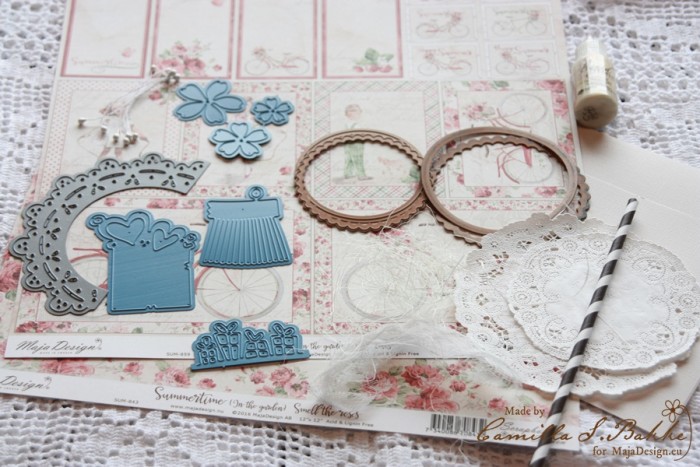
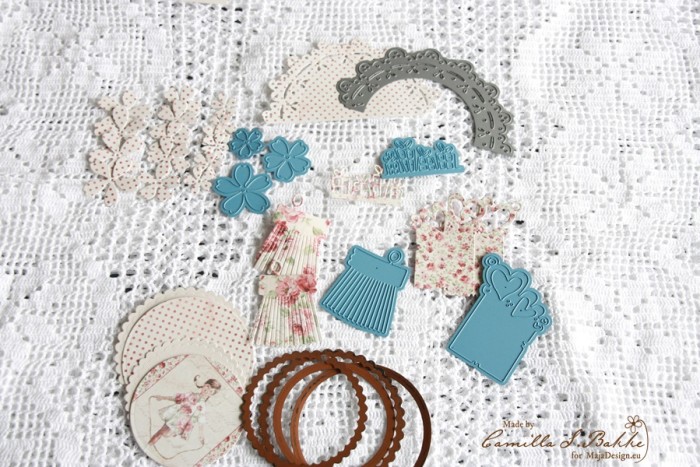
Above you see a collection of dies, papers, doilies, cheese cloth, paper straw, liquid pearls and sissal grass that I have used for my card. The dies are DooHickeys from Magnolia (mainly the club kit vol 5-the blue ones) and Spellbinders (the circles).

IMG_4091

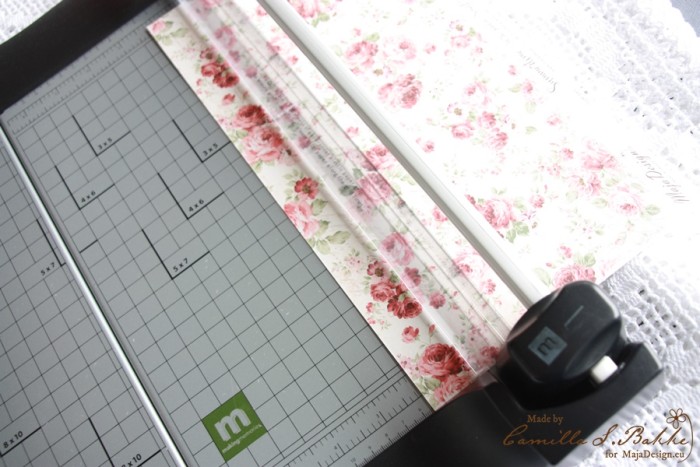
I start with making the main base in the lollipop card, the rosette 🙂 I cut a whole length (12″x 12″) measuring 5,5 cm.

IMG_4092

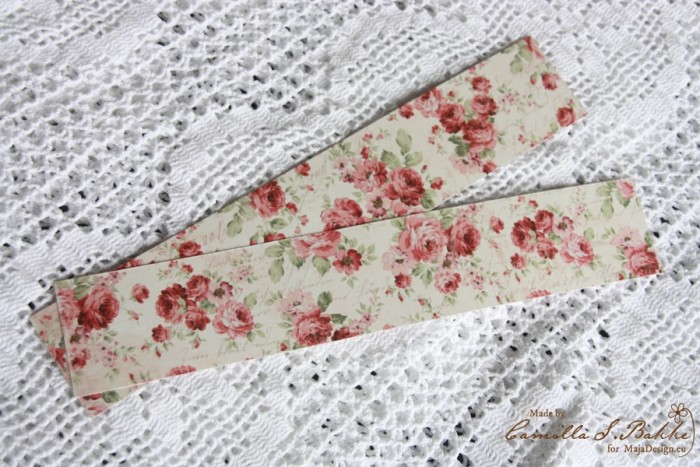
You will need two of theses.

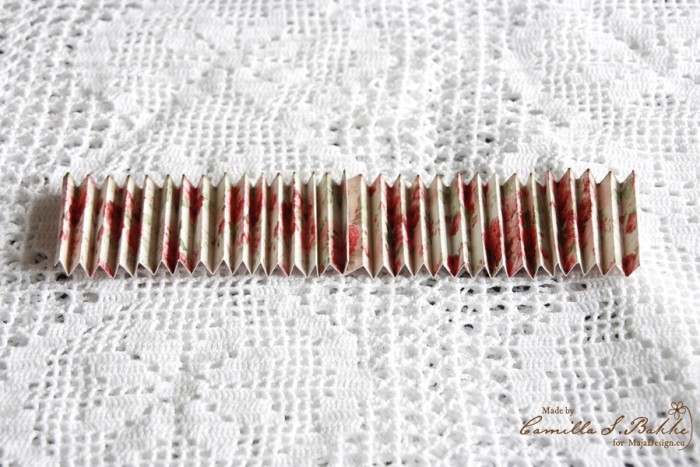
IMG_4095

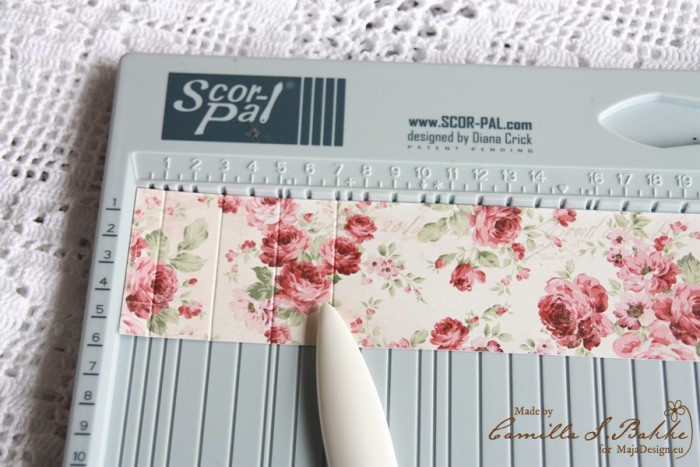
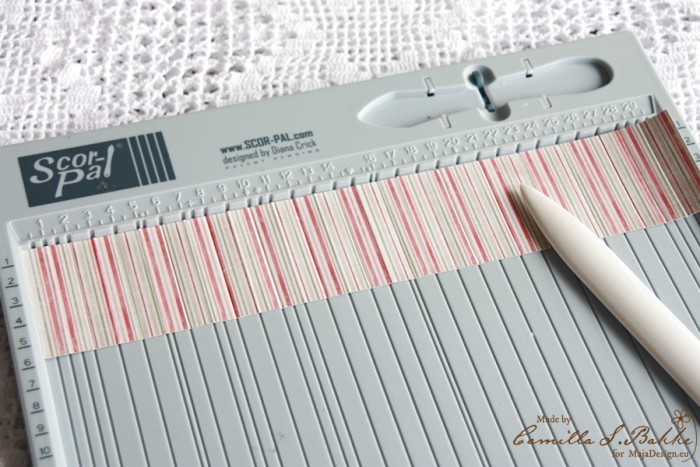
Then I fold the papers using my score pal. If you don’t have one, just fold it with your fingers. I fold every second cm (as you see at 1, 3, 5.. cm).

IMG_4097

Then I turn the paper around, and fold at 2, 4, 6 … cm. Then I will fold it at every cm.

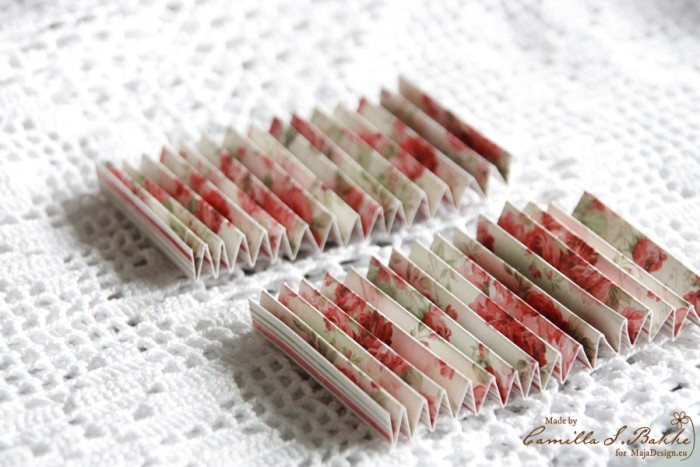
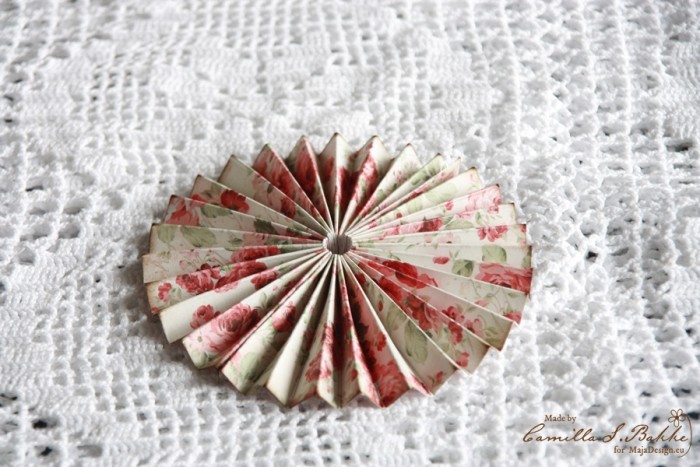
IMG_4103

When you are finished, the papers will look like this, two accordians.

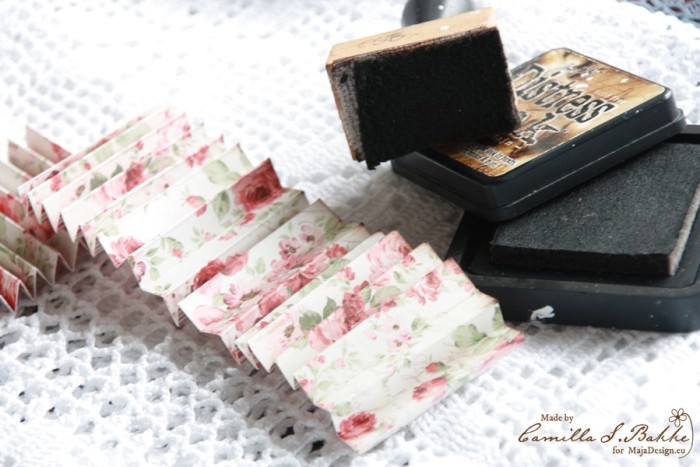
IMG_4110

I use my inking tool to ink the edges with the colour Walnut Stain.

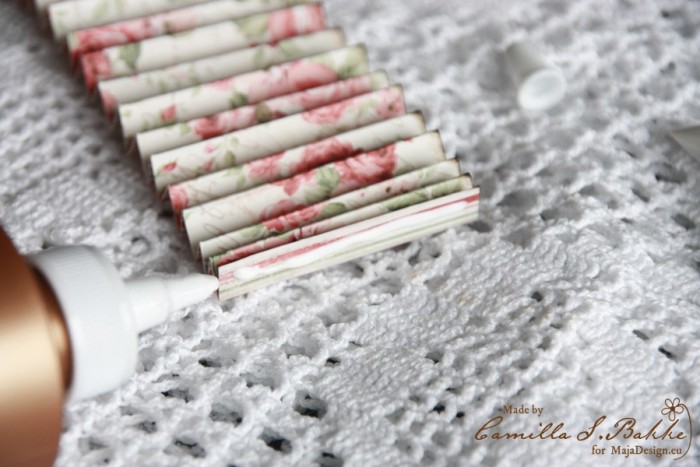
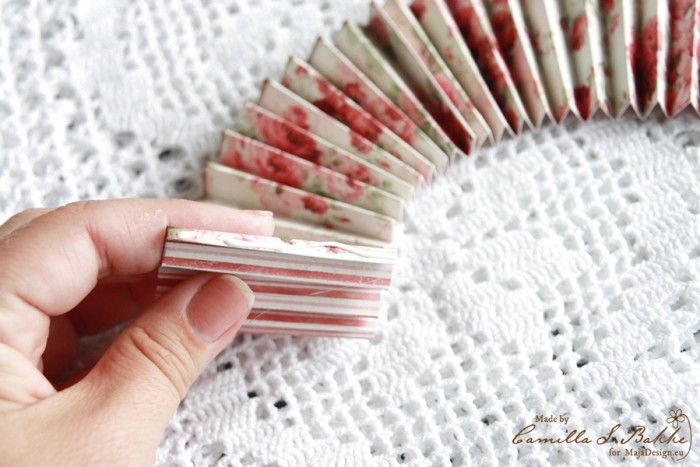
IMG_4113

Then I glue the two parts together. I use Tacky glue.

IMG_4114

Now it looks like this.

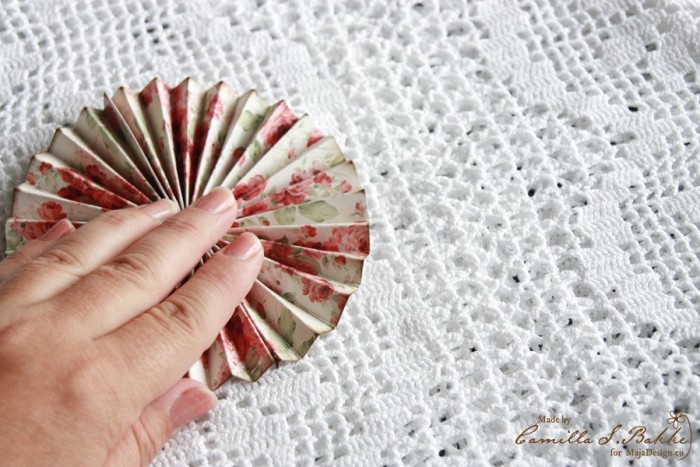
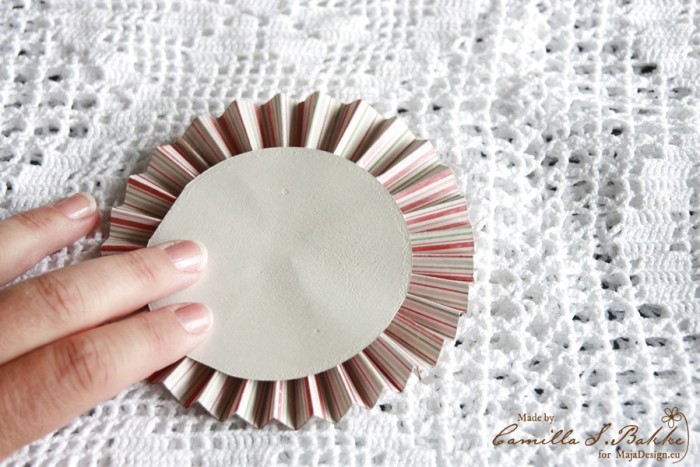
IMG_4118

Then I glue the two outher parts together. Press it untill it is fasten together.

IMG_4120

You will now experience that the paper rosette will not lay the way you want 😉

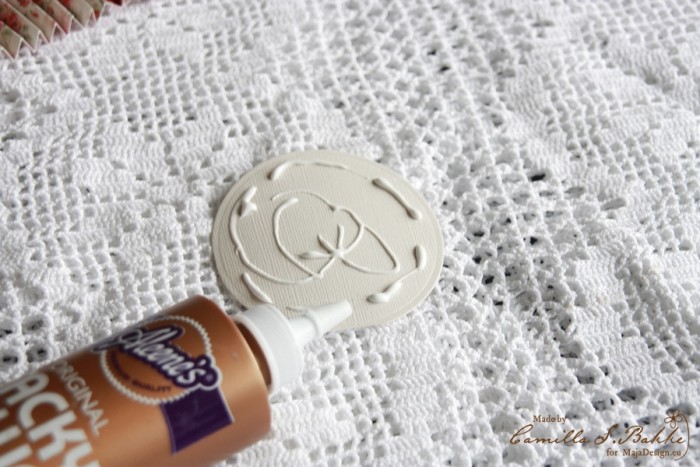
IMG_4117

So you will need a piece of paper to attach it to. Use more glue…


IMG_4125

Place it on the back of the rosette. And press untill it is fasten.

IMG_4127

Now your rosette will look like this.

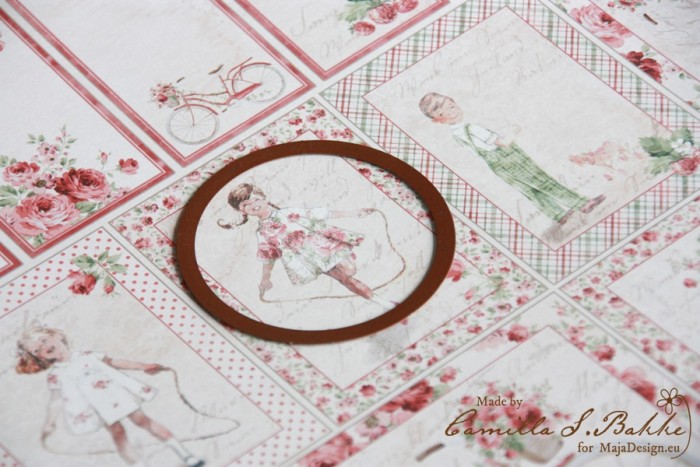
IMG_4128

I will use this gorgeous girl as the main image.

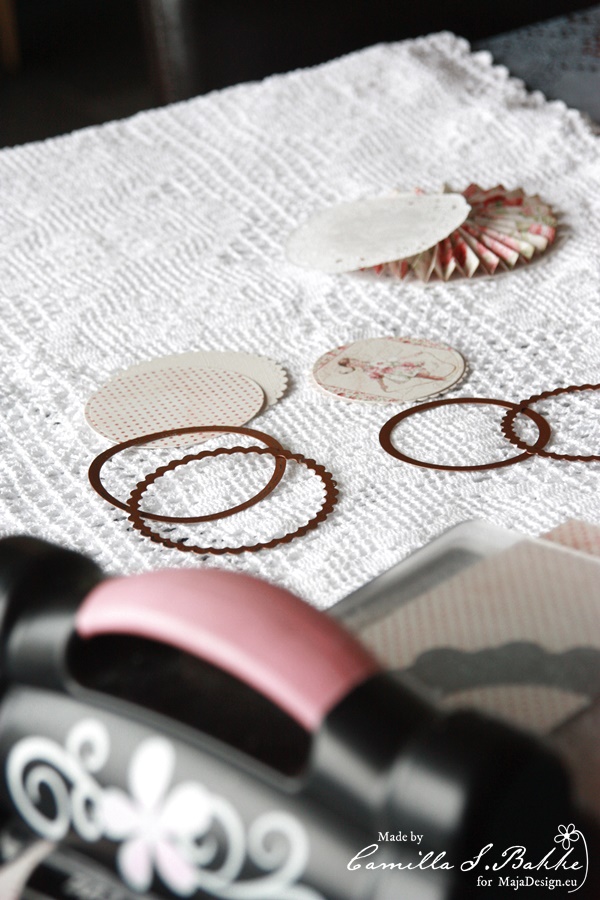
IMG_4139

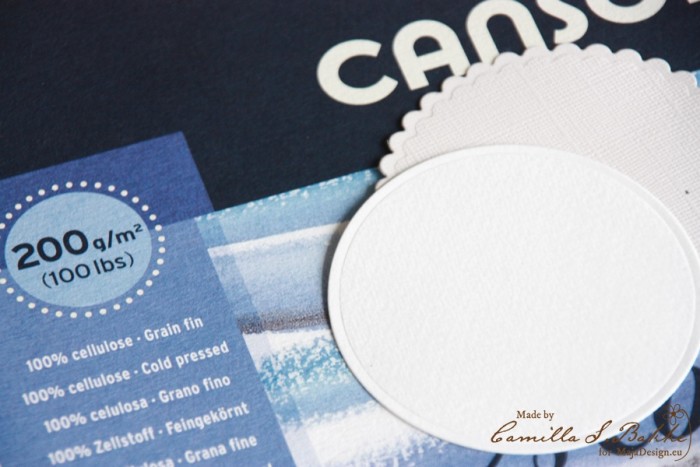
I will now cut out all the other parts.

IMG_4142

Here they are. The papers are so beautiful! Like as all the parts are small treasures.

IMG_4152

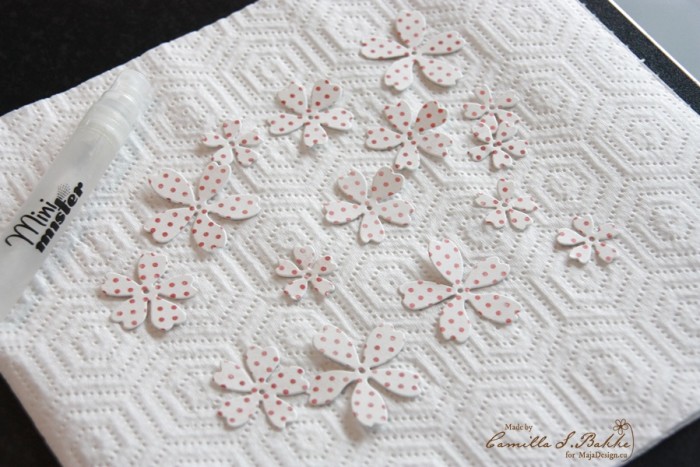
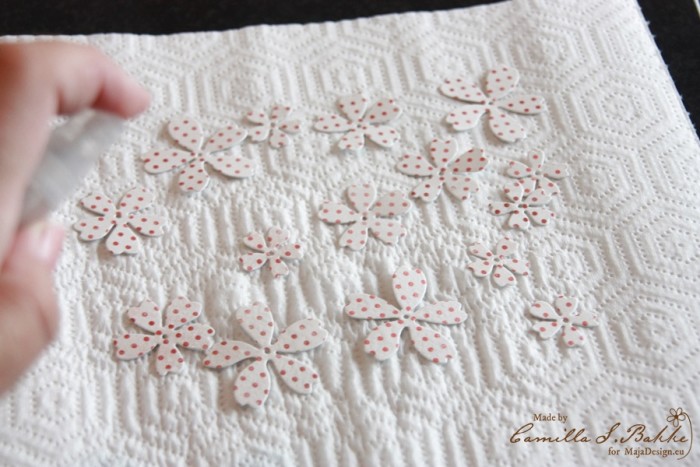
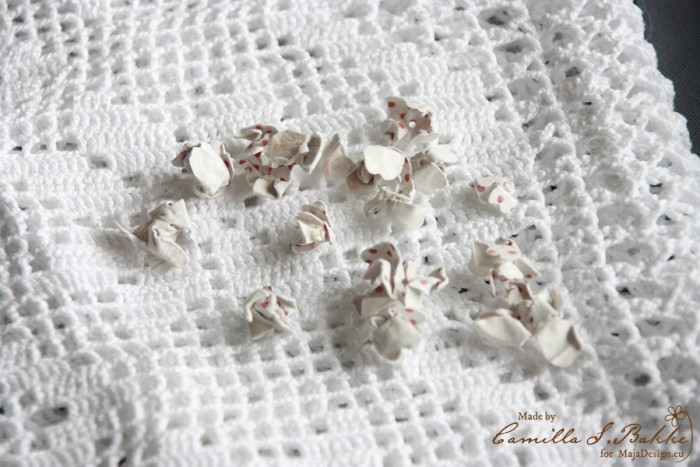
To make the flowers crumpled, I first spray them with water.

IMG_4155

..like this 🙂

IMG_4159

They are thick papers, so you will need some water.

IMG_4162

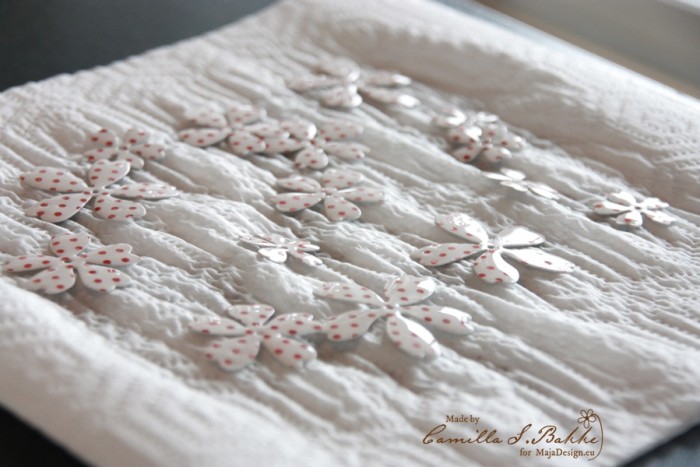
Then curl them together, and let them dry.

IMG_4166

Meanwhile I prepare the back of the card, where I will place a piece of paper to write a greeting on.

IMG_4168

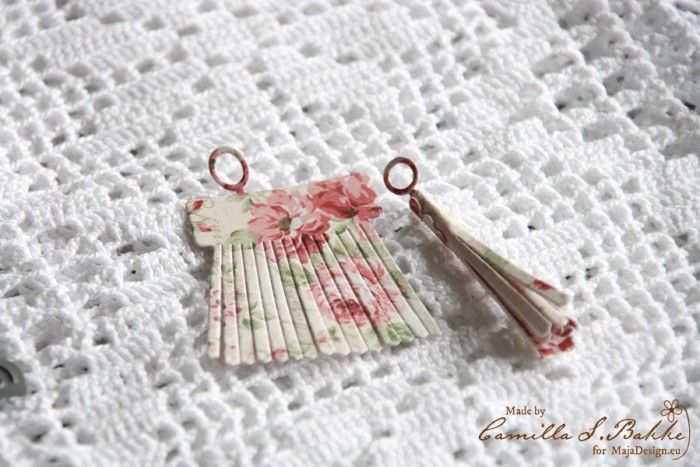
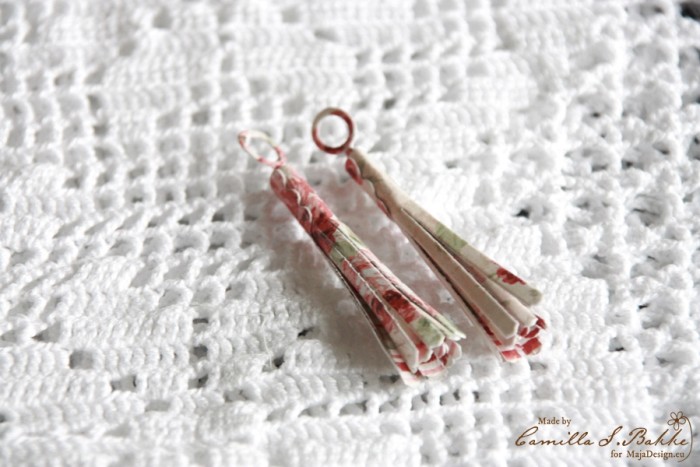
I am also making the tassels. Just love them! Too cute 🙂

IMG_4170

Here they are both, rolled together.

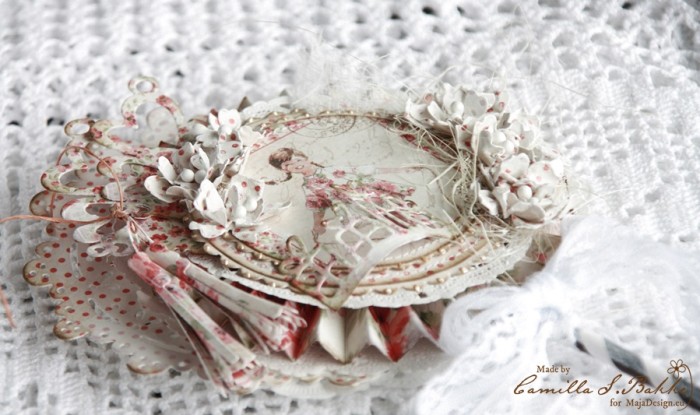
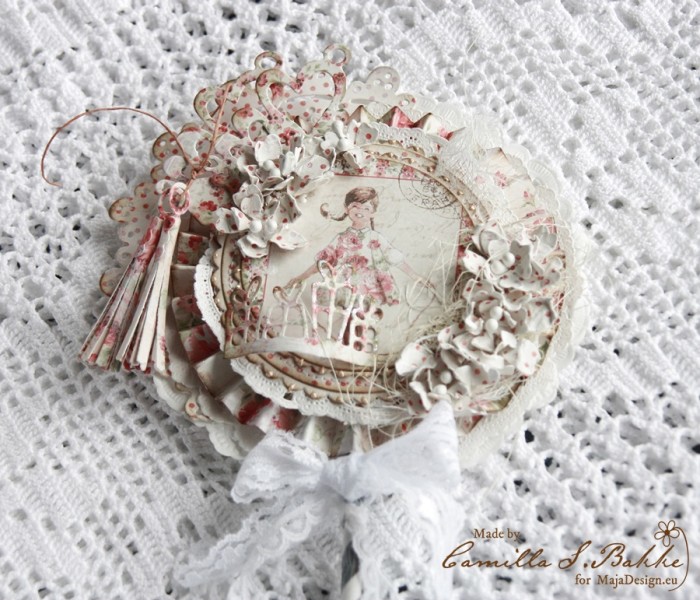
I will now show you how the lollipop card turned out:

IMG_4199

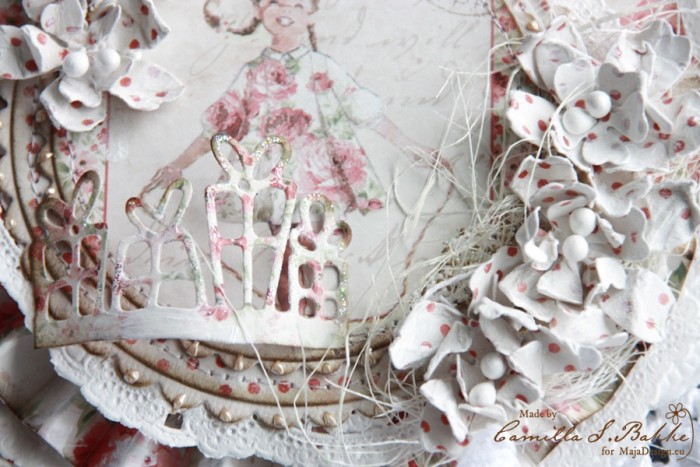
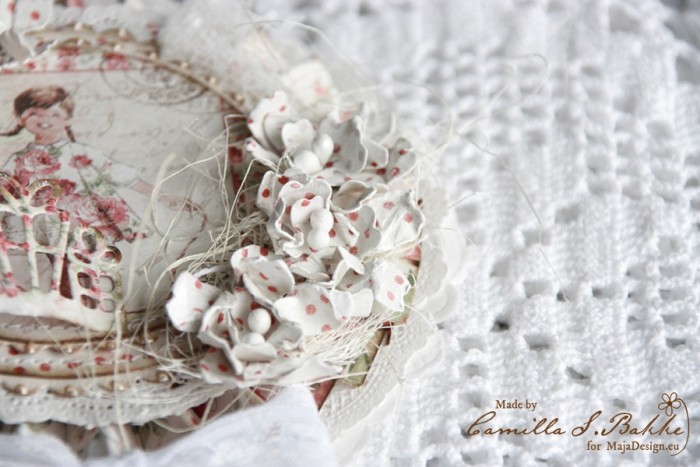
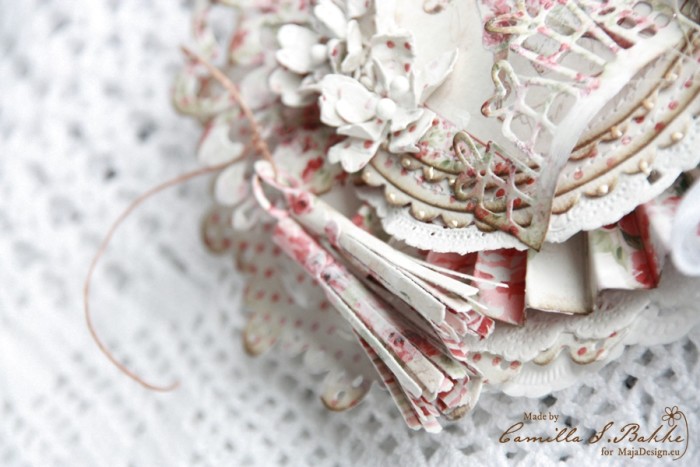
I have also added some white gesso on the flowers and the rest of the papers. And also put stamens inside the flowers.

IMG_4229

And under comes some detail photos:

IMG_4241

IMG_4193

IMG_4195

And at last a detailed list of the paper used:

I hope you liked my card, and that you got inspired to make one or two yourselves! Thank you so much for stopping by, and I wish you a lovely day!

With love,
Camilla