Funny Cards for Wedding

1

Posted by Paulina Monasterska-Tronina

20 April, 2017 - ,

Write a comment

Hello our blog fans. Today I would like to present funny cards created for Wedding. I like to make original, unusual cards for this occasion lately. I love to combine different elements, use many layers of paper.

Funny Wedding

Funny Wedding

Funny WeddingFunny WeddingFunny Wedding

Funny Wedding

I try to take care of all details and at the same take keep my project light 😉 Hope you like my project.

Here is the paper I used for : Vintage-Autumn-BasicsPadoriaa-sign


Pop-up baby card with a tutorial

2

Posted by Camilla Støen Bakke

19 April, 2017 - , , ,

Write a comment

IMG_4980

Hi there! Hope you all had a wonderful Easter. Here comes a card I have made both for Maja Design and Magnolia. I have will also show you how I made the moon and the pop-up effect.

Vintage-Spring-Basics-P

Vintage-Baby-P

For this project I have used the beautiful Vintage Spring Basics collection and the Vintage Baby collection. Now to the little step by step:

1

I started with making the moon. First I used my compasses. I made a circle with a diameter of 16 cm. Then I drew the rest of it by hand like this. I used hard cardboard for this.

2

Then I painted the edges of the moon with white Gesso.

3

Then I drew the moon on some Maja Design pattern papers (two times, for the front and the back).

4

Then I inked the edges with Distress Ink pad, Walnut Stain.

5

Place the baby on the moon.

6

Fold a paper strip like a rectangle and fasten it like this. Make two so that the moon will have a good grip inside the card. (You can see this better on the finished card)

7

To decorate the card, I have cut out some shapes from Maja papers: heart background, celebration, star tag, (flag and) cloud, castle. The dies are Magnolia DooHickeys.

IMG_4994

I will now show you some details of the finished card, and how the pop-up looks like.

IMG_4984

A close up of the baby.

IMG_4982

Under you see how the front of the card looks like.

IMG_5002

IMG_5004

Here is a list of paper used:

Thank you so much for visiting the Maja Design blog today!

With love,

Camilla

Springtime Tea!

3

Posted by Nancy Dynes

18 April, 2017 - ,

Write a comment

A 1

A happy hello to all of our crafty friends here at the Maja Design Blog! It’s Nancy, and I’m thrilled to be here to share my adoration of these beautiful papers with you. I’m feeling lots of love for the Coffee in the Arbour collection at the moment. Every single paper in the collection brings to mind the joy of a lovely spring day. I prefer tea to coffee, however, so I’m going with a teatime theme. This ‘Springtime Tea’ card combines pastels with a fun pop of bright color.

A 3

Each paper is distressed, layered, and stitched to form the base of the card. The card is designed around the focal image, which is found in the paper collection.

Prima flowers, die cut leaves, glass pearls, and a twine bow round out the embellishments.

A 4

Below is a closer look at the design paper. I know I say this all the time, but it truly is amazing how beautifully the papers work together. Honestly, the hardest part is narrowing down which papers to use. SO many choices!

A 5

A 2

Maja Design Papers Used:  Coffe-in-the-Arbour-P


Additional Supplies: Magnolia Rose Leaf Die, Prima Flowers, Glass Pearls, Natural Twine, Foam Adhesive, Sewing Machine, Thread. 

Thank you so much for joining me today! If you’re wondering where you can purchase these gorgeous papers, just click on the link at the top of the blog that says ‘store finder’. Don’t forget to check out our current Mood Board Challenge (you can win an entire set of design papers!). I send wishes for a week filled with all things bright and beautiful!

Hugs,Nancy-sign

Guest Designer Kavitha

3

Posted by Carita Ruckman

17 April, 2017 - , ,

Write a comment

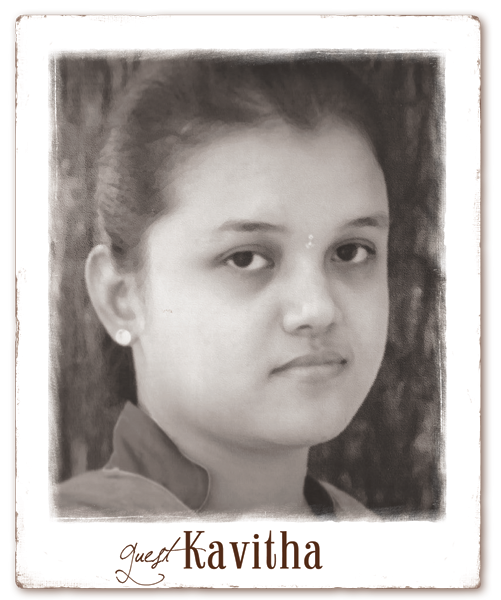
Hi!! I am Kavitha from India.

Kavitha

I have been into some form of arts & crafts all the time, but when I found mixed media 3 years I was completely hooked up. Mixed media give me lots of creative freedom and allows me to experiment with different mediums and materials. I love playing with paper, colors and all pretty stuffs. My style is more of vintage/shabby chic with lots of layers and textures but I love to try anything in between. Apart from crafting I love music, sleep, shopping and long drives.

I am so thrilled and honored to be guest designing here today. MajaDesign is one of my favorite paper line, I absolutely love the soft colors and textures prints. You can see more of my work at: kalalayaa-artclub.blogspot.com

3471

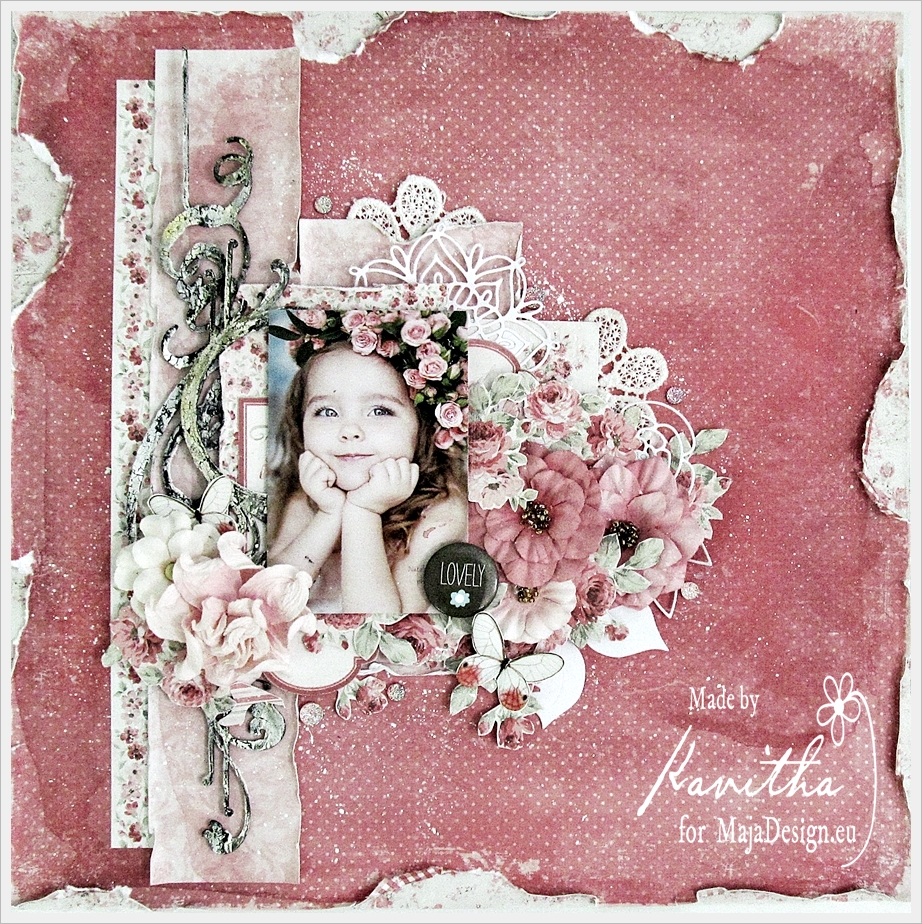
For my first layout i made a very soft, pretty and girly page with lots of layers and fussy cut elements. I have used papers from “Summer time” and “Summer crush”.

3472

Keeping the paper “He gives her flowers” as the base i used “Light scarlet” paper from summer time, torn and distressed the edges and glued both together.

3475

For layering i have used diecuts and papers from Summertime (In the garden, flowers everywhere and garden bouquet).

3474

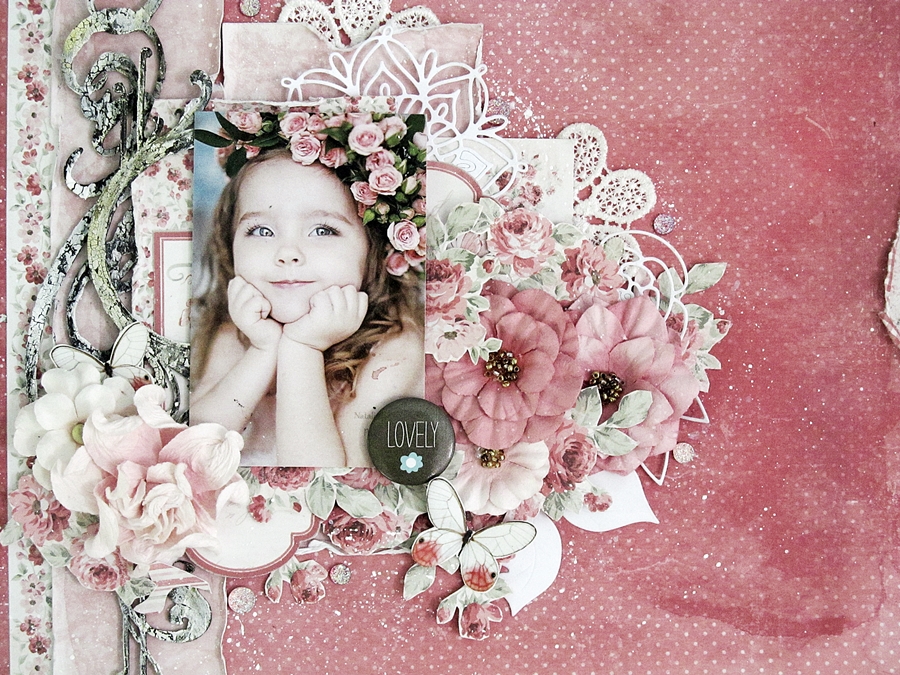
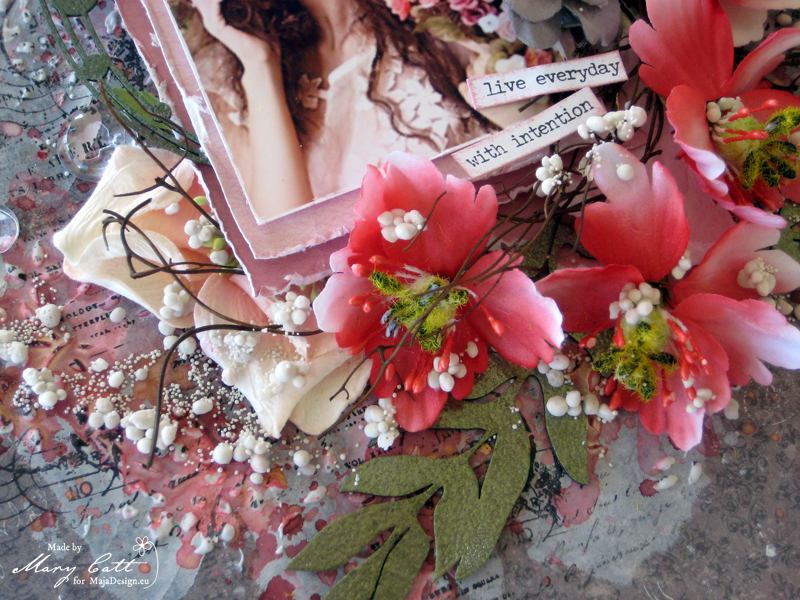
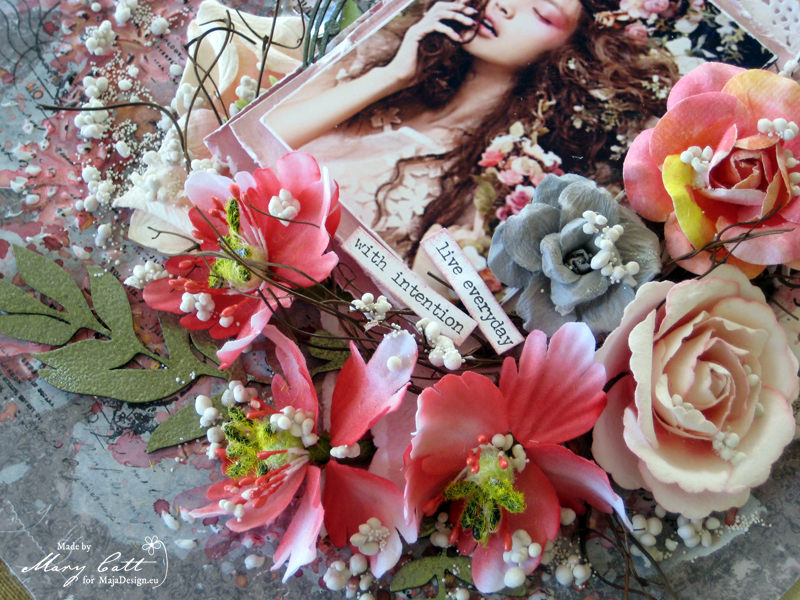
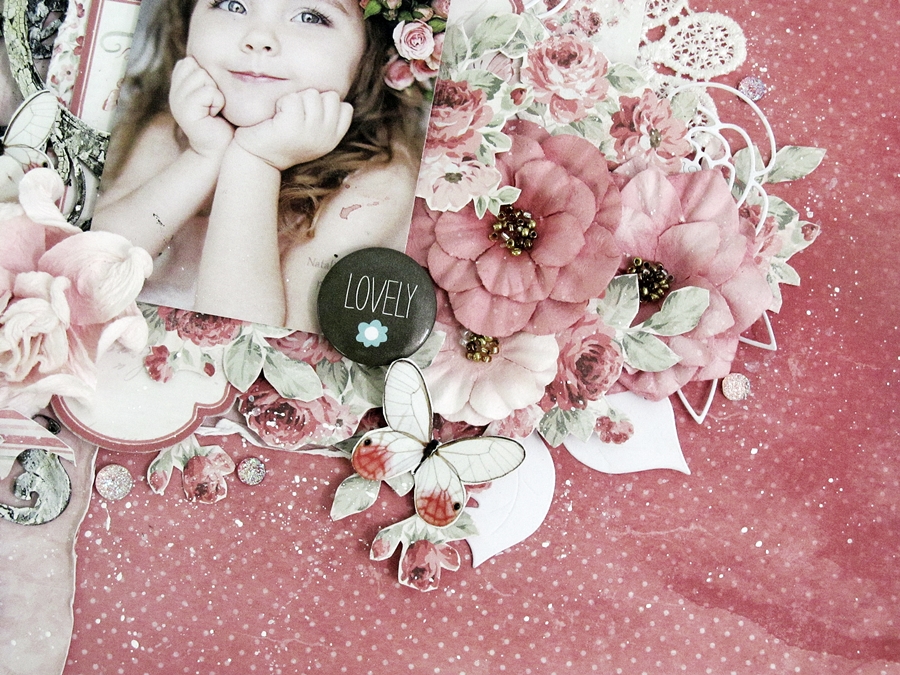
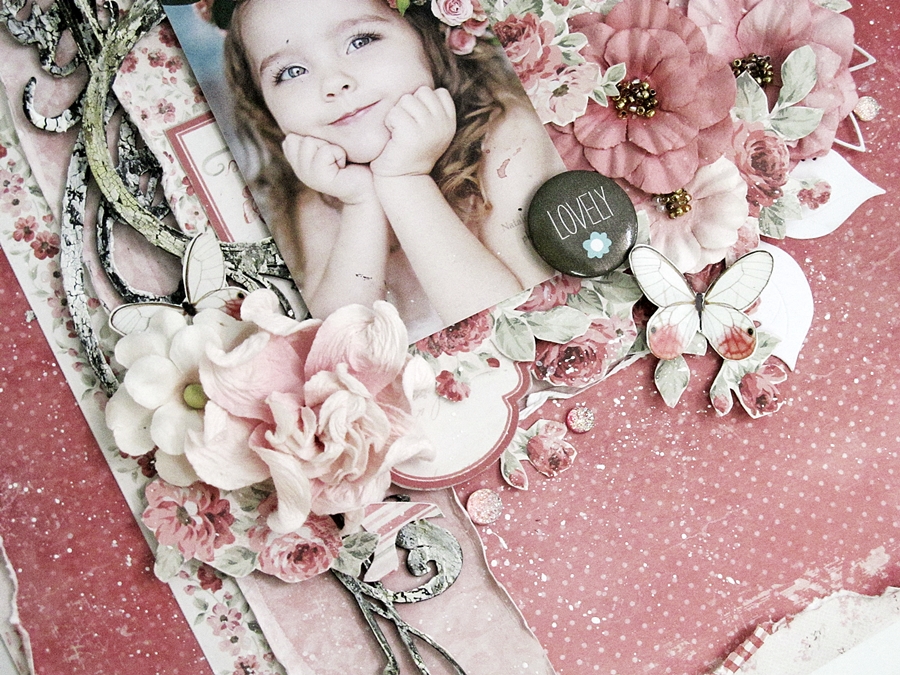
For embellishing i have used prima flowers, laces and fussy cut flowers from “Smell the roses” paper.

3473

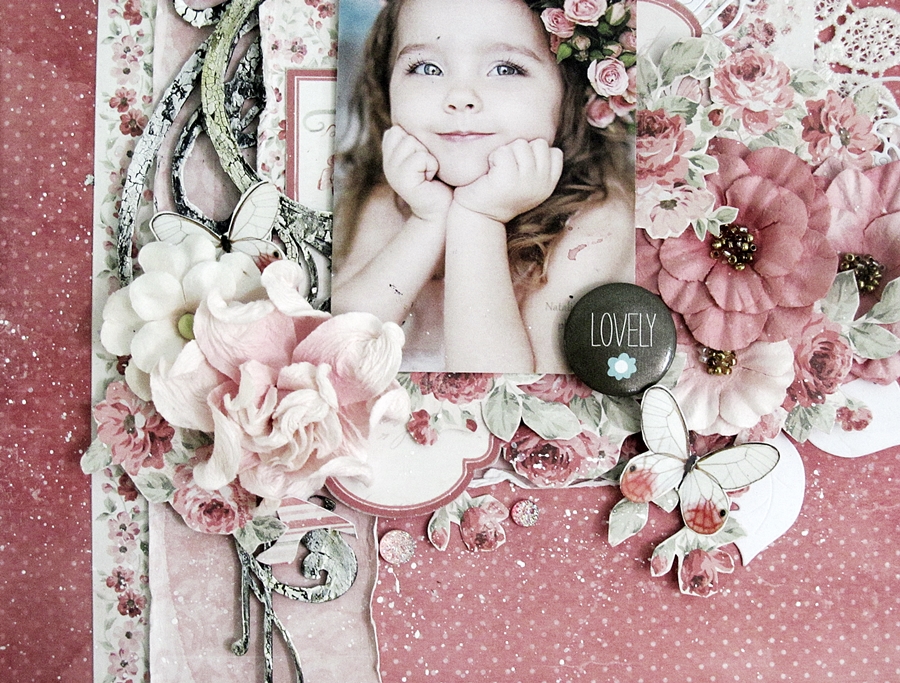
I have also used chipboard pieces from 2crafty which i colored with color bloom spray and applies ranger crackle paste on top to add some texture.


3483

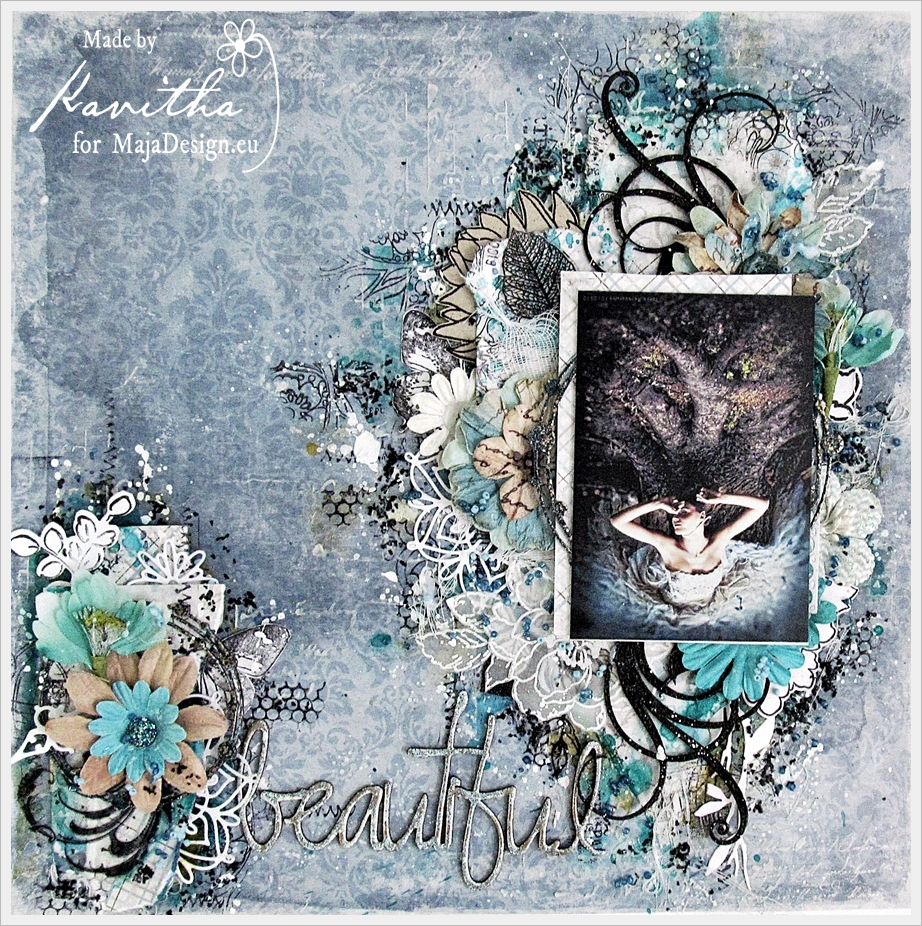
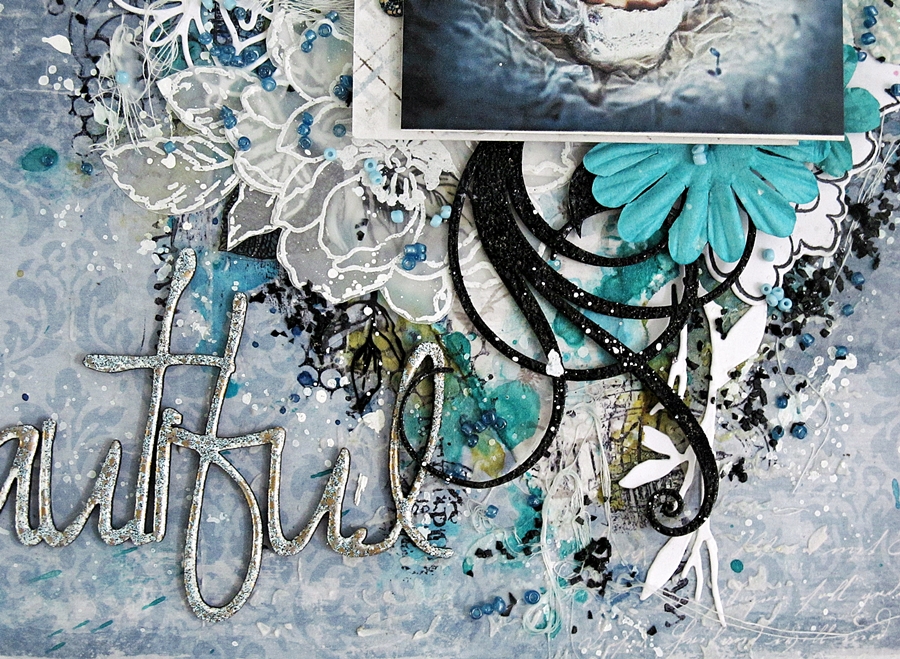
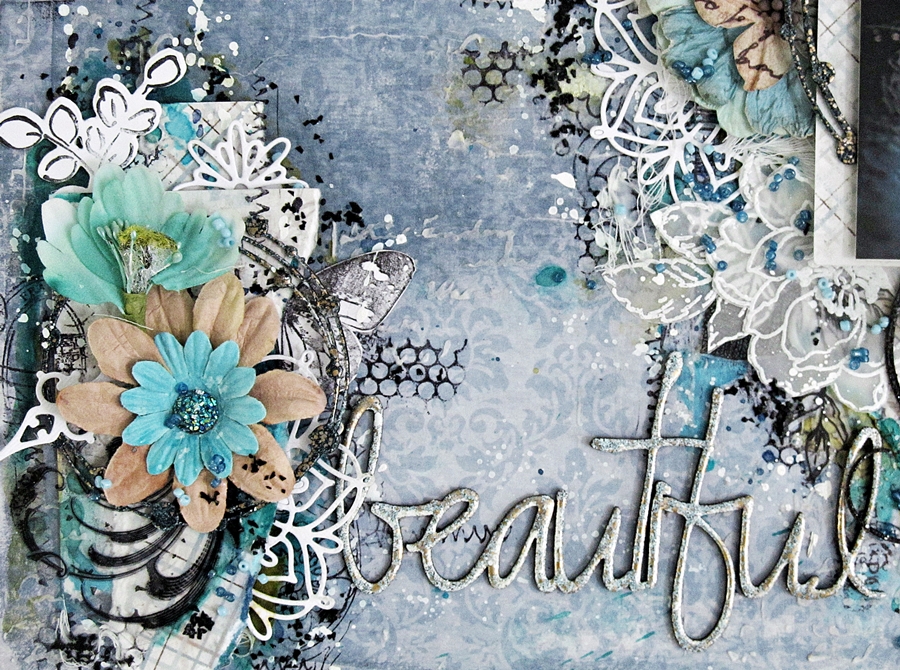
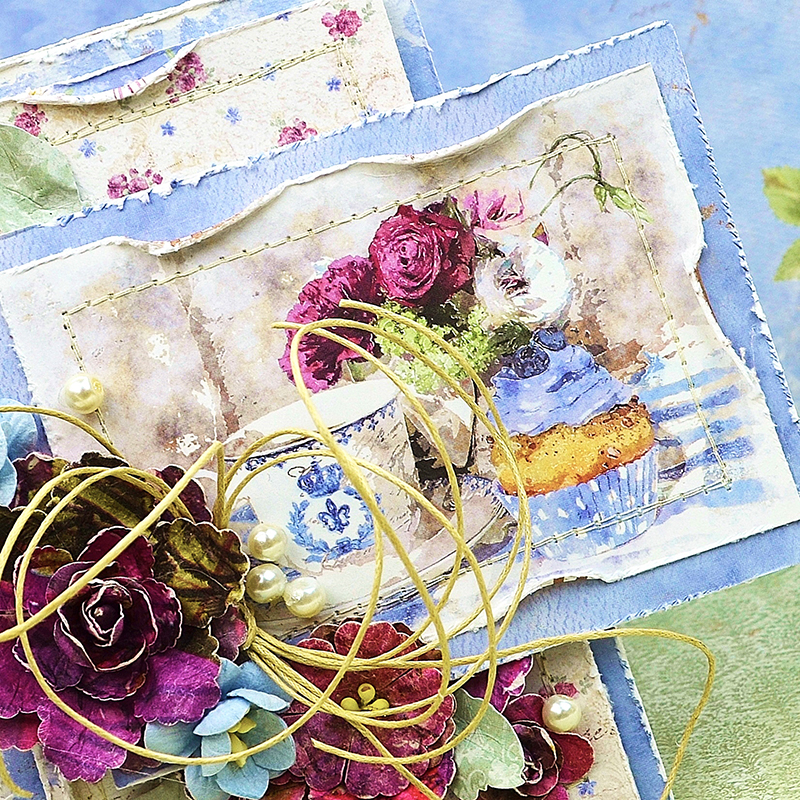
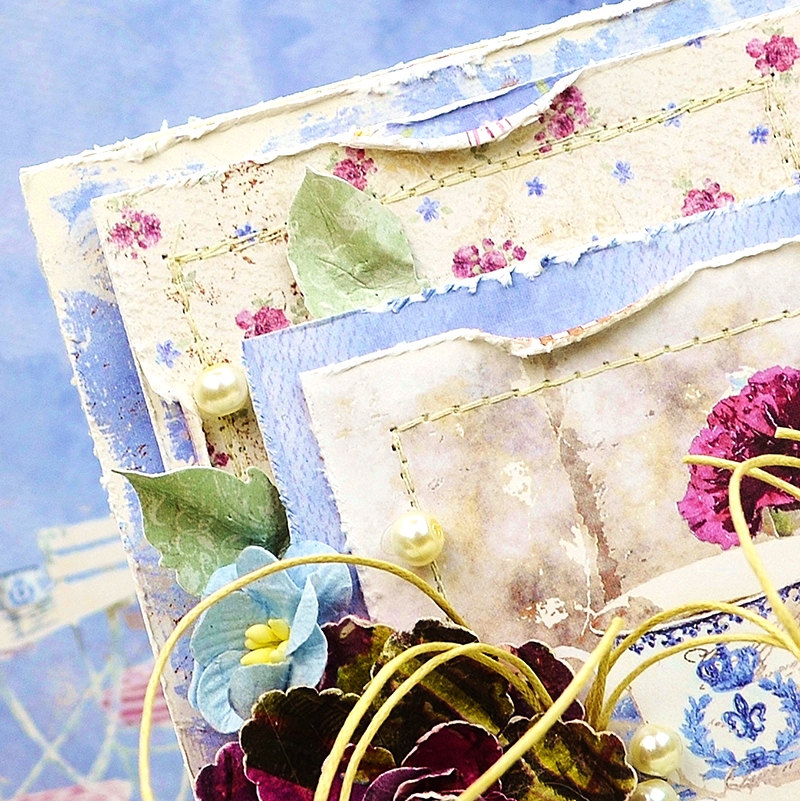
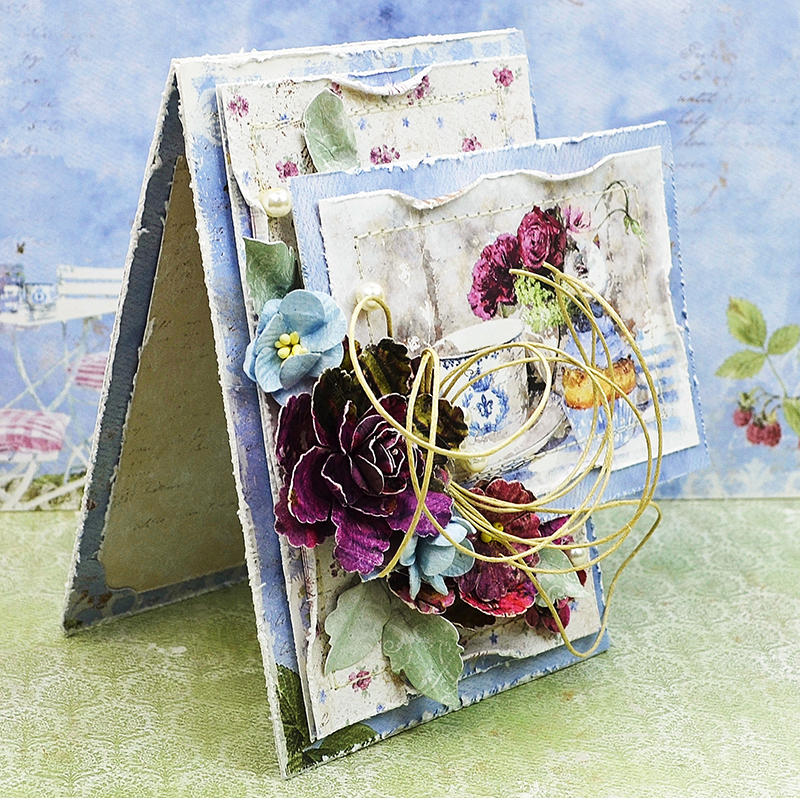
My second layout is a mixed media page with lots of layers and textures. I have used “Summertime” (by the sea) glittering water” paper for my base and “Vintage romance together forever” paper for layering.

3484

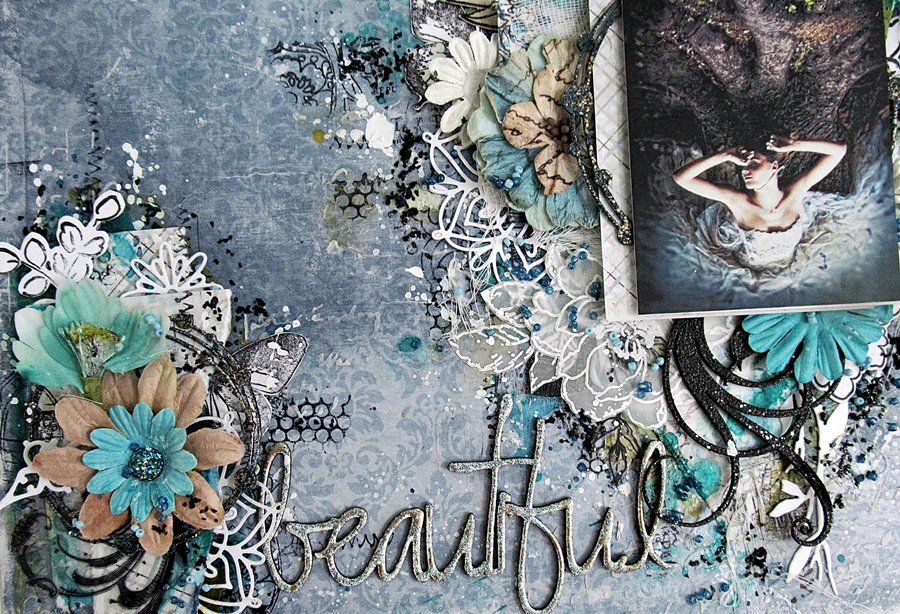
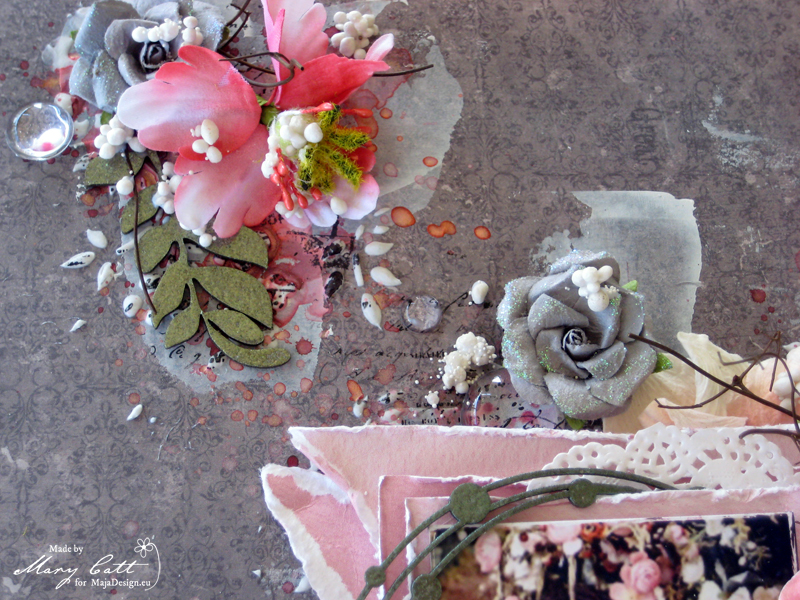
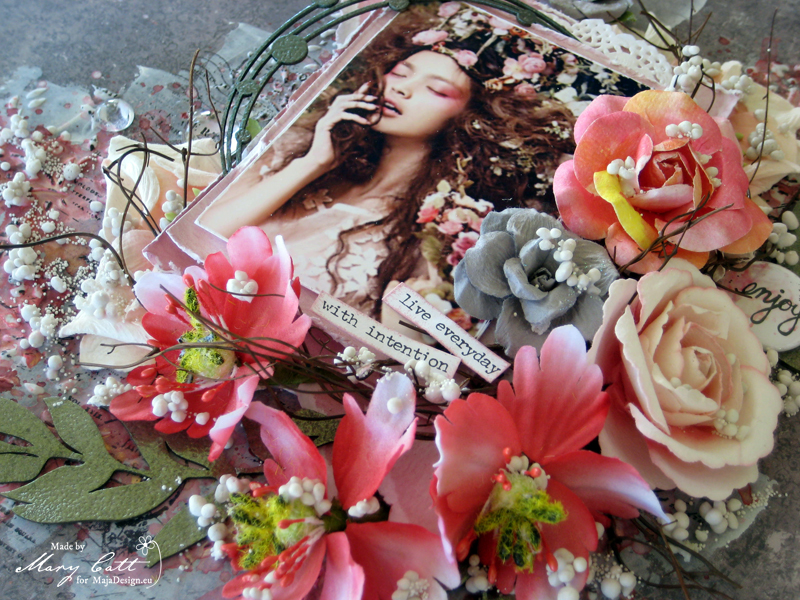
To create my mixed media background, I did a lot of texture stamping, applied some modelling paste through stencils and colored with “Lindy stamp gang” sprays in different shades of blues.

3485

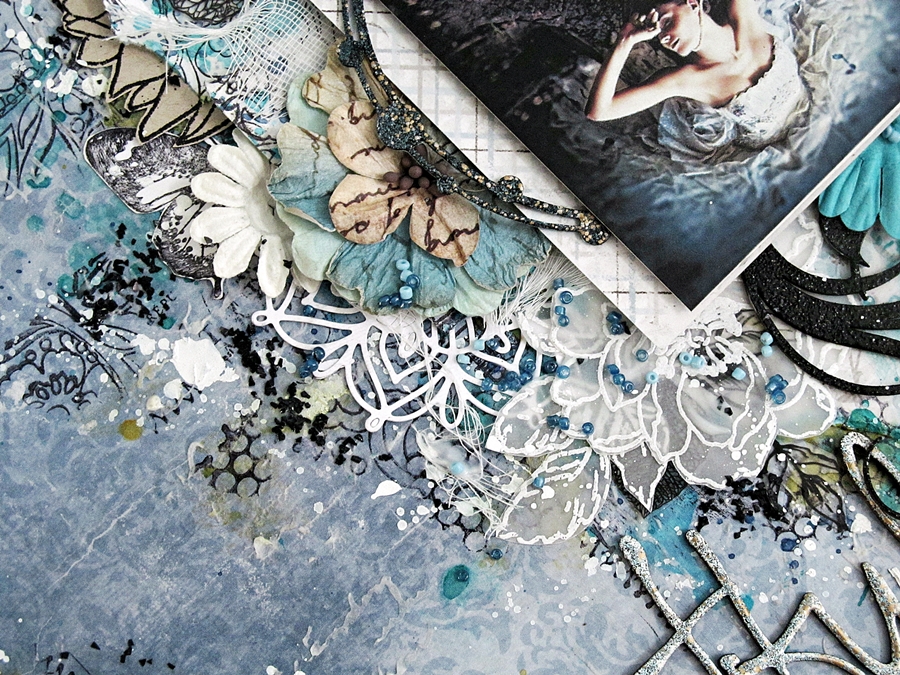
For layering and embellishing  i used die uts, stamped images, prima & petaloo flowers along with 2crafty chipboards.

3486

3487

Kavitha-sign

Enjoy…

1

Posted by Mary Tzalla

16 April, 2017 - ,

Write a comment

layout

Hello my friends! Happy Easter to all of you!!!

It’s Mary here with you today sharing my latest layout featuring the ”Nyhavn” and the new ”Monochromes-Shades of Sofiero” collections.

A layout filled with colorful flowers that was inspired by the beautiful photo which I found on Pinterest. And, before I continue I want to give all the proper credits to the ”unkown” photographer.

closer 1

I used for my background the ”King’s Square” paper from the ”Nyhavn” collection and I made some layers behind my photo with the ”Blush/Rouge” paper from the ”Monochromes” collection using it’s both sides.

closer 2

closer 3

I primed my background with white gesso and when it was dried, I added some texture with modeling paste and a stencil. Then, I colored my page using Lindy’s Stamp Gang sprays ”Cotton Candy Pink”, ”Alpine Ice Rose” and ”Peony Scarlet Red”.

closer 4

closer 5

I heat embossed the ”Foliage Set 1” chipboards with ”Spanish Moss Green” Lindy’s Stamp Gang embossing powder. The ”Circle Dot Frame” was also embossed with the ”Twilight Rade Slate” powder.

The chipboards I used are 2crafty, the flair is Cuts2luv and all the flowers are Prima Marketing.

closer 6

To finish, I added some art stones with gel medium.

Papers used:

Nyhavn-P

Mono-Sofiero-P

That’s all for today, my friends!

Thank you for stopping by!

Mary-sign (2)