”Delight”

1

Posted by Mary Tzalla

22 January, 2017 - ,

Write a comment

Layout

Hello my dear friends!!!

Mary here with you today sharing my latest layout using papers from the beautiful ”Vintage Summer Basic” collection.

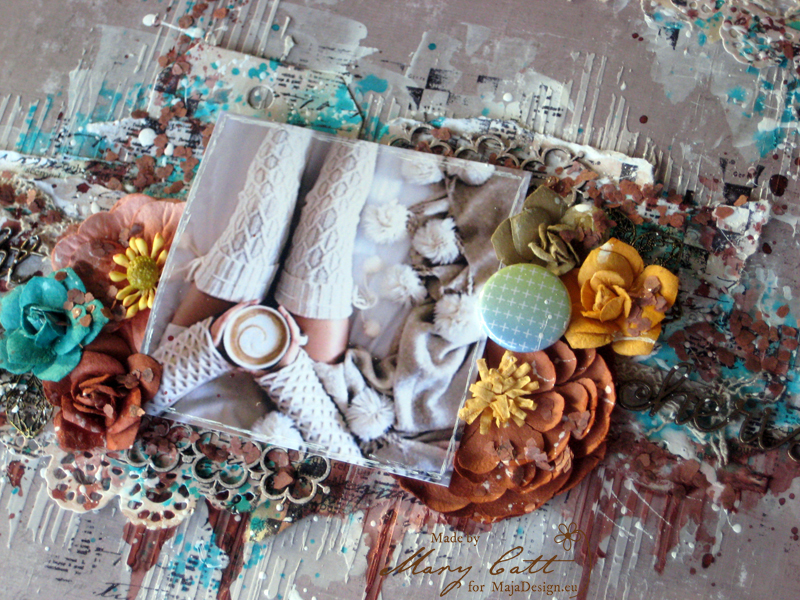
In this layout I tried to give you a cozy sense using this beautiful photo found on Pinterest, which reminds me relaxed Sundays mornings. There is nothing better than having a hot cup of coffee lying in your comfortable couch. Don’t you think?

But, before I continue I want to give all the proper credits to the photographer.

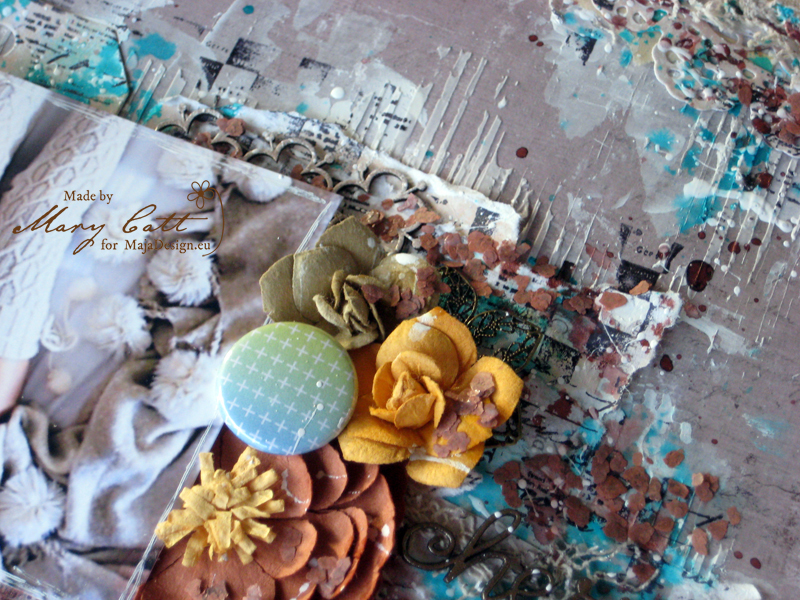
Close up 1

For my background, I used the ”1903” paper and I made some layers behind my photo with the ”1912”  and the ”1932” papers using both sides of the last one. I also placed some torn pieces from the pages fo an old book.

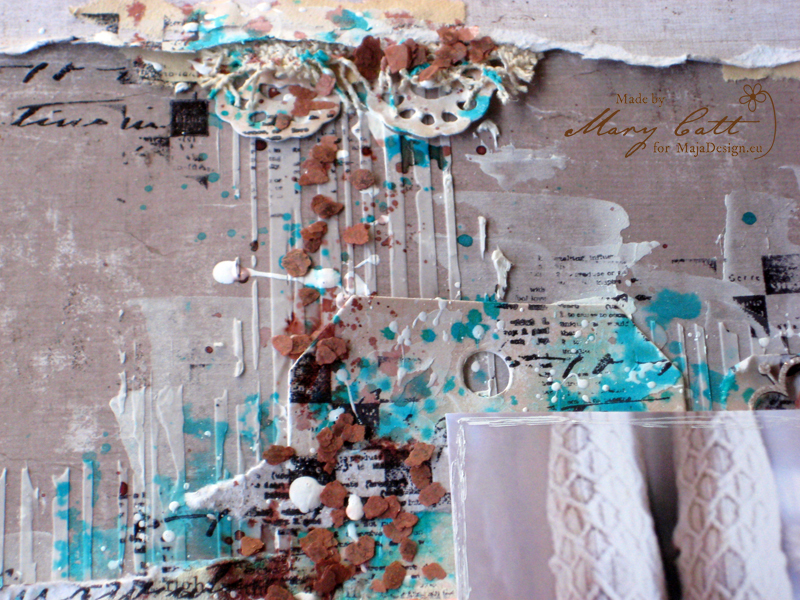
Close up 2

First, I gave my paper a coat of clear gesso and then I applied some white gesso. When dried, I added some texture with modeling paste and a stencil. Then, I used Lindy’s Stamp Gang mists, ”Cocoa Bean Copper” and ”Sassy Sapphire” with some water to make a watercolor effect.

Close up 3

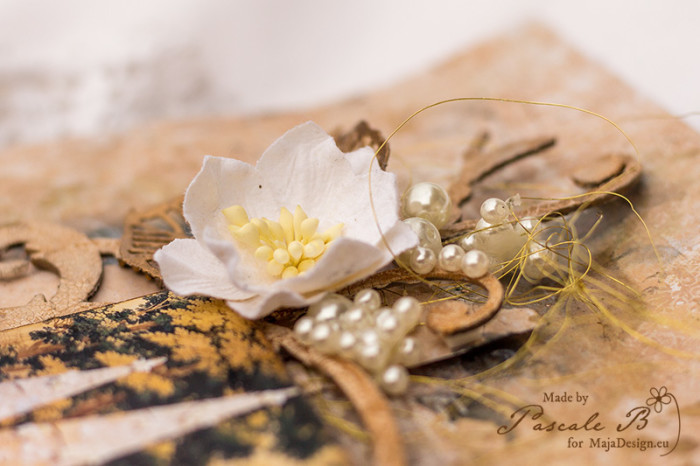
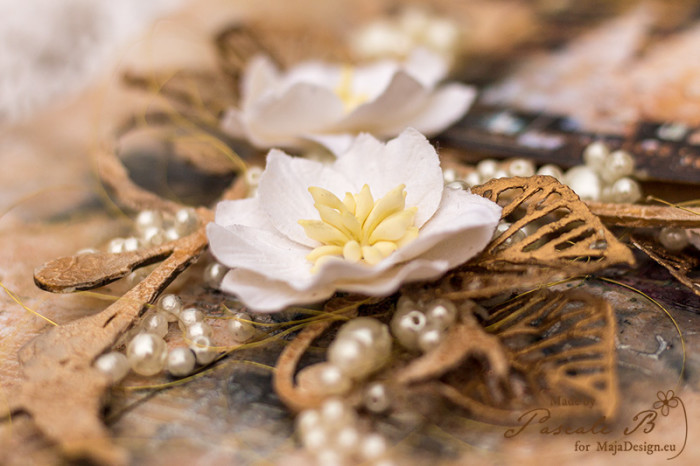
I heat embossed the title words with ”Byzantine Bronze” and the small border chipboard pieces with ”Cafe au lait”. The chipboards I used are 2crafty and the flowers are Prima Marketing. The metal embellishments are ”Scrap Unlimited” and the flair is ”Cuts2luv”.

Close up 4

As a final touch, I added some mica flakes in ”Henna” and made some splatters with 13arts white gesso.

Papers used:

Vintage-Summer-Basics-P

That’s all for today, my friends!

See you again in two weeks!

Mary-sign (2)

Κράτα το

Xmas trees

0

Posted by Pascale B

19 January, 2017 - , , ,

Write a comment

Hello Sweeties,

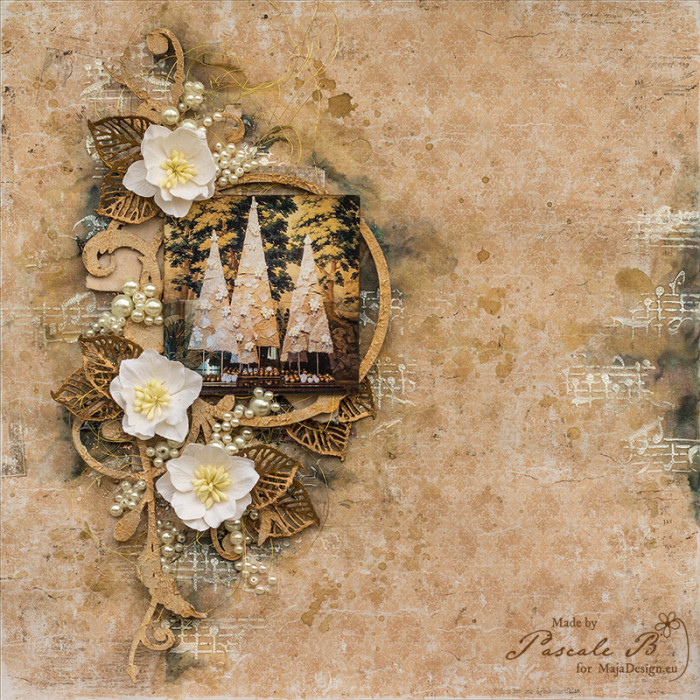
Today I’m up on Maja Design blog with a new layout with a step-by-step video. I chose a photo of a  Christmas floral arrangement from the castle of Chenonceau (Loire Valley, France).

Xmas Trees by Pascale

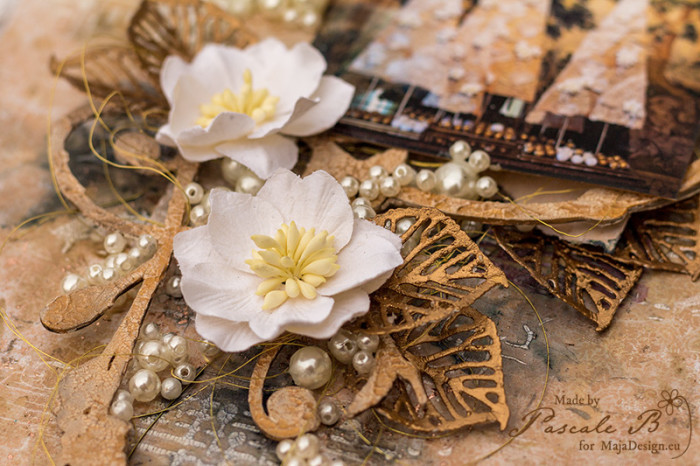
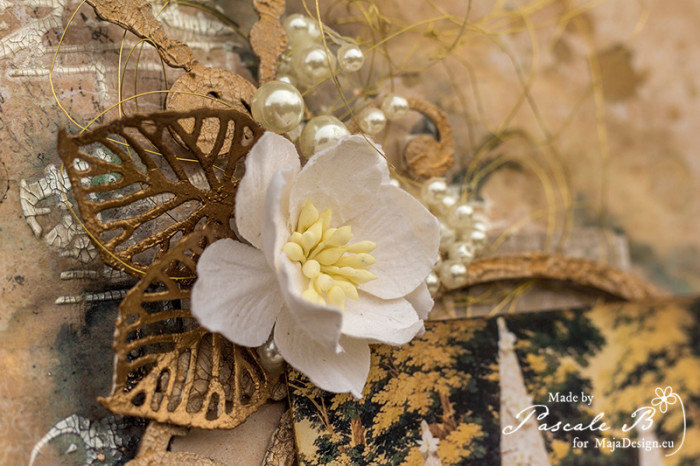
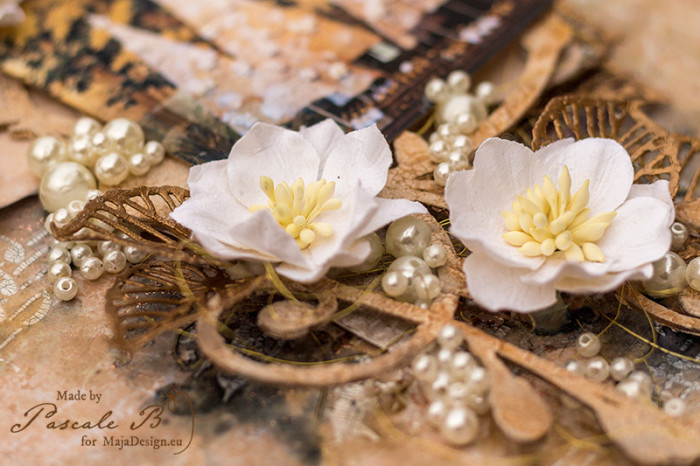
Here are some close-ups:

Xmas Trees by Pascale

Xmas Trees by Pascale

Xmas Trees by Pascale

Xmas Trees by Pascale

Xmas Trees by Pascale

Here is the video:

Maja Design papers:

1915 1912 bs 21st of December BS
Vintage Summer Basics Vintage Frost Basics
1915 1912 21st of December bs

“Forever Love” by Tina Ollett

4

Posted by Tina Ollett

17 January, 2017 - , , ,

Write a comment

A huge welcome to you! It’s Tina with you today to share my next Design Team creation.

This project for January, I have titled

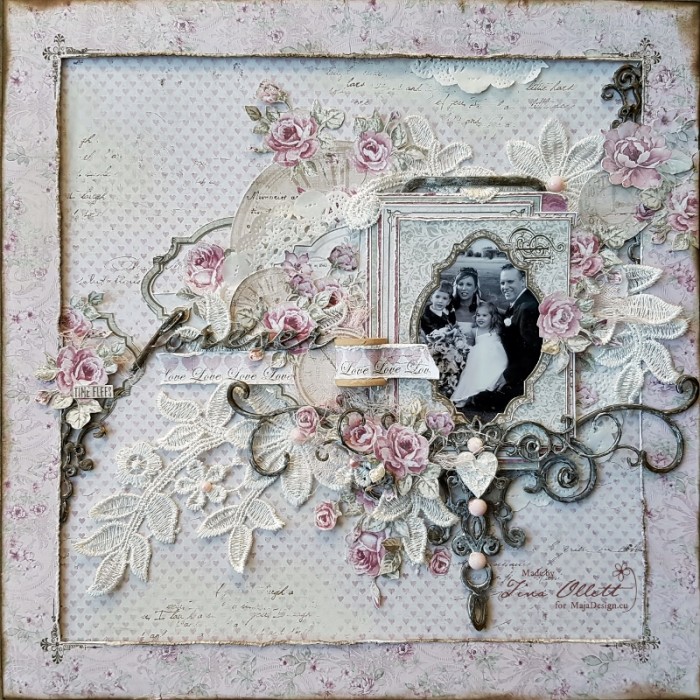
…..”Forever Love”….
2017-01-17 2017-01-17 001 015 (800x800)

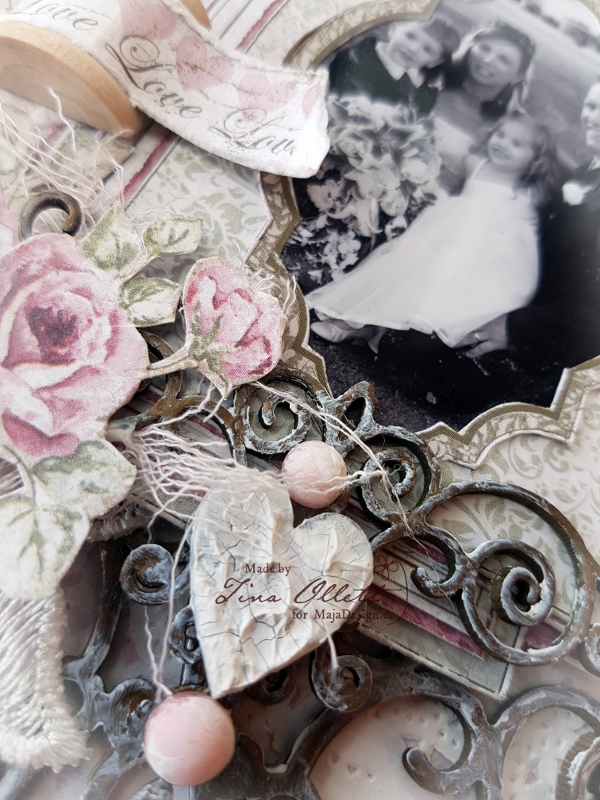
This, for me, was a layout of love. Scrapbooking for me is about the memories and sometimes the photos from the most special days of all, aren’t of the best quality but I always insist on using them no matter what. On our special day a professinal photographer was hired, but it was very unfortunate that during the development of our photos that something went horribly wrong. Due to the developing error we we did not receive a great deal of photo’s that were of a good quality or worthy of using to hang on our walls. We depended on our family and friends to help us with photo’s they had taken and this photo is one of them. We were so fortunate to have our two eldest attend our wedding. They were so excited the whole day through. My son walked me down the aisle with my Dad, something I will never forget and treasure always.
2017-01-17 2017-01-17 001 012 (600x800)

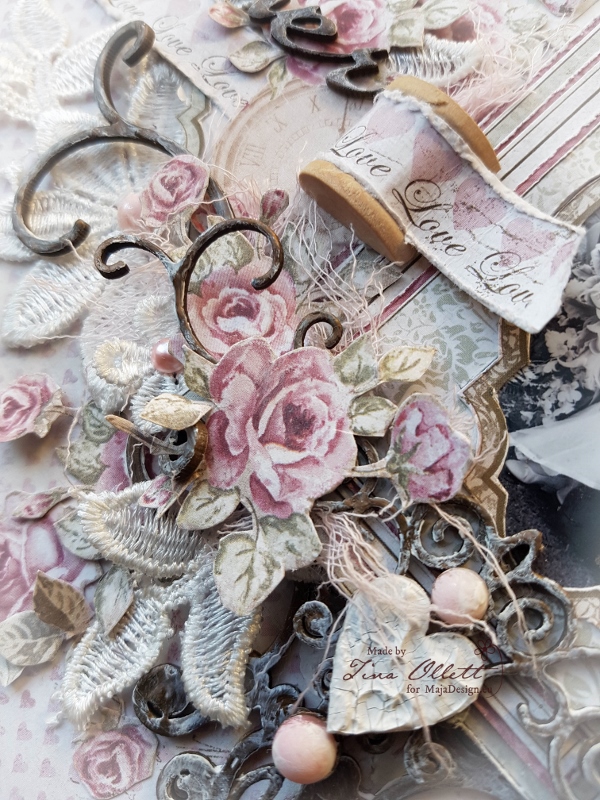
I am mad for anything at present that I can fussy cut from papers. And I found this in the Vintage Autumn Basics No. II sheet that was in my gorgeous Maja stash. I have cut at least a half of this sheet up and layered it in and around the page.
2017-01-17 Maja January 2017 031 (600x800)

You can see above in the bottom of the photo the layering of journalling cards that I cut from Vintage Spring Basics “Days to Remember” and also from the Vintage Romance collections “Love Notes”. Amongst the several layers of journal cards I have alternated mats of “Raspberry Jam Cookies” from the Coffee in the Arbour collection. Yes I have mixed a lot of collections this time around . I find the beauty of Maja Designs ranges is that they just blend together so beautifully.
2017-01-17 Maja January 2017 032 (600x800)

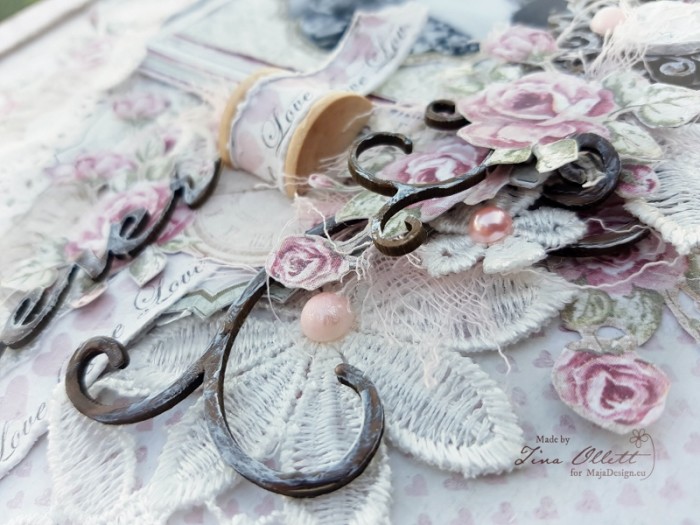
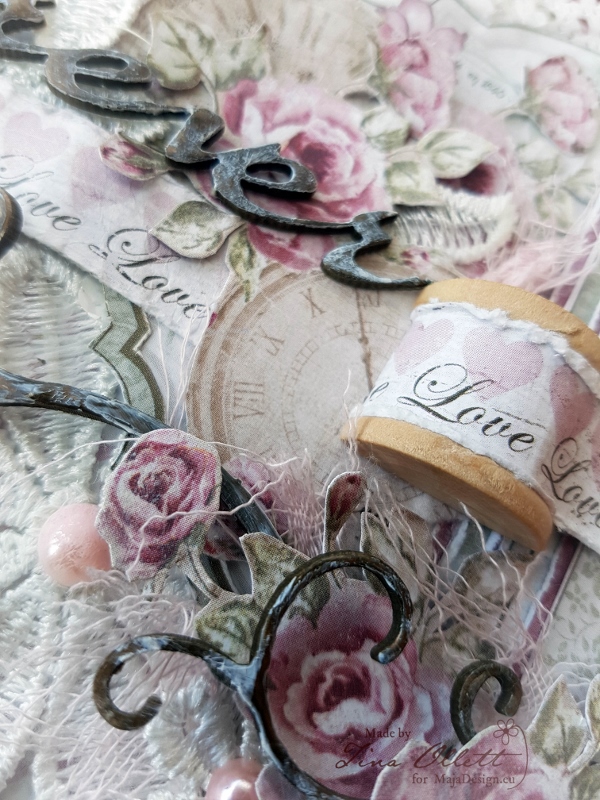
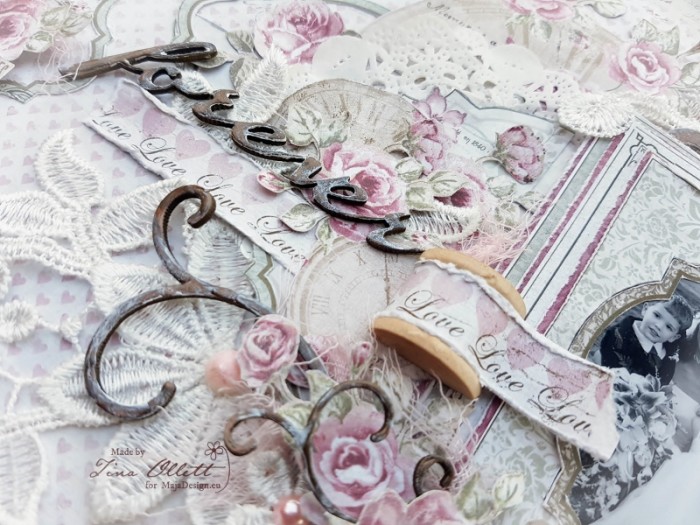
I have layered the  project with paper doilies, lace motifs, Dusty Attic’s gorgeous chipboards cut up, muslin and even a sewing spool. The sewing spool was wrapped with the bar strip from Vintage Romance’s bside of “Passion”. Passion was used as my background piece with the frame cut from Vintage Romance’s “She’s my Lady”.
2017-01-17 2017-01-17 001 060

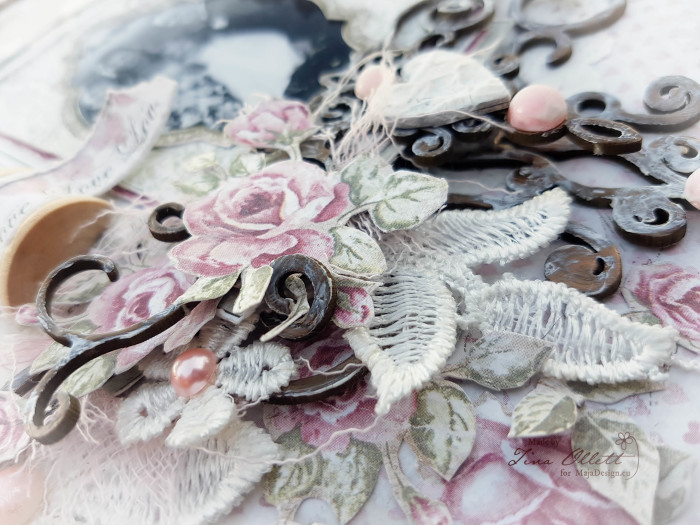
This here, is the side on view of the base of the photo. The lace motif I have used here has been cut into many many pieces and divided throughout the layout to help give it movement.
2017-01-17 2017-01-17 001 036 (800x600)

I have tucked a few doilies around to help break up the pink from the flowers and the background.
2017-01-17 2017-01-17 001 041 (800x600)

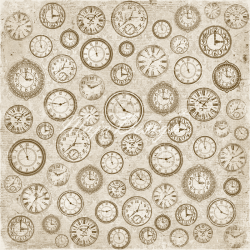
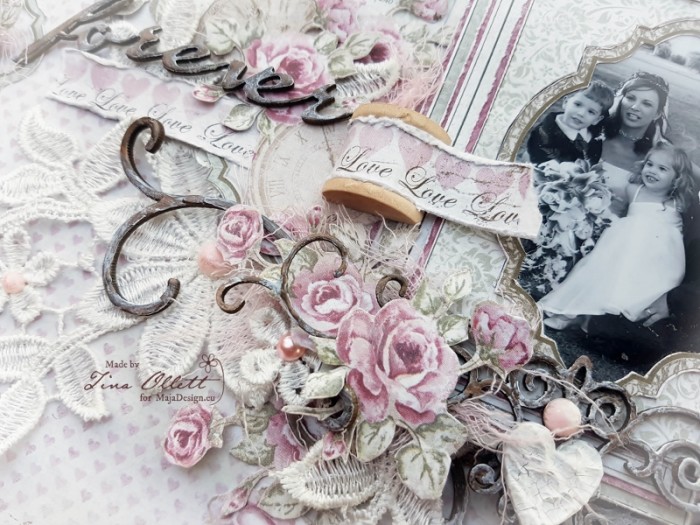
I just loved these clocks found on the Vintage Spring Basics sheet. I have used the largest of the clocks and cut it to sit behind the photo so it did not overtake the whole layout. I cut some of the smaller clocks with the roses to sit on top of the large one layered.
2017-01-17 2017-01-17 001 058 (600x800)

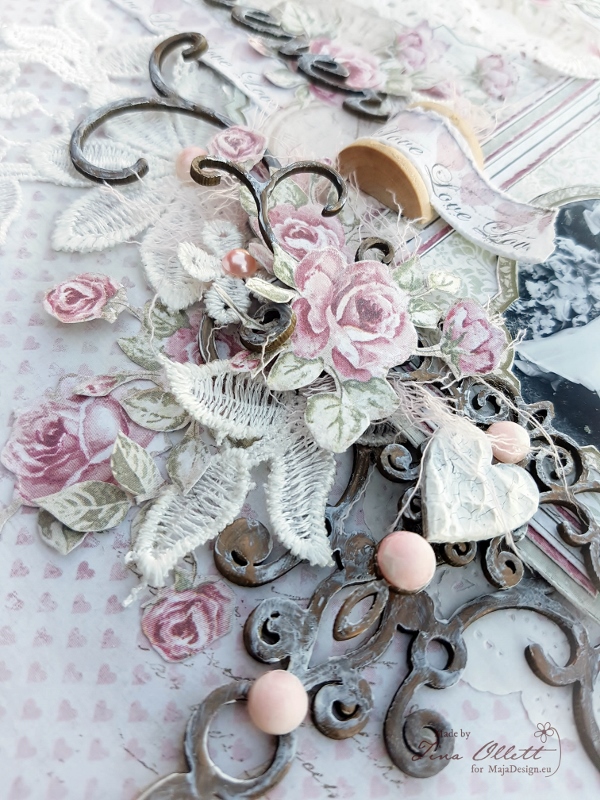
From another view…….

2017-01-17 2017-01-17 001 059 (800x600)

and another…..

Maja Designs Papers used for this project were:
625-Vintage-Autumn-Basics-no.II_

Maja Designs – Vintage Autumn Basics No.II
679-Raspberry-jam-cookies

  • Maja Designs – Coffee in the Arbour – Raspberry Jam Cookies
821-Passion-bs

Maja Designs – Vintage Romance – Passion -bs
822-Shes-my-Lady

Maja Desings – Vintage Romance – She’s My Lady
839-Love-notes

Maja Designs – Vintage Romance – Love Notes

Other Materials Used

Dusty Attic Ornamental Trim Set

Dusty Attic “Forever”

Wendy Vecchi Crackle Texture Paste

Art Basics Heavy Gesso

Liquid Pearls Chocolate

Ranger Distress Ink Walnut Stain, Ground Espresso, Victorian Velvet

E Line Pearl Crystal Prima Marketing Inc – Pearls and Crystals Item# 300470

A Place To Create’s Lace Motif (large)

Muslin, Wood Sewing Spool, Miscellaneous Wood Heart and Bracket

Acrylic Stamp Set Script

I so hope that you have enjoyed your time here today. If you have pieces of different Maja collections lying around in your stash, why not try combining them together like I have here today. Would love to see what you do!

Until next time take care and happy scrapping.Tina-sign

A gift box

2

Posted by Camilla Støen Bakke

14 December, 2016 - , ,

Write a comment

IMG_5622

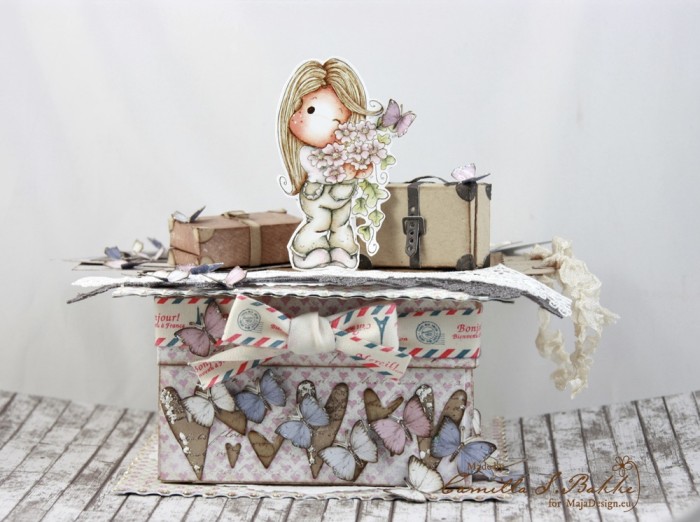
Hi there! I will show you a giftbox I made with wonderful papers from Maja Design. It is not Christmassy at all, but I will give you the tutorial on how I made the simple box; and who knows, maybe you want to try to make a box like this in a Christmassy style?! 🙂
1

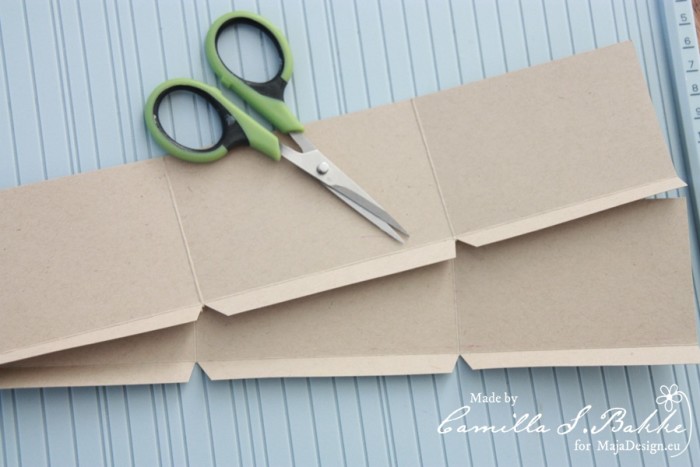
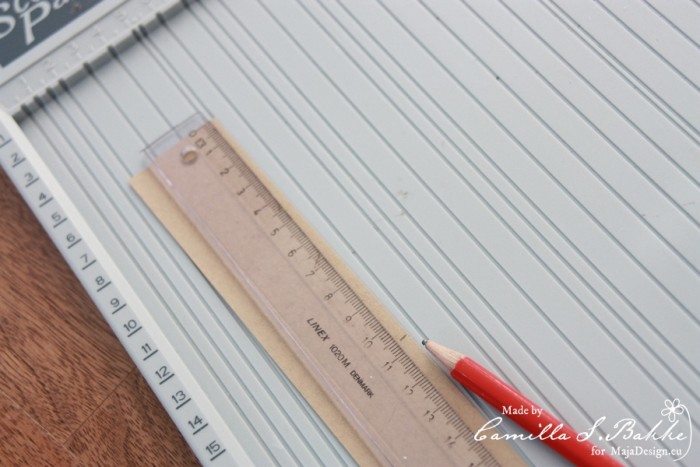
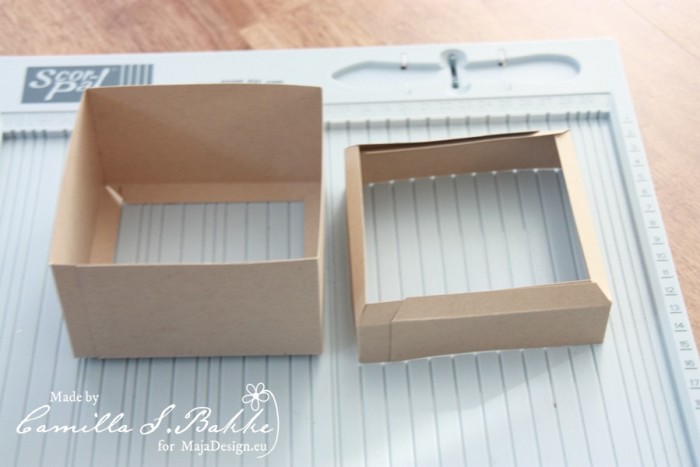
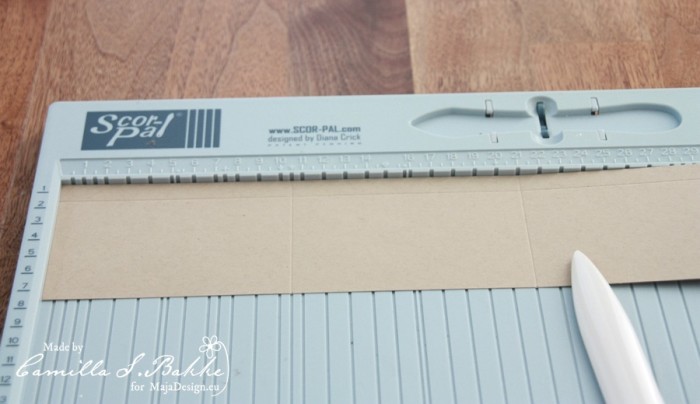
Cut out two papers measuring 30 x 7 cm. Then fold both at 6 cm.

2

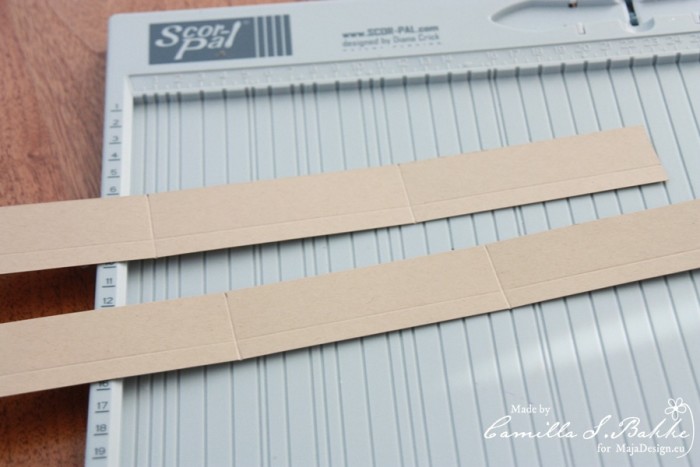
Then fold at 10,5 and 21.

3

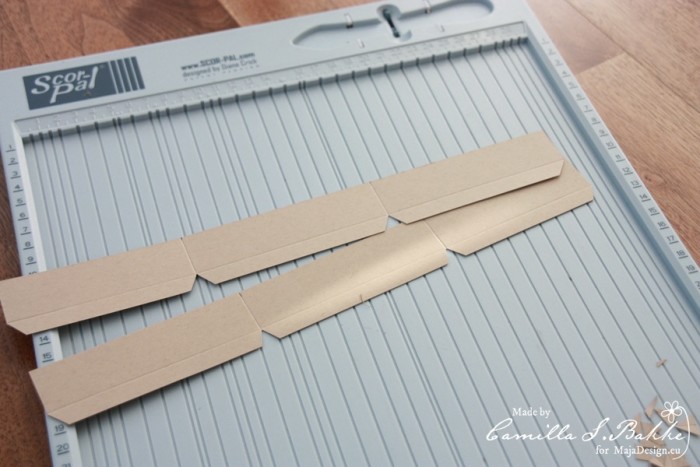
Make cuts like this.

4

Then start with the lid on the box. Cut out two papers measuring 4 x 30 cm. Also here fold at 1 cm first.

5

Then fold the other way at each 10,6. This is because the lid has to be a bit larger than the bottom part of the box.

6

Make the cuts.

7

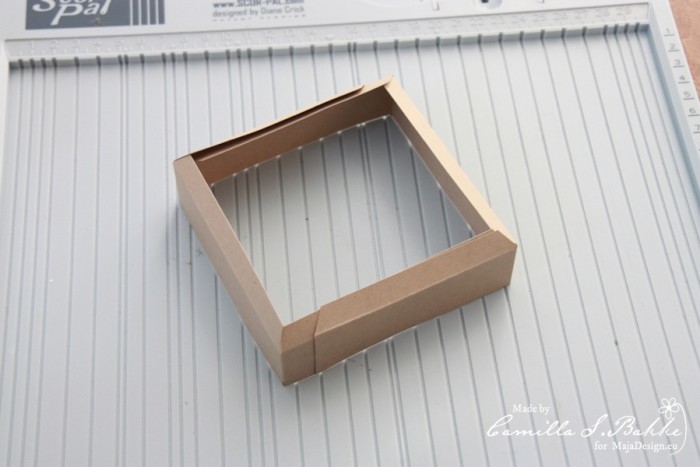
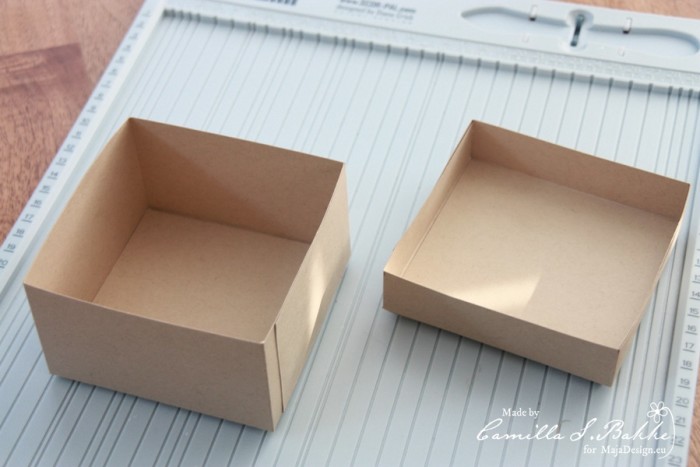
Put the parts together like this.

8

And this.

9

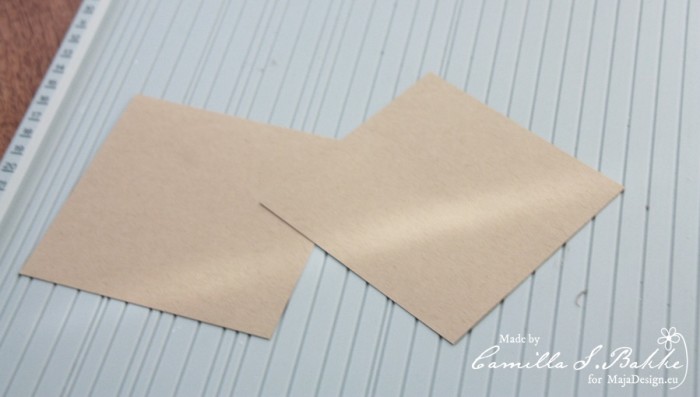
Cut out parts to fasten inside the bottom of the box and the lid. (10,4 x 10,4 and 10,5 x 10,5).

10

Like this.

11

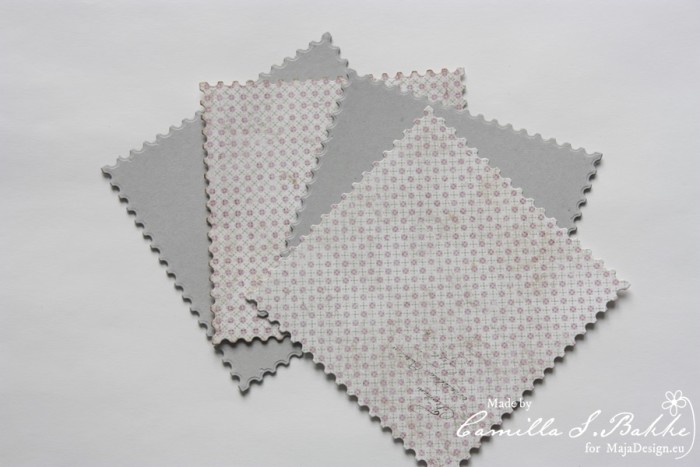
Then use the background die to cut out the bottom part and one on the lid. I use a harder cardboard for this.

12

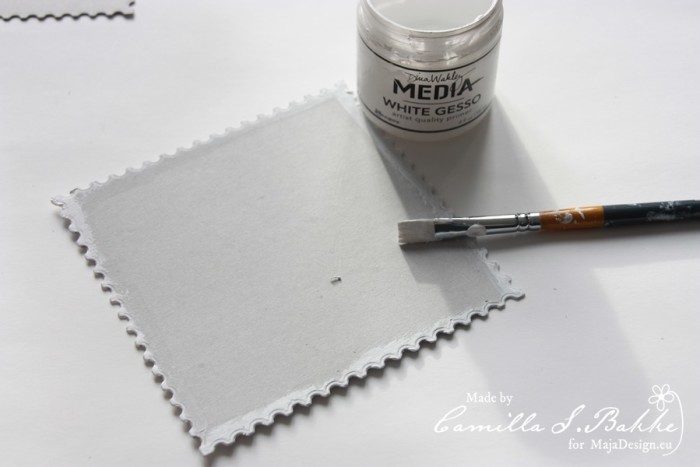
I also have painted the edges with white Gesso.

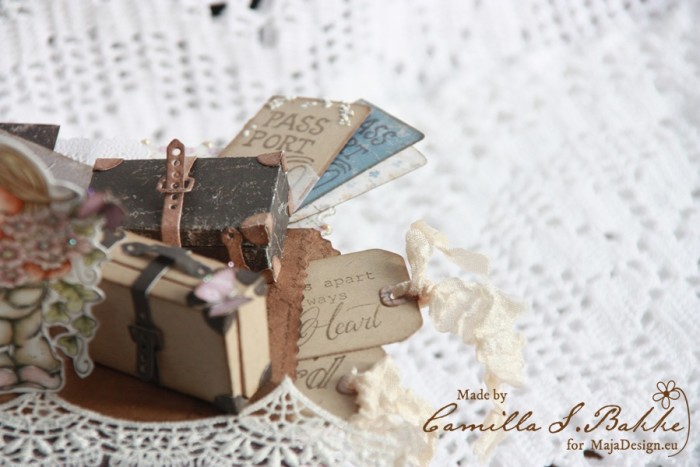
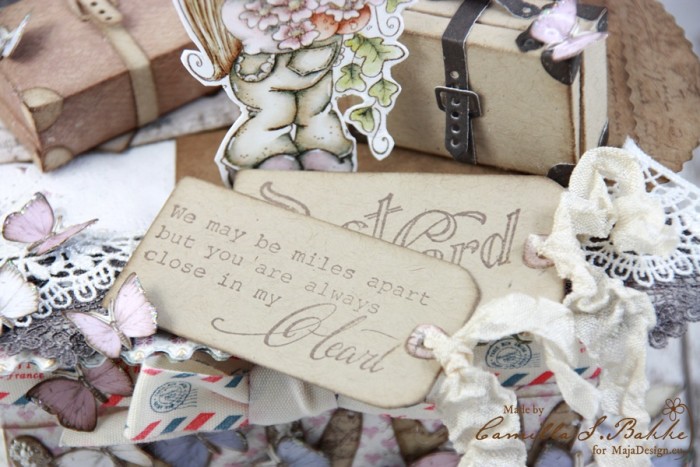
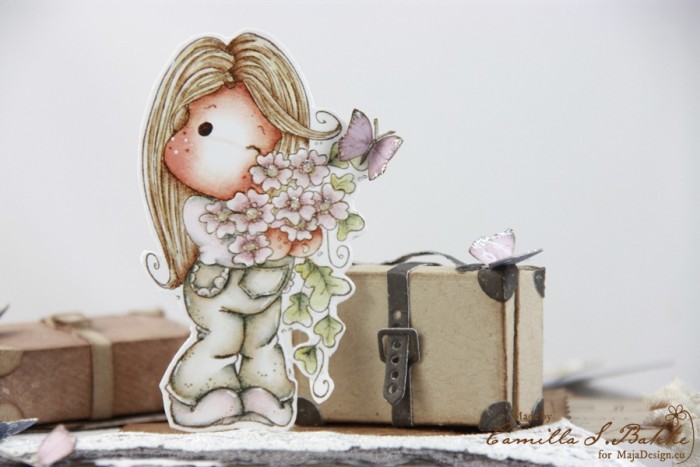
After putting the parts together and decorate them with beautiful Maja Papers, I have decorated the box on the top with different elements made with DooHickey dies from Magnolia (Vintage Box vol 3). I will show you some details:

IMG_5439

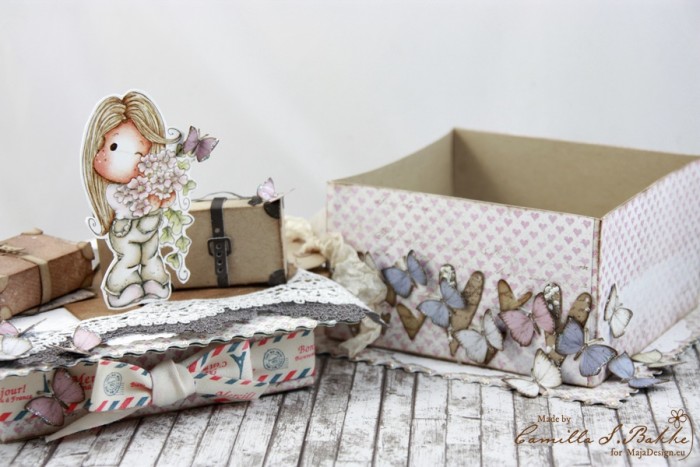
I just felt I had to decorate the whole box with butterflies:)

IMG_5466

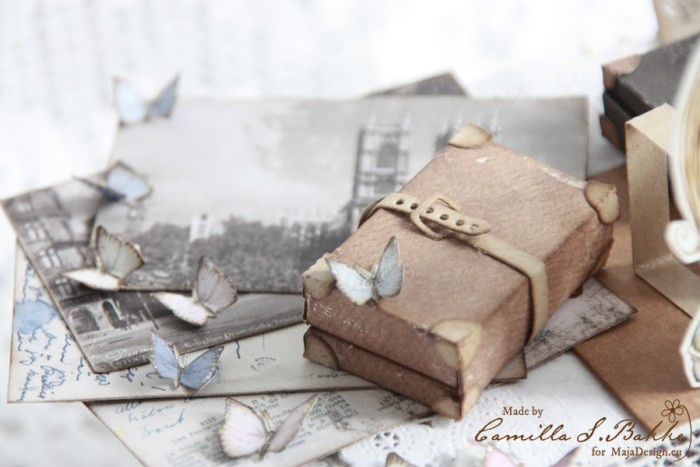
The lovely photos and letters are also Maja Design papers.

IMG_5646

Here with the lid taken of.

IMG_5649

Beautiful sentiment <3

IMG_5655

I have used this beautiful collection for my project:

Coffee-in-the-Arbour

And here are the papers:

I have also used three sheets from this stunning collection:

Vintage-Summer-Basics3

Here they are:

Thank you so much for visiting today! Wish you all a wonderful Christmas, untill I am back for a new post the 28th of December.

Hugs,

Camilla

“Because of you….”

2

Posted by Tina Ollett

22 November, 2016 - , ,

Write a comment

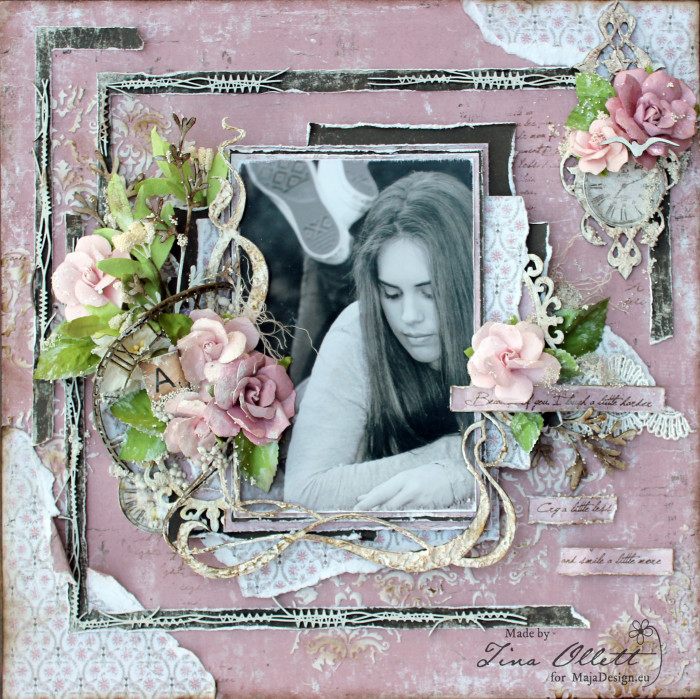
Hello there and welcome. Tina with you today to share my newest creation using Maja Designs beautiful Vintage Summer Basics. This has been titled, “Because of you…”.

2016-11-20 November 033

I love nothing better than to tear papers and sometimes I get a bit carried away. When it comes time to layering I make it more than difficult to jigsaw it back together. And usually I have something in mind and the end result is nothing at all like that picture in my head that I started with. This is exactly what happened when creating this layout. The picture in my head was to be predominately browns with a smiggin of pinks. But alas this was not the case here……

Vintage-Summer-Basics-P

I have used the gorgeous Vintage Summer Basics for the overall designing of my layout. My Base page was 1909 bs. I absolutely love the detailed background on this but I felt it still needed a little more to help my photo pop. I also did a little random stamping using Gabi’s Postcard Acrylic Stamps.

Vintage Summer Basics

1905 bs

1909 bs

1908

1923

639-Vintage-Autumn-Basics-no.XVI_

and Vintage Autumn Basics No XVI

2016-11-20 November 004_edited-1

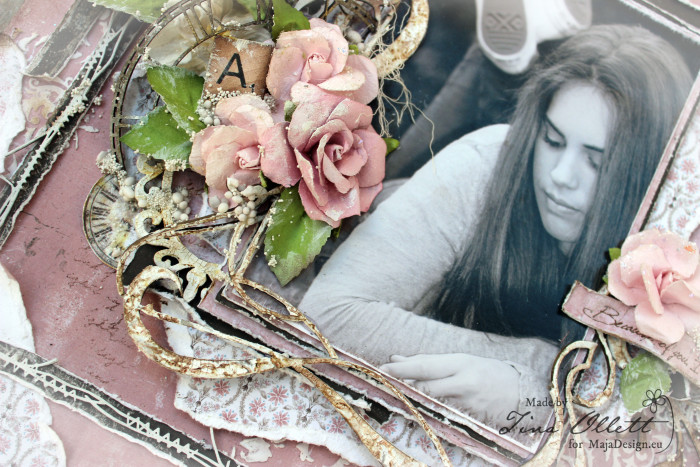
The Vintage Summer Basics 1905 paper was cut and used as a border. It was distressed, torn in sections and adhered to frame my photo. I also used some cool Dusty Attic Stitching chipboard over the top. I have torn the chipboard to give a rustic charm to my page.

2016-11-20 November 008_edited-1

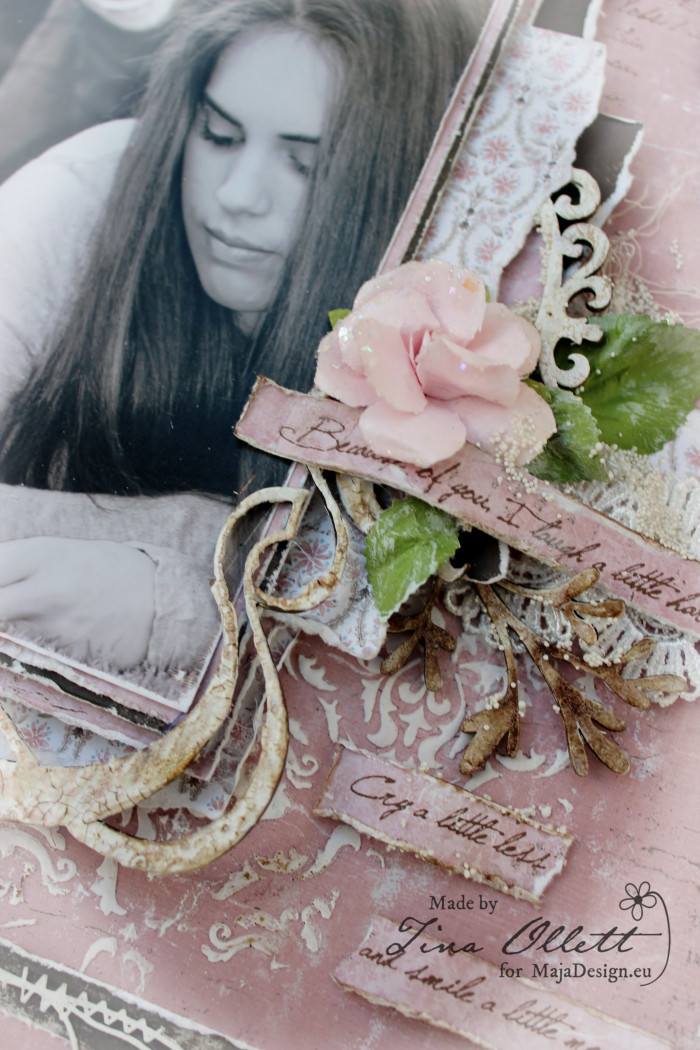
I have also used the Vintage Summer Basics 1923 for my stamped title quote which reads:

Because of you, I laugh a little harder,

Cry a little less and smile a little more.

2016-11-20 November 007_edited-1

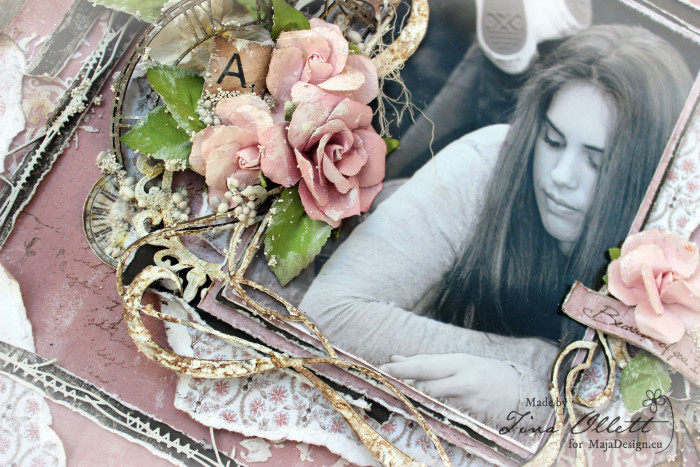
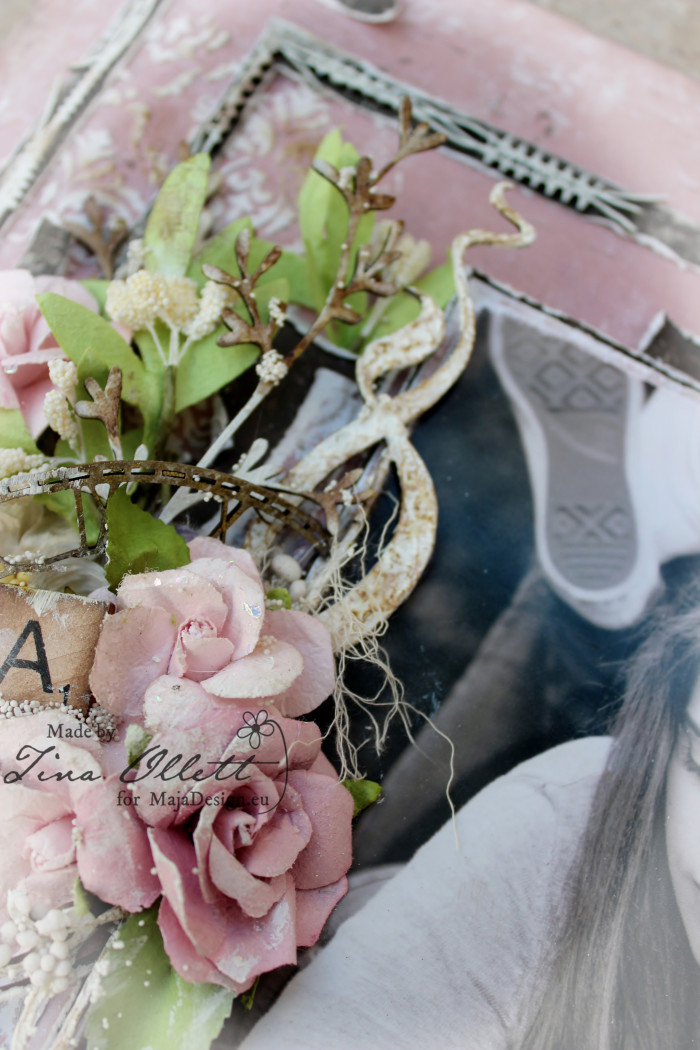
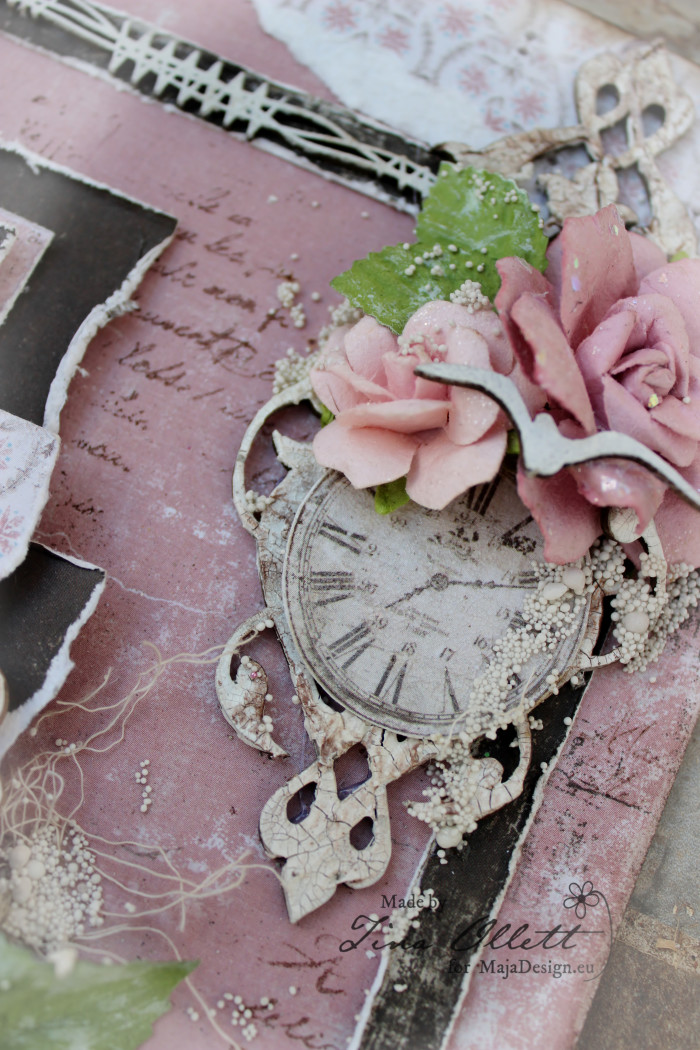
Here you can see all the pieces of Dusty chippies that I have added to this dimensional cluster. The skeleton clock, foliage and the gorgeous frame. They were all dressed in crackle paste and distress inks. The skeleton clock was embossed and then sanded to create a vintage worn look.

2016-11-20 November 004_edited-1

And again, here you can see the 1908 patterned paper used along with 1905 and 1923 as the matting foundation for my photo.

2016-11-20 November 010

You can see here the gorgeous detail on the background paper. I have also added in some art stones and cheesecloth to soften my layout a little more. The clusters were all dry brushed with gesso to tone down the colours and bring it all together. I have made a full list below of all the materials used in creating this layout for your convenience.

Other Materials Used

Dusty Attic

 Ornate Frame #5

Crazy Stitching Large

Mini Seagull DA1176

Fancy Flourish DA0349

Skeleton Clock

Distress Ink Walnut Stain

Distress Crackle Paint

Liquitex Gesso

Finnabair artingredients Art Stones White

Prima Marketing Inc. Flowers

Kaisercraft Paper Leaves

I hope you have enjoyed my post here today. I will be back again very soon…until then take care. xo

Tina-sign