Go With Your Heart

2

Posted by Mary Tzalla

29 June, 2019 - , ,

Write a comment

Hello Maja fans!

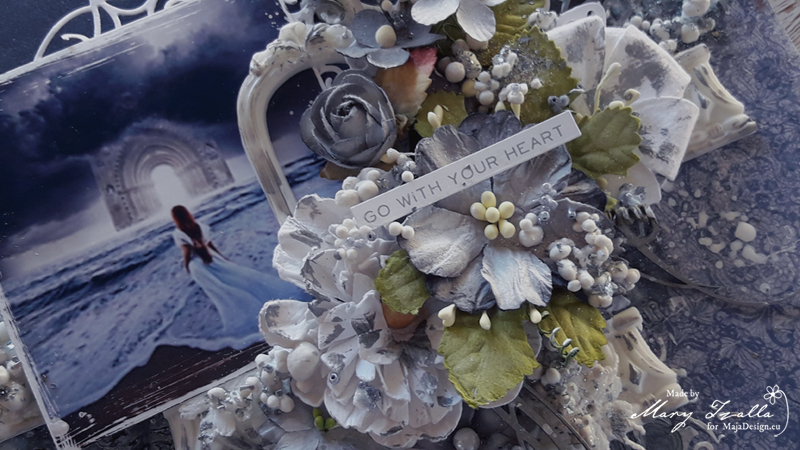
Today, I would like to share a new layout made for my June inspiration using papers from the gorgeous ”Denim & Girls” & ”Denim & Friends” collections. I’ve also used 49 and Market flowers, Dusty Attic chipboard, lace and Finnabair moulds to embellish my page and achive a romantic and elegant feeling.

As always I found my photo on Pinterest and before I continue more I want to give all the proper credits to the ”unknown” photographer.

I used the ”Worn Indigo” paper and made a layer on the half bottom side of it with the ”Loose Fit” paper.  To start, I applied a coat of clear gesso and then, I created texture with an icing paste and a stencil. When the paste dried, I randomly stamped and used a Lindy’s Gang spray to add color.

Next, I painted the chipboard with a Finnabair acrylic paint.
Then, I layered all the gorgeous elements around my photo and added in some 49 and Market flowers.
Papers used:


I hope you enjoyed my project!

Until next time happy crafting!


Facebook Twitter Email Plusone

Little notebook

1

Posted by Lenet Mos

25 June, 2019 -

Write a comment

Hello to you sweet Maja Fans

I hope you have a good day, It’s very hot here in the Netherlands almost to hot to do any crafting.

Almost, but not entirely .

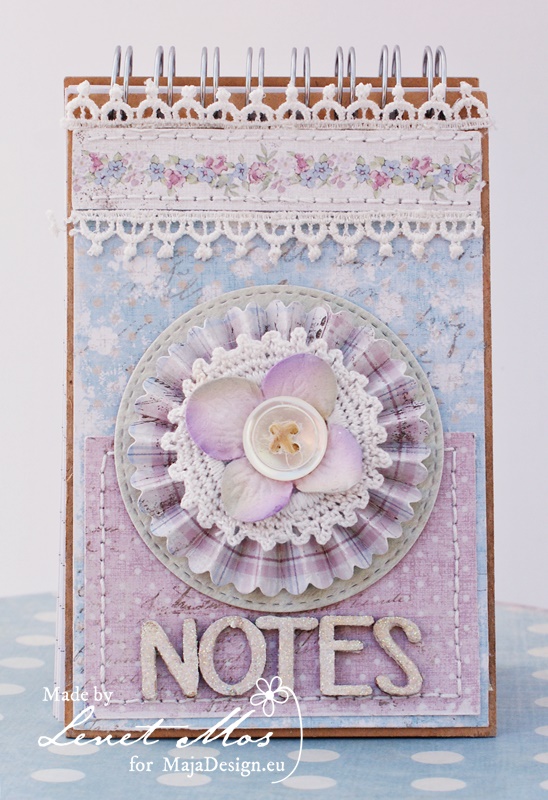
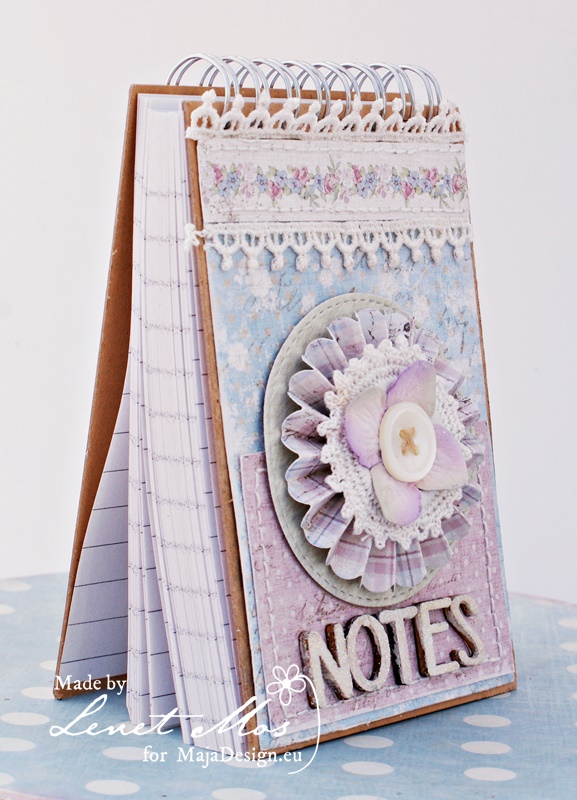
This time I made you this little note book . perfect for small notes and small shopping lists.

I never have large lists ,because I have a shopping center nearby . It’s just a bike ride of 10 min. away.

I bought it at the local dollarstore, but thought it was to boring so I made it a little prettier with some left over snippets from other projects.

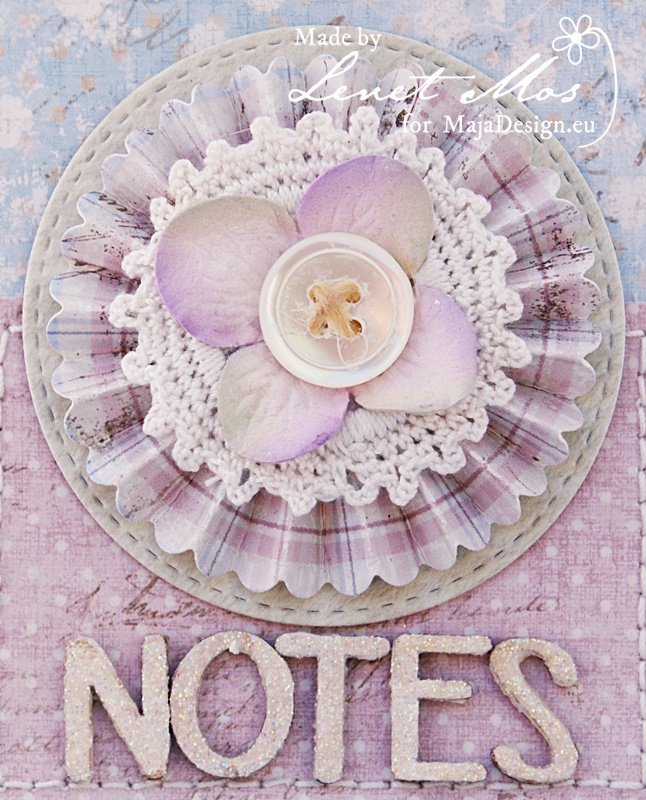
and a close up.  Te rosette is made with the Tim Hotlz minipaper rosettes dies

The word Notes is made of small wooden letters from the dollarstore , paited white and glittered with a glitter and clear embossingpowder mix I made myself.


I hope you like my project for today.

Thank you for visiting ,make shure to check in  later to see what the other Maja girls have made for you.

Facebook Twitter Email Plusone

Daddy Rocks – A Boxframe Tutorial

1

Posted by Maja Nowak

24 June, 2019 - , , ,

Write a comment

Good morning, dear Maja friends, welcome to the blog today 🙂

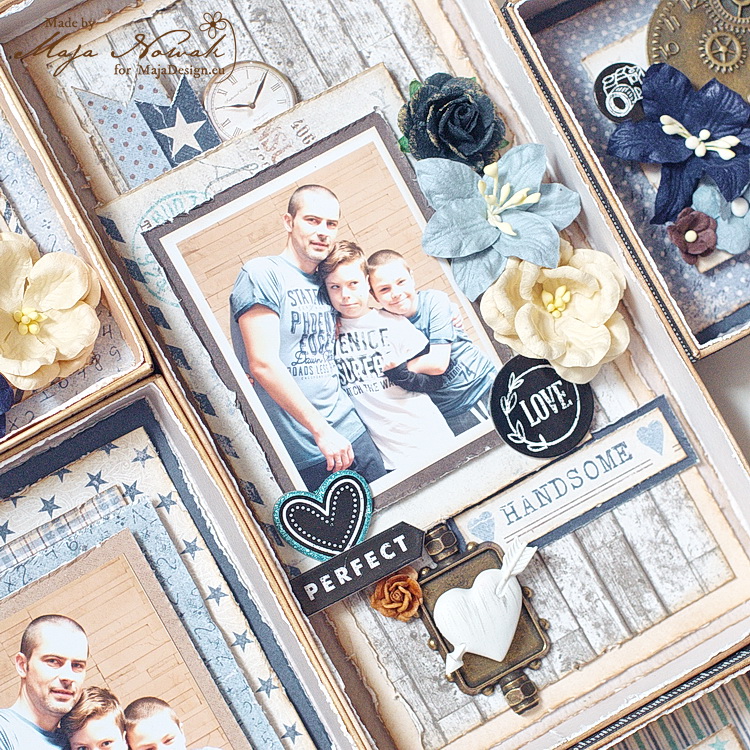
Yesterday we celebrated Father’s Day in Poland. For this very special occasion I decided to make a special gift. But first let me share you a story behind it 😉

I make a lot of dimensional cards and therefore use a lot of card boxes too. And being a true scrapper and hoarder 😀 I tend to collect everything that could potentially be used, altered, reused and recycled, and that includes faulty box pieces. And so I gathered lids and bottoms that were assembled wrong, or stained, or wonky – and felt it was the right time to do something about them 😉
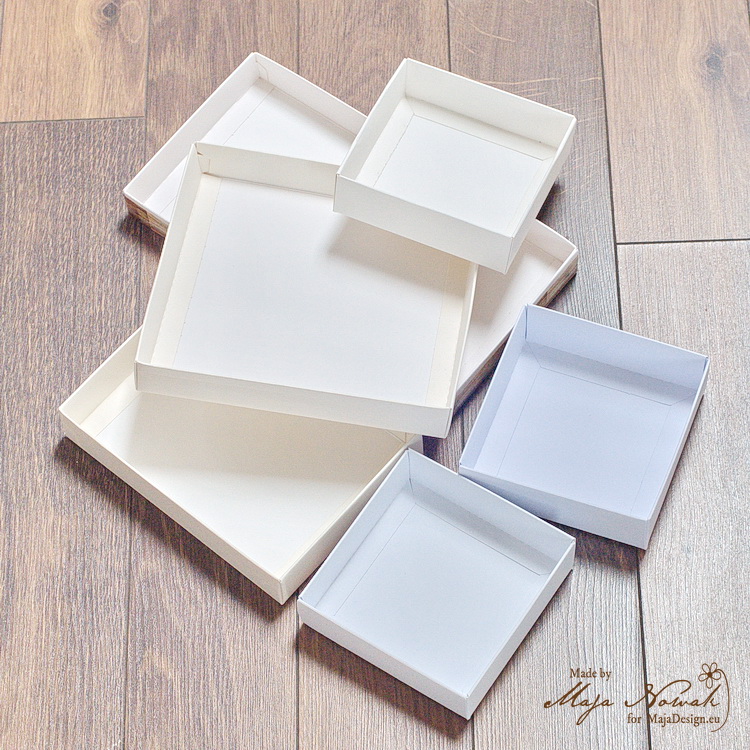
Yes, I decided to make a shadobbox-like frame using box elements 🙂 And I’m going to share a step-by-step tutorial with you.

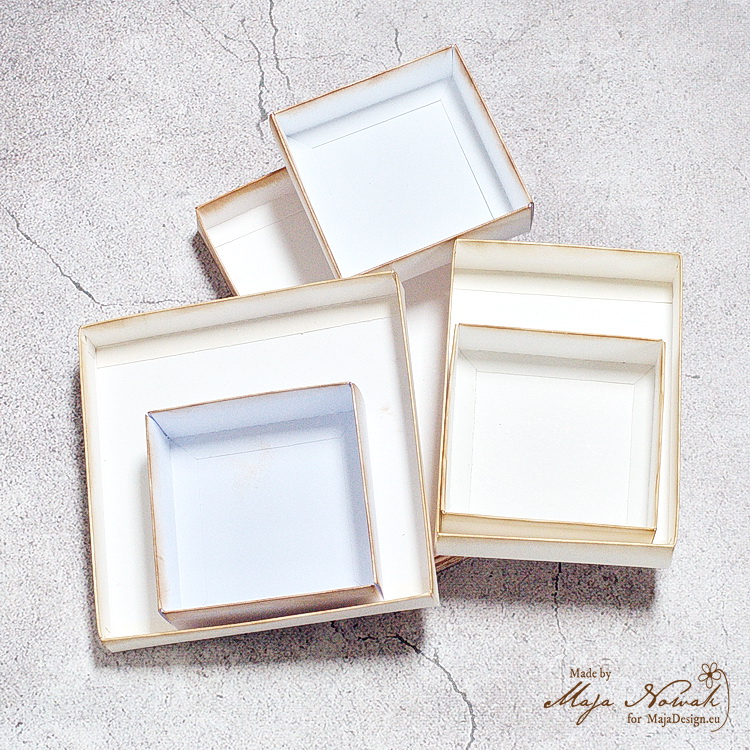
The boxes were of various sizes and colours, so first I inked all the outside edges:
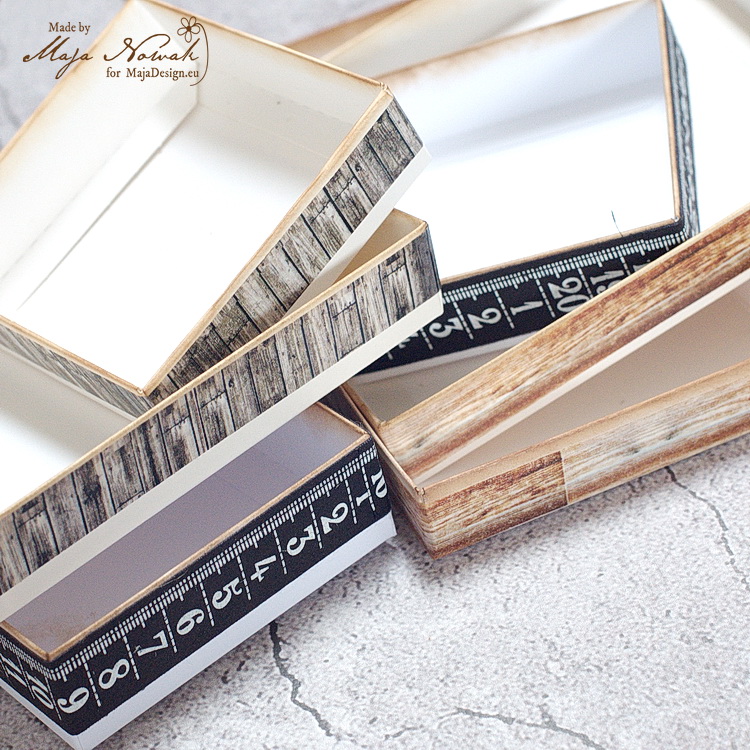
…and then wrapped the sides with washi tapes:
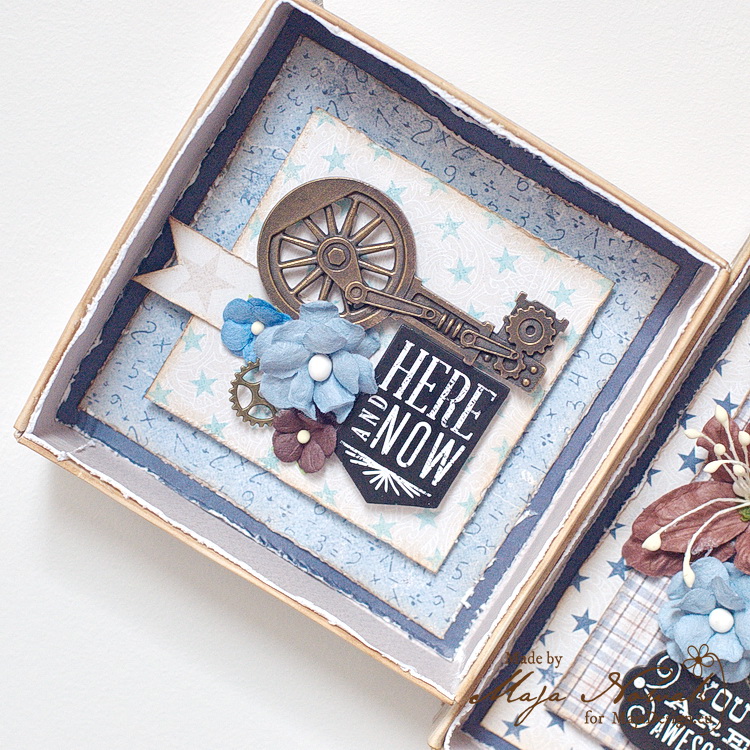
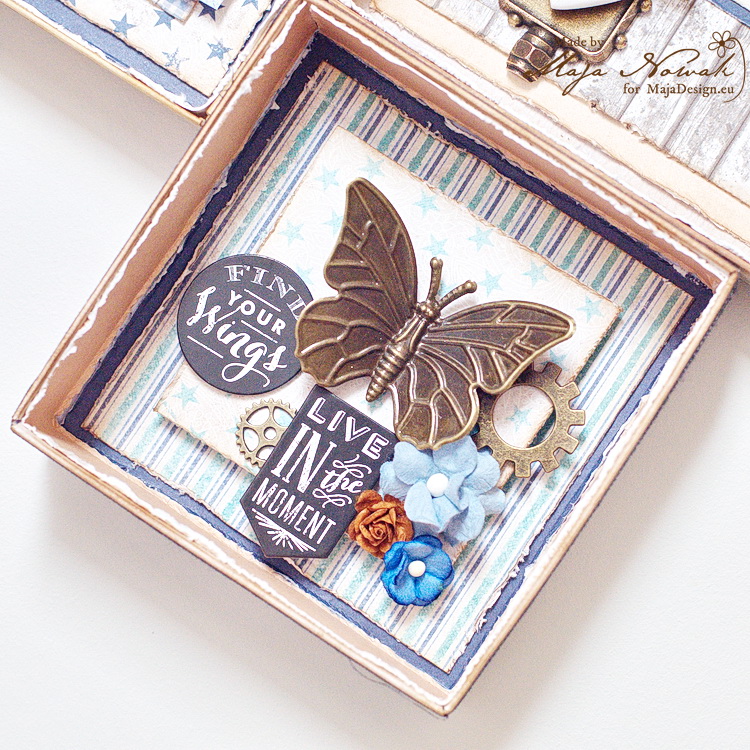
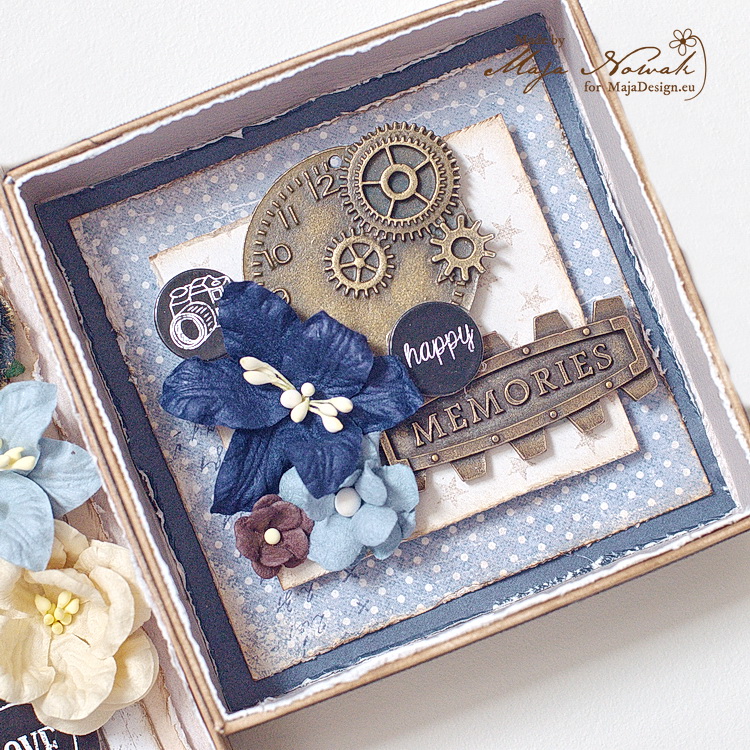
The next step was to decorate the inside of the frames – first I covered the inner sides with strips of papers and then added layers of papers inside. I used the Denim&Friends collection – my all-time favourite papers for masculine projects:
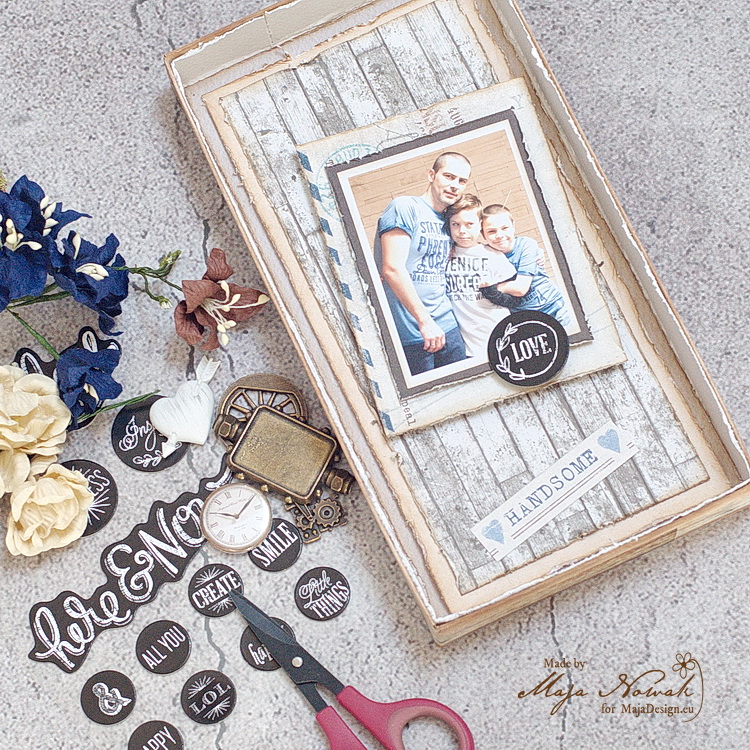
First I decorated the photo frames:
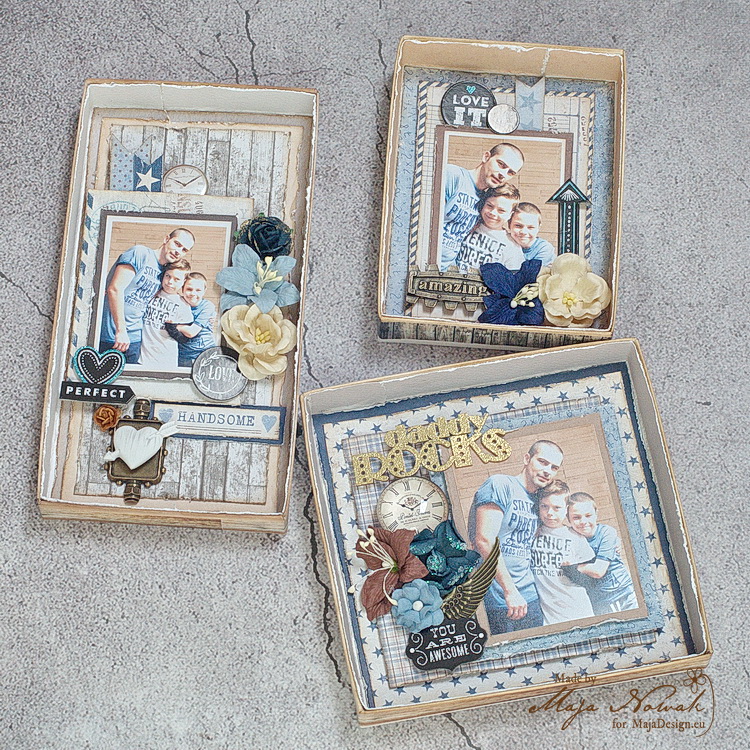
…and then additional decorative pieces:
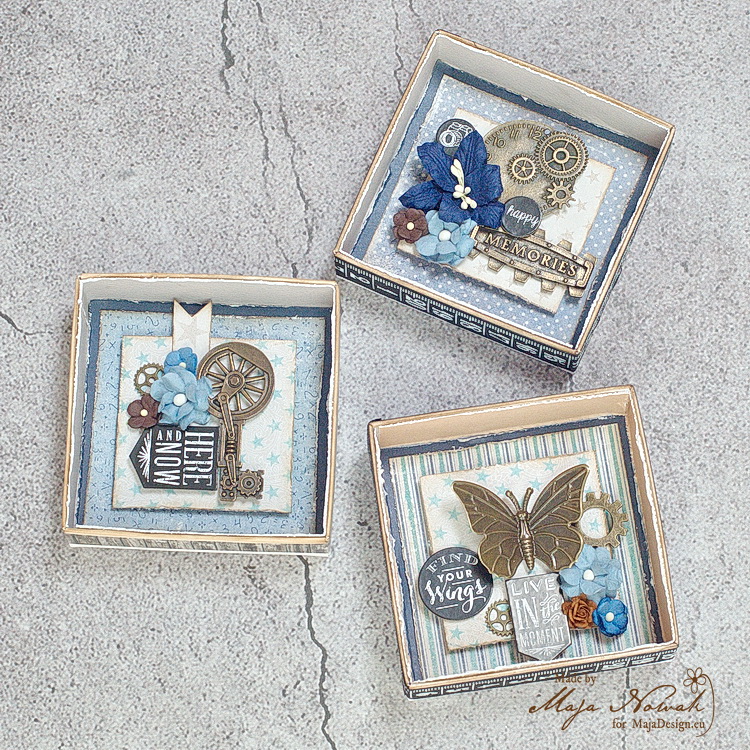
Once I had all the pieces finished, I tried various element designs to make a frame. When I was happy with the layout, I attached them all together with strong double-sided adhesive tape:
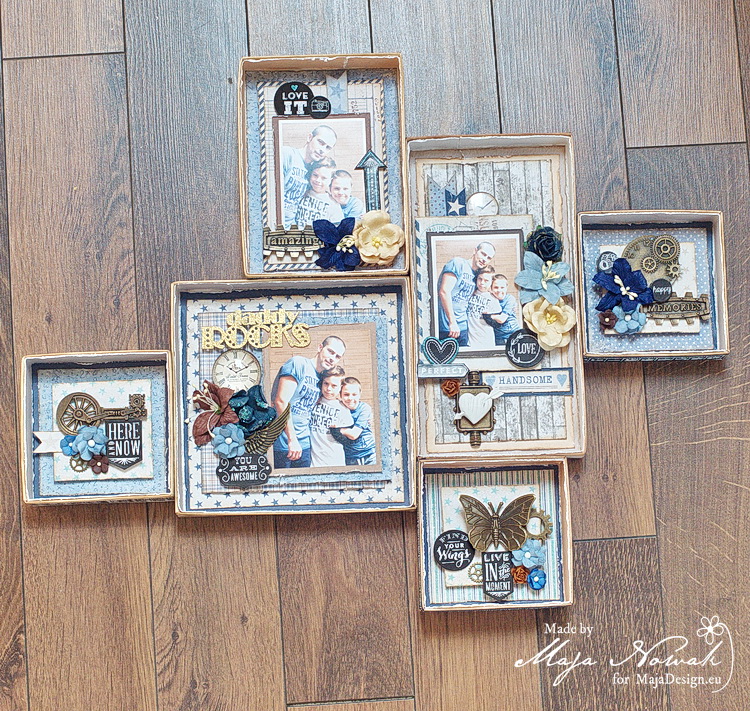
Then I took the largest cardboard piece I had in the house 😉 and traced the shape of the frame. I cut out the shape slightly smaller so that the cardboard doesn’t peek outside the frame:
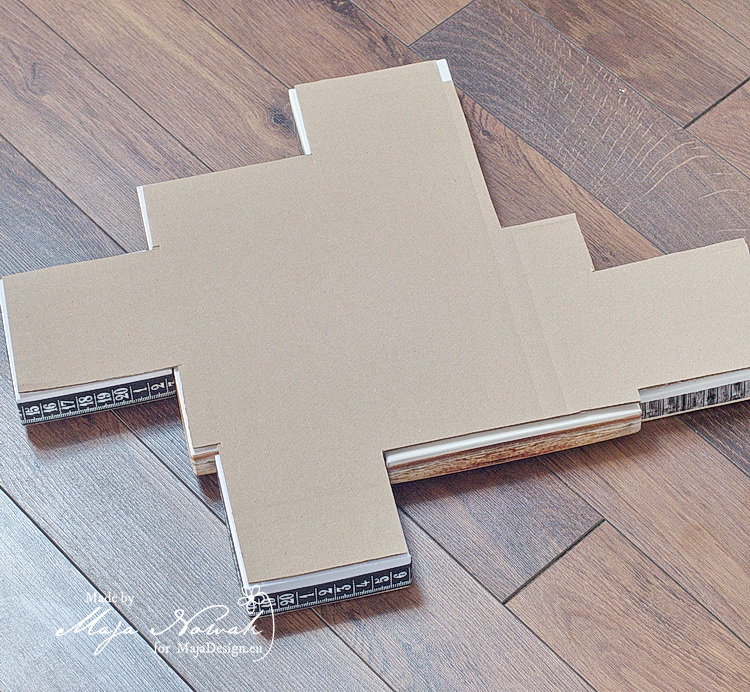
And my Father’s Day box frame was done 🙂
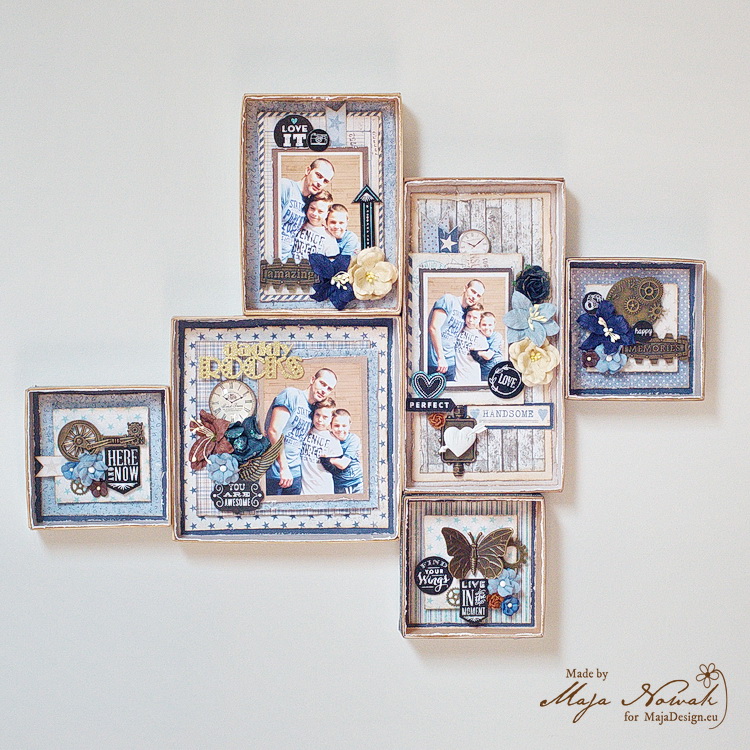
Let’s take a closer look:
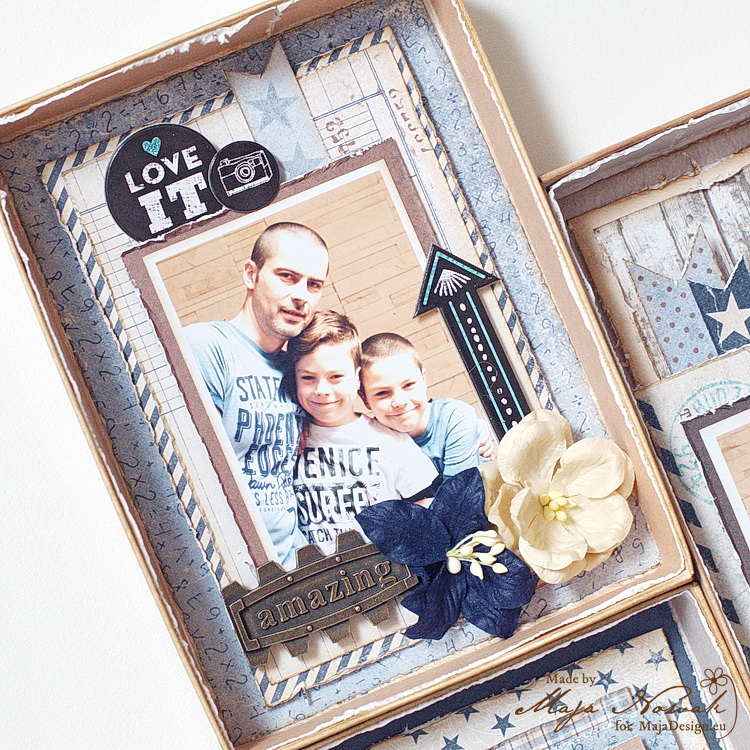
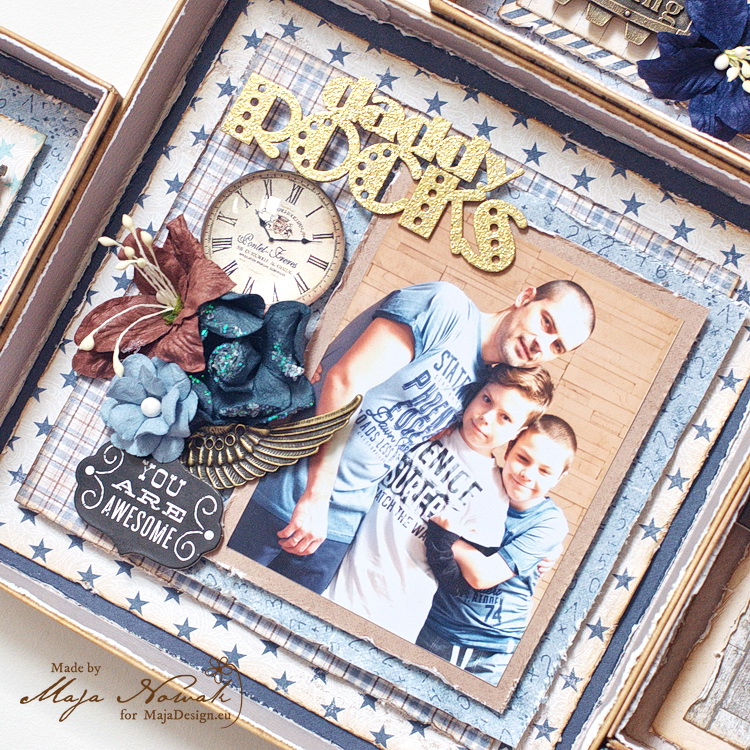
I really like the way it turned out: the papers’ colour palette perfectly matches the photos, I used up pieces of boxes I couldn’t use for cards and I made an original gift that can decorate the wall above my husband’s desk 🙂

What do you think of it?

And here’s what I used:

Maja Design papers:

Other: flowers: Prima, Wild Orchid Crafts; metal embellishments: Scrap Hobby; stickers: MAMBI.

And that’s all for today. I hope you liked my tutorial! See you soon!

Facebook Twitter Email Plusone

Slider Shaker Card Using Denim & Girls

1

Posted by Jennifer Snyder

24 June, 2019 -

Write a comment


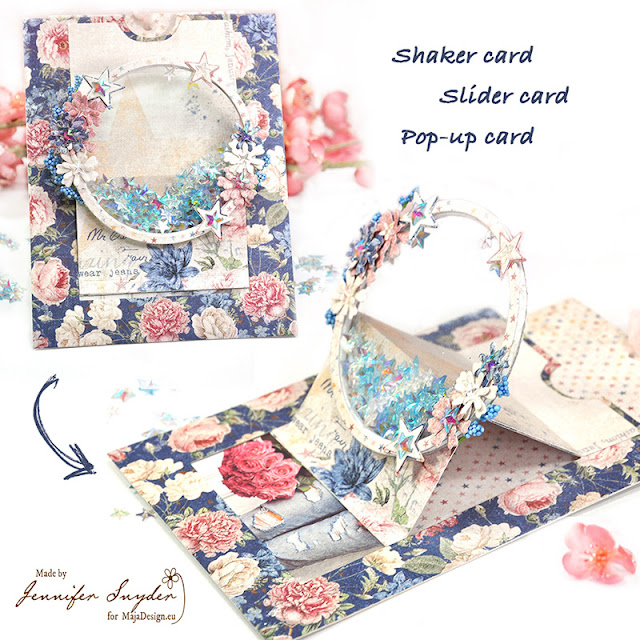
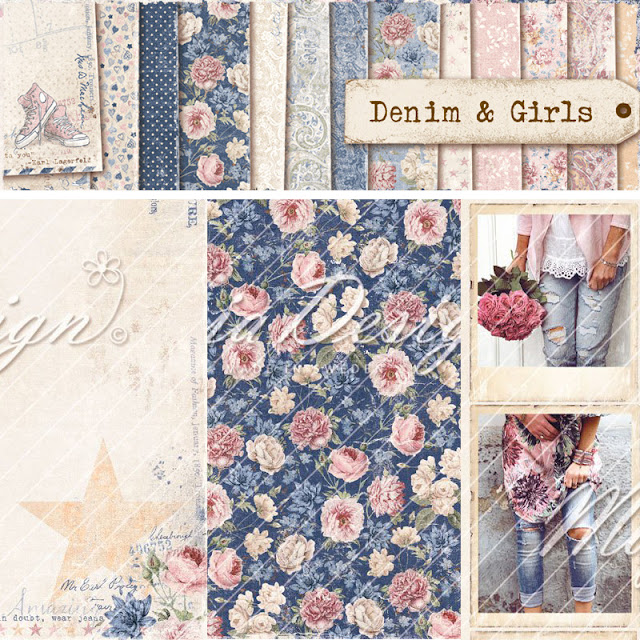
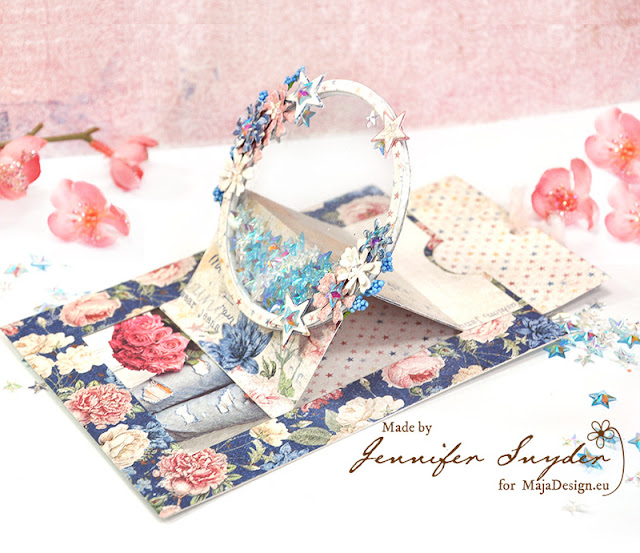
Hello friends.  Jennifer Snyder here to share a slider shaker card created with the marvelous Denim & Girls collection, with fun, flirty, playful and sophisticated designs in one collection.
These are the papers used from the collection:
Romantic Blouse
Amazing
Girls in Jeans – (gorgeous die cut sheet – journal image sheet)
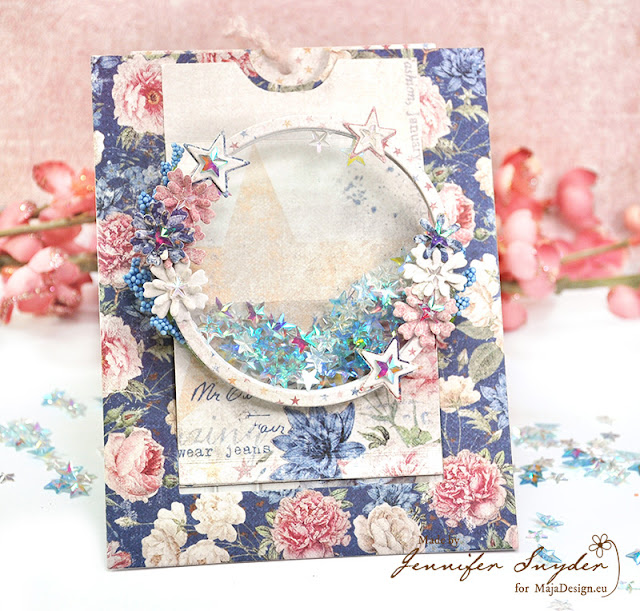
I had a chance to use a new die from Spellbinders I thought would be a perfect match for the collection.  You can judge for yourself.

This is a closeup of the shaker card in it’s upright position.  It’s filled with fun shaker mix from Buttons Galore and More.

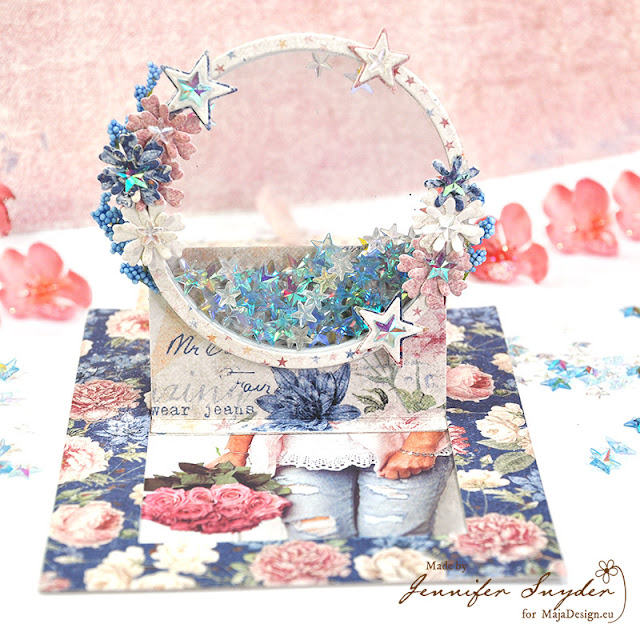
Here is a side view of the shaker.  The die cut journal card is a nice surprise when the card is opened.  The images on the journal cards are absolutely fabulous and really accent the fun, flirty, playful nature of the collection.
Thank you for stopping here today.
 
Facebook Twitter Email Plusone

Simple Card by Padoriaa

1

Posted by Paulina Monasterska-Tronina

19 June, 2019 - , , ,

Write a comment

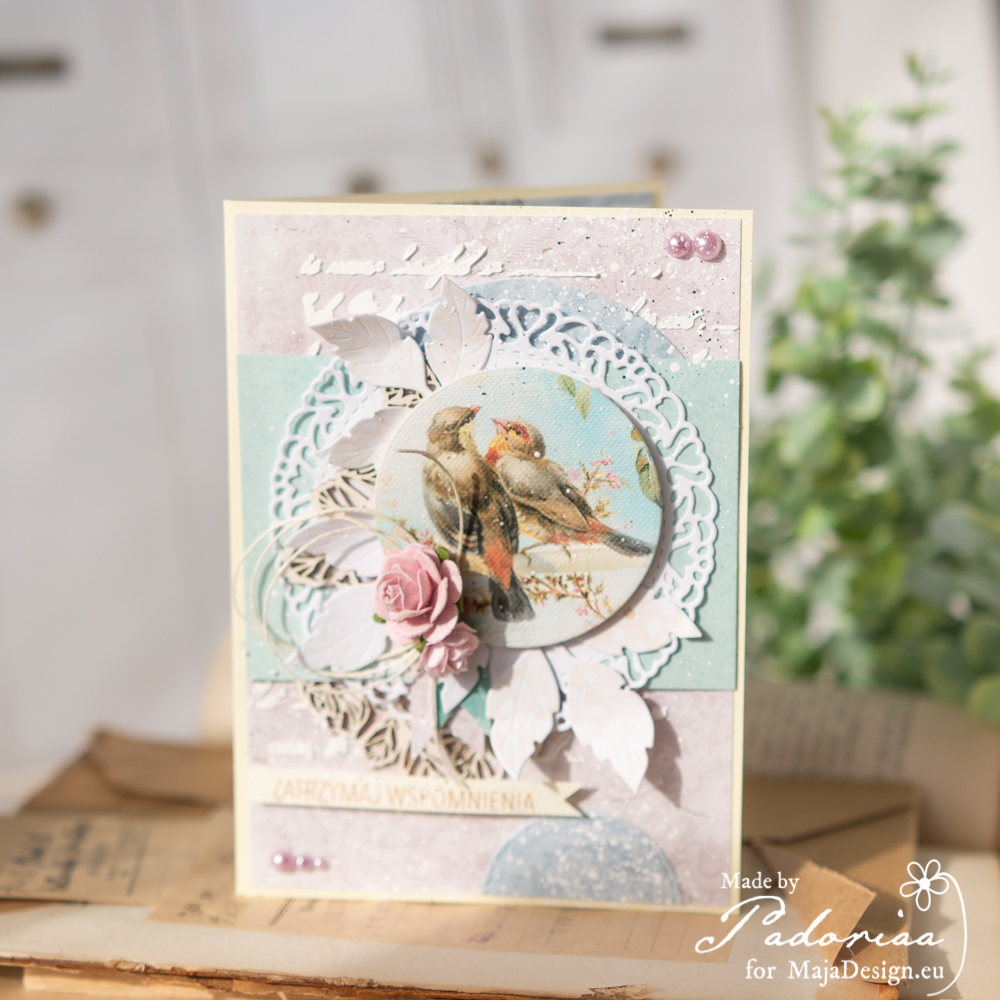
Hello, our blog fans. I haven’t been here often lately. I’m really sorry. I really hope to post regularly from now on. I received the newest collection but didn’t have time to play with. Today I will show you a really easy card – perfect for any occasion.

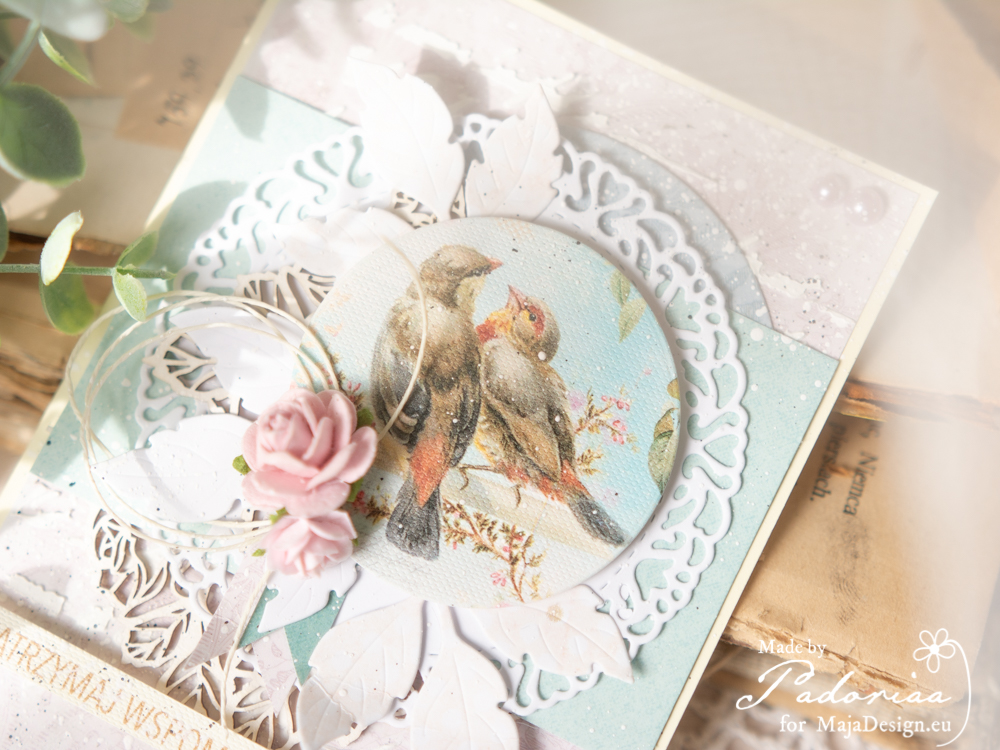
I really like to compose a basic background. Combine few collections. Mix & Match is really funny!
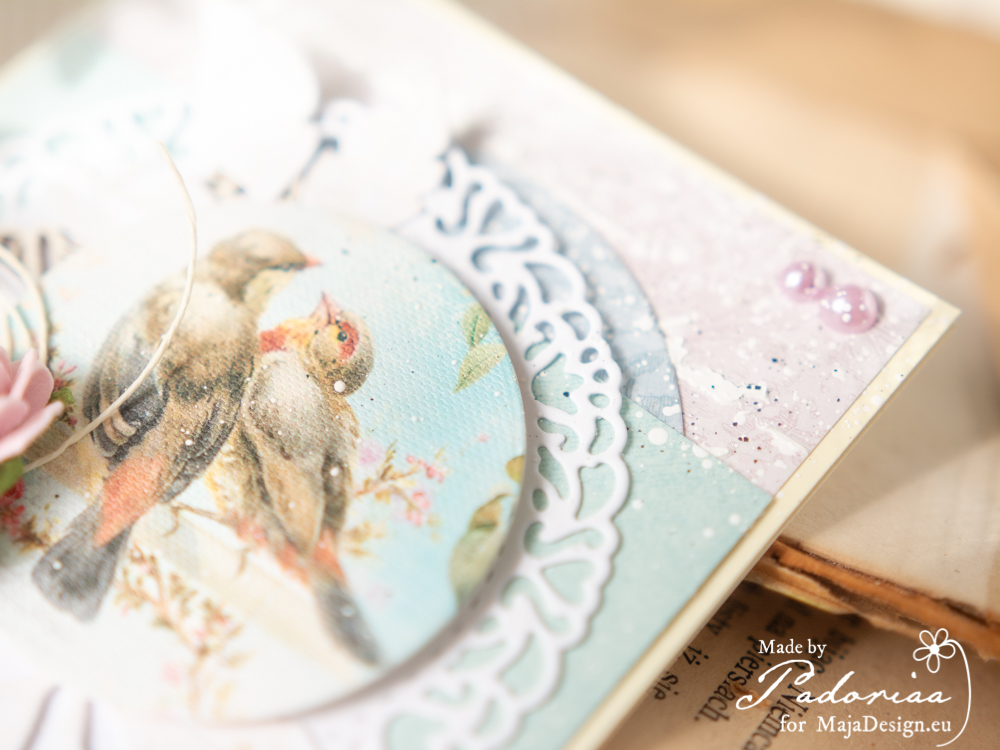
I also used to buy digital graphics – like this time I bought the image with birds.

I’m looking forward to working with Denim&Friends. Hope you will like my today’s card. Hugs, Paulina

Facebook Twitter Email Plusone